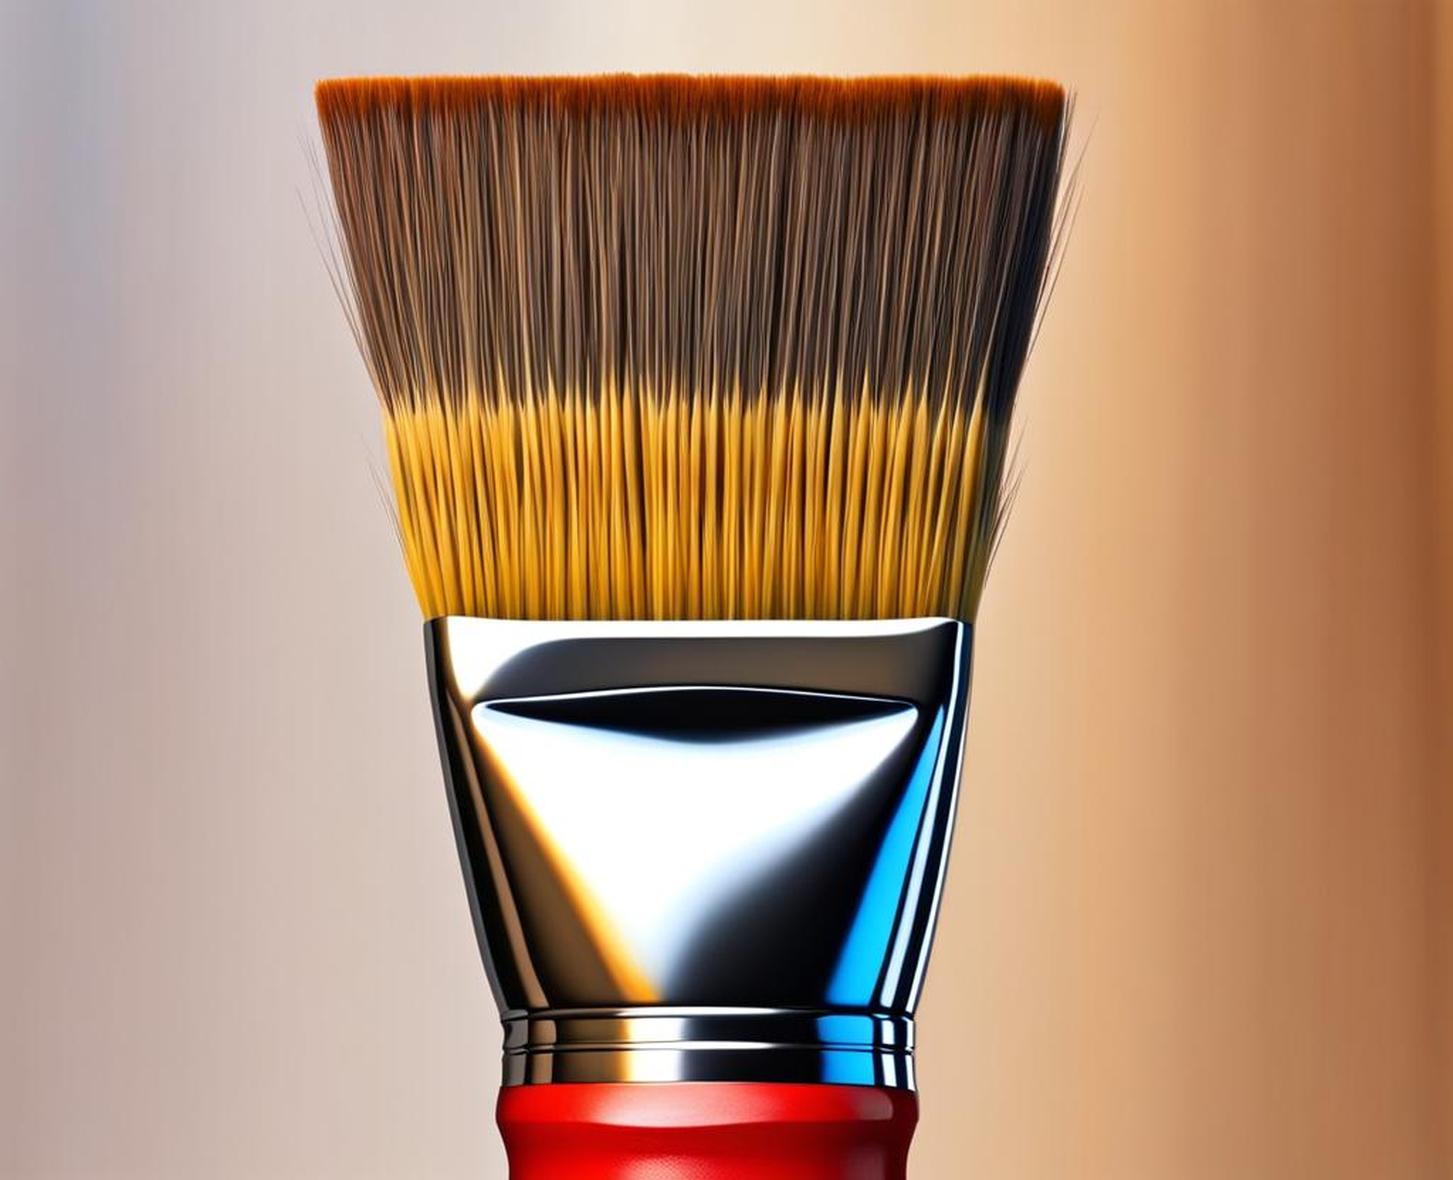
Painting the trim and moldings in your home can completely transform the look and feel of your rooms. However, using the wrong paintbrush can lead to messy, uneven results. The key is choosing a brush specifically designed for cutting in and edging trims. With the right brush, you’ll get professional-looking crisp lines in no time.
Choose the Right Bristle Type
One of the most important decisions is whether to go with natural or synthetic bristles. Here’s a quick comparison:
- Natural bristles are best for oil-based paints. They hold more paint than synthetic.
- Synthetic bristles work well for latex and acrylic paints. They provide smooth coatings.
- Soft tapered bristles are ideal for trim. They conform to edges and won’t leave visible brush marks.
For most DIYers painting trim with acrylic latex paint, a soft synthetic bristle brush is the way to go. The bristles taper to a fine edge, allowing you to paint sharp lines along moldings. Polyester and nylon are common synthetic filament options.
Optimal Brush Size for Trim Painting
When it comes to trim brushes, smaller is better for control and accuracy:
- Width of 1/2″ – 1″ is ideal for cutting in trim and smaller moldings.
- Angled sash brush around 3/4″ wide allows you to paint close to edges.
- Larger brushes will make it harder to paint neat lines.
Look for a brush labeled as a “trim” or “angular” sash brush. The angled bristles help you maintain crisp edges and reach tight corners.
Get the Right Brush Shape and Angle
In addition to bristle material and size, the shape and angle of the brush head matters:

- Square brush heads don’t allow you to cut as close to trim edges.
- Angled brush heads make it easier to paint sharp lines along moldings.
- The angled shape provides more control and stability.
An angled sash brush is specifically designed for edging, making it the optimal shape for trim painting. Positioning it at a 45 degree angle gives you those razor-sharp painted lines.
Consider Paintbrush Handle Design
Don’t underestimate the importance of a comfortable grip when choosing brushes:
- Plastic handles are lightweight but can feel slippery.
- Wood handles provide control but arebulkier.
- Rubberized grips give the best comfort during extended use.
- Some handles have anti-roll features to keep the brush steady.
Look for a rubber or textured handle that prevents hand fatigue. An anti-roll flat spot helps keep the brush positioned correctly as you paint. This gives you more control.
Match the Brush to the Paint Type
Make sure to use the appropriate brush for the specific paint you’ll be using:
- Natural bristles for oil-based paints
- Synthetic bristles for latex and acrylic paints
- Use separate primer brushes for primer coats
Most trim paints today are acrylic or latex-based. Choose a synthetic bristle brush made for use with these paints. It’s also smart to have a separate brush just for primer.
Technique Is Also Important
While brush selection is critical, technique plays a role in achieving professional results:
- Hold the brush at a 45deg angle flush with the trim’s edge.
- Use a light but steady hand – brace yourself against the wall for stability.
- Make long, smooth brush strokes from top to bottom.
- Take time to properly clean the brush after each use for longevity.
No matter how great the brush, having proper painting technique makes all the difference. Be slow and precise with your brush strokes.
Recommended Brushes for Trim Painting
Here are our top recommended paint brushes for trim and moldings:
1. Wooster Brush Q3211-2 – Best Budget Option
If you’re looking for a budget-friendly option that doesn’t compromise on quality, the Wooster Brush Q3211-2 is an excellent choice. It comes with synthetic filaments that provide a smooth and even finish, making it a great option for trim painting. The angled tip allows for easy application around corners and edges, while the comfortable grip ensures a comfortable and fatigue-free painting experience.
2. Purdy XLTS 3″ Trim Brush – Best for Large Trims
For larger trims, the Purdy XLTS 3″ Trim Brush is the perfect choice. Its 3-inch width allows for faster coverage, while the angled tip ensures precise application around corners and edges. The synthetic filaments provide a smooth and even finish, while the comfortable grip ensures a comfortable and fatigue-free painting experience.
3. Wooster Brush Q3101-2 – Best for Smooth Finishes
If you’re looking for a brush that provides a smooth and even finish, the Wooster Brush Q3101-2 is our top recommendation. It has a mix of soft synthetic filaments that hug trim profiles nicely. The angled sash shape allows you to cut super straight lines. And the comfortable handle gives you control without tiring your hand.
Choosing the perfect paintbrush is essential for achieving flawless results when painting trim and moldings. Look for key features like soft synthetic bristles, an angled sash shape, and a comfortable grip. Size, bristle type, brush shape and paint type all factor into your decision. Follow proper edging techniques, and your trim will have crisp, professional-looking painted lines.
