If your home has walls covered in old, yellowed oil-based paint, you may be eager to freshen things up with a bright, clean coat of latex paint. While painting over oil-based paint with latex can seem intimidating, it doesn’t have to be difficult. With proper preparation and techniques, you can effortlessly transition surfaces from oil to latex for beautiful results.
With our tips, you’ll avoid common mistakes and be painting your oil-based walls with fresh latex paint in no time. Let’s get started!
Determine If Your Existing Paint is Oil or Latex-Based
Before you can begin prepping your walls, you need to confirm that the existing paint is indeed oil-based. There’s an easy test to identify the paint base:
- Take a small amount of denatured alcohol on a cotton ball and rub it gently on a painted area of the wall.
- If the paint starts to soften or smear, it’s latex paint. Oil-based paint won’t react to the alcohol.
Identifying the existing paint base is crucial. Applying latex paint directly over glossy oil-based paint without proper prep can lead to peeling, cracking, and poor adhesion issues down the road.
Implications of Painting Latex Over Oil
Oil and latex paints have very different properties. Oil-based paints cure to a hard, glossy finish through a process called oxidation. The oils cross-link and harden as the paint dries.
Latex paints, on the other hand, dry through evaporation of the water in the paint. This leaves latex finishes more flexible and matte.
If you apply inflexible latex paint directly over rigid, glossy oil paint, the latex won’t be able to expand and contract with temperature changes. This can lead to cracking and peeling.
With proper preparation of the underlying surface though, a latex paint can adhere perfectly well to an oil-based paint.
Prep the Surface for Maximum Adhesion
Preparing an oil-based painted surface for painting requires abrading the surface to remove any gloss and provide texture for the new latex paint to cling to. This is typically done through sanding.
Sand Walls Thoroughly with 150 Grit Sandpaper
For best results, sand walls from top to bottom using 150 grit sandpaper. This roughens the surface more than lighter 100 grit paper, providing ideal traction for the new paint.
Apply moderate pressure and thoroughly sand the entire surface. Focus extra attention on any exceptionally slick or glossy areas. The goal is to scuff up and degloss the walls without removing large amounts of paint.
Be sure to wrap sandpaper around a sanding block when sanding flat areas. This ensures an even finish. For trim and corners, fold the sandpaper into a square rather than wrapping it.
Safely Sand Near Trim and Corners
Use a delicate touch when sanding near trim, corners, and edges. It’s easy to dig into the drywall mud or remove existing paint down to bare substrate if you aren’t careful.
For the top edges of walls near crown molding, simply fold the sandpaper and lightly sand up and down rather than in broad circular strokes. This prevents damaging the underlying mud.
For inside and outside corners, again fold the sandpaper and sand gently back and forth rather than around the corner. Go slowly to avoid exposure.
Apply a Primer Coat to the Sanded Surface
Once walls are deglossed and roughened up with sanding, it’s time to apply primer. Primers are essential when painting over oil-based paints for two reasons:
- They provide extra grip and adhesion for the new latex paint
- Primers seal off old oil paints to prevent bleed-through
Use an Oil-Based Primer Made for Covering Oil
For best results, choose an oil-based primer specifically designed for covering oil-based paints. These are formulated with extra binders and adhesion promoters.
Top choices include Zinsser Cover Stain and Kilz Original oil-based primers. Though both have strong solvent odors, they’ll outperform latex primers.
A Good Latex Primer Will Also Work
If you want to avoid the smell of oil-based primers, you can prime with a high quality latex primer instead. Good options include Zinsser Smart Prime and Kilz 2 latex.
Since latex primers lack the same solvents and binders as oil-based, sanding properly before priming becomes even more important for maximum adhesion.
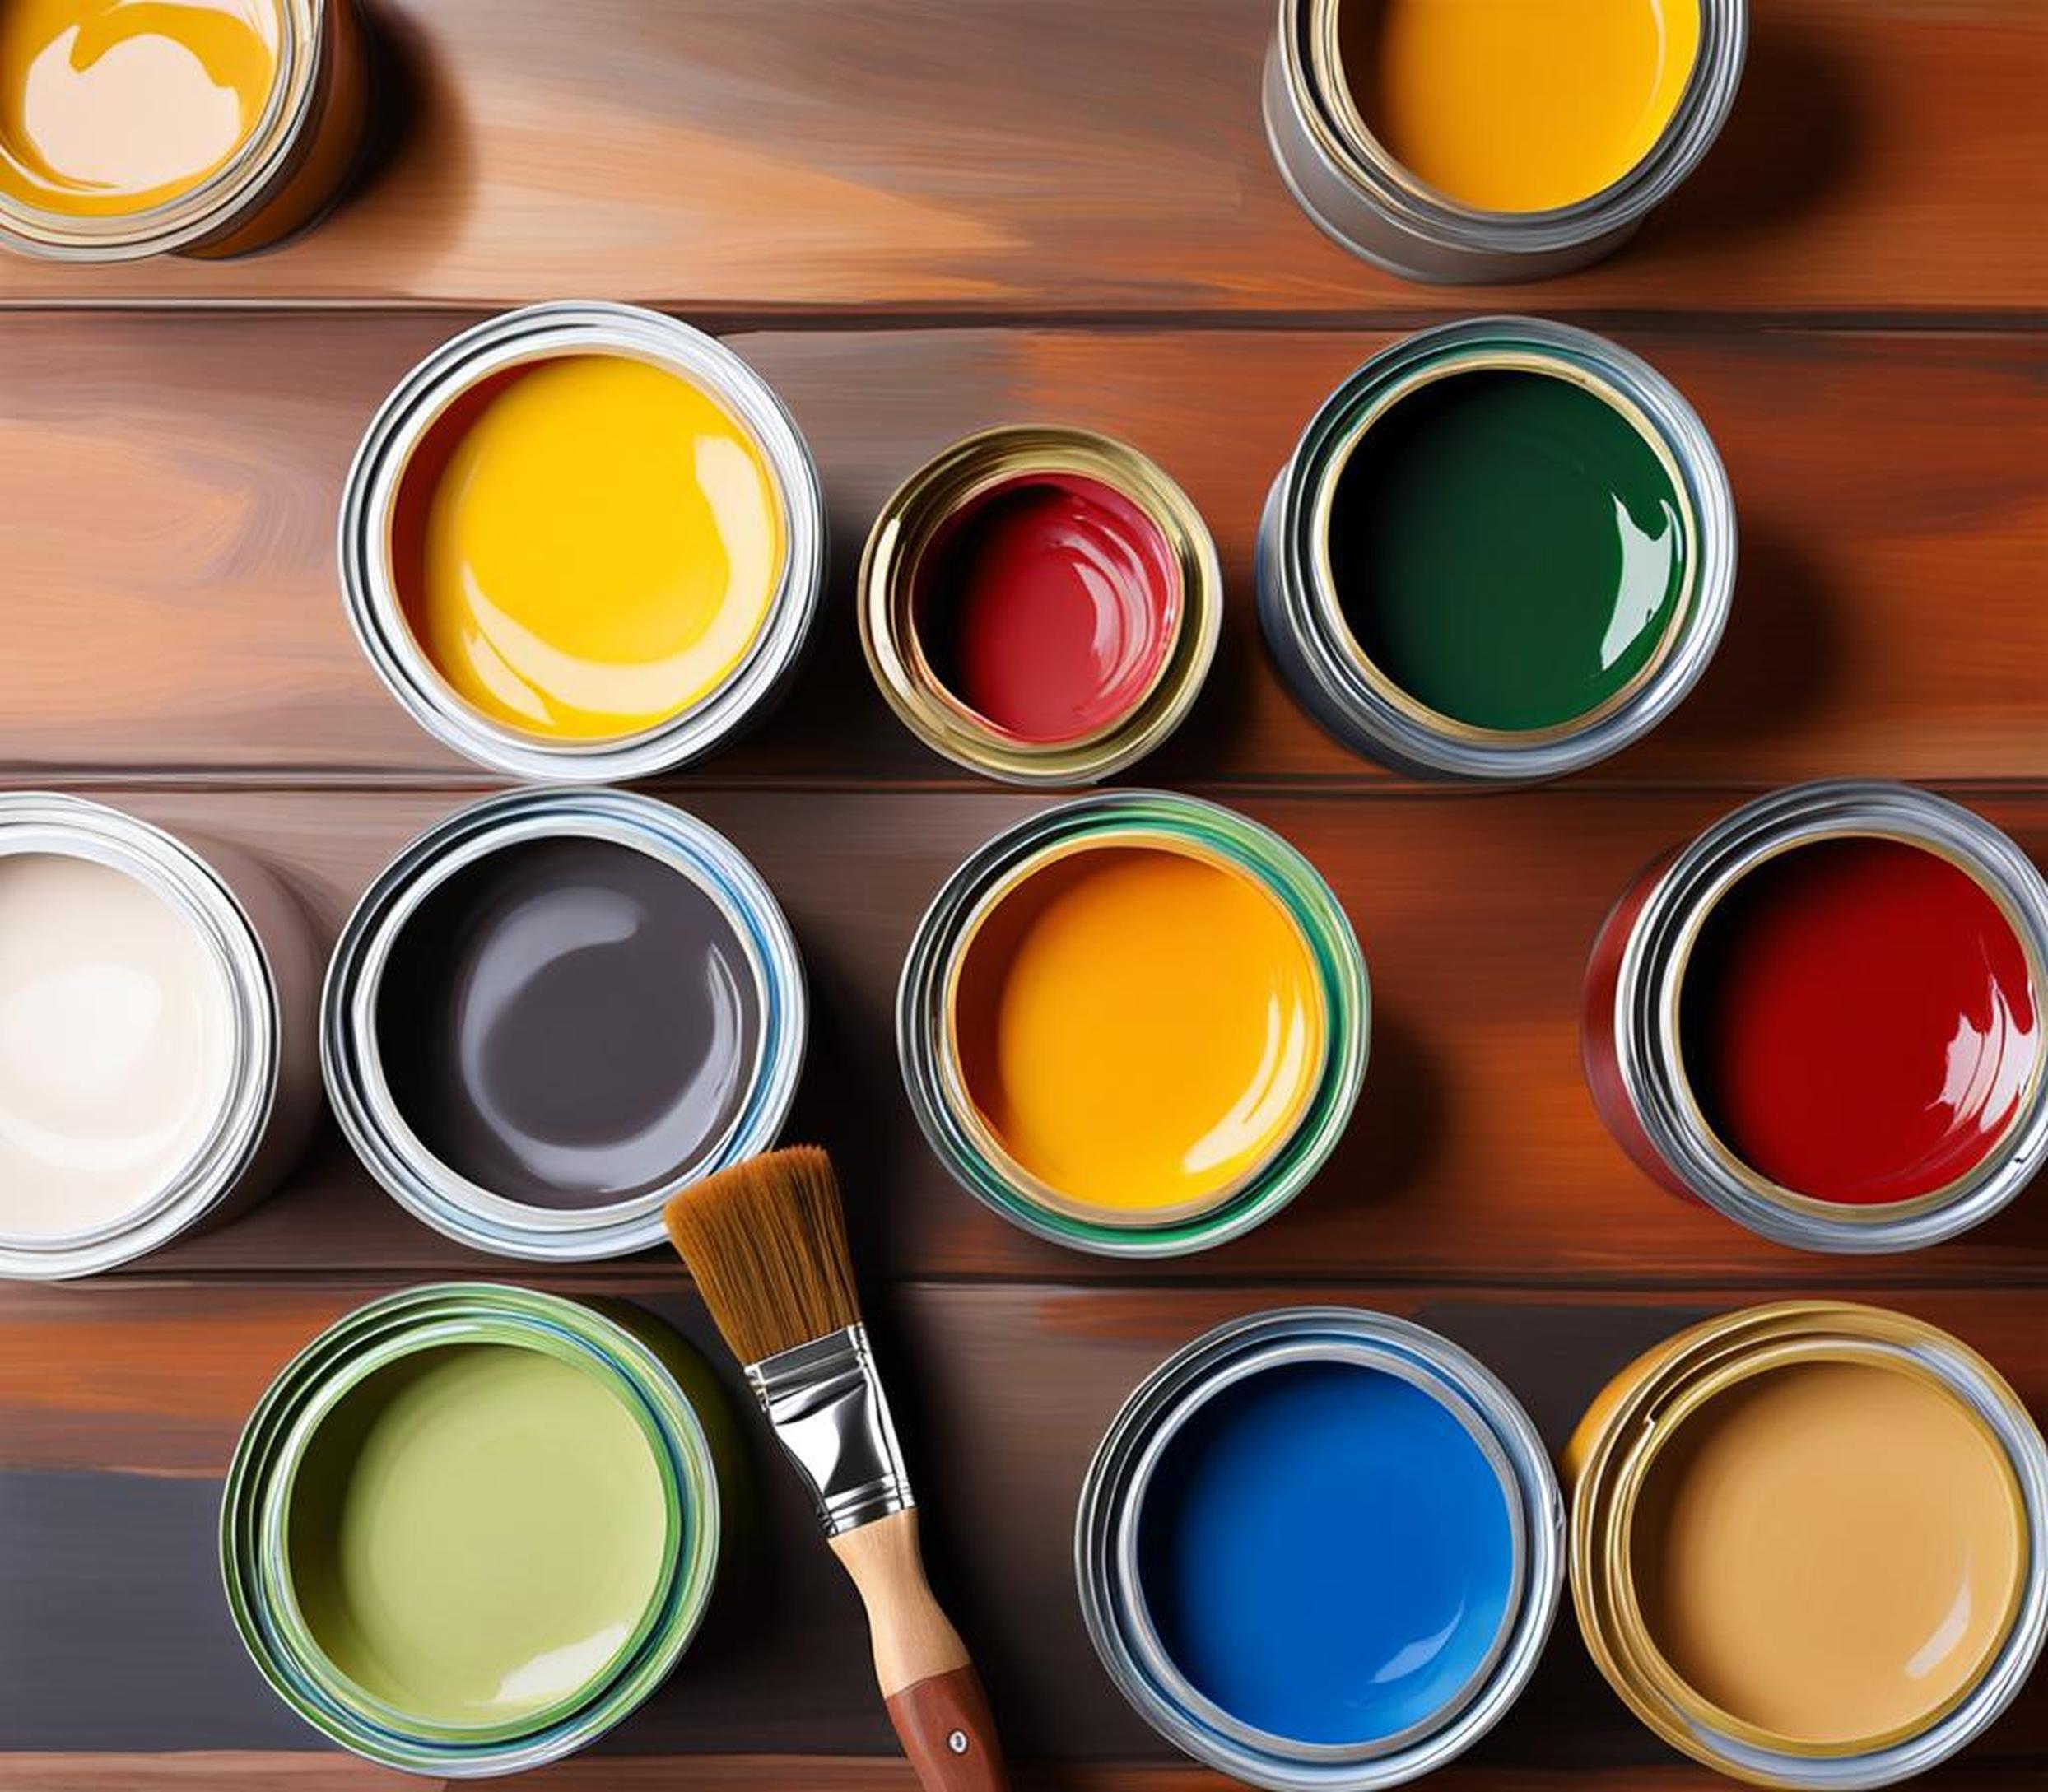
Choose Your New Latex Paint and Apply Correctly
Once your walls are primed and ready to go, it’s time to choose a durable latex paint to finish the job.
Opt for an Interior Latex Paint With Great Reviews
Look for top-rated interior latex paints from quality brands, avoiding any budget paint+primer combos. Behr Premium Plus, Sherwin-Williams SuperPaint, and Benjamin Moore Regal Select are all great choices.
An eggshell or satin finish will provide some sheen while still hiding imperfections. Stay away from flat or matte finishes, as these adhere less.
Use Proper Paint Application Techniques
When applying the new latex paint, be sure to maintain full coverage and proper film thickness by following a few guidelines:
- Apply in thin, even coats without stretching the paint too far.
- Maintain a wet edge to prevent lap marks by brushing from wet paint into dry areas.
- Allow proper drying time between coats as specified by the manufacturer.
Cut In Trim and Corners Carefully
Use a high quality angled paint brush to carefully cut in along baseboards, trim, and corners before rolling. Taking your time here ensures those edges will look crisp and clean.
If cutting in by hand is challenging, you can use painter’s tape instead. Apply tape along trim with the edge slightly above the area being painted. Remove tape promptly after painting before the latex paint has dried.
Consider Deglossers for Slick Surfaces
If sanding fails to properly degloss and roughen up an oil-based painted surface, liquid deglossers provide another option for preparing walls.
How Deglossers Work
Deglossers contain chemicals that etch into existing paint and pit the surface. This provides texture for the new paint to grip.
They are applied with a rag or brush, allowed to sit for 15 minutes, and then rinsed clean.
Tips for Successfully Using Deglossers
If sanding hasn’t properly dulled the surface, here are some tips for effectively using deglossers before repainting:
- Test first in an inconspicuous area to ensure they won’t damage existing paint.
- Apply an even coat following manufacturer’s directions.
- Allow paint to fully cure for 2 weeks before applying deglosser.
- Rinse thoroughly after treatment to remove all residue.
- Allow surface to fully dry before applying primer and new paint.
Prevent Peeling with Proper Drying Times
One of the most common mistakes when painting over oil-based paint leads to peeling of the fresh latex paint: not allowing proper drying times between coats.
Follow Manufacturer’s Recommended Dry Times
Be sure to follow the manufacturer’s instructions for recoat times printed on the paint can. Typically this is around 4-6 hours between coats.
Recoating too soon or before the underlying coat has cured can ruin adhesion and lead to peeling and chipping of the new paint.
Accelerate Drying in Cool, Humid Weather
If painting in cooler temperatures or humid weather, the paint may take longer to dry properly. Here are some tips to speed up drying if needed:
- Use fans to actively circulate air near the painted walls.
- Run a dehumidifier to reduce excess moisture in the air.
- Use a space heater to warm the room.
- Allow extra time between coats.
Finish With a Fresh Coat of Latex Paint
Once properly prepped, primed, and painted using the techniques we’ve covered, that fresh coat of latex will provide a uniform, consistent finish that should stay cleanly adhered to the oil-based surface for years.
Proper Prep Allows an Easy Paint Transition
Preparing oil-based painted walls for latex comes down to following three key steps:
- Degloss and rough up surface with sanding
- Apply suitable primer coat
- Allow proper drying time between paint coats
Check these three tasks off your list, and you’ll be able to effortlessly paint over that old oil-based paint without issues down the line.
Enjoy a Fresh, Consistent Looking Finish
With oil-based paint properly prepped, that final coat of quality latex will provide a revitalizing facelift for your walls. You’ll enjoy an updated, consistent finish free of old paint coming through or peeling up.
Share Your Before and After Photos
Seeing that dramatic visual transformation in before and after photos brings the entire process full circle. Be sure to share your oil to latex painting success story and photos online or with friends.
FAQs About Painting Over Oil-Based Paint
Does oil paint continue smelling after painted over?
While oil-based paints are known for their strong odor, once fully cured and coated over with latex paint, any lingering smells dissipate. Proper ventilation when applying new paint also helps.
How do I prep stained or damaged oil paint?
For stained or damaged areas, sand down to remove loose paint, spot prime with oil-based primer, then skim coat damaged sections with joint compound. Sand smooth when dry before painting.
Can I use TSP instead of sanding to prep for paint?
Sanding is really the best way to abrade and degloss walls prior to painting. TSP will clean walls but doesn’t provide the same etch and grip for paint adhesion.
Should I prime with oil or latex primer?
For best results over oil paint, an oil-based primer is recommended. However, a quality latex primer can also work well. Ensure proper sanding prior to priming.
Preparing oil-based painted walls properly for a transition to fresh latex paint ensures you’ll have a successful outcome free of flaking or peeling paint. Follow our tips to sand, prime, and paint using proper techniques.
With a bit of time and patience devoted to surface prep, painting over oil-based paint with latex can be accomplished seamlessly and beautifully. Take things slow and steady, allow all coats to fully cure, and you’ll be enjoying an updated space in no time.
For best results maintaining your new latex painted walls, clean only with mild soap and water. Avoid harsh abrasive cleaners. And touch up any nicks or scratches right away to prevent moisture penetration. We hope these tips help you effortlessly breathe new life into dated, oil-based painted walls.
