Painting crisp, straight lines between walls and ceilings can be tricky. Even experienced painters sometimes end up with messy, uneven edges that look amateurish. But with the right tools and technique, you can cut in sharp corners that would make a pro jealous.
In this step-by-step guide, we’ll share foolproof tips to help you paint perfect lines around ceilings every time. With a little practice and patience, you’ll be amazed at how straight you can get those edges.
Gather the Right Painting Supplies
Having the proper painting tools is essential for cutting super-sharp lines. Here’s what you’ll need:
- Angled sash or trim brush (2-3 inches wide)
- Paint roller (4-inch is optimal)
- Paint bucket with built-in screen
- Painter’s tape
- Semi-gloss paint
- Ladder
An angled brush is key, as the tapered bristles will allow you to precisely paint just up to the edge. Stay away from thick, square-edged brushes. A mini roller will enable you to quickly cover large wall sections without risking touching the ceiling.
Prep the Surface
Proper surface preparation is essential for achieving straight lines. Here are a few key steps:
- Fill any cracks or holes in the walls and sand down any bumps or rough patches.
- Clean the walls and ceilings thoroughly to remove grease, dirt and dust.
- Apply primer to unpainted drywall to improve paint adhesion.
- Use a level to ensure the wall and ceiling are perfectly vertical. Fix any unevenness.
Make sure you address any imperfections prior to painting. Uneven drywall or cracks will get accentuated and make it hard to paint nice straight lines.
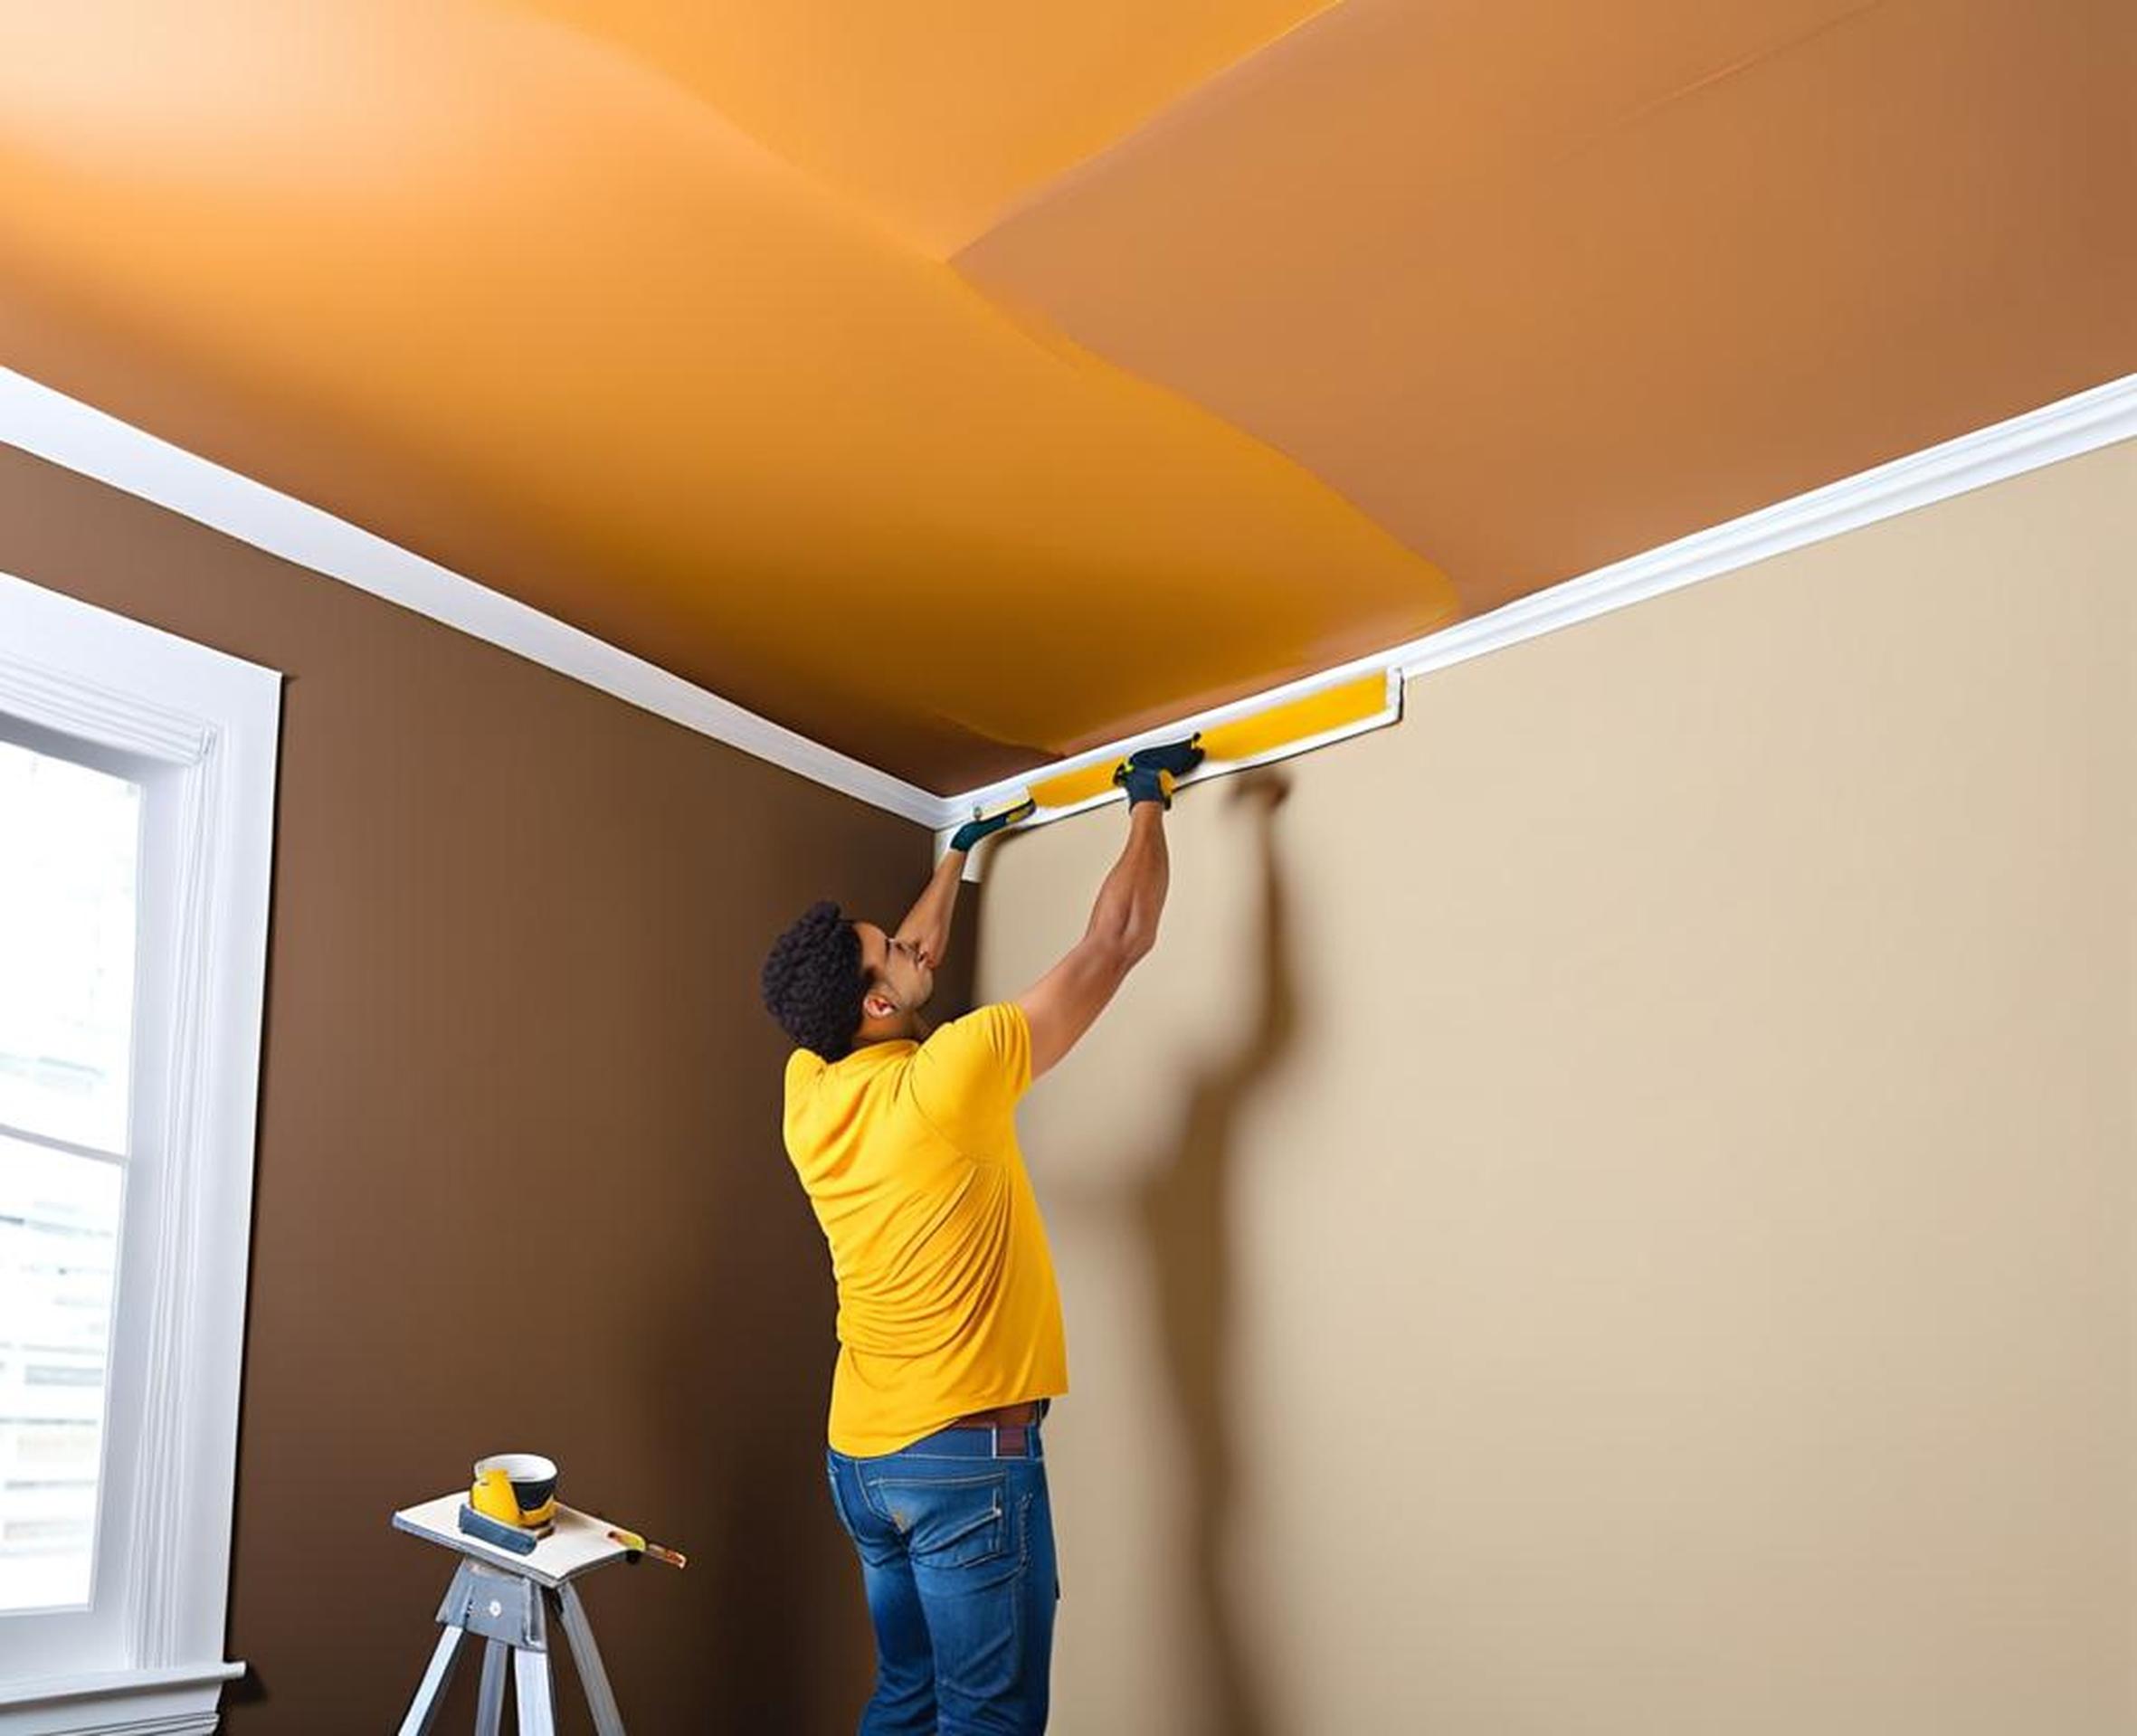
Tape Off the Ceiling
Painter’s tape is a lifesaver when cutting in straight lines. Here’s how to use it:
- Apply tape to the ceiling about 1/8 inch from the corner edge.
- Run the tape along the entire seam, pressing it firmly to create a tight seal.
- Cover baseboards, crown molding and trim with tape as well.
The tape will protect the ceiling from stray paint drips or runs. Make sure not to get too much wider than 1/8 inch or the tape may be visible after painting.
Cut In the Line With an Angled Brush
Now comes the tricky part–using an angled sash brush to cut in along the edge. Follow these steps:
- Dip the brush bristles about halfway into the paint and tap lightly against the side of the can to remove any excess.
- Press the brush firmly to the wall, positioning it about 3/4 to 1/2 inch from the corner edge.
- Keeping the brush at this angle, gently glide it along the entire length of the ceiling line allowing just the tapered tip to brush up against the tape.
The key is to keep the brush at the proper angle as you go. Let only the very ends of the bristles graze the edge for maximum control.
Roll Over the Brushstrokes
Once you’ve cut in the line with the trim brush, grab your mini paint roller to fill in the wall section:
- Load the roller with paint and apply it to the wall in sections, rolling up and down and then side to side.
- Smooth out the brushstrokes from cutting in, blending them into the rolled paint.
- Carefully roll right up to the edge without actually touching the roller to the ceiling.
The goal is to get uniform paint coverage while preserving that crisp line you brushed in. Backrolling after cutting in also helps minimize any imperfections.
Repeat Steps As Needed
For the best results, plan to go over the lines multiple times:
- Do a first coat of cutting in the lines and rolling the walls.
- Once dry, cut in the lines again going the opposite direction.
- Apply a second coat of wall paint.
The more patient and meticulous you are, the sharper your lines will be. Allow each coat to fully dry before adding the next.
Remove Tape and Touch Up
When the paint has dried completely, it’s time for the big reveal:
- Slowly peel away the painter’s tape from ceilings, corners and trim.
- Inspect the lines and use the angled brush to smooth out any slight imperfections.
- Look for drips or uneven sections and touch up with paint as needed.
Pulling up the tape slowly will reduce tearing or peeling up sections of paint. Touch ups will help you fix minor flaws.
Maintain the Straight Line
Once you have perfectly straight lines, take care to preserve their crisp edges:
- Use painter’s tape for future paint jobs around the trim.
- Avoid bumping walls or ceilings that could cause cracking along seams.
- Place furniture and art carefully to not scrape against edges.
Your sharp lines will stay looking neat and pro if you’re careful around all the corners and edges.
Painting straight lines between walls and ceilings is definitely a skill that takes practice. But with the right angled brush, proper taping techniques, and a few coats of paint, you can achieve results worthy of the pros. Just go slow and steady, and don’t rush through the steps. In time, cutting in crisp, flawless corners will be a breeze. With a little patience and our tips, you’ll amaze yourself at how accurate your lines can look.
