Transforming a basic kitchen into a showstopping space is easier than you may think. By installing crown molding, you can add a touch of sophistication that elevates the entire room. This decorative trim draws the eye up and beautifully frames cabinetry and counters. But choosing and properly installing crown molding involves some key considerations. Follow this complete guide for killer kitchen crown molding style.
With visual appeal, value boosting potential, and the power to polish off your kitchen design, it’s no wonder crown molding is surging in popularity. By understanding styles, prep work, precise cutting, and expert installation techniques, you can actualize your kitchen’s full potential with this transformative trim.
Choosing the Right Crown Molding Style for Your Kitchen
All crown molding will spruce up your cooking space, but some types make more of a style statement than others. The range of profiles, dimensions, and ornamental details lets you customize the look.
Types of Crown Molding Profiles
The profile refers to the cross-sectional shape of molding. Choose crown molding with a low, dramatic profile or an intricately carved design. Key types include:
- Stacked/multi-level: Has built-up, stepped layers for extra dimension.
- Minimalist: Clean lines and simple shape for contemporary appeal.
- Dentil: Distinct notched pattern inspired by Roman architectures.
- Beaded: Contoured, rounded edges for added visual interest.
- Roped: Twisting, curved design mimicking a rope.
- Contemporary: Modern, angular profiles with little ornamentation.
Factors When Selecting a Crown Molding Style
Nailing down the right look involves weighing several factors:
| Kitchen cabinet height & architecture | The shape and positioning of your existing cabinetry will influence crown choices for proper proportions and fit. |
| Desired aesthetic | Match the decorative trim to your preferred style from minimalist to ultra-ornate. |
| Complexity of installation | Opt for simpler profiles if DIYing the project with limited experience. |
| Budget | Intricately carved molding costs more than basic designs. |
Most Popular Options for Kitchens
Stacked crown molding stands as a perennial favorite in kitchens. The layered construction adds striking shadow lines. Its substantial presence elegantly highlights cabinet tops. For sleeker contemporary spaces, minimalist molding projects clean refinement. Or impart timeless traditional allure with the rhythmic pattern of beaded designs .
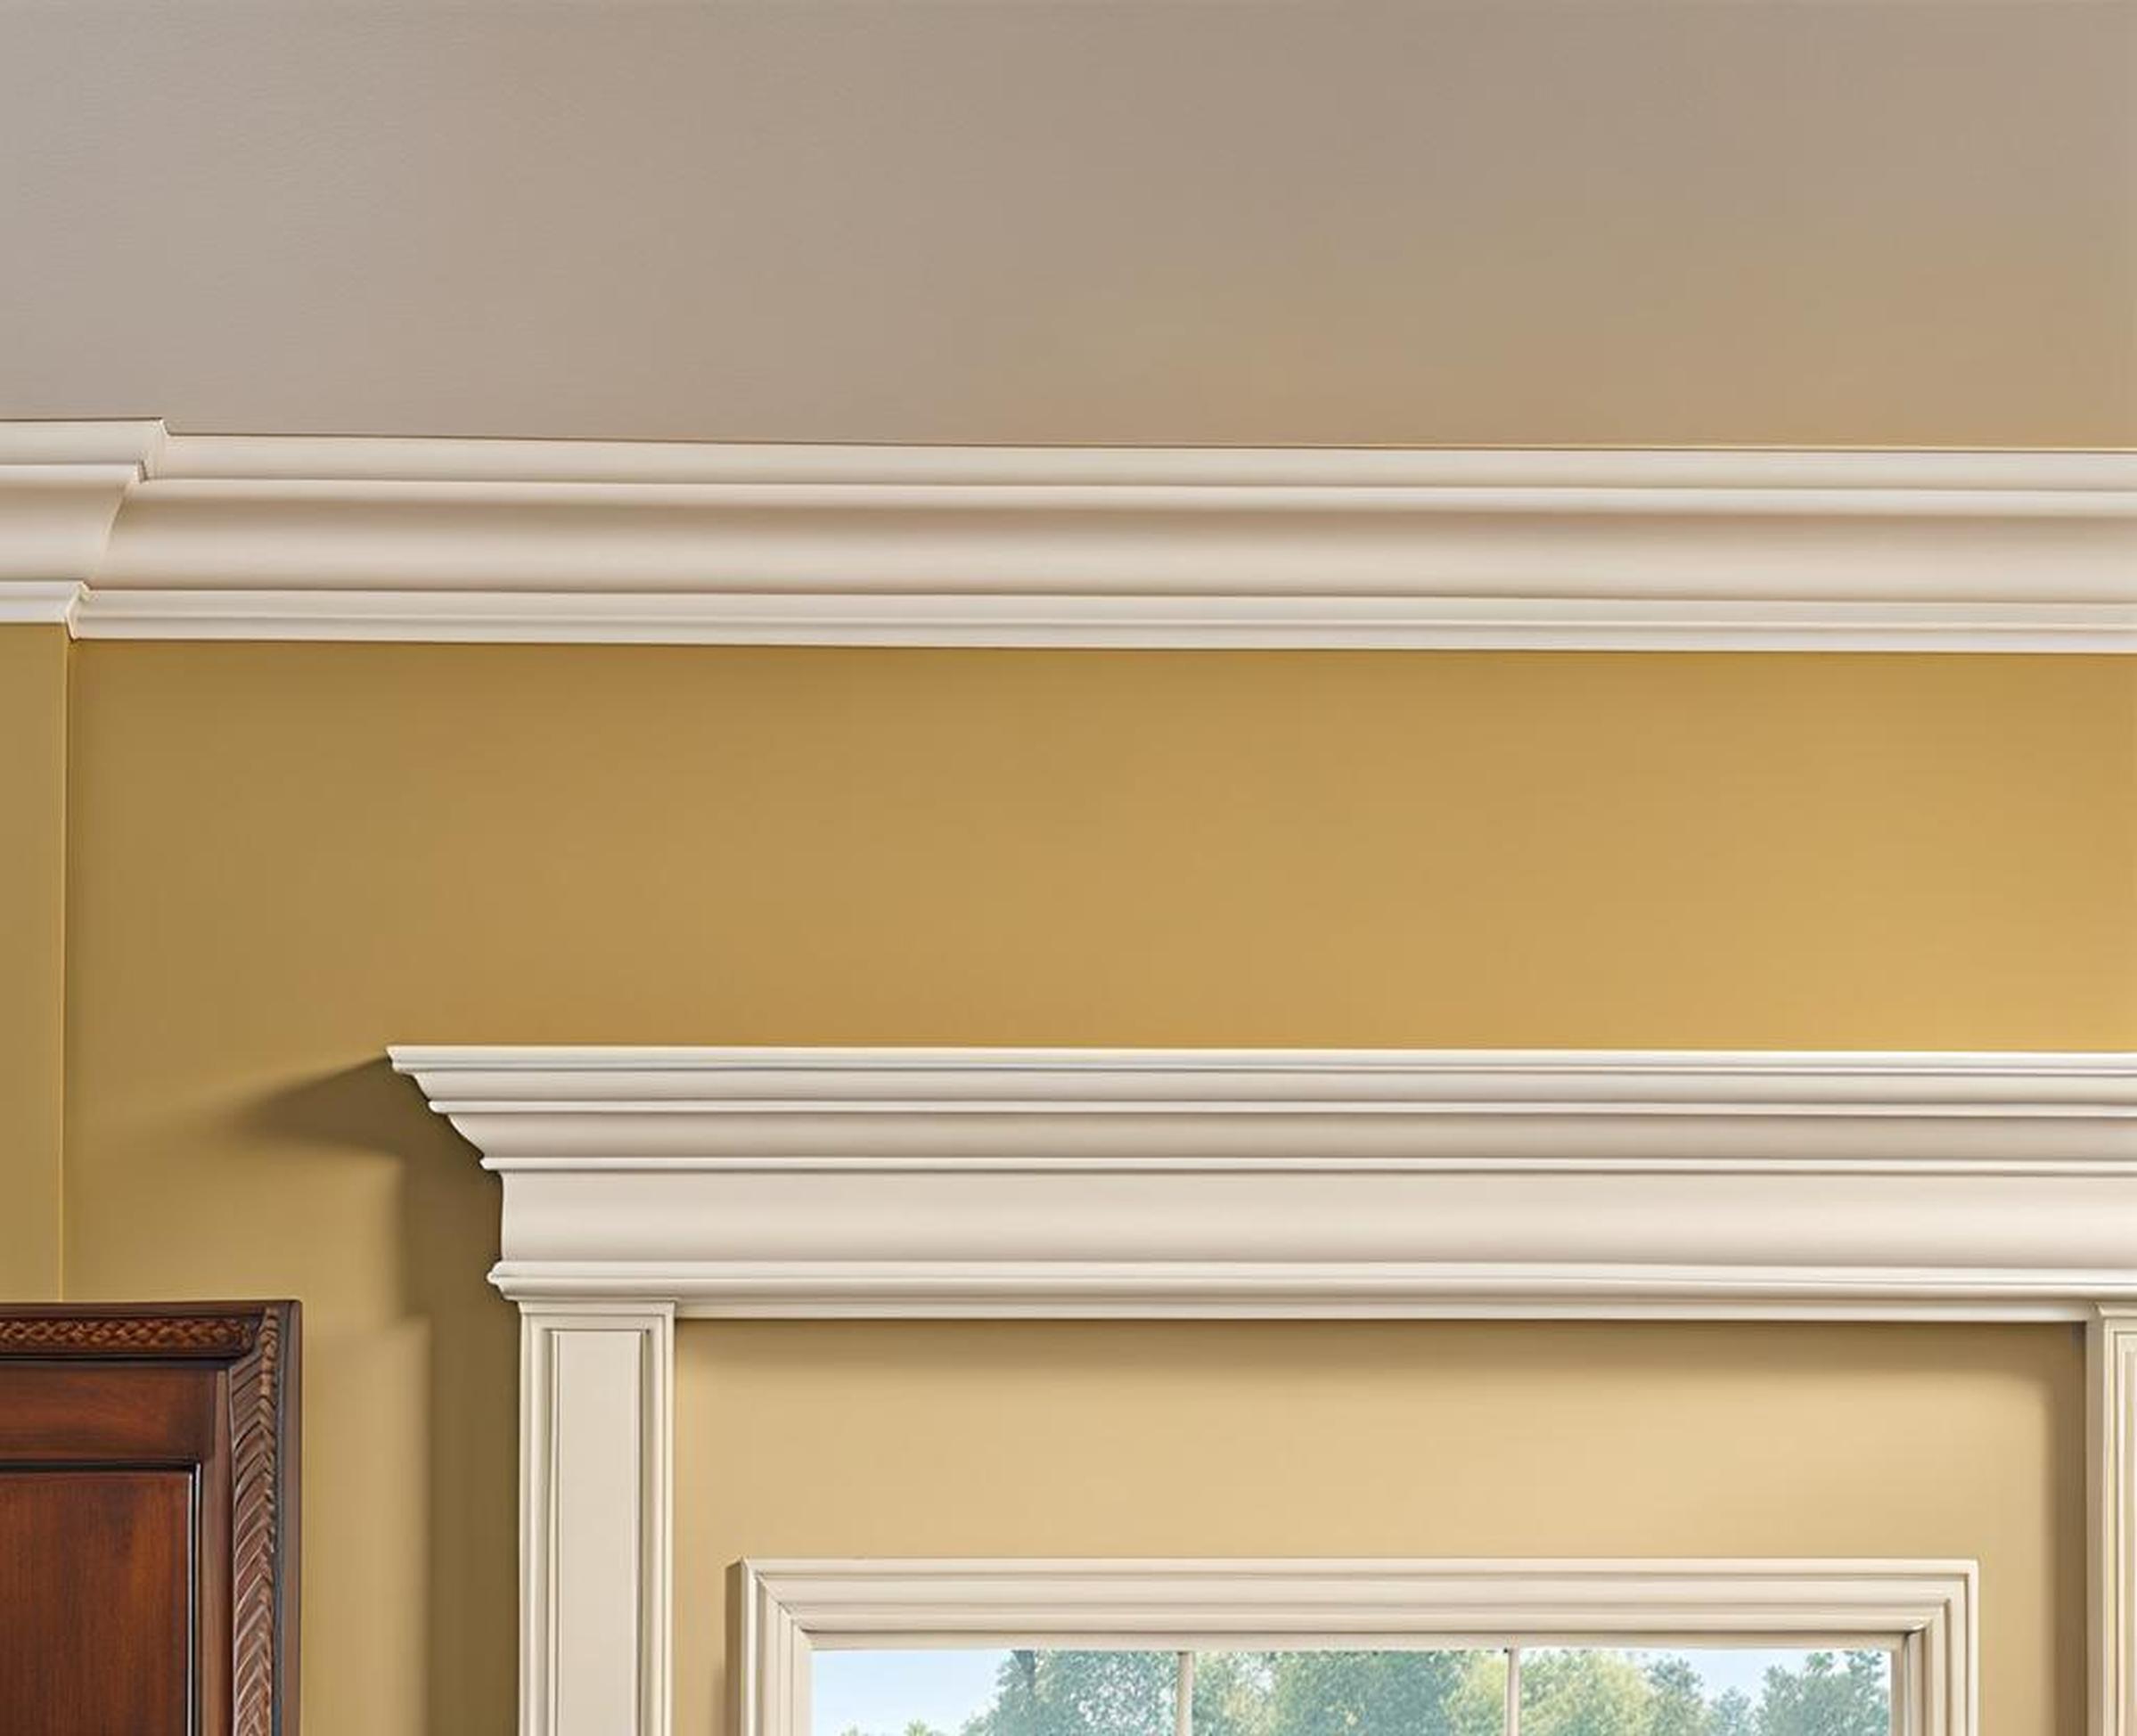
Using Two Contrasting Styles
Why choose one when you can have two? Blend crown profiles to make a dramatic style statement. Often, minimal moldings pair atop bolder stacked or roped options. The contrast not only adds visual intrigue but also beautifully delineates the ceiling and cabinetry planes.
Preparing Kitchen Cabinets for Crown Molding Installation
Before breaking out the power saw and glue gun, adequate prep work ensures an easy, flawless finish. Take time to carefully clean and assess your cabinets. Fix any imperfections in a quest for seamlessness.
Cleaning and Prep Work
Start by clearing and thoroughly cleaning cabinets to remove residue and debris. This prevents intefering with proper molding adhesion. Key steps include:
- Remove cabinet doors and drawers
- Clear all countertops
- Deep clean cabinet boxes, frames and sides to eliminate grease, dirt and grime
Checking for Uneven Surfaces and Gaps
Scan for defects along the cabinet tops and fill as needed. Misaligned corners, wavy stretches and wall gaps undermine the unity you want crown molding to achieve. Use fillers and shims to remedy imperfections before attaching molding.
- Caulk neatly fills cracks between cabinet and wall
- Wood putty levels uneven spots
- Shims tacked in place work for plumbing alignment issues
Install Mounting Blocks
For proper support, wood strips mount along the cabinet tops to nail the molding to. Options include:
- 1×2 scrap wood cut to fit cabinet perimeter
- Decorative cap blocks for more finished look
Secure blocks with wood glue and finish nails. This provides backing to firmly anchor molding anchors.
Cutting Crown Molding for Seamless Corners
Achieving perfectly mitered corners without awkward gaps tests DIYer’s skills. But understanding basic crown molding cutting principles helps tremendously.
Principles of Cutting Crown Molding
Unlike baseboard molding, crown molding must be cut with precise reverse bevel angles. This accommodate their spring angle – allowing the sides to align evenly against the ceiling and wall.
- Always measure and mark crown molding placements from the wall up
- Undercut just below the pencil line based on piece width
Using a Miter Saw
For clean, accurate cuts a miter saw works best. Tilt and angled adjustments let you dial in beveled edges.
- Set blade tilt to match crown molding spring angle
- Slowly lower blade while test cutting scrap pieces
- Check cut angle with digital angle finder
Cutting Outside Corners
These require two angled end cuts to form the corner point. Finding the right mitered angle takes a little math:
Wall Angle – Crown Molding Spring Angle = Outside Mitre Angle Cut
Most walls meet at 90 degrees. If using a 45 degree spring angle crown, cuts should be precisely 45 degrees.
Cutting Inside Corners
Instead of mitering, inside corners use coping cuts. This provides clean joints that flex slightly when installing. A coping foot jig attaches to miter saws guiding these specialty rounded cuts.
Installing Kitchen Crown Molding
With meticulously measured and cut pieces, installing crown molding involves carefully securing and aligning to flowing perfection.
Dry Fitting the Molding
Test fit all sections first without adhesive or anchors. Ensure properly cut corners align squarely and pieces fit snugly end-to-end. This prevents having to tweak already fixed sections. Check for:
- Corner seams closing cleanly
- Flush alignments along cabinet tops
- Proper length stretches reaching exact endpoints
Securing with Adhesive & Nails
Construction adhesive offers incredibly strong bonding power. Nails provide added fastening support. Work methodically around the kitchen perimeter fastening in this sequence:
- Run a bead of adhesive along the backside and mounting blocks
- Align crown section in place, then tack nails every 16 inches
- Set nails slightly below surface to hide
- Fill holes and finish off top coat
Finishing Kitchen Crown Molding
Once fully secured, address any minor gaps with paintable caulk. Finish off your handiwork by prepping and protecting the fresh molding. Key final steps:
- Sand crown lightly prior to painting or staining
- Apply protective sealer for easier cleaning
- Consider glass casing trim atop for rounded look
Maintaining Kitchen Crown Molding
Preserve the splendor with proper care. Dust buildup and splatters dull the aesthetic appeal. Stay on top of routine cleaning.
Regular Dusting and Cleaning
- Use soft brush attachment on vacuum for dusting
- Damp mopping also clears away grime
Crown Molding Repair Tips
Accidents happen. Chip repairs often involve patching, sanding smoothing, and matching paint touch ups. Badly damaged sections may need replacing. Consult professionals for structural repairs or large affected areas.
When to Call a Professional
While minor upkeep falls within DIY capabilities, extensive damage or removals warrant an expert. Hire pros for:
- Major patching/replacements
- Retrofitting crown installations
- Removal help without wall damage
The elegance of crown molding graces luxury homes and palaces for good reason. This ornamental trim imparts adecorator touch with little effort. Choosing the optimal style, properly prepping your kitchen, and executing specialty cutting techniques positions you for stunning results.
By following this complete crown molding guide, you can actualize breathtaking kitchen style. So ditch the boring and unleash this refined trim’s incredible potential.
