Adding a splash of color to the exterior corners of your home with painted decorative moldings is an easy and budget-friendly way to customize the look of your property. Vibrant paint allows you to highlight this often forgotten architectural detail, protect vulnerable corners, and give your curb appeal a major boost.
From selecting corner molding materials and hues, proper surface prep and application tips, all the way to style inspiration to ignite your creativity – let’s get started!
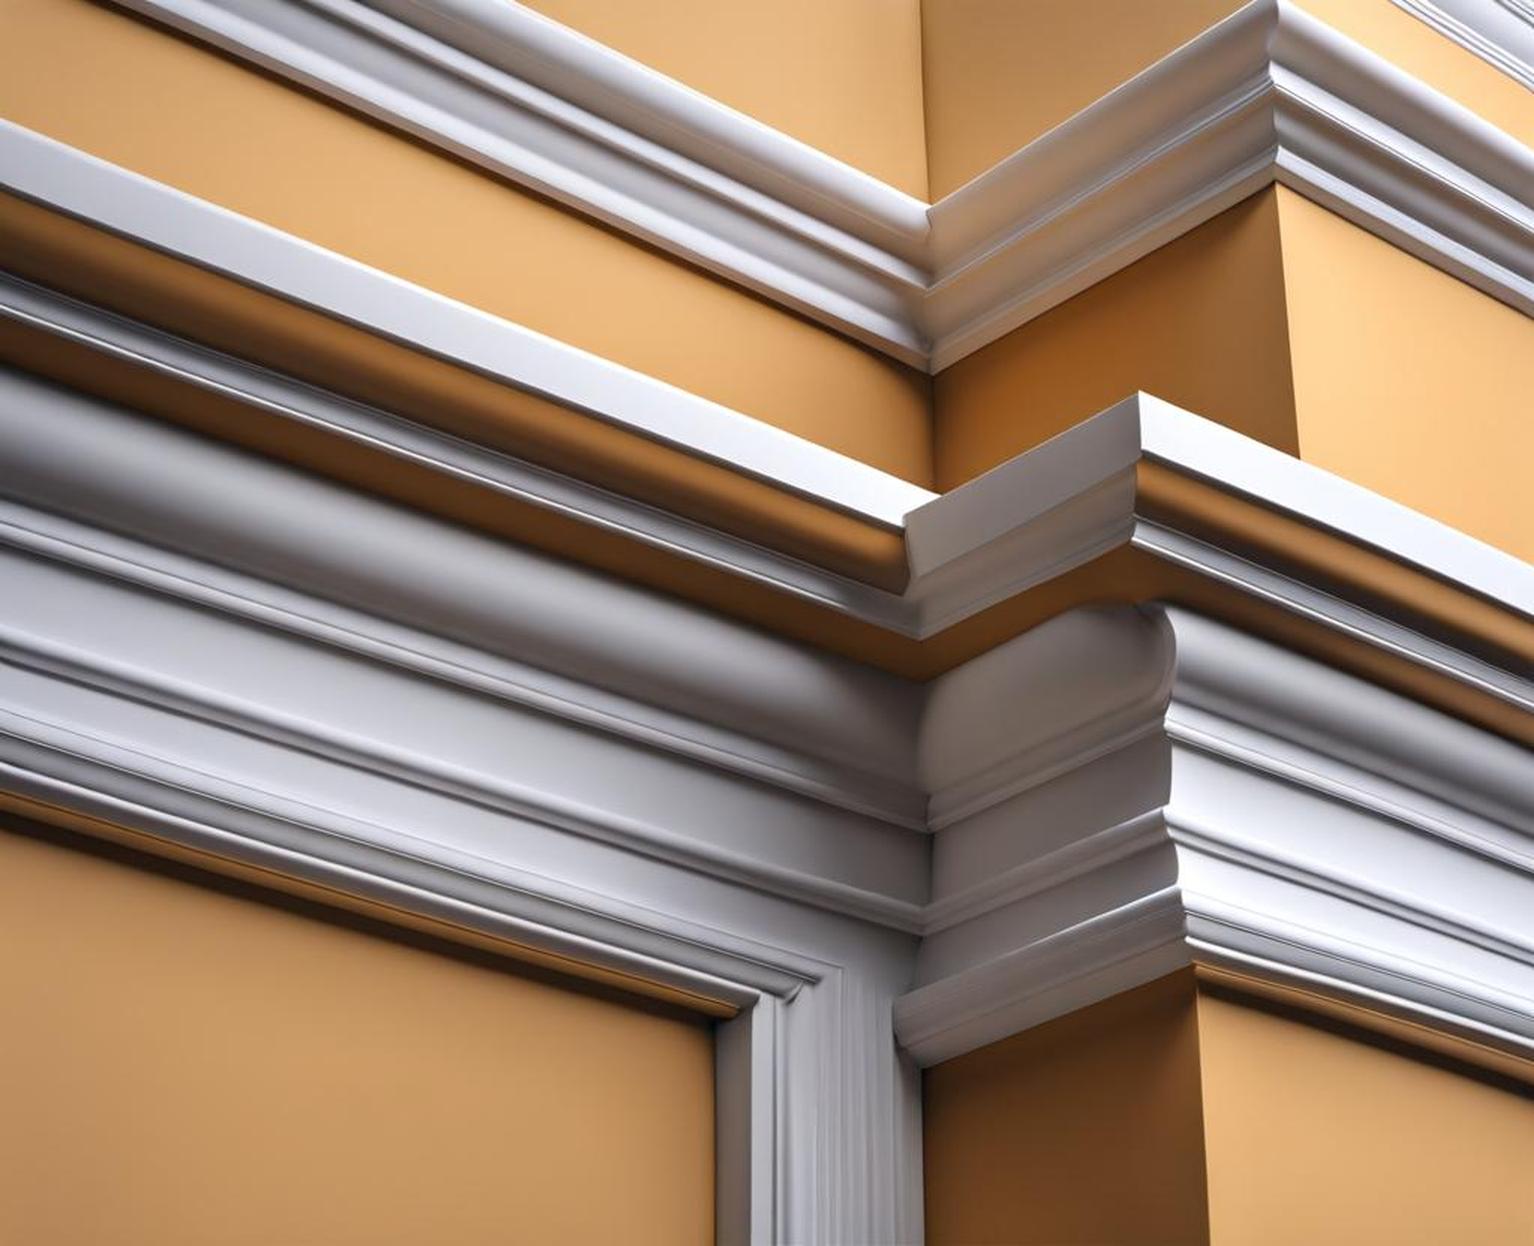
Why Paint Decorative Outside Corner Moldings?
Before jumping into the nitty gritty details, you may be wondering why add a coat of paint to the outside corners of your home? Here are some of the benefits:
Adds Color and Personalization to Exterior Home Trim
Paint allows you to customize the color scheme beyond your siding, front door, or accent exterior shutters. Brightly painted corner boards and trim offer contrast and details often missing on blank exterior walls and boxy architecture.
Allows Customization on a Budget
A fresh coat of exterior paint is very affordable compared to replacing existing trim with new materials. Take advantage of paint’s transformative qualities for maximum impact and curb appeal at a minimal cost.
Quick Way to Update Curb Appeal
Replacing all of your home’s exterior trim or siding is extremely labor intensive. Painting just the corners and trim details packs visual punch without a major renovation project.
Protects Vulnerable Corners while Decorating
Paint adds a protective barrier over outside corners, which often bear the brunt of weathering from rain, snow and sun exposure. Adding paint maintenance to your exterior also ensures decay detection.
Planning Your Painted Outside Corner Molding Project
Proper planning is key to achieving success with any exterior paint project. For painted outside corner moldings, start by considering the following:
Selecting Materials
What are your existing outside corners and edges made of? Common exterior building trims include:
- PVC
- Wood (cedar, redwood)
- Foam
- Metal (aluminum, steel)
Each material has pros and cons when it comes to holding exterior paints. PVC and aluminum trim won’t require priming before painting and offer the most weather-resistance.
On the other hand, real wood trims accept paint beautifully but require more maintenance to keep looking pristine in outdoor conditions.
Take inventory of current materials – are you looking to match or make existing trims pop with a contrasting color?
Choosing Paint Colors
Accessorizing with the same exterior house colors is always a safe choice for harmony. However, don’t be afraid to get creative with painted corner molding colors to really make them stand out!
Some ideas that work beautifully:
- Match outdoor patio and furniture colors
- Complementary color schemes
- Vibrant contrasting trims for modern flair
Pay attention to sheens too – flat or matte finishes hide imperfections in materials best if your goal is strictly protection. Meanwhile, gloss and semi-gloss enamels ensure vibrancy and easier cleaning for wood trims.
Gather Supplies
Before starting work, gather all the necessary supplies for a smooth painted corner molding project:
- Exterior paint (durable latex or oil-based)
- Primer
- Paint brushes & mini rollers
- Drop cloths
- Painters tape
- Sandpaper
- Cleaning solutions
Preparing Moldings for Paint
Proper prep work ensures painted finishes stand the test of time after all your hard work. Follow these key steps:
Cleaning Surface
Start by thoroughly cleaning corner molding surfaces of all dirt, grime, cobwebs and other debris. This allows for optimal paint adhesion.
Take special care to remove any loose, flaking or peeling existing paint through sanding, scraping or use of chemical strippers if necessary.
Also remove any oil, grease or wax residues with dedicated cleaning solutions until the surface is free of contaminants.
Sanding & Smoothening
For the best painted finish, it’s important to lightly sand and smoothen existing trim. This “roughs up” the surface for better paint adhesion.
Try to sand smooth any raised grain, textures or imperfections. Use wood filler to patch any holes or gaps for a flawless look.
Priming the Surface
Proper priming creates an essential barrier between existing trim and fresh paint. Not only does primer improve adhesion, but it also evens out differences in surface porosity.
For example, bare wood accepts primer and paint differently than PVC or metal. So primer helps standardize and seal the surface.
Be sure to choose the right primer for your corner molding’s material too. Oil-based primers work well for exterior wood applications. Meanwhile PVC may only need a light sanding before painting.
Allow thorough drying between coats as recommended by the manufacturer. The end goal is a unified surface for the paint finish to cling to.
Paint Techniques & Tips
Once your moldings are prepped, it’s time to stir that creativity and apply beautiful, protective paint!
Brushing vs Rolling
For cutting-in and painting decorative details of your corner molding, angled trim brushes are perfect. Their stiff bristles hug profiles and crevices nicely.
wider surfaces and recessed panels, opt for mini foam rollers to quickly apply paint without visible brush strokes.
Number of Paint Coats
Regardless of application method, apply a minimum of 2 coats of paint for full, vibrant coverage. If changing colors drastically or deep tones, an extra coat may be needed.
Be sure to lightly sand paint between coats to remove any debris or texture. This allows each fresh coat to bond tightly.
Maintaining Crisp Paint Lines
For color-blocking or painting just the exterior corner boundary, maintain perfect lines with these tips:
- Use painter’s tape to protect adjacent surfaces
- Carefully cut-in edges with a trim brush
Work methodically for the straightest, razor-sharp painted lines on corner moldings.
Protecting & Maintaining Painted Trim
Unfortunately the work doesn’t end when the last coat dries. Follow these maintenance tips to keep your painted outside corner moldings looking like new:
Clear Protective Topcoats
For wood trims or vibrant paint colors, add longevity by applying 1-2 protective clear coats over painted finishes. Consider:
- Exterior-grade polyurethane (oil or water-based)
- Clear enamel paints
These clear topcoat paints and varnishes protect the hues underneath from sun exposure and prevent premature cracking, chipping or peeling.
Cleaning Painted Moldings
Gently wash painted outside corners with warm, soapy water to remove pollen, dirt and mildew. Avoid harsh chemicals or pressure washing.
Catch paint flaws early and do spot touch-ups to prevent more extensive damage long-term.
Inspiring Examples of Painted Outside Corner Moldings
Still unsure how to implement painted trims on your home’s exterior? Here are some gorgeous examples and ideas to inspire:
Coordinate with a Bright Front Door
Paint your front door a vibrant, welcoming color then match outside corner boards in the same shade. This color connects two high-visibility areas into an eye-catching statement.
Paint Wide Exterior Foam Trim in Contrasting Color
For contemporary homes, paint thick foam trims that outline rooflines and windows in a bold contrasting color against neutral siding. Try vibrant red or cobalt blue for ultra-modern pop.
On plain exterior walls, use paint to “draw” the look of exterior brick, stacked stone or tile. This dimensional detail jazzes up outside corners affordably.
Get creative with painted outside corner moldings – the possibilities are endless! Properly prepped surfaces allow paint to work wonders and exterior corners to finally get their time to shine.
