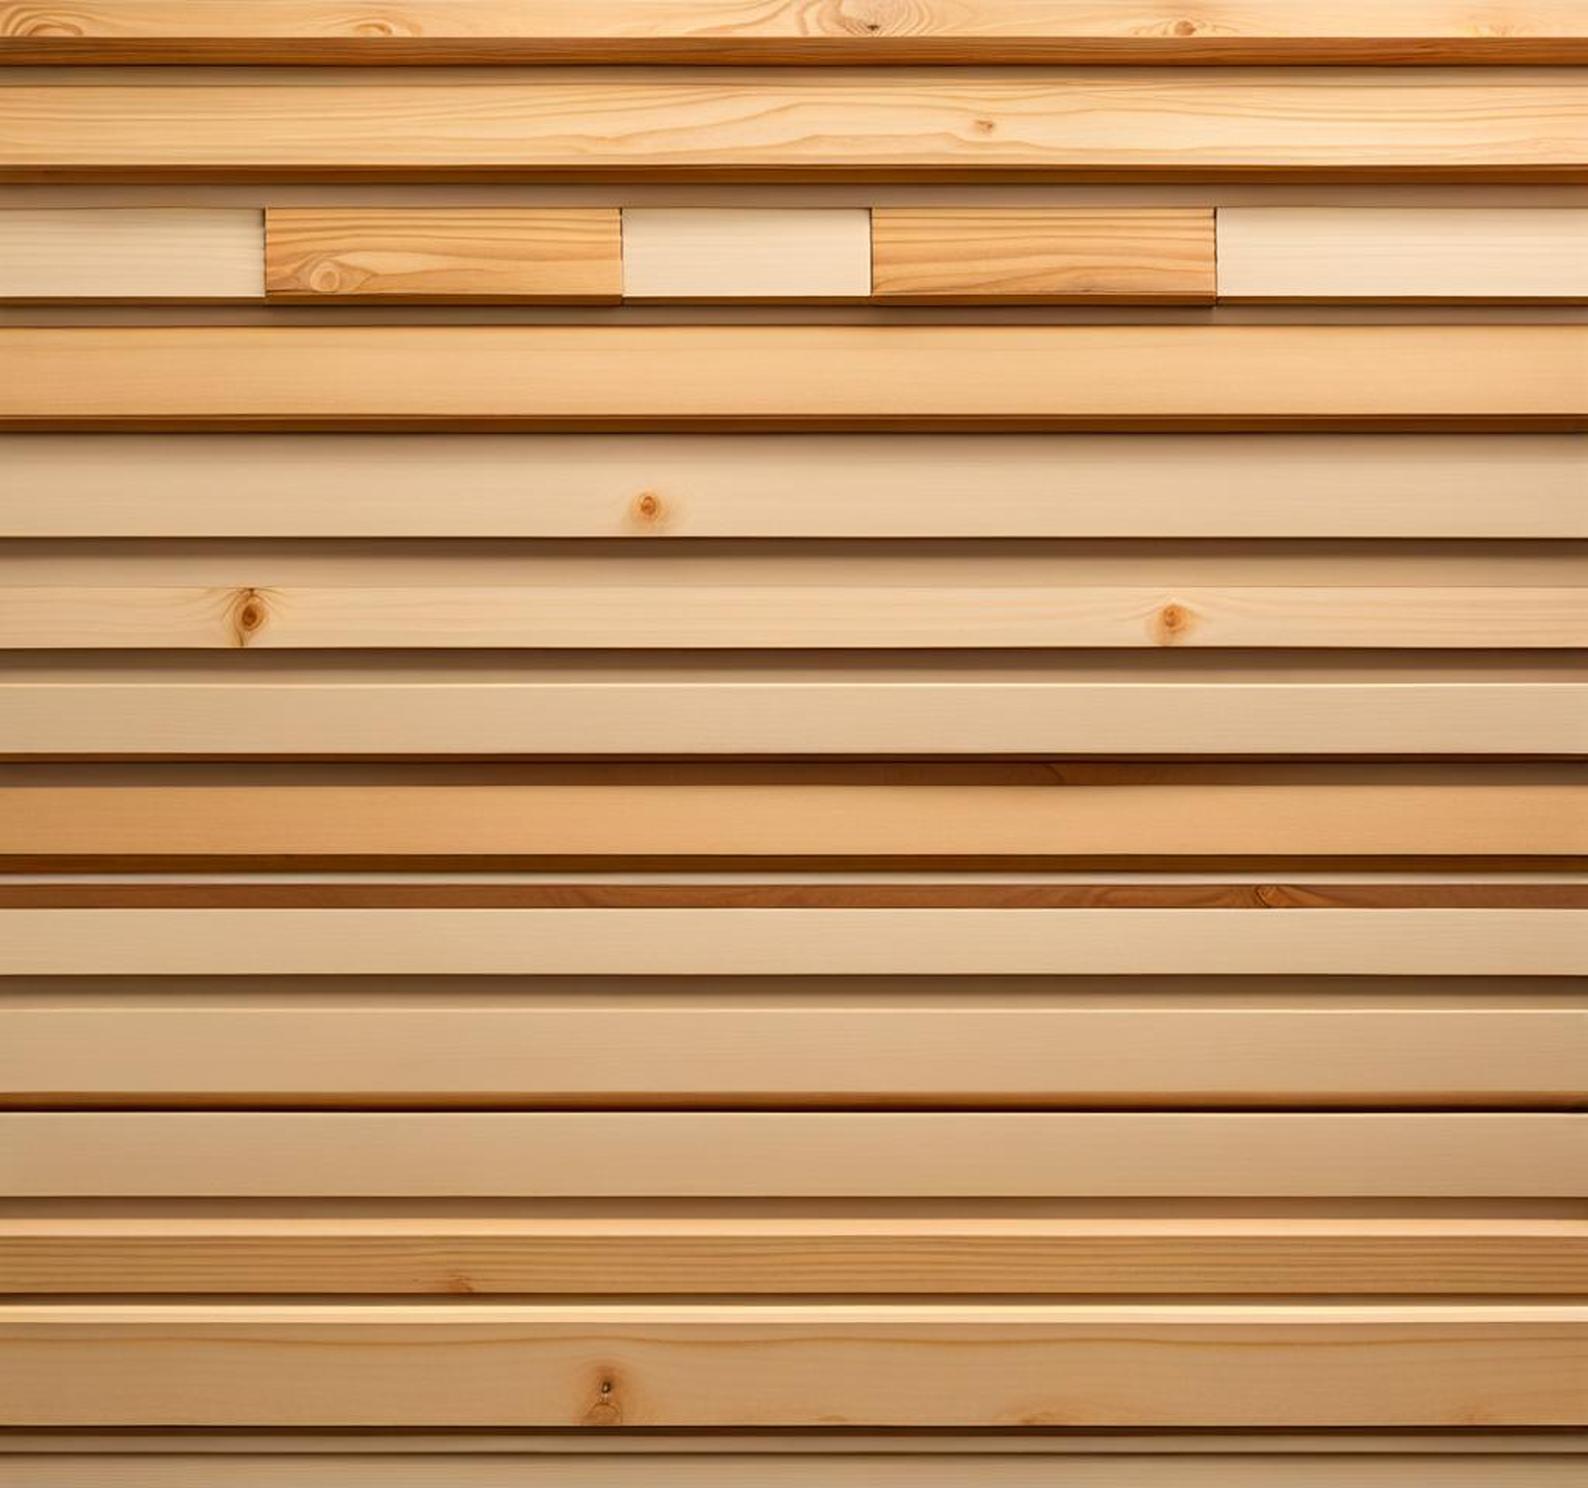
A headboard is a focal point in any bedroom. But buying a high-end designer headboard can cost a small fortune. Why splurge on a store-bought headboard when you can make a chic, contemporary-style headboard yourself with simple wood slats? In this easy DIY tutorial, we’ll walk you through how to build a beautiful wooden slat headboard that looks way more expensive than it actually is. With some basic woodworking skills and a few affordable supplies from the home improvement store, you can build a stunning, customized headboard to transform your bedroom.
Constructing your own wooden slat headboard allows you to pick the exact size, wood type, and finish. Follow this beginner-friendly project to create a headboard exactly suited to your personal style for a fraction of the price of buying one pre-made. Let’s get started designing your dream bedroom centerpiece!
Things You’ll Need to Make a DIY Headboard
Tools
Just a few basic tools are needed for this easy woodworking project:
- Drill with drill bits
- Kreg jig – pocket hole tool
- Miter saw or circular saw
- Measuring tape
- 4 ft. level
- Random orbit sander
- 120 and 220 grit sandpaper
Materials
For materials, you’ll need:
- 1×3 common boards for frame (pine or poplar work well)
- 1×2 common boards for slats (pine is an economical choice)
- Pocket hole screws
- Wood glue
- Wood filler (optional)
- Stain, paint, or polyurethane finish of your choice (optional)
Having all tools and materials prepared ahead of time will make the building process smooth and efficient.
Step-by-Step Instructions for Building a DIY Headboard
Follow these step-by-step instructions to construct a wooden slat headboard for your bedroom:
Building the Frame
The frame provides the base structure and support for the slats. Here’s how to assemble it:
- Determine desired dimensions for the headboard frame. Standard sizes range from a small 30″ wide by 24″ tall, up to 96″ wide for a statement piece behind a king-sized bed.
- Cut four 1×3 boards to the headboard width and height per your measurements.
- Set pocket hole jig for 1 1/2″ boards and drill pocket holes every few inches along one edge of each frame board.
- Apply wood glue to ends of boards. Attach side boards to top and bottom boards using pocket hole screws, creating a rectangular frame. Check corners for square.
- Add wooden support cleats to the back of frame to reinforce joints if desired.
Attaching the Slats
Slats give the headboard its distinctive visual appeal. Follow these steps for installation:
- Determine slat size based on frame dimensions. Cut 1×2 boards into slats ranging from 3-5 inches wide.
- Lay slats vertically across back of frame, spacing evenly apart. Use small scrap boards as spacers to leave a consistent gap between each slat.
- Attach slats by applying wood glue and securing with 1″ brad nails. Nail through the frame into each end of the slats.
- Once all slats are secured, remove temporary spacer boards.
Sanding and Applying Finish
The finishing touches involve sanding and adding stain, paint, or polyurethane:
- Sand entire headboard smooth, first with 120 grit then 220 grit sandpaper.
- Wipe away all dust with a dry cloth.
- Apply your choice of finish – stain, paint, or polyurethane. Follow manufacturer’s instructions for application and drying time.
- Consider using different finishes on the frame vs. slats for visual contrast.
Installing the Headboard
Lastly, mount your DIY headboard securely to studs in the wall or to your bed frame:
- Locate and mark the wall studs behind where the headboard will be positioned.
- Center and level the headboard on marks. Drill pilot holes through the back frame into the studs.
- Use lag screws to firmly attach the headboard to wall studs.
- For added strength, apply wood glue between frame and wall before screwing into place.
Note: If your bed has a metal frame, you can use L-brackets to attach the headboard securely to the bed legs or side rails instead of directly to the wall.
Design Inspiration and Ideas for DIY Headboards
The simple wooden slat design serves as a blank canvas for all kinds of creative spins. Consider these ideas to make your DIY headboard one-of-a-kind:
Use Different Wood Types
Hardwoods like oak, walnut, or mahogany can provide a rich, upscale look. Cedar has a pleasing aromatic scent. Or use pine for an affordable option that stains well.
Add Color with Stain, Paint, or Mixed Finishes
Apply bold colored paint or stain to add drama. Try using complementary colors on the frame vs. slats. Mixed media finishes (e.g. painted frame with natural stained slats) also look great.
Incorporate Reclaimed Wood
For a rustic, vintage style, use reclaimed barn wood. Each slat will have its own unique charm and patina.
Distress the Wood
Aging and distressing techniques (e.g. rasping edges or applying white wash) give the wood an antiqued, timeworn look popular in farmhouse decor.
Get Creative with Slat Patterns and Shapes
Vary the spacing between slats, add wider accent slats, or arrange them in fun geometric patterns. Cut slats into curvy or angular shapes for extra flair.
Incorporate Lighting
Install LED strip lighting behind the slats to create a soft glow. Or add sconces or reading lamps onto the headboard frame.
Add Shelves or Box Frames
Attach floating shelves to the top or sides of the headboard for displaying cherished items. Frame out open cubbies for extra storage space.
The simplicity of the wooden slat headboard allows for all kinds of customization. Apply your unique style by getting creative with the wood, color, arrangement, and added features. Have fun designing a personalized headboard that reflects your tastes!
FAQ – Frequently Asked Questions
Here are answers to some common questions about building a DIY wooden slat headboard:
What if my wall doesn’t have studs to mount the headboard to?
You can use hollow wall anchors if your wall is solid drywall without studs. Another option is attaching the headboard securely to your bed frame.
How do I attach the headboard to my bed frame instead of the wall?
Use right-angle corner braces or L-brackets to connect the headboard legs to your bed frame. Secure them with screws drilled into the bed legs or side rails.
What if I don’t have all the power tools – can I still make this project work?
Yes! You can use a handheld circular saw or jigsaw for cutting the wood. And a driller/driver can substitute for a drill. Sanding can be done by hand instead of a power sander.
What type of wood is best to use for the slats?
Pine is an economical choice that stains beautifully. Cedar and redwood are naturally weather-resistant. Oak or poplar are hardwoods that take paint well.
Any tips for cutting costs and finding cheaper materials?
Check for lumber yard closeouts or the discount rack at home centers for wood. Reuse salvaged wood when possible. Size down the headboard or use thinner 1×2 slats to use less materials.
As you can see, a DIY wooden slat headboard is an easy, budget-friendly project that can completely transform the look and style of your bedroom. The simple contemporary design highlighted in this tutorial allows for endless customization to match your personal taste. With a Saturday afternoon and some basic DIY skills, you can build a designer-quality headboard tailored exactly to your space without the high price tag. We hope this guide has inspired you to create your own beautiful, one-of-a-kind focal point for your bedroom. Happy building!
