Is your kitchen backsplash looking a little lackluster? Instead of going through the hassle and expense of replacing it entirely, consider giving it new life with a simple coat of paint. Painting your existing backsplash is an easy, budget-friendly way to instantly transform the look of your kitchen.
Paint allows you to customize your backsplash and make it truly unique by choosing fun, bold colors that reflect your personal taste. It also provides an instant facelift for a dated or tired backsplash, making your kitchen look fresh and modern again. Read on for reasons why you should tackle this do-it-yourself backsplash makeover along with tips for selecting paint and supplies, prepping your tiles, and achieving the best finished results.
Reasons to Paint Your Backsplash
Update the Look of Your Kitchen
One of the best aspects of painting a backsplash is that it allows you to easily change the color scheme and style of your kitchen. Are you bored of looking at the same white subway tile backsplash day after day? Paint allows creativity in choosing completely new colors to give your kitchen an exciting updated look.
A new coat of vibrant, on-trend paint can provide an instant facelift for a dated, tired backsplash in an older kitchen. Painting over that astronaut-themed 1980s splashback or your aunt’s country kitsch rooster tiles with a modern gray hue can make the space appear lightyears more stylish and sophisticated.
Customizing your backsplash with paint also allows you to match it to your own personal taste and decor. You can coordinate bold accent colors with accessories and kitchen linens you already own. For renters, paint provides a great opportunity to make a temporary kitchen your own.
Budget-Friendly Kitchen Remodel Option
Compared to the cost of demoing and replacing your existing backsplash with new tile or other materials, painting it is far less expensive. Backsplash tile can be pricy, especially for natural stone varieties. A DIY painting project has low material costs, saving you hundreds or even thousands of dollars compared to a full backsplash replacement.
For homeowners looking to refresh their kitchen’s look without taking on a major renovation budget, painting the backsplash is a great affordable option. Small updates like painting the backsplash, cabinetry, or island can make the space feel new again for just a fraction of a full kitchen remodel cost. It’s one of the most budget-friendly ways to quickly improve the look and feel of your kitchen.
Achievable Even for Beginners
While tiling a backsplash requires some tiling experience and skill, painting backsplash tiles is considered an easy, approachable DIY project even for total beginners. It is far less of a commitment than a permanent tile replacement in case you ever want to change the look again down the road.
Painting a backsplash doesn’t require any specialized skills, tools, or equipment. All you need is surface prep supplies like sandpaper, primer, painter’s tape, and paint. With proper preparation and patience, first-timers can achieve amazing backsplash makeovers. There’s also very little risk of permanent damage since paint can be removed if you end up not liking the finished look.
Selecting the Right Paint and Supplies
Choosing the right type of paint and prep supplies is key to achieving durable, long-lasting results and avoiding peeling or chipped paint in a high-traffic kitchen area. Consider the following paint options and essential supplies:
Paint Types and Finish
For a backsplash that will need to stand up to moisture, grease splatters, and regular cleaning, an enamel spray paint formulated especially for glossy surfaces like tile and metal works best. The finish should have a satin or semi-gloss sheen to make it easy to wipe down and wash.
On slick non-porous surfaces like ceramic, porcelain, or glass tile, look for specialty spray paints that include a primer and bond well on glossy surfaces to assist with adhesion. Matte paint finishes are prone to staining over time.
Primers and Prep Supplies
In addition to specialty paints with primers built-in, purchasing a separate primer allows an added layer of protection for your painted backsplash. Priming enhances paint adhesion, especially on ceramic, porcelain, natural stone, and other slick tiles.
Lightly sanding glossy tiles before painting gives the paint something to grip onto for better adhesion. Painter’s tape, drop cloths, and masking paper are also essential to protect adjacent surfaces from paint.
Brushes, Rollers, and Sprayers
For painting large backsplash sections, a 3-inch foam roller will help achieve full coverage quickly and evenly. Angled trim brushes are ideal for cutting in corners and edges where rollers can’t reach.
If working outside, sprayers can be used to coat the backsplash area evenly without drips. Practice first on scrap materials to get the hang of sprayer technique before tackling your kitchen.
Prep Your Backsplash for Painting
Preparing your backsplash correctly before painting is the most crucial step for achieving flawless, long-lasting results. Plan to clean, lightly abrade, and prime the surface using the following steps:
Cleaning and Light Sanding
Start by thoroughly cleaning your existing tile backsplash to remove all grease residue, dirt, mildew, and grime that may interfere with proper paint adhesion. Use a degreasing cleaner formulated for kitchen surfaces.
Next, lightly sand glossy tile surfaces to roughen them up so the paint has something to adhere to. Use fine (220-400 grit) sandpaper for this process. Wipe away all sanding debris.
Applying Primer
After cleaning and sanding, apply a specialty tile and metal primer according to the product instructions. These primers are designed to bond especially well to slick, non-porous surfaces. Allow the primer coat to fully dry before painting.
Masking and Taping Off
Carefully tape off countertop edges, cabinets, outlets, and appliances with painters tape to keep splatters and drips contained to your backsplash area. Mask off areas like countertops and floors for further protection.
Paint Techniques and Tips
Once your backsplash is fully prepped, it’s time to add color! There are numerous paint techniques you can use depending on the look you’re aiming for:
Solid Color
This is the most straightforward method, simply coating the entire backsplash surface in your color of choice. Use a small foam roller and angled trim brush to cut-in corners and edges. Allow the first coat of paint to dry fully (at least 24 hours), then apply a second coat for full, even coverage.
Accent Wall
For a more subtle pop of color, paint just the upper portion of your backsplash or a strip around window areas. This style allows you to add a hint of color without it overpowering the whole space.
Patterns and Textures
Add interest with varied paint finishes like rag rolling, sponging, glazing and other techniques. You can also create patterns using painter’s tape, stencils, or freehand painting. Think geometric, floral, checkerboard, and more!
Distressed Finishes
Give your backsplash a timeworn look by intentionally distressing it after painting. Try sanding lightly to expose some of the tile underneath for a weathered effect. You can also age the surface using white/antique wash techniques.
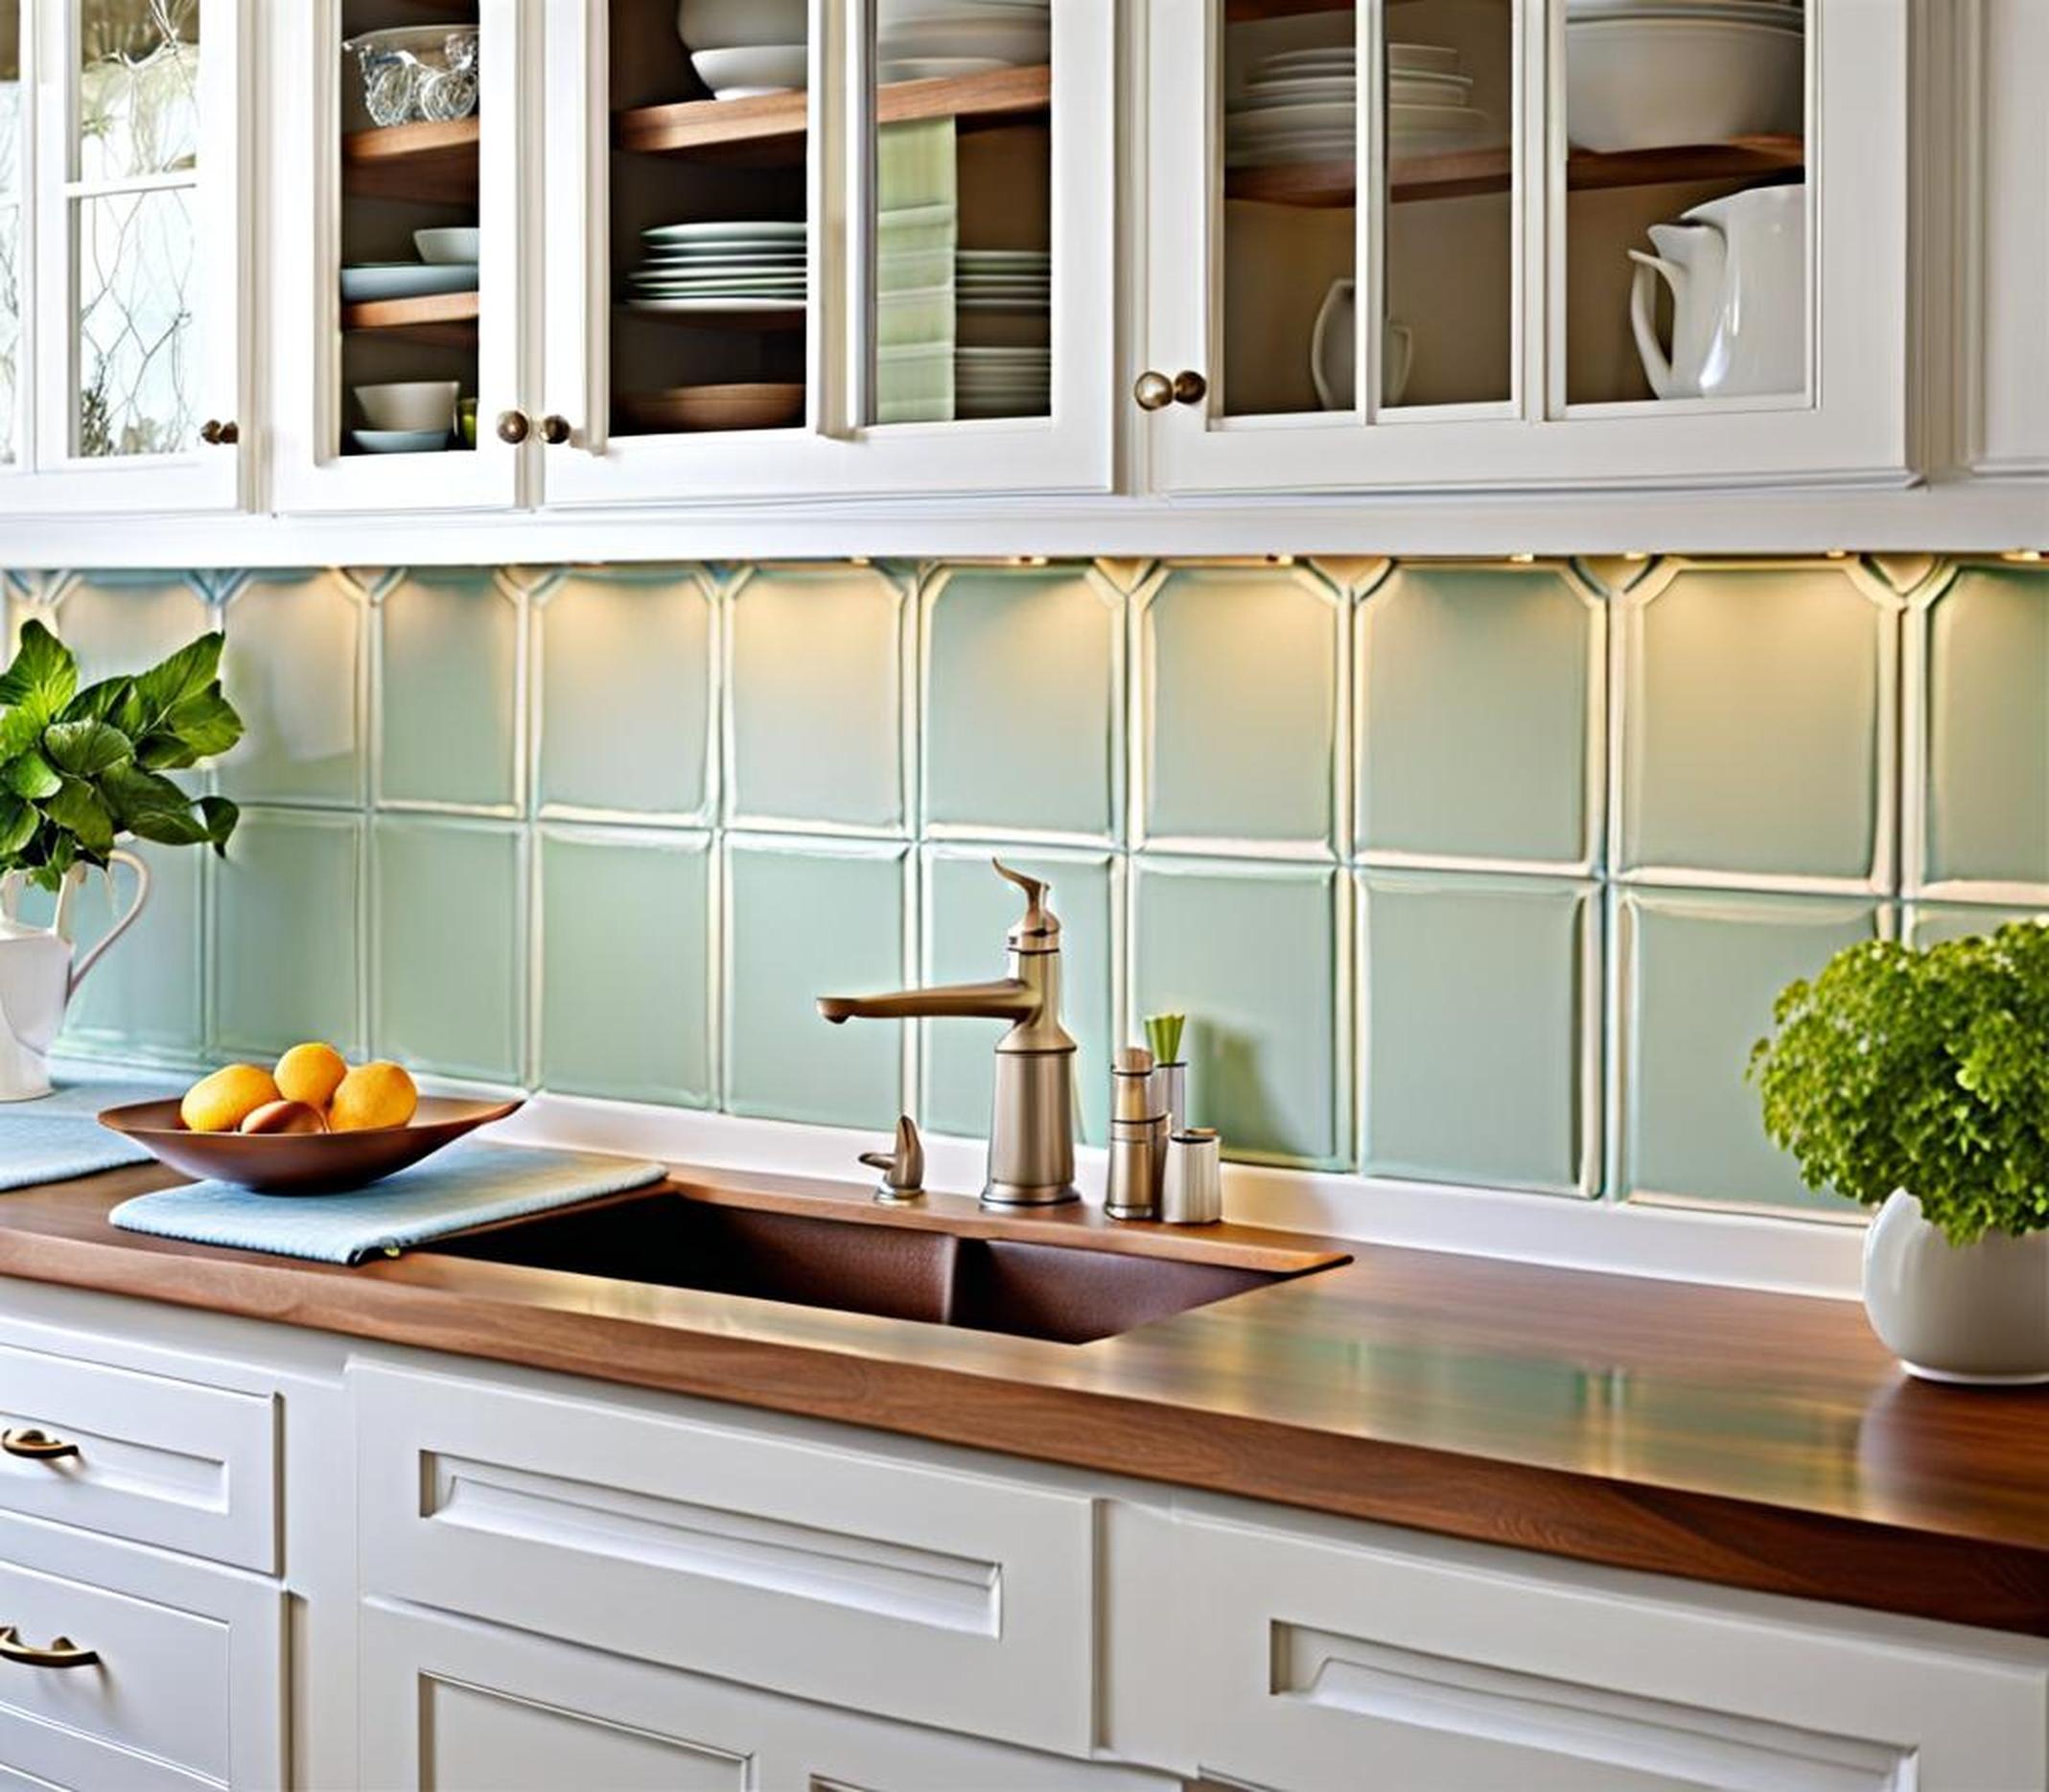
Inspiring Painted Backsplash Color Palette Ideas
Unsure which direction to go color-wise for your backsplash makeover? Here are some striking painted backsplash color palette ideas to spark inspiration:
Bold and Vibrant Hues
Make a colorful statement by using rich jewel tones like emerald, sapphire, and ruby red or sunny shades like mustard yellow and burnt orange. Contrast your bold backsplash color with bright white cabinets and accessories.
Use navy or charcoal gray paired with warm metals and wood accents for an upscale, trendy vibe. For a playful pop of color without going overboard, paint just the upper third of your backsplash or around the window.
Cheerful Pastels
Sweet, subtle pastel hues like mint, peach, sky blue, and lavender keep things light and airy. These dreamy watercolor shades pair nicely with both light and dark cabinet colors.
Update a backsplash full of random disjointed tiles by painting them all a uniform pastel like blush pink or pale yellow for harmony. Add interest with white grout lines.
Neutral Shades
Can’t decide on just one color? Sophisticated neutral backsplash shades like gray, beige, cream, and light earth tones are always classic choices. Grays exude modern sleekness, while beiges offer flexible warmth.
Stick with timeless neutral backsplash paint colors if you tend to redecorate frequently or change up kitchen decor seasonally. They provide a versatile backdrop that complements any cabinet finish.
Before and After Photos of Painted Backsplash Renovations
Seeing the dramatic yet budget-friendly changes that can be achieved by painting over an outdated or lackluster backsplash is truly inspiring. Take a look at these impressive kitchen backsplash makeovers:
[Insert photo collage showcasing backsplash painting transformations]
Notice how simply applying a fresh coat of paint in an updated color modernizes and customizes the entire kitchen. Dark or disjointed backsplash tiles tend to make small kitchens appear more closed in, while unified lighter paint opens up the space.
Painting over chaotic outdated backsplashes or those with loud dated patterns helps streamline the look for a cleaner, more tranquil vibe. The flexible affordability of paint allows creativity in choosing colors that reflect personal style.
Painting your existing backsplash brings new life to your kitchen in an easy, affordable way. With the right paint and prep supplies and a little patience, you can customize your backsplash with any creative colors and designs.
Next time your backsplash has you feeling uninspired, try this simple weekend DIY project for instant revitalization. We hope these painted backsplash ideas and tips give you the motivation to add a splash of color!
