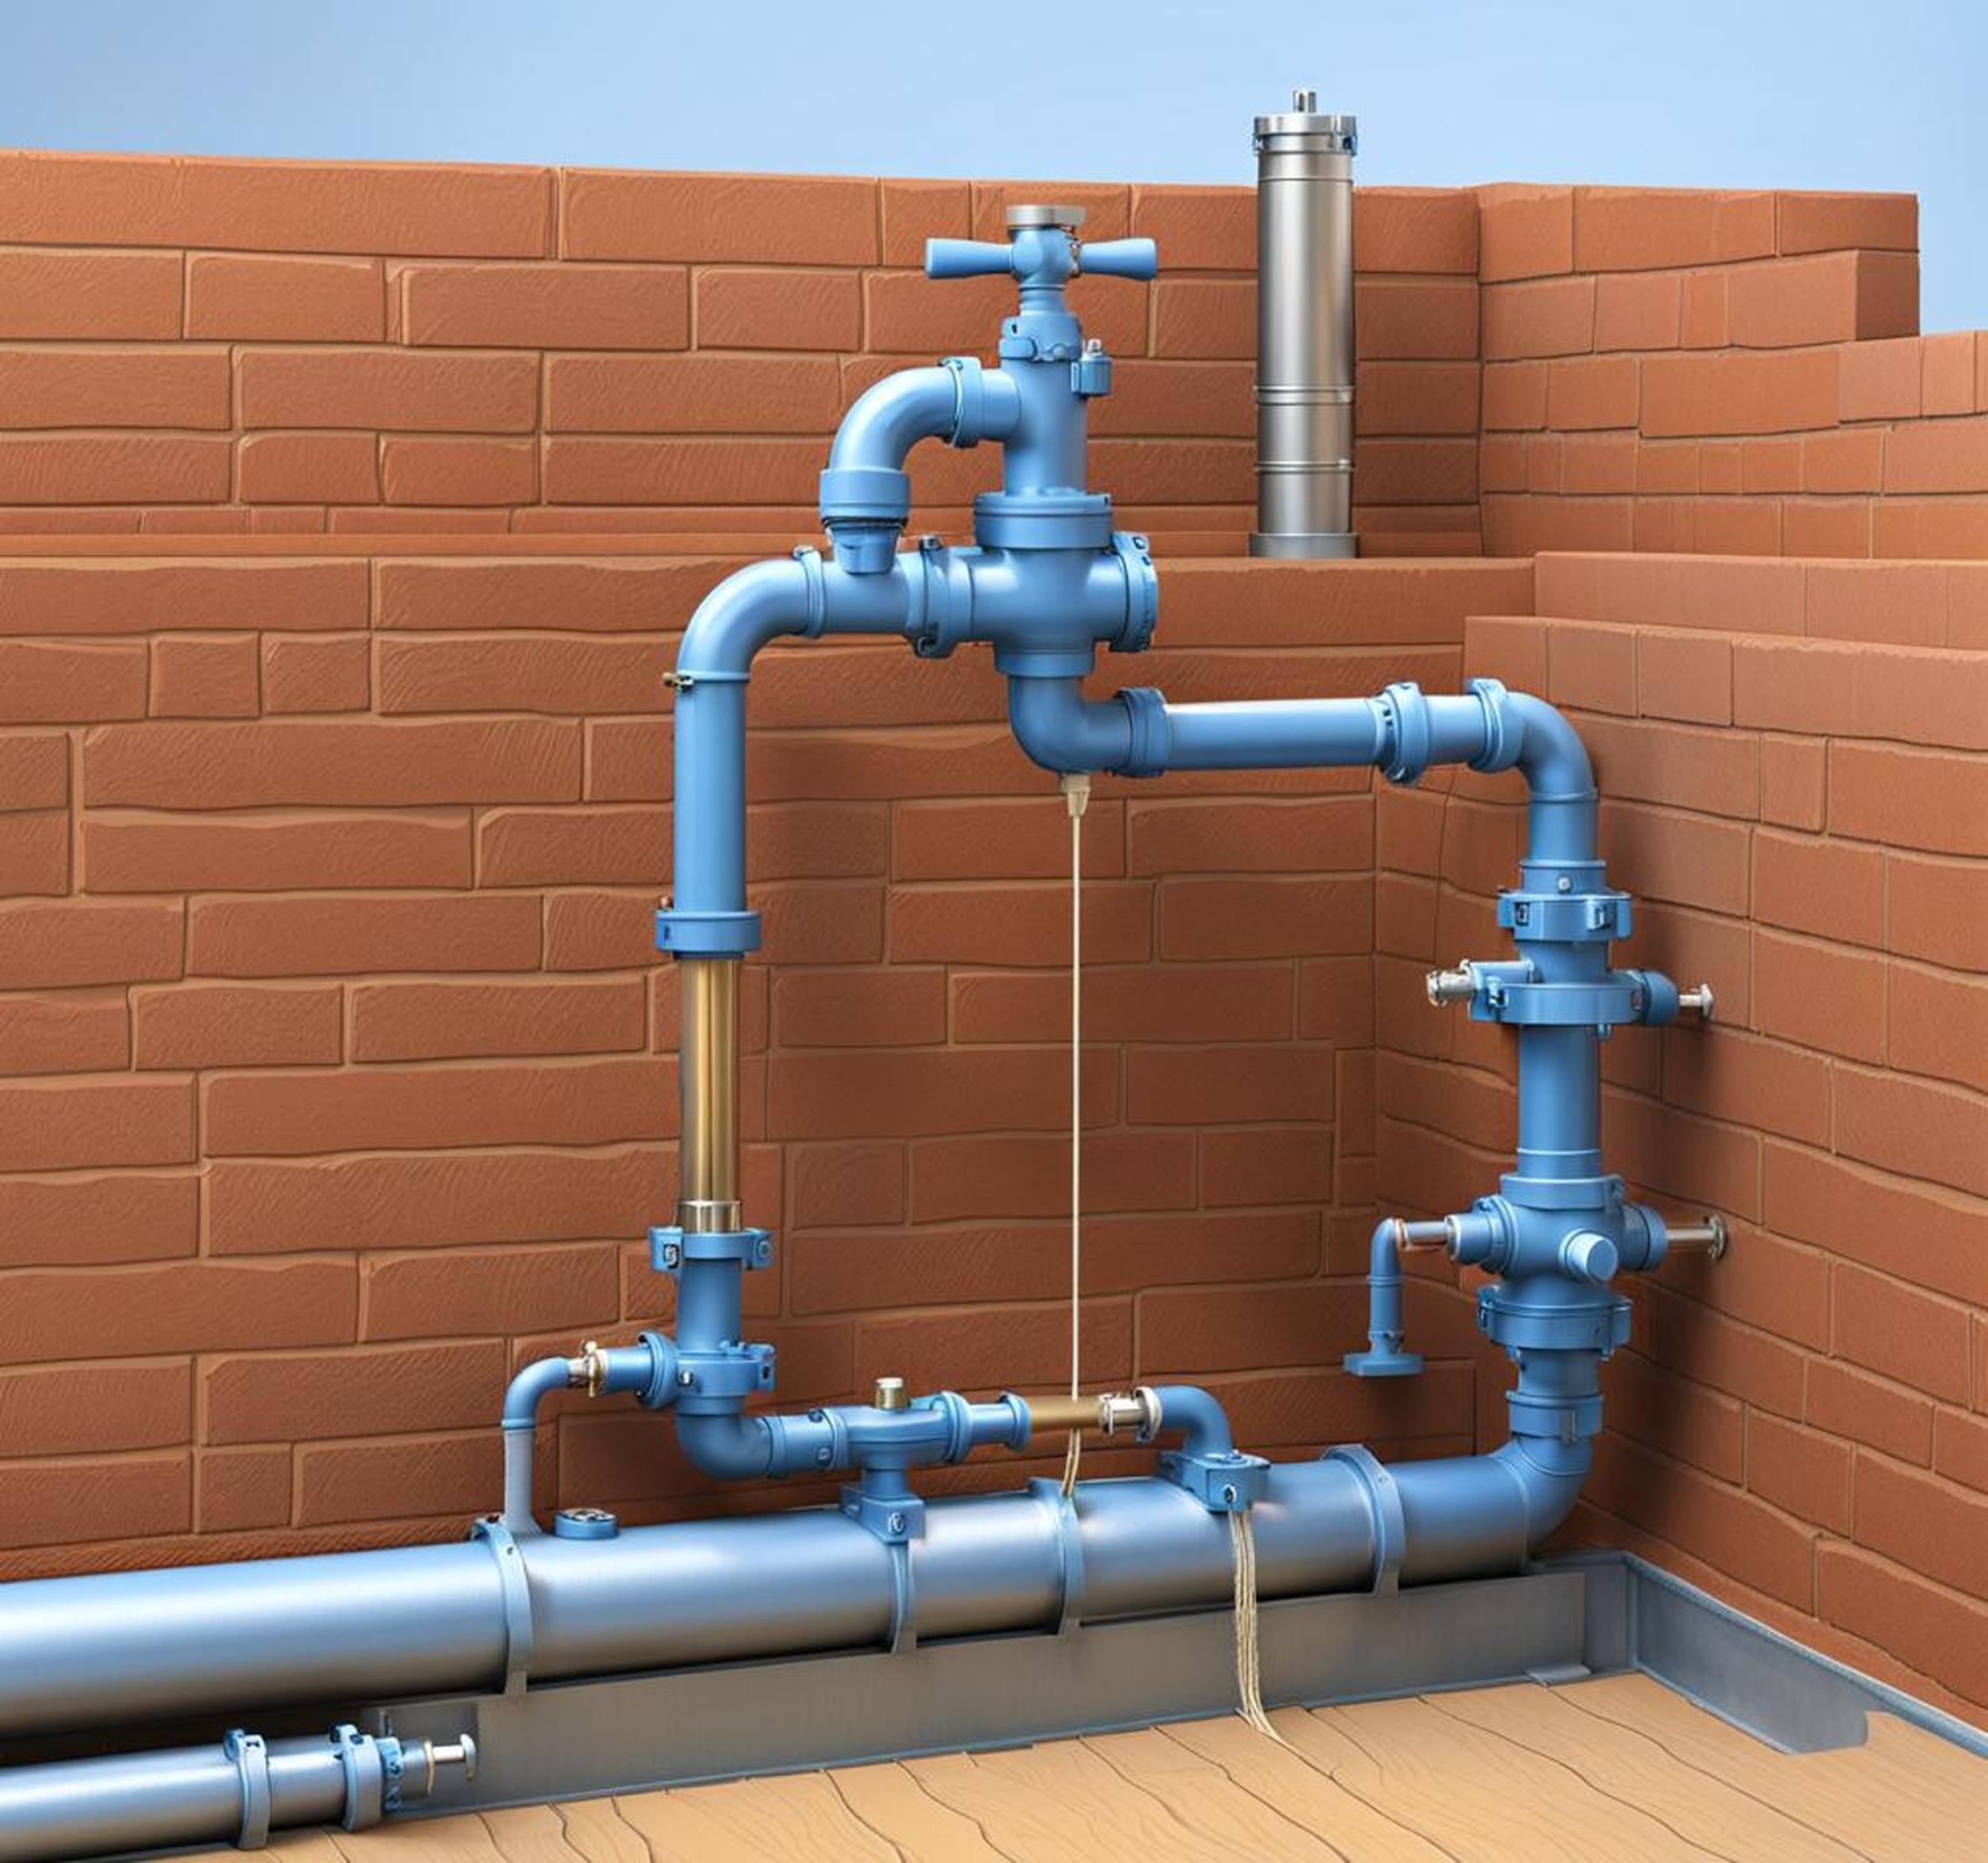
When undertaking any plumbing project in the home, knowing how to properly cap a water line is an essential skill. Whether you need to temporarily disconnect a line to make repairs, or permanently close off an old unused pipe, capping a line correctly is crucial to prevent leaks and ensure safety.
Why Cap Off a Water Line?
There are a few common reasons you may need to cap a water line in your home:
- Making repairs – Capping allows you to temporarily shut off flow to that section of pipe.
- Renovations – Capping prevents contamination while walls are open.
- Taking lines out of service – Permanently capping abandoned lines.
- Pressure testing – Capping to isolate lines for leak tests.
- Code requirements – Some local regulations require capping.
Choosing Your Capping Method
There are three main types of pipe caps to choose from:
Threaded Caps
Threaded caps screw onto threaded pipe fittings. They provide a solid metal-to-metal seal and are suitable for permanent caps. Installation can be slightly more difficult and requires the right tools.

Push-to-Connect Caps
Push-to-connect caps use internal seals and barbs to grip the pipe when pressed on. They’re extremely easy to install but may not be as durable for permanent caps.
Soldered Caps
Soldering a cap onto a copper pipe creates a permanent watertight seal. This method takes more skill but is very robust.
Preparing to Cap a Pipe
Before capping, take a few key steps:
- Locate the main shutoff valve – Turn water off before starting.
- Drain the plumbing system if possible.
- Measure pipe length precisely for cap fit.
- Inspect pipe end and sand smooth if needed.
- Have all tools and materials ready.
Installing Threaded Caps
Follow this process when using threaded caps:
- Ensure pipe is properly threaded.
- Wrap threads with Teflon tape or pipe dope.
- Hand tighten cap until snug.
- Finish tightening with a wrench – don’t overtighten.
Installing Push-to-Connect Caps
When using push-to-connect caps:
- Cut pipe end squarely and deburr the edges.
- Push cap fully onto pipe until it stops.
- Pull on cap to ensure a tight seal.
Soldering On Caps
Follow these steps when soldering a cap:
- Clean pipe end with emery cloth and flux paste.
- Apply solder paste inside the cap and fit onto pipe.
- Heat evenly until solder melts and flows into joint.
- Allow to fully cool before water pressure is restored.
Take these additional steps when capping lines:
- Open valves slowly to prevent water hammer.
- Don’t enclose push-to-connect caps inside walls.
- Check for leaks using soapy water or a pressure test.
- Make repairs if any drips, pooled water, or bubbles appear.
It doesn’t need to be hard to cap a water line. Follow our guide to properly stop flow in pipes and prevent problems down the line.
