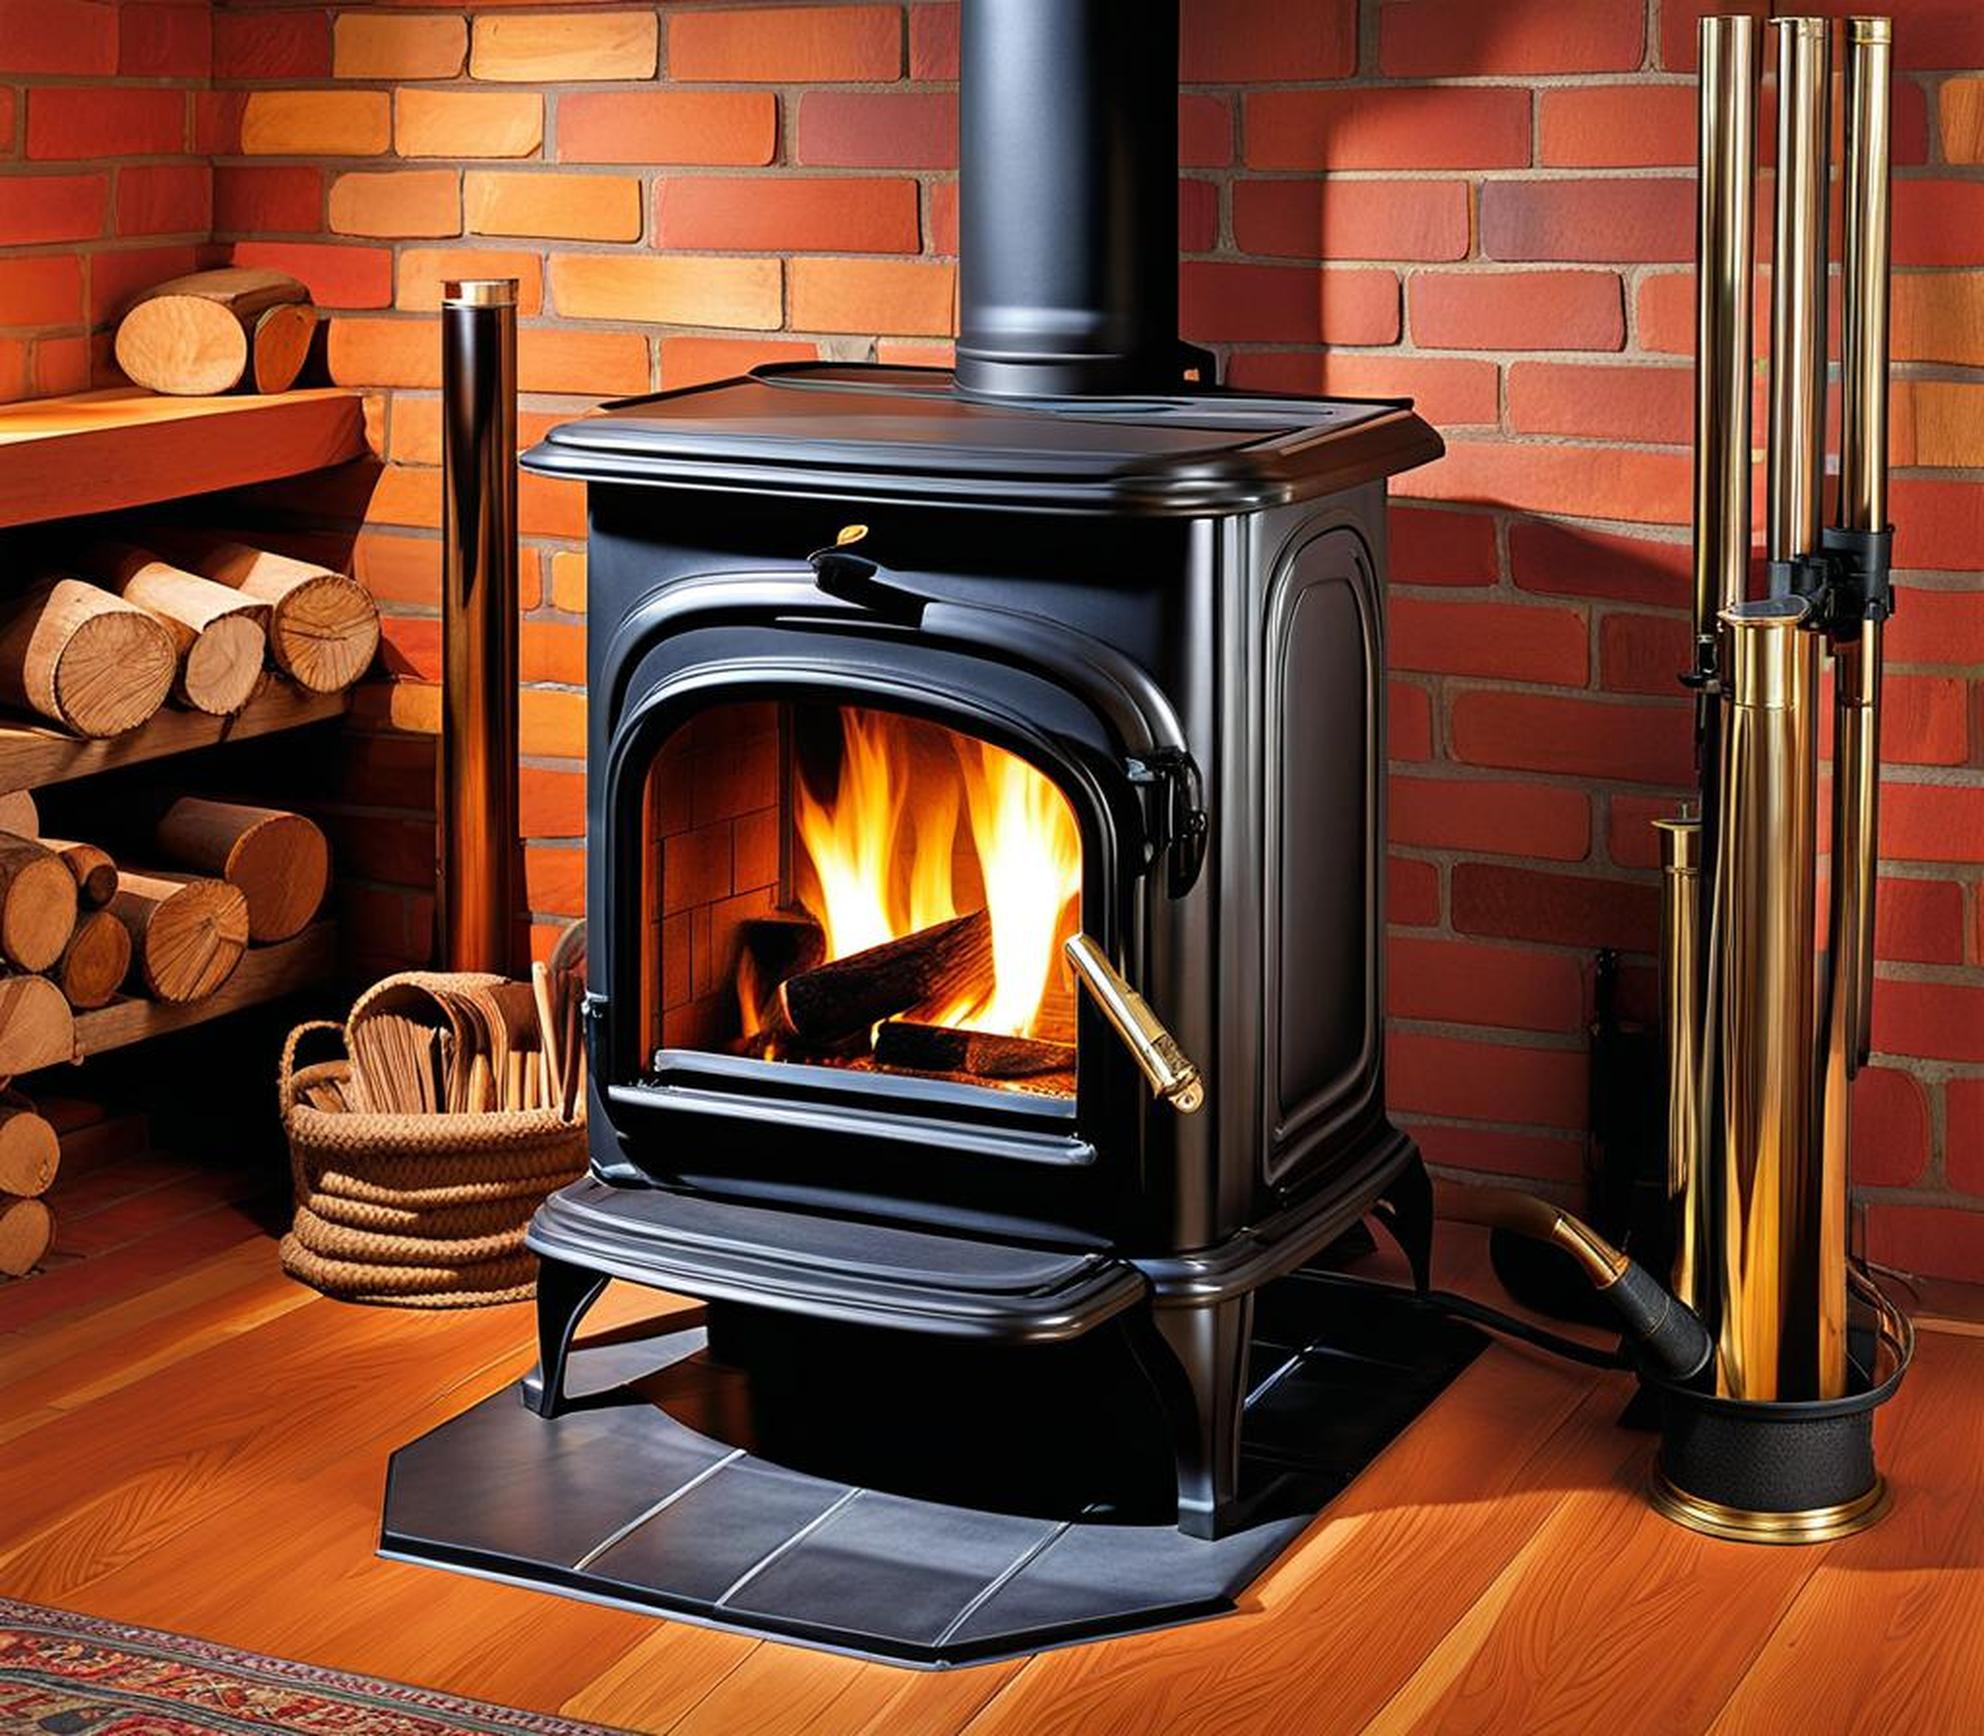
If your wood stove set up is spewing smoke into the room or creating cold drafts, it likely indicates a problem with the piping connections. Gaps or cracks along the stove pipe joints allow smoky exhaust and outside air to leak through rather than venting properly out the chimney.
While replacing damaged sections of stove pipe is the best permanent solution, applying a sealant can help cure pesky smoke and draft issues temporarily or patch small leaks.
Types of Sealants for Wood Stoves
Specialized sealants withstand the extreme heat inside wood stove piping without burning or degrading over time. Three main types are commonly used:
Stove Pipe Cement
Stove pipe cement contains heat-resistant compounds like sodium silicate that harden to seal gaps and cracks. After kneading the putty and pressing it firmly into openings, it sets hard in 8 to 12 hours.
Popular brands like Rutland and Imperial are available in tubes or tubs at hardware stores and home centers.
High Temperature Silicone
Silicone adhesive and sealants made for high heat applications can handle temperatures up to 500degF continuously. The flexible properties allow the sealant to expand and contract without cracking.
Permatex and GE brand silicone sealants work well for sealing wood stove pipe connections. They remain somewhat flexible after drying.
Mastic Stove Pipe Sealant
Mastic sealant has a pliable, stretchy consistency thanks to fiber materials suspended in a flexible base. It conforms well to varied opening shapes and types of stove pipe.
Rutland and Ideal Tape both offer mastic seals rated for stove pipe temperatures. The sealant stays somewhat soft and pliable after drying.
Prep Pipe Surface
Before sealing gaps or cracks, properly prepare the stove pipe surface:
- Use a wire brush or paint scraper to remove any old cement, silicone, rust, or creosote
- Sand smooth any dents, burrs or pits with fine grit sandpaper or steel wool
- Clean surface thoroughly with wire brush, putty knife, or degreasing solvents
- Ensure pipe connections are dry before applying any sealant
Apply Cement and Let Cure
Stove pipe cement sets up quickly, so make sure to follow manufacturer instructions closely.
Here are some application tips:
- Knead cement thoroughly before using so compounds mix properly
- Use a caulking gun or putty knife to apply an even 1/4″ layer around the inside/outside of pipe joints
- Make sure cement fills gaps completely; press firmly into openings
- Allow 8 to 12 hours for cement to fully cure and harden before firing up stove
Apply Silicone Sealant
High-heat silicone offers a flexible stove pipe sealant option. Follow these steps for the best results:
- Clip nozzle tip to fit joint gap width
- Circle entire interior/exterior of pipe connections with steady pressure
- Tool with a plastic spreader to smooth sealant; fill gaps fully
- Allow 24 to 48 hours curing time
Apply Mastic Stove Pipe Sealant
Mastic sealant is easy to squeeze from tubes and spreads smoothly into cracks and openings with the right technique:
- Cut nozzle tip to size just smaller than gap width
- Gun mastic into cracks and empty spaces around pipe fittings
- Use a popsicle stick to tool sealant if needed
- Cure time is just 1 to 2 hours
Sealant Tips and Tricks
Further advice for getting the most out of wood stove pipe sealants:
- Apply two rounds of sealant to larger gaps for maximum hold
- Check draft stoppage with smoke puff test
- Avoid heating up stove until sealant fully cured
- Re-examine seals yearly; reapply sealant if any new leaks develop
Developing smoke or cold drafts from loose stove pipe joints can quickly be remedied with the right sealant products. We recommend stove pipe cement, high-temp silicone, or mastic sealants to fix persistent leaks.
You can stop pipe leaks with a proper sealant application. Follow manufacturer instructions and let sealants fully cure before firing up your wood stove again.
