Is there anything better than relaxing outdoors with friends and family while sipping your favorite drink? A backyard bar creates the perfect oasis for entertainment and fun times during the warmer months. But unpredictable weather can put a damper on your patio parties. Adding a roof provides the perfect solution, allowing you to enjoy your personal bar rain or shine. From a simple sunshade to a fully-covered structure, roof options let you design your ideal hangout spot.
Benefits of a Backyard Bar with a Roof
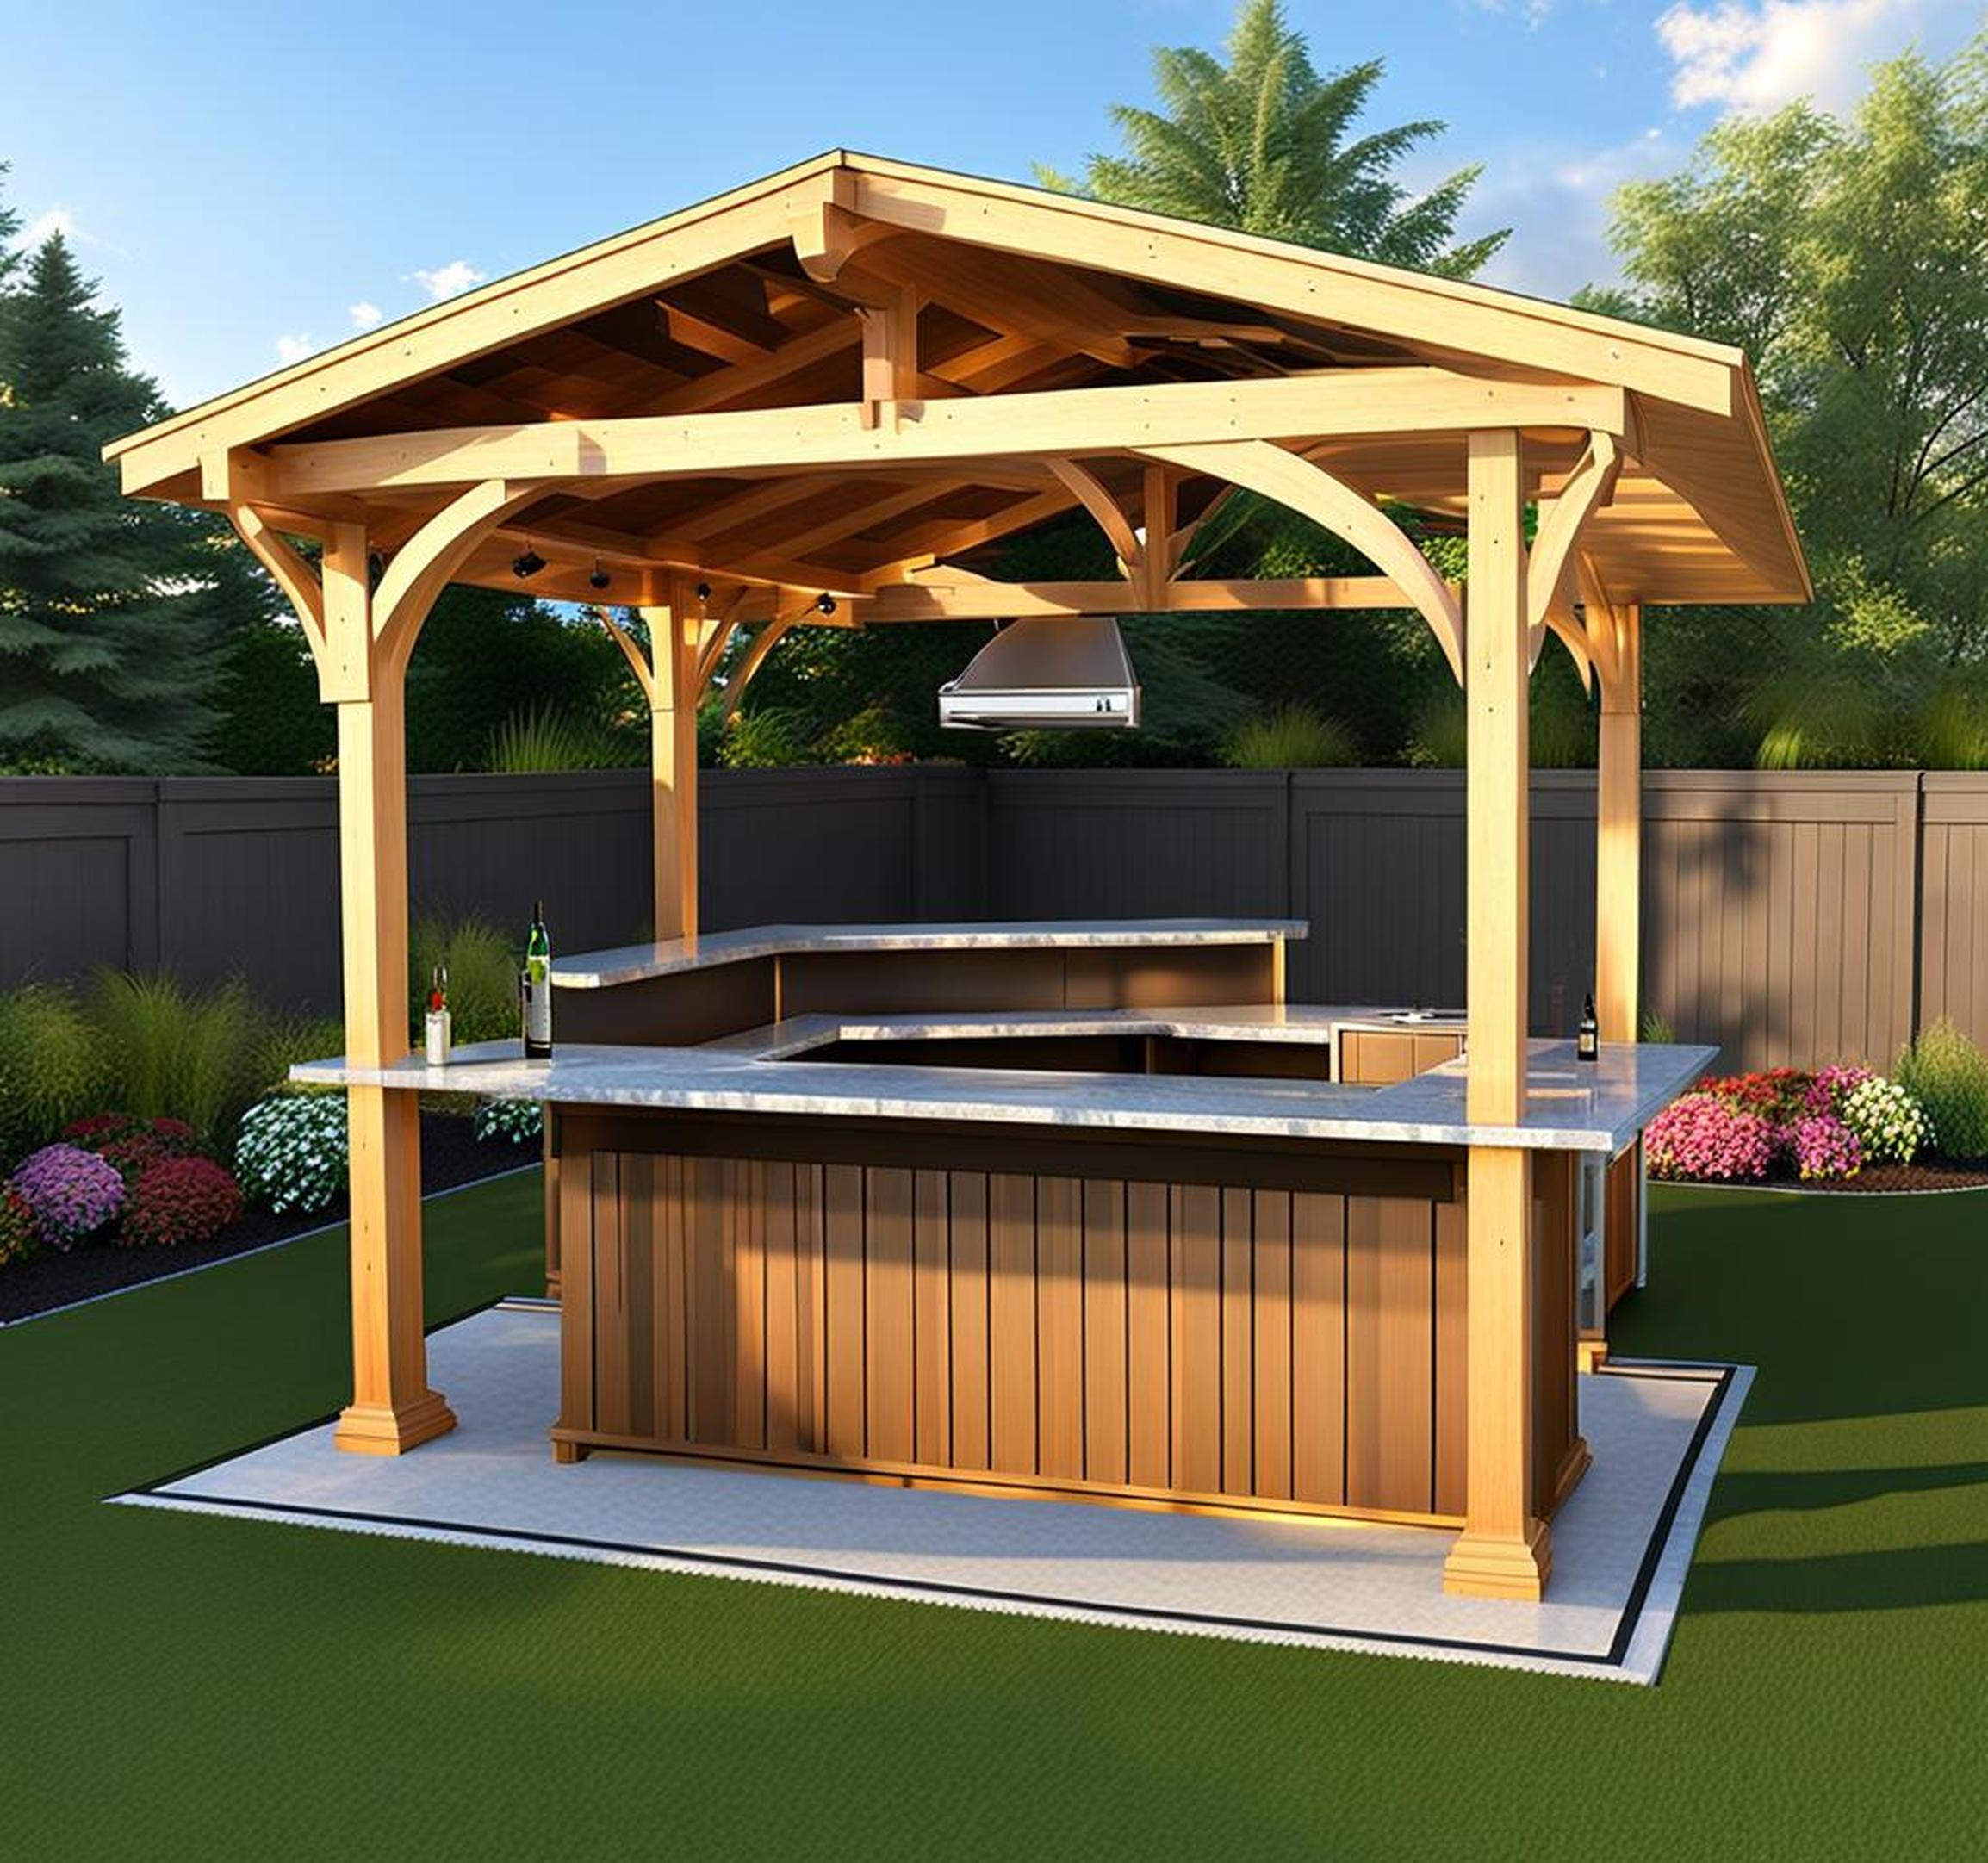
Outdoor bars with roofs offer many advantages over their uncovered counterparts:
- Protection from the elements – stay dry during rain showers and maintain shade from the hot summer sun.
- Comfort in any weather – wind, rain, or shine, a roof allows you to utilize your bar without worry.
- Extend the season – a roof lets you enjoy your bar earlier in spring and later into fall.
- Ambiance – lighting and sound systems transform the space for relaxing or lively fun.
- Versatility – a roof accommodates extra features like TVs, heaters, and misters.
With a covered bar area, you can entertain outdoors without concern about getting caught in a downpour. Friends and family will enjoy socializing in comfort under the protection of your backyard oasis.
Design Considerations for Your Backyard Bar
When planning your backyard bar project, there are several design factors to consider:
Size and Layout
First, measure your backyard space and determine the ideal dimensions for your bar. Standard widths range from 4 to 10 feet. Allow enough room around the sides and any seating areas so multiple people can move comfortably. Think about traffic flow when planning the bar’s placement. Situate it near the house for convenient access or farther away for more privacy. If you’ll need running water or electricity, choose a location that simplifies hookups.
Shape
While a simple rectangular bar is most common, you can get creative with different shapes. A curved or L-shaped bar provides more space for seating. For a unique look, opt for a customized Tiki-style bar or geometric hexagonal design.
Height
Standard bar height is 42 inches, while a standing bar is often 48 inches tall. Elevated decks raise the bar several feet off the ground, which saves your back but requires added stair access. A ground-level bar on a concrete slab offers wheelchair accessibility.
Aesthetic Style
Now for the fun part – choosing your bar’s look and theme! Popular motifs include tiki and island bars, rustic Western saloons, and nautical bars with sailor or fishing themes. You can also decorate around your favorite sports team, decade like the 60s or 70s, or go for an upscale cocktail lounge vibe. Personalize the space with sentimental photos, memorabilia, and other decorative touches.
Structural Elements for a Sturdy Frame
A roofed backyard bar requires a strong structural foundation and frame to support the roof covering. Here are the key components:
Foundation
Start by creating a level, stable base. For deck bars, use concrete deck piers or stacked concrete blocks. You can also build on a poured concrete slab or patio. Ensure the foundation can handle the roof load without shifting or sinking.
Framing
The framing provides the core structure for attaching the roof beams, rafters, and outer covering materials. Use weather-resistant lumber like cedar or pressure-treated pine. Allow for generous overhangs of 12-24 inches for increased shade and ornamental brackets. Include additional vertical posts and diagonal bracing for strength.
Roof
Pick roofing materials designed to withstand outdoor weathering. Asphalt shingles offer an affordable and easy option. For a more natural look, use wooden shakes, composite slate or cedar shingles. Standing seam metal roofing lasts for decades with minimal maintenance. Thatched roofs contribute tiki flair but require added reinforcement.
Countertop
Choose countertop materials made for outdoor use like granite, concrete, or stainless steel. Tile or stone surfaces should be sealed to prevent staining and damage. For built-in functionality, include a sink basin and fixtures to accompany your bar area.
Step-by-Step Building Process
Constructing your roofed bar is a rewarding DIY project. Here are the basic steps:
- Gather materials and tools – weatherproof lumber, hardware, roofing, lumber, fasteners, saws, drills, etc.
- Clear the site and mark the layout based on your plans.
- Build the foundation according to the planned size.
- Assemble the frame using vertical posts and horizontal crossbeams with diagonal bracing.
- Install roof rafters aligned with the appropriate pitch, spacing and overhangs.
- Attach plywood or wood decking over the rafters as a base for the outer roofing.
- Cover the roof deck with your chosen materials like shingles, metal roofing, or thatch.
- Build the bar countertop from precast concrete, stone, or tile.
- Add final touches like trim, railings, lighting, and bar stools.
- Protect the wood with weatherproof sealant or outdoor paint/stain.
Following building codes and safety practices will ensure your bar is structurally sound for years of parties to come.
Fun Extras to Include
Once your frame and roof are complete, it’s time for the fun additions that will make your backyard bar the neighborhood hotspot:
Lighting
String lights overhead or along the bar create festive ambiance. Lanterns and sconces provide mood lighting. Install a dimmer switch for later nights.
Sound System
Add speakers to stream your favorite playlists. Conceal wiring for a clean look. A wireless Bluetooth connection allows easy phone pairing.
Heating and Cooling
A propane or electric patio heater extends your season into cooler weather. Misting fans provide summer cooling. Install ceiling fans to keep air circulating.
Decor
Themes like luau, beach, Americana, sports, or Western add personality with matching decor. Incorporate memorabilia, photos, local art, and DIY touches.
Storage
Incorporate cabinets, shelving, and drawers to store barware, glassware, garnishes, linens, and spirits.
Greenery
Potted plants, vines, and privacy trees enhance the environment. Drape flower leis for a Hawaiian tiki look.
Safety Tips
To safely enjoy your covered backyard bar area, keep these tips in mind:
- Use GFCI outlets and check for exposed wiring.
- Anchor heavy decor, lighting fixtures, and countertop features securely.
- Watch for low overhangs that could lead to head bumps.
- Check your city’s building codes for required permits and ordinances.
- Keep a first aid kit on hand just in case.
Taking precautions will let everyone have fun without worry.
Start Enjoying Your Backyard Oasis
After all the planning and hard work, it’s time to inaugurate your outdoor entertainment space with fun times and lasting memories. Host weekend barbecues, evening cocktail parties, and holidays with family. String up party lights for ambient lighting. Add pillows and hammocks for lounging in comfort. With the protection of your weatherproof roof, your backyard bar can be enjoyed day or night, rain or shine for years to come. Now relax with your favorite beverage in hand and toast to the backyard oasis you’ve created.
Additional Planning Considerations
Here are some extra elements to factor in when designing your roofed outdoor bar:
Roof Material
Consider the type of roofing that matches your bar’s style – shingles and metal are popular options that withstand weather well. Thatched roofs add tropical flair.
Roof Pitch
A steeper angled pitch prevents water pooling while a flatter roof provides more useable space underneath. Find the right balance for your needs.
Roof Ventilation
Proper airflow from vents prevents humidity, moisture issues, and mold growth on the roof assembly.
Integrate gutters, downspouts, and sloped surfaces so rainwater properly drains off the roofing materials.
