Dreaming of an elegant, resort-worthy patio you can enjoy for a fraction of the cost? With stamped concrete, you can transform your backyard into a high-end oasis on a budget. This versatile material lets you mimic upscale paving materials like brick and natural stone for far less. Read on to discover how stamped concrete can help create the outdoor living space of your dreams affordably.
Stamped Concrete 101
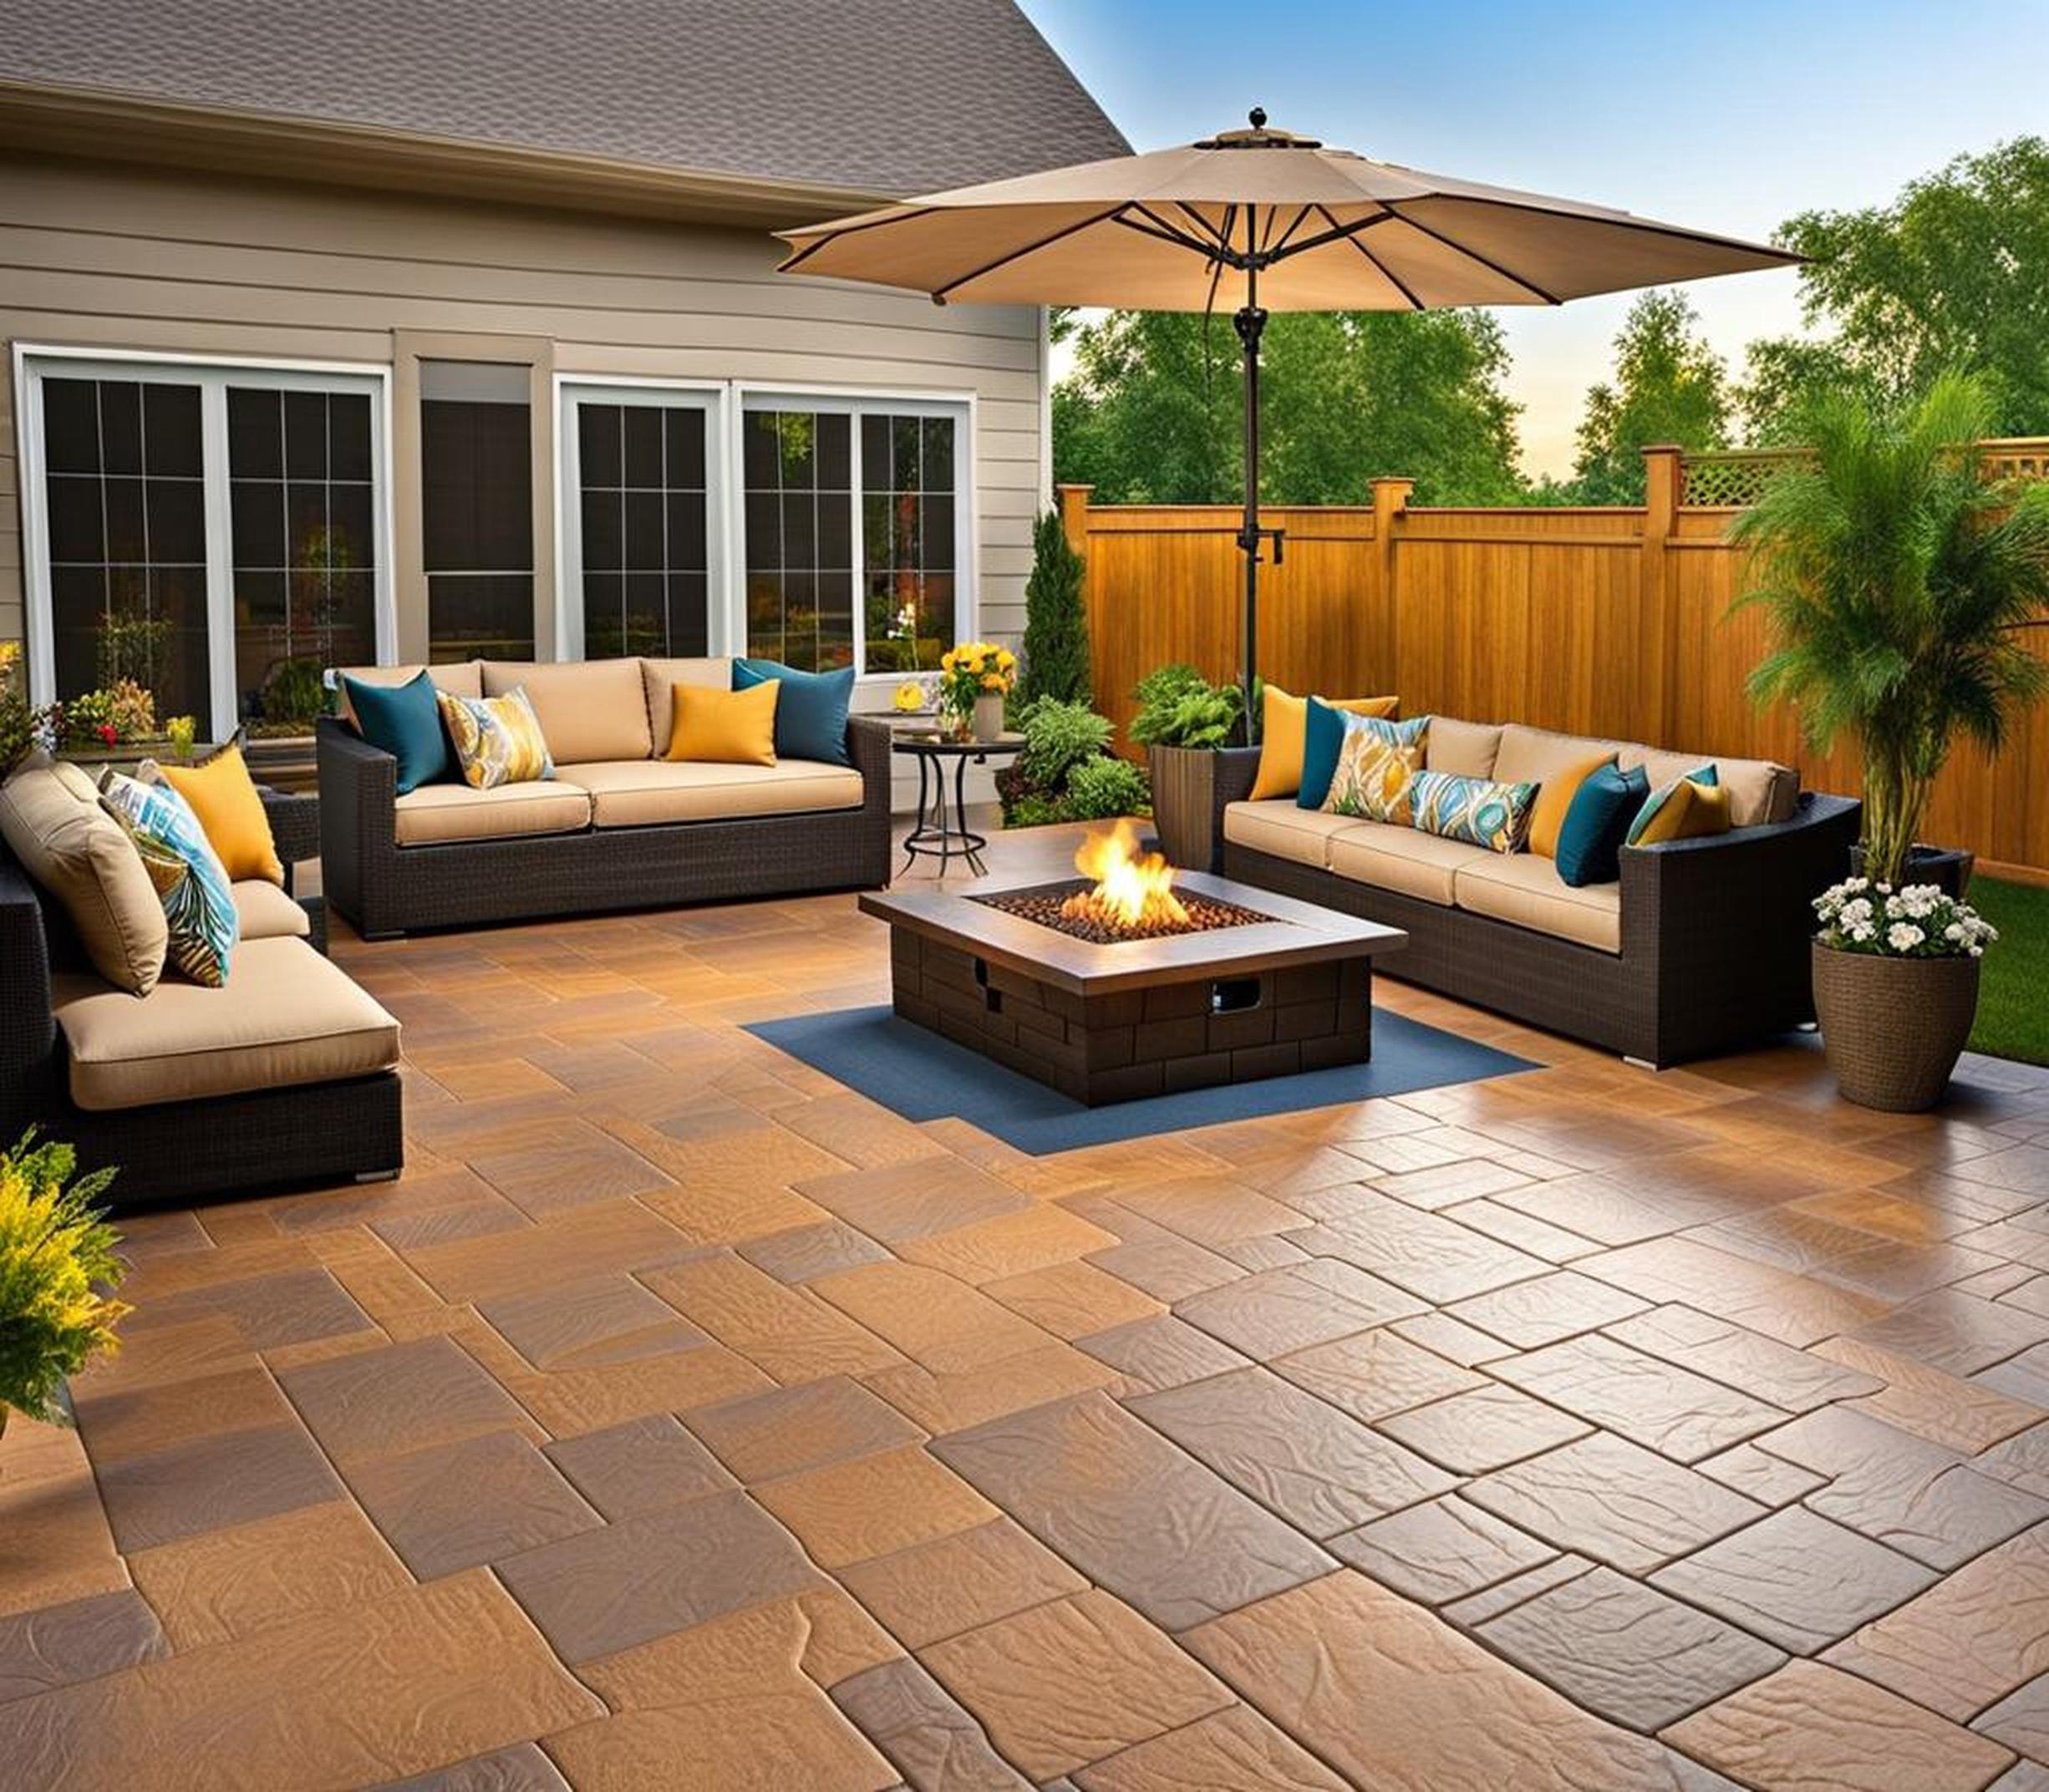
Stamped concrete is concrete that has been patterned and textured to resemble materials like slate, tile, brick, and stone. After pouring a concrete slab, the wet concrete is imprinted using stamps to create that authentic finished look. The concrete can also be stained or dyed to achieve any color palette you desire.
The main benefits of using stamped concrete for patio projects include:
- Durability – It stands up well to heavy use and harsh weather.
- Low maintenance – Stamped concrete resists weeds, grass, stains, and frost.
- Customizable aesthetic – With a vast range of patterns, colors, and finishes available, you can create a truly one-of-a-kind patio surface.
- Cost savings – Stamped concrete provides the elegance of pavers or natural stone at a significantly lower price point.
Professionally installed stamped concrete patios range from $2,700-$6,200 depending on size and complexity. Opting for a DIY project with purchased materials only can cost around $1,000. Either route provides immense value compared to the average cost of $3,900 for a paver patio.
Planning Your Stamped Concrete Patio Design
One of the best aspects of stamped concrete is the ability to customize it fully to your vision. When planning your design, here are some key considerations:
Choosing a Pattern and Color Scheme
The pattern stamped into the concrete makes the biggest impact. Popular options include slate, cobblestone, brick, limestone, and flagstone. Expertly stained and stamped concrete can mimic these materials down to the finest details. For a coordinated look, select 1-2 colors that complement your home. Neutral earth tones work well for traditional designs.
Incorporating Borders and Accents
Borders outline the shape of the patio while adding visual interest. Subtle banding and edging techniques also enhance the overall design. For affordable pops of color and texture, press found items like marbles, tiles, or sea glass into the wet concrete as accents.
Preparing the Installation Area
Proper site preparation is key for successful stamped concrete. Grade and level the ground, removing any old surfaces completely. Compact and stabilize the soil before pouring. For best results, pour over a gravel base instead of directly onto dirt. An existing concrete slab can also be stamped.
Hiring a Contractor vs. DIY
With proper planning, stamped concrete can absolutely be a DIY project. But for large, intricate designs, a concrete contractor provides experience and equipment difficult to replicate. Review your skill level and desired complexity before deciding.
DIY Stamped Concrete Step-by-Step
If tackling stamped concrete yourself, follow this overview of the process:
Materials and Tools You’ll Need
Gather these supplies before starting:
- Concrete mix
- Form boards
- Stamp mats
- Release agent
- Coloring agents
- Trowels, floats, edging tools
- Sealer
Installation Steps
Follow these key steps:
- Frame the area with form boards.
- Mix concrete to an even, lump-free consistency.
- Pour concrete into the frame up to your desired thickness.
- Smooth the surface with a trowel or float.
- Press stamp mats into concrete to imprint the pattern.
- Allow concrete to partially cure before removing stamps.
- Apply sealer once fully cured, typically 7-10 days.
Tips for Best Results
Finesse these factors for optimal stamped concrete:
- Use the correct concrete ratio and water content.
- Evenly pre-color the entire batch for consistent hues.
- Apply release agent thoroughly so stamps detach cleanly.
- Allow proper curing time before sealing.
Budget-Friendly Design Inspiration
For patio elegance on a budget, we recommend:
- A simple brick or slate pattern in 1-2 muted colors
- A paver-style border framing a more basic central pattern
- Incorporating found objects like tile fragments or marbles for accents
- Adding a pergola or other backyard structure later for more savings now
Focus budget on the basics to get that upscale look, then add details over time.
FAQs
How do you keep costs down with stamped concrete?
Opt for simple designs, smaller scale projects, DIY installation, recycled/repurposed materials, and budget-friendly color choices like concrete stains.
What kind of maintenance does stamped concrete require?
Seal stamped concrete every 1-2 years to protect the color and design. Routine cleaning with mild soap and water is also recommended.
Can you install stamped concrete over an existing patio?
In some cases, yes. The current surface must be clean and stable enough to support the stamped concrete.
How long does a stamped concrete patio last?
With proper installation and routine care, stamped concrete will last 20-30 years or longer.
Creating a high-end backyard oasis is possible even on a limited budget thanks to stamped concrete. With strategic planning and savvy design decisions, you can install an elegant patio surface packed with style for less. Turn your dream outdoor living space into a reality and enjoy for years to come by leveraging the beauty and affordability of stamped concrete.
