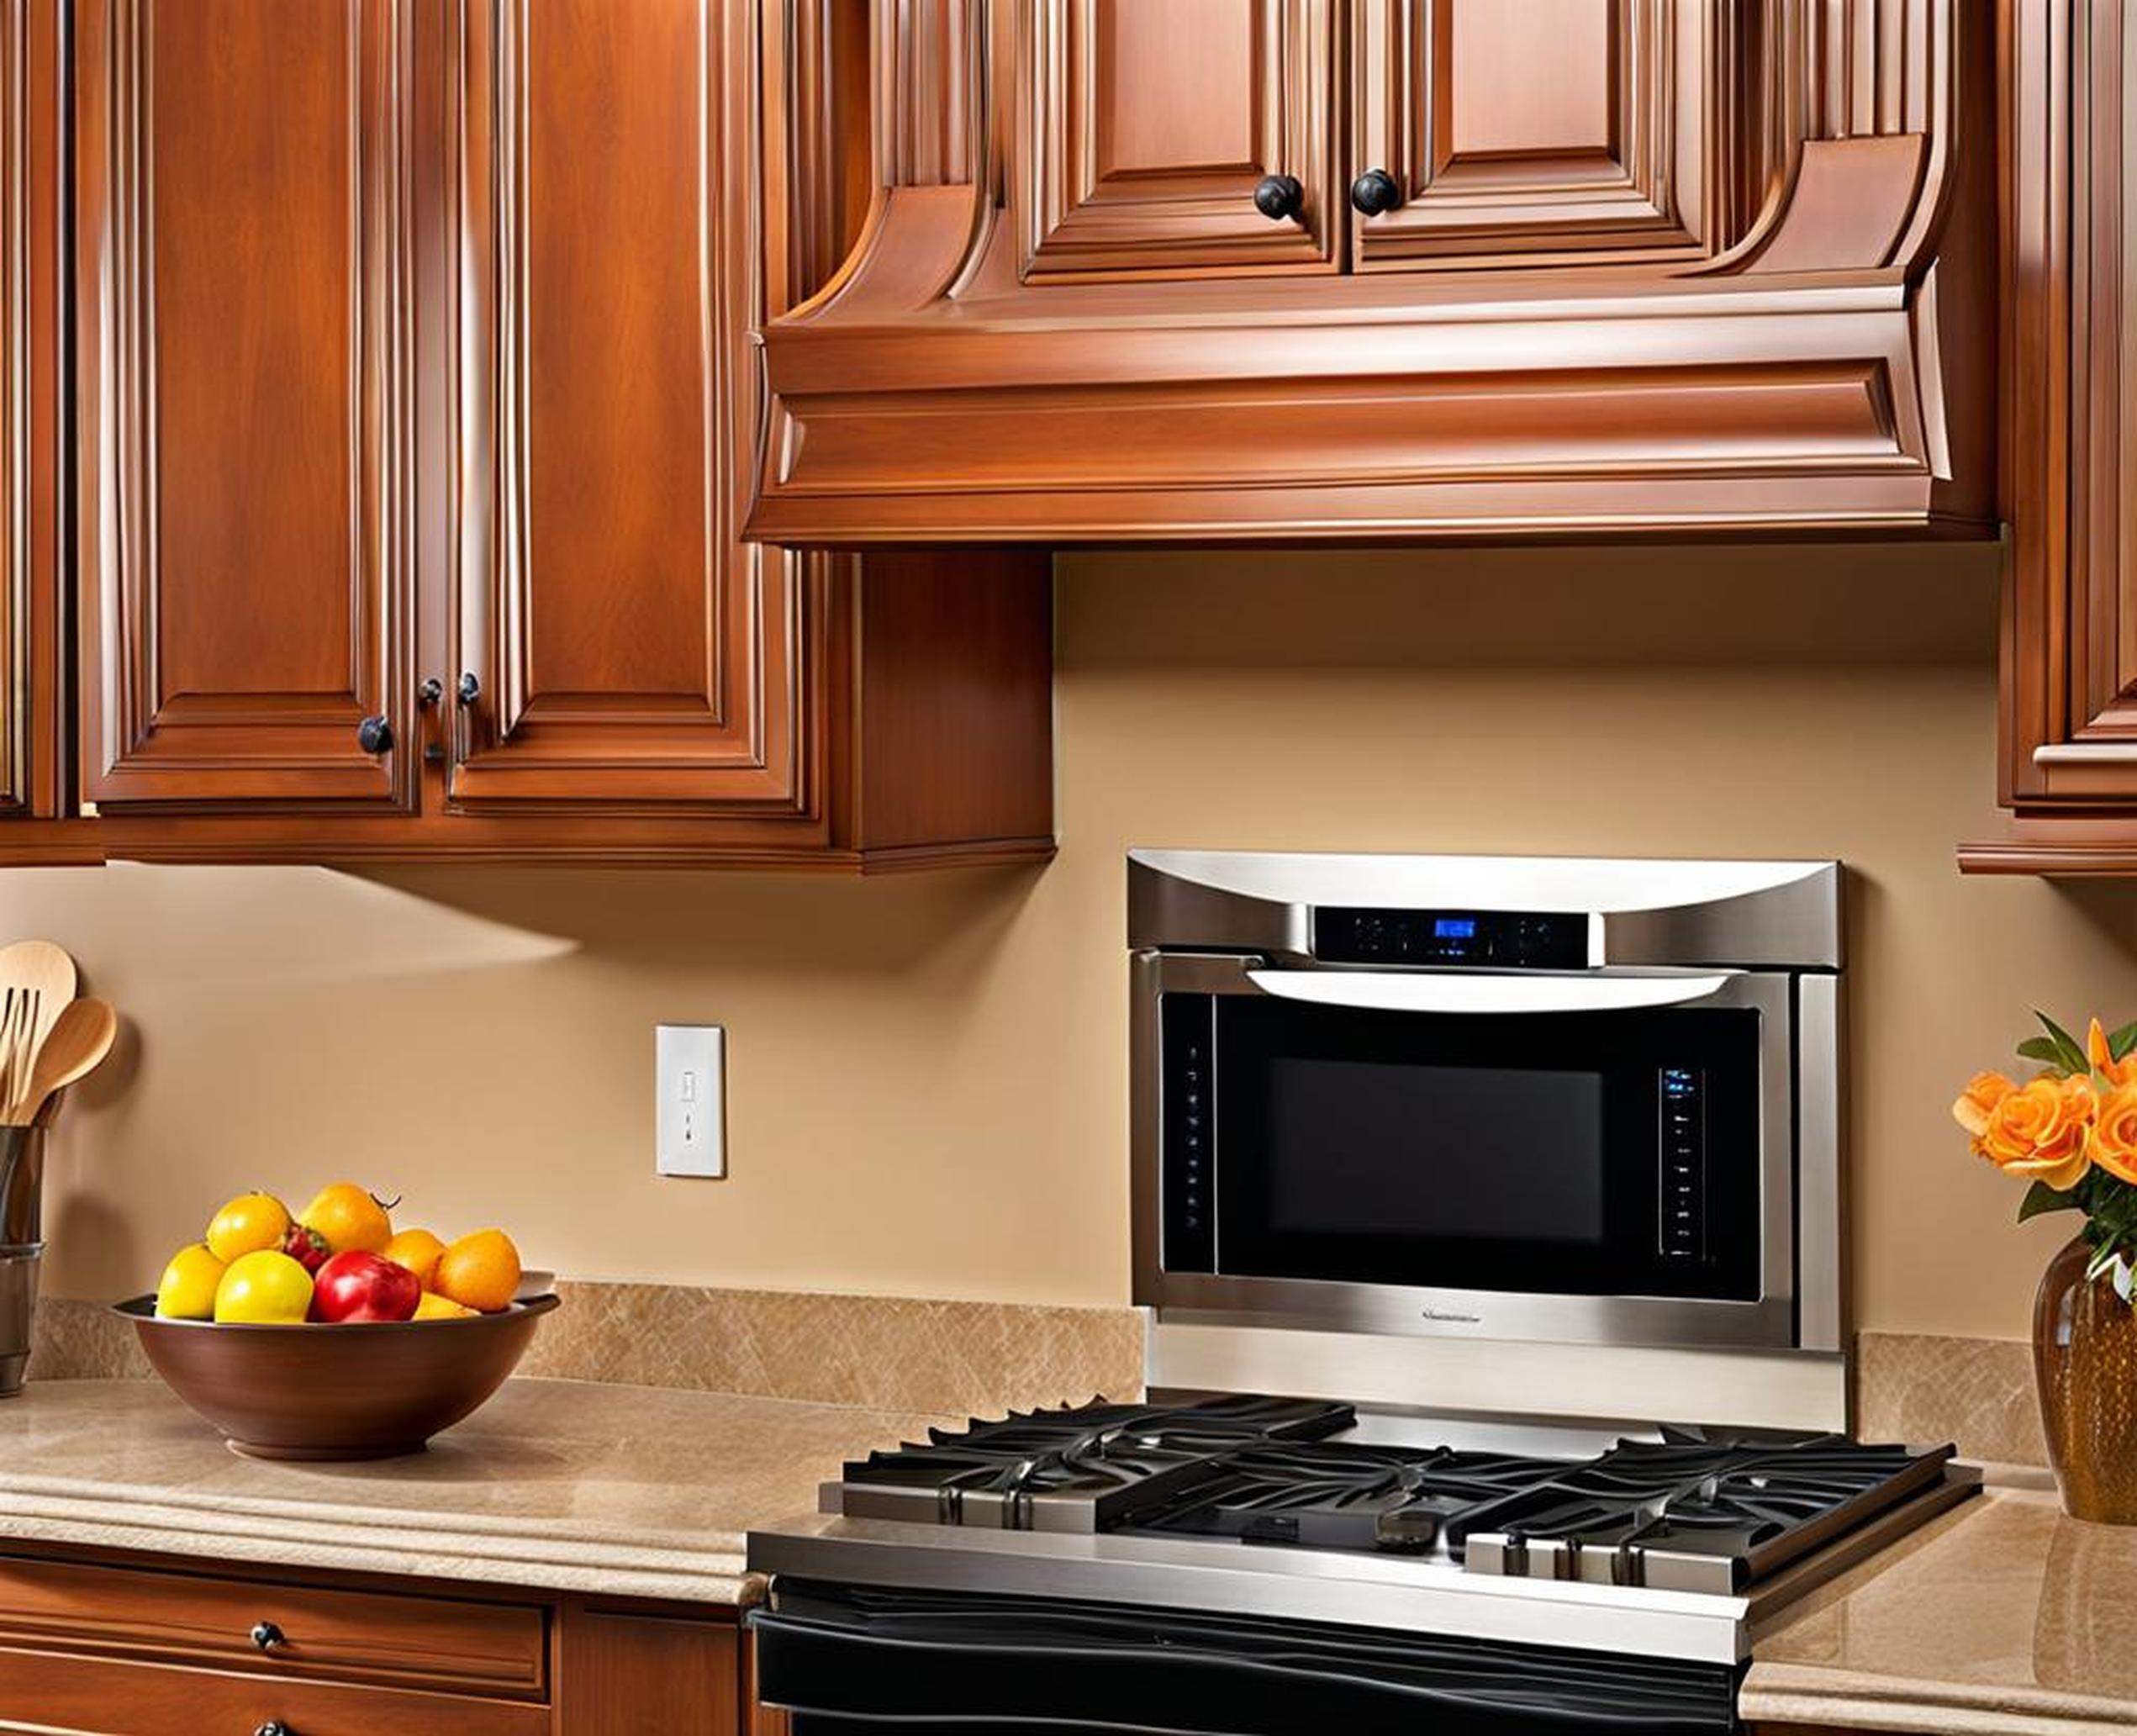
Installing new kitchen cabinets can transform the look and feel of your home’s heart. But cabinet installation is also a complex process requiring careful planning and precision. This complete guide will walk you through every step needed to professionally install kitchen cabinets yourself.
From preparing your space to securing cabinets to the wall, we will cover proper techniques, safety tips, and common mistakes to avoid. Follow these best practices and you can gain beautiful, functional new cabinets that will last for years to come.

Introduction
Before starting any cabinet installation project, it’s important to understand what’s involved from start to finish. Installing kitchen cabinets requires careful measurement, methodical assembly, patience and attention to detail. Rushing through the process or taking shortcuts can lead to mistakes that compromise the functionality and look of your new kitchen.
The full process includes preparing your work area, accurately measuring for cabinet placement, leveling and installing wall cabinets first, then base cabinets, making final adjustments, and adding hardware and protection. Having the right tools like a drill, level, stud finder and protective equipment will ensure safety and success. Allocate at least 2-3 full days for most DIY cabinet installations.
Preparing the Space
Measuring and Marking the Walls
Accurately measuring and marking your space is crucial for proper cabinet positioning. Start by locating all wall studs using a stud finder and marking their positions with painter’s tape. Use a 4 foot level to identify the high point along your wall run – this is the highest spot where your upper cabinets will be installed. Measure up 34 1/2 inches from the high point and use your level to draw a straight, level line across the length of the wall. This line represents the bottom of your upper cabinet row. Use a framing square and tape measure to mark the footprint for each individual cabinet on the wall.
Electrical and Plumbing
Check your cabinet plans and determine if any electrical wiring or plumbing lines run through areas where you’ll be installing cabinets. Electrical lines will need to be rerouted by a professional prior to installation. For plumbing, you may be able to carefully reposition lines as needed. Turn off water supply lines and disconnect drain pipes before adjusting.
Wall Preparation
Examine walls for any large cracks, holes or surface imperfections. Fill smaller holes with spackle and smooth. Larger holes may need patching with boards or drywall. Sand any rough areas. Wipe away dust, then apply primer and paint. Your walls should be clean, smooth and ready for cabinet installation.
Installing Upper Cabinets
Cabinet Assembly
To make your upper cabinets easier to handle, remove all doors, drawers and hardware before installation. Also detach any small filler or spice cabinets. Join full-width cabinets together first by aligning their face frames and clamping tightly with C-clamps. Drill counterbored pilot holes through the face frame overlap then secure cabinets together with 2″ screws.
Hanging Process
Starting at your high point, rest the cabinet run on ledger boards attached just below the level line. This allows you to securely attach the first cabinet. Position adjacent cabinets, clamp together, then drill counterbored pilot holes through the cabinet back into the wall studs. Attach each cabinet with at least two 3″ screws per stud. Use shims between the cabinet and wall to fill any gaps.
Completing Upper Cabinets
Once your cabinet run is installed, reattach doors, drawers and shelves. Carefully align doors and make minor adjustments to ensure proper alignment. Install filler cabinets and spice racks in open areas per your plans. Verify all components are safely secured.
Installing Base Cabinets
Leveling and Securing
Set base cabinets in place, starting in the corner. Use shims under the front of the cabinet to make it level. Drill pilot holes into the wall studs through the cabinet back. Attach with at least two screws per stud. Join additional cabinets, aligning their face frames and clamping together. Drill counterbored pilot holes through the cabinet sides and secure with screws.
Joining Cabinets
When joining two base cabinets, ensure their front faces are flush. Clamp them tightly together. Drill counterbored pilot holes through the side of one cabinet into the adjoining cabinet. Drive screws into the pilot holes to tightly secure the two units together. Maintain consistent spacing between cabinets.
Details and Finishing
Install decorative trim pieces like crown molding along the cabinet tops and toekicks along the bottom. Make any final alignments to drawers and doors. Adjust shelves and roll-out trays if needed. Your base cabinets are now complete.
Final Cabinet Adjustments
Hardware Installation
Install all cabinet hardware including knobs, pulls, hinges and sliding drawer components. Adjust any spring-loaded hinges or self-closing drawer slides. Verify that doors and drawers open smoothly and fully without obstruction.
Protection and Cleaning
Carefully clean all cabinet surfaces, avoiding harsh chemicals. Cover fronts with protective paper while you complete other installation tasks. Install shelf liners and any child safety products like cabinet locks. Your DIY kitchen cabinet installation is now successfully complete!
Installing kitchen cabinets involves power tools, heavy lifting and work at height. Follow these tips to protect yourself:
- Use assistants or lifting aids when moving cabinets
- Pre-drill holes for screws to prevent splitting wood
- Work carefully on ladders or stepladders
- Wear safety goggles, gloves and a dust mask
- Follow all tool safety recommendations
By taking appropriate precautions, you can safely tackle a DIY kitchen cabinet install and improve the look and functionality of your home.
