Installing curtains can be a tedious and messy process, often requiring drilling multiple holes, patching walls, and wrestling with complicated hardware. But what if we told you there was an easier way? Enter tension rods–the secret to drill-free curtain installation. Adjustable, damage-free, and reusable, tension rods are a convenient and hassle-free solution for any window.
You’ll learn what they are, why they’re so popular, tips for selecting the right size, and a foolproof installation method. We’ll even share pro pointers to keep your new tension rod secured and curtains hanging beautifully. So say goodbye to drills, anchors, brackets, and all that complexity! Tension rods offer easy elegance and flexibility for any rental, apartment, historic home, or space where you simply don’t want holes in your walls. Let’s unlock the secrets to drill- and damage-free curtain bliss!
What Are Tension Rods?
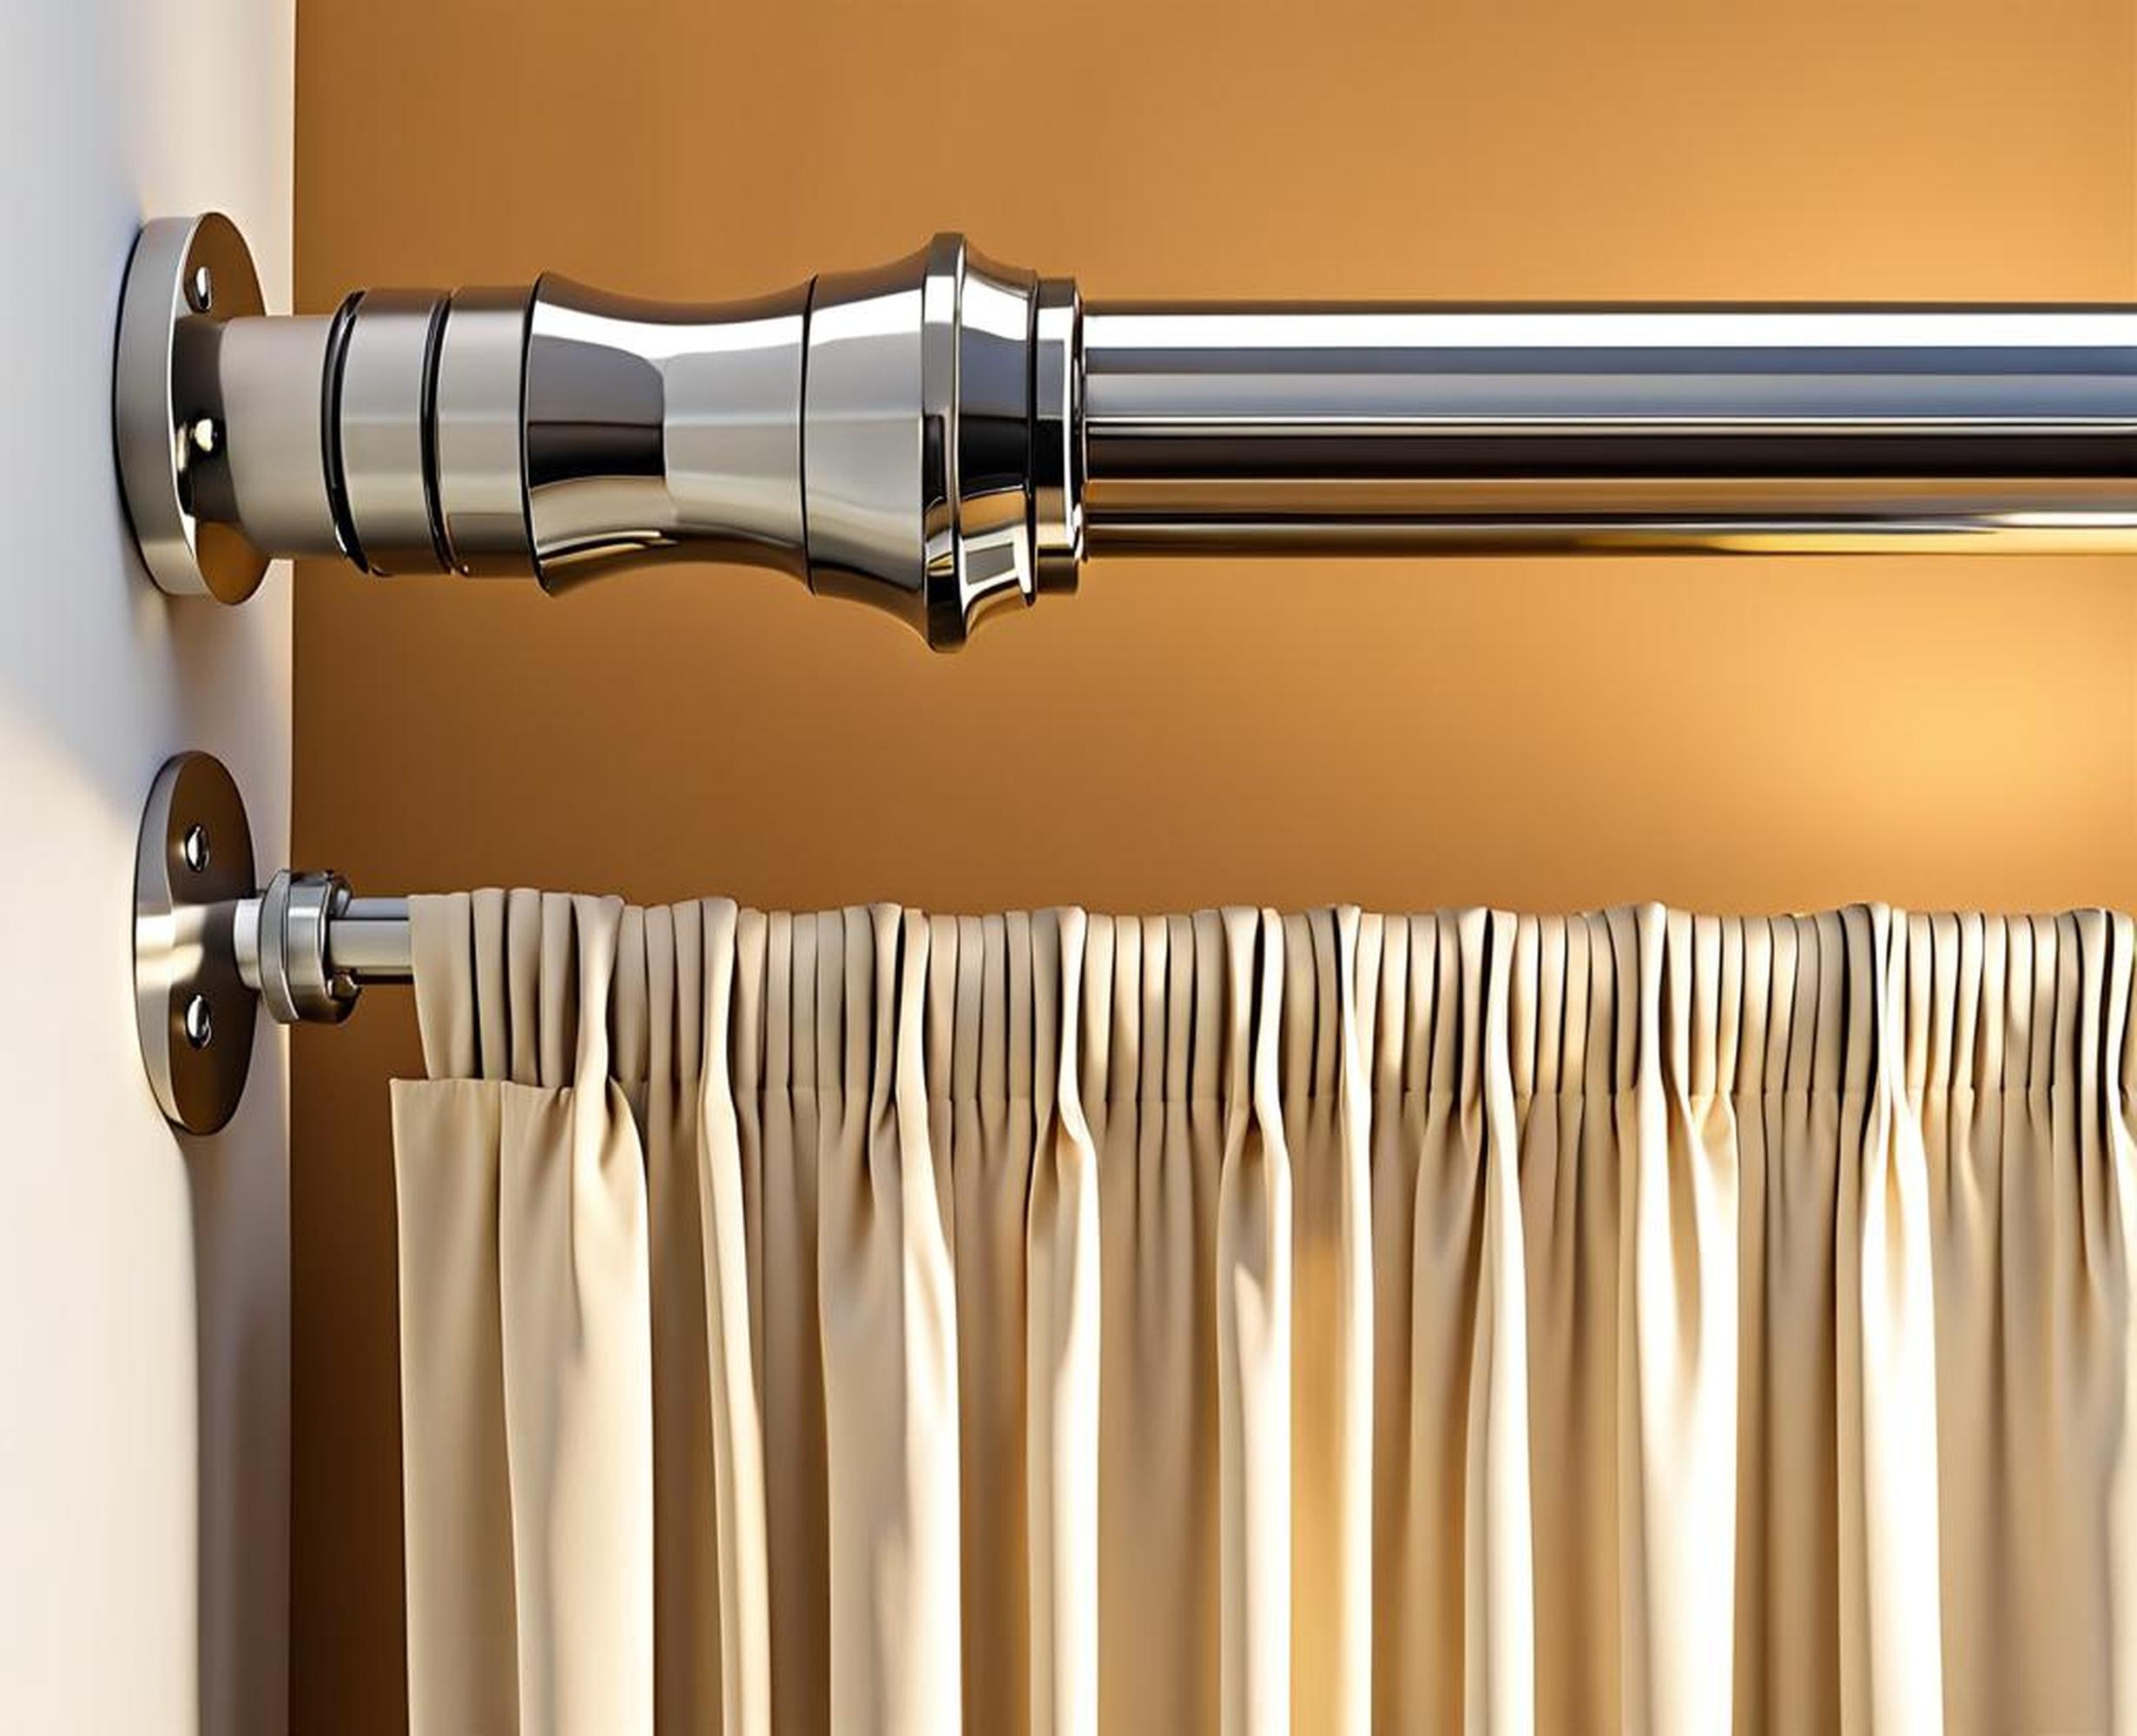
Tension rods, also called spring rods or telescoping rods, are adjustable-length curtain rods that extend to fit snugly inside any window or doorway. They consist of two compact nesting metal poles that contract or expand via a spring-loaded push-pull tension mechanism.
When extended to press firmly between two walls or window jambs, the tension rod’s pressure creates a surprisingly sturdy mount for hanging window curtains. No drilling, nails, screws, or wall anchors required! Tension rods hold curtains in place via their spring-loaded compressive force alone. This makes them an ideal quick fix for renters unwilling to make holes. Their adjustability also suits historic homes desiring preservation over permanent alterations.
Benefits of Tension Rods
Compared to traditional curtain rods affixed with brackets, tension rods offer several advantages:
- Easy, drill-free installation
- Fully adjustable to fit various window widths
- Portable and reusable in different rooms/homes
- Prevent wall damage from drilling holes
- Lightweight yet surprisingly sturdy
- Affordable and accessible option
Whether you’re outfitting your first apartment or refreshing windows in your forever home, tension rods check all the boxes. Avoid permanent changes while still enjoying customized window dressings. Now that’s ingenious!
Choosing the Best Tension Rod
Tension rods come in a variety of sizes, weight capacities, and designs to suit any space. When selecting a tension rod, consider these factors:
- Window width – Measure your windows to find an adjustable tension rod that fits snugly when extended.
- Curtain weight – Check manufacturer guidelines for the tension rod’s maximum capacity.
- Design – Match finish to your decor; some rods offer extra detailing.
With measurements in hand, tension rods as long as 144 inches accommodate even generously sized windows and doorways. For weight, affordable standard models bear around 10-20 pounds for sheers/light curtains. Upgraded heavy duty tension curtain rods support closer to 50 pounds for heavier window treatments.
How to Install a Tension Rod – A Simple Guide
Ready to hang your curtains without any drilling or complications? Installing a tension rod only takes about 10-15 minutes. Just follow these straightforward steps:
1. Measure Window Width
First, use a tape measure to determine the exact width of the window or door opening you want to outfit with curtains and a tension rod. For an ideal tension fit, add an extra 1/4 to 1/2 inch to your measurement. This accounts for any settling or slack once the tension rod extends between sides.
If your window opening measures 30 inches wide, opt for a tension rod adjustable to 30 1/4 or 30 1/2 inches for that built-in tautness when installing your new tension rod. Extending rods slightly past opening width keeps the hardware securely in place.
2. Adjust Rod Initial Length
Based on your window measurements, carefully extend the telescoping inner and outer poles of the tension rod to match the needed length. Stop sliding out segments once you achieve your target “tension” length that stretches a bit wider than the window’s actual lateral span.
Ensure all rod locks or mechanisms click securely into position so pole length holds steady. Double check your math here – a properly sized tension rod helps guarantee effective window gripping tension on both outer ends.
3. Anchor Tension Rod To Window Jambs
Holding the now pre-extended tension rod horizontally, center and place both end caps against the desired window jamb or wall location. Gently press and twist each end cap simultaneously towards the anchoring surfaces until the coiled internal spring compressively pushes back.
Continue applying mild outward pressure as you finesse the rod into alignment across the window. The rod will contract in the middle while maintaining taut contact on both terminating end points. Check for a vice-like grip – give it a gentle downward tug to confirm snug stability.
4. Check Rod Tension Security
Before hanging any curtains, validate your custom-fit tension rod won’t budge or slip down. Try gently pulling down on the rod’s midpoint and release. Properly installed rods should recoil back into taut suspension between anchored ends.
If the tension rod slides, sags, or lacks that springy compressed resistance when centered, try readjusting the telescoping poles. Extend segments for a tighter fit or tighten locks if needed to pass the hang-test.
5. Hang Curtains!
Last step – adorn your new damage-free tension rod mount with curtains! Carefully slide drapes or sheers onto the rod, arranging folds evenly across the window. Check clearances on sides, top, and length along the sill or floor.
Now draw back curtains to let sunlight shine in! Or if you opted for blackout curtains, block out bright morning rays so you can sleep in. Adjust and overlap panels to filter or block light to your exact preference!
Pro Tips for Tension Rod Success
Follow these handy tips and tricks to keep tension rods and curtains looking fabulous:
- Abide by the tension rod weight limit to prevent sagging.
- Periodically check rod tightness; refit end caps snugly if loose.
- When traveling, take tension rods down to prevent curious pets from dislodging.
- Dust and vacuum rods to limit dirt buildup and maintain smooth operation.
By regularly inspecting for secure pressure contact with windows and keeping hardware cleaned, your spring-loaded rods should maintain lasting strength and adjustability.
We hope unraveling the secrets behind tension rods illuminates just how handy these unassuming devices can be. By craftily leveraging the power of spring-loaded force, tension rods spare you the work and mess of drilling curtains the traditional way. Just measure, extend, and press into submission between windows or walls instead!
Flexible, affordable, and friendly for walls in rented spaces or historic homes, tension rods offer a damage-free shortcut to customized windows. Simply follow our instructions to install these adjustable rods. Then kick back and relax beneath curtains hung neatly sans hardware, knowing tension force alone keeps window fabrics perfectly poised. Congratulations – now you can install window dressings with true ease and zero regrets later!
