Turning an exposed deck into a relaxing bug-free oasis no longer requires breaking the bank. With some strategic planning and elbow grease, you can screen in your existing deck on a budget. We will walk through how to tackle an affordable DIY deck screening project to enjoy your outdoor living space without getting bombarded by insects or blasted by wind.
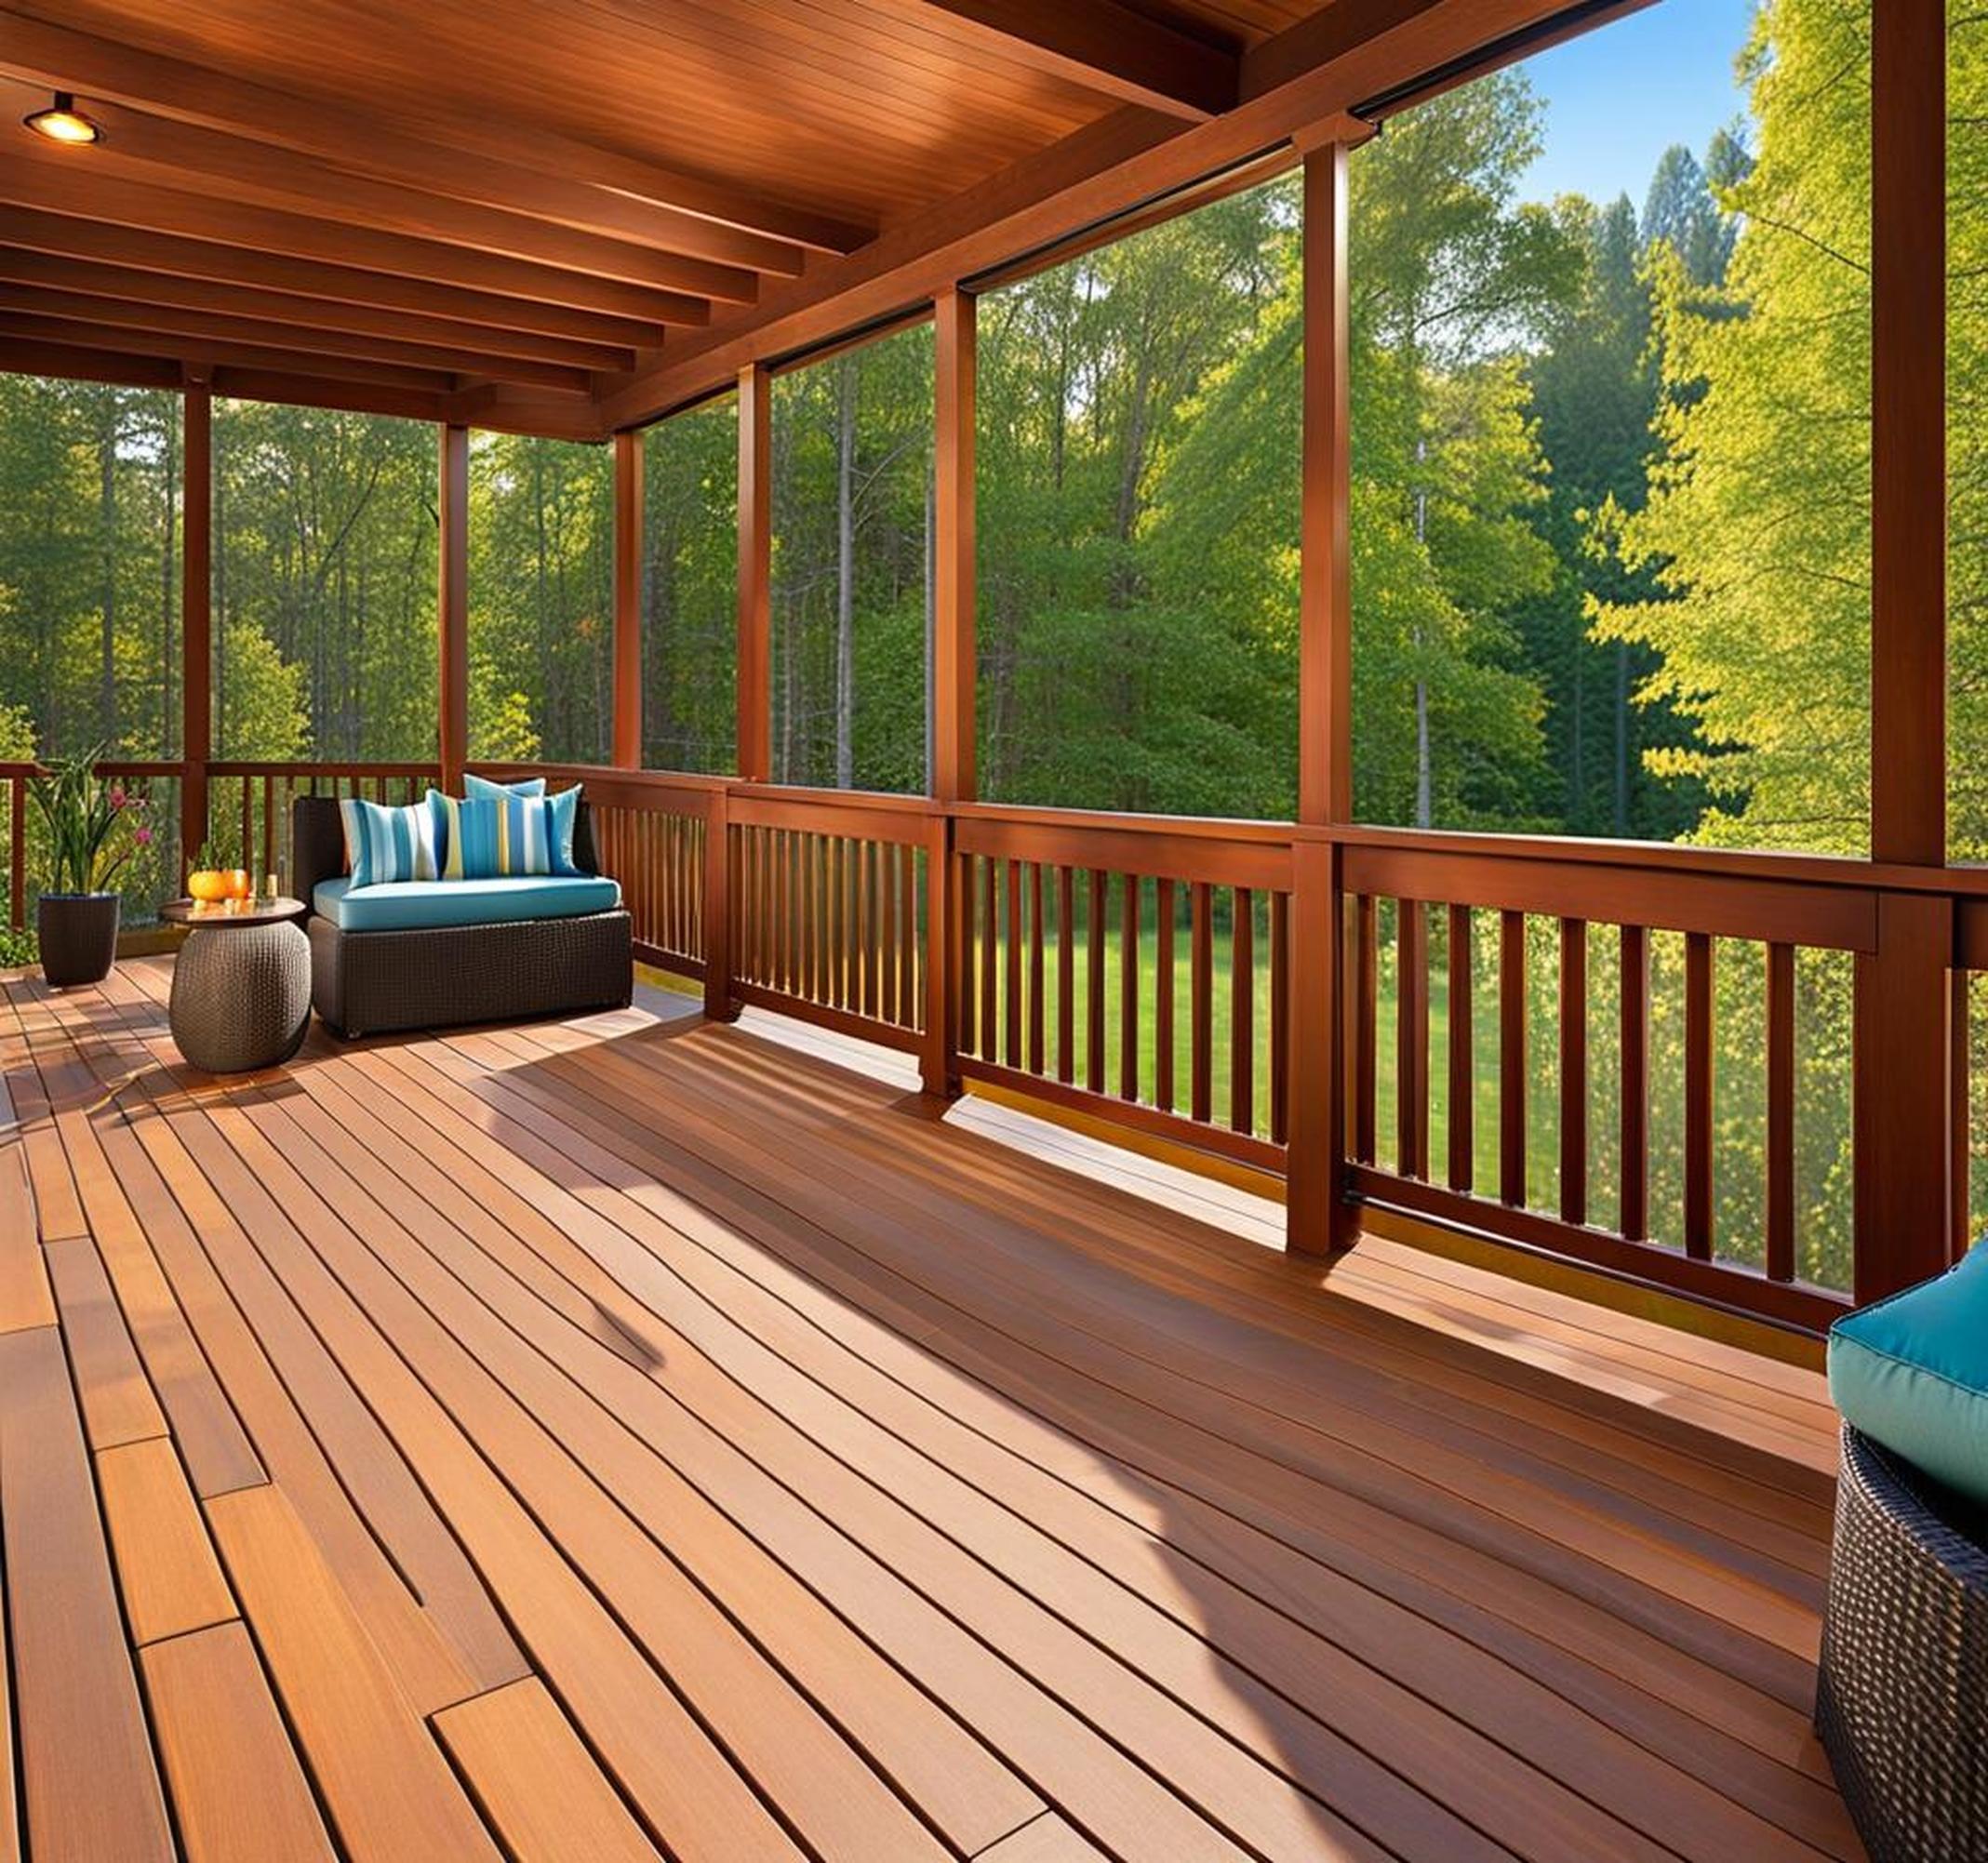
Screening in a deck involves attaching insect screening around the perimeter to close it in. This creates a sheltered area for dining, lounging, and entertainment. Screened decks let you fully utilize your outdoor square footage without the nuisance of mosquitos, flies, and other pests ruining the experience.
DIY vs Hiring a Professional
Installing screens around your deck can be managed as a DIY project for substantial cost savings compared to hiring a professional. Materials for screening in a typical 200 square foot wood deck cost $450 to $750 if you purchase them yourself from a home improvement store. Having a contractor install custom screening for that same area will run you anywhere from $1500 to $4000 or more depending on labor, materials, site complexity and any structural modifications required.
| DIY | Professional Installation |
|---|---|
|
|
As you can see, your tradeoff is saving money upfront with a DIY deck screening versus paying for the luxury of having someone else do the work. If you enjoy home projects and are willing to put in some sweat equity, you can transform your existing deck into an enclosed oasis at a fraction of the cost.
Planning Your Project
Careful planning is key to executing a smooth, successful DIY screening project. Start by measuring the total square footage of your deck space. This allows you to calculate the amount of screening material needed. Check with your local building department on permit requirements for screened structures. Many areas require permits for any permanent modifications. It’s better to find out early to avoid headaches down the road.
Determine whether you want to screen in the entire deck or just a portion of it. Partial screening is more affordable and still provides a secluded seating area. If budget allows, full screening gives you more usable protected space. If your deck has a roof, decide if you want to screen the ceiling as well. This provides ventilation while keeping out pests.
Pay special attention to any existing electrical elements on or around your deck. Any lighting, fans, outlets and wiring will need to be done properly to avoid safety hazards. Consulting with a licensed electrician is highly recommended if electrical work is required.
Picking the Right Screen Material
Fiberglass is one of the most popular and cost-effective screening materials for DIYers. It comes in handy roll sizes, is easy to cut and install yourself, and provides excellent insect protection. Other common options include aluminum, vinyl, polyester and pet-proof screens. Consider sun-blocking screens if excessive sunlight is an issue.
Look for screens made of durable, weather-resistant materials so they hold up over time. Favor materials that can be easily trimmed during fitting while still resisting tears and damage. Check that the mesh size can effectively keep out tiny insects like gnats and no-see-ums based on your needs.
Structural Considerations
Assess your deck structure to determine if additional framing needs to be added around the perimeter to attach the new screens. Having this extra framing makes mounting the screens much easier. If your deck is attached to your home, see if you can secure screens directly to the existing siding.
account for potential wind load on the screens when determining framing strength. In high wind zones, large expanses of screening act like a sail catching gusts. Using removable panels or retractable screens can mitigate wind damage.
If you opt to screen a roofed portion of deck, carefully plan how to secure the screens along the roof rafters or beams. This usually involves additional wood framing and mounting hardware. Leaving some roof vents can encourage airflow while screening keeps out most insects.
Gather Your DIY Screening Materials
Along with your preferred screening material, other supplies you’ll need include:
- Staple gun and staples
- Drill with screw-driving bits
- Level
- Tape measure
- Wood strips, furring strips, trim, or lumber for framing
- Nails, screws, mounting brackets
- Scissors or utility knife
- Ladder
Watch a few online video tutorials to get familiar with the screening installation process before starting. Then gather your materials and get ready to tackle your DIY deck screening project.
Installing Screens on a Budget
Step-by-Step Screening Process
Here is an overview of how to install insect screening around your deck:
- Install any additional framing needed around the perimeter using wood strips, furring, trim boards or framing lumber. Miter cut the ends at 45 degree angles for a clean look.
- Measure each section and cut screening material to length using heavy duty scissors or a sharp utility knife. Leave several extra inches to pull taut.
- Use a staple gun to temporarily tack the screening material to the framing every 6-12 inches. Start in one corner and work around the perimeter.
- Once attached, pull the screening tight on each section and staple permanently every 3-4 inches. Trim off any excess.
- For roof screening, secure screens similarly along roof rafters or beams using staples, screws, or vinyl tracking.
- Tip: Use painter’s tape along edges as a guide and cut along it with a utility knife for clean trimming.
Take your time, measure carefully, and use clamps or helpers for easier installation. Watch online videos for tips on tightening screens evenly and joining sections seamlessly.
Electrical and Decor Considerations
Pay special attention to properly installing any lighting, fans or other electrical components by following local codes. Outdoor-rated cords, lights and power outlets are a must in screened deck areas. For inexpensive lighting, string lights or solar lanterns add ambiance without huge expense.
Your existing patio furniture will work great in your new screened space. Look for pieces made of all-weather materials like powder-coated metals, synthetic wicker and weather-resistant cushion fabrics. Waterproof rugs, curtains, plants and ceiling fans help complete your DIY oasis.
Caring for Your Screened Deck
With some simple maintenance your affordable DIY screened deck will deliver years of enjoyment. Routinely check for gaps, holes or tears in the screening and repair them promptly. Use a hose or broom to gently remove debris from screens as needed.
Re-coat any exposed wood framing periodically with outdoor sealant to prevent rot and deterioration per manufacturer recommendations. Remove screens before major storms or heavy winds to prevent damage. Store them flat until ready to re-install after the weather passes.
Annual inspections of all structural elements, screens, hardware and electrical components is recommended. Look for signs of wear, looseness, or other issues needing repair. Addressing problems quickly preserves your screened deck and prevents costlier damage long-term.
Adding screens is one of the most rewarding upgrades you can make to an existing deck. With some strategic planning and a DIY approach, you can save substantially compared to hiring a professional. We hope these tips give you the confidence to tackle screening in your deck affordably.
Soon you’ll be relaxing in your new bug-free zone, comfortably enjoying the great outdoors. Get started on planning your own deck screening project this season to create your perfect outdoor oasis!
