Eyelet curtains can take any room from drab to fab when properly hung to achieve that perfect drape. The built-in or clip-on rings lining the tops of the curtains gracefully suspend them from rods and draw focus to the beauty of the window treatments. However, to really make eyelet curtains shine requires following key techniques and choosing compatible hardware. Proper measuring, spacing, hanging, and adjustments are all critical steps.
An Overview of Eyelet Curtains
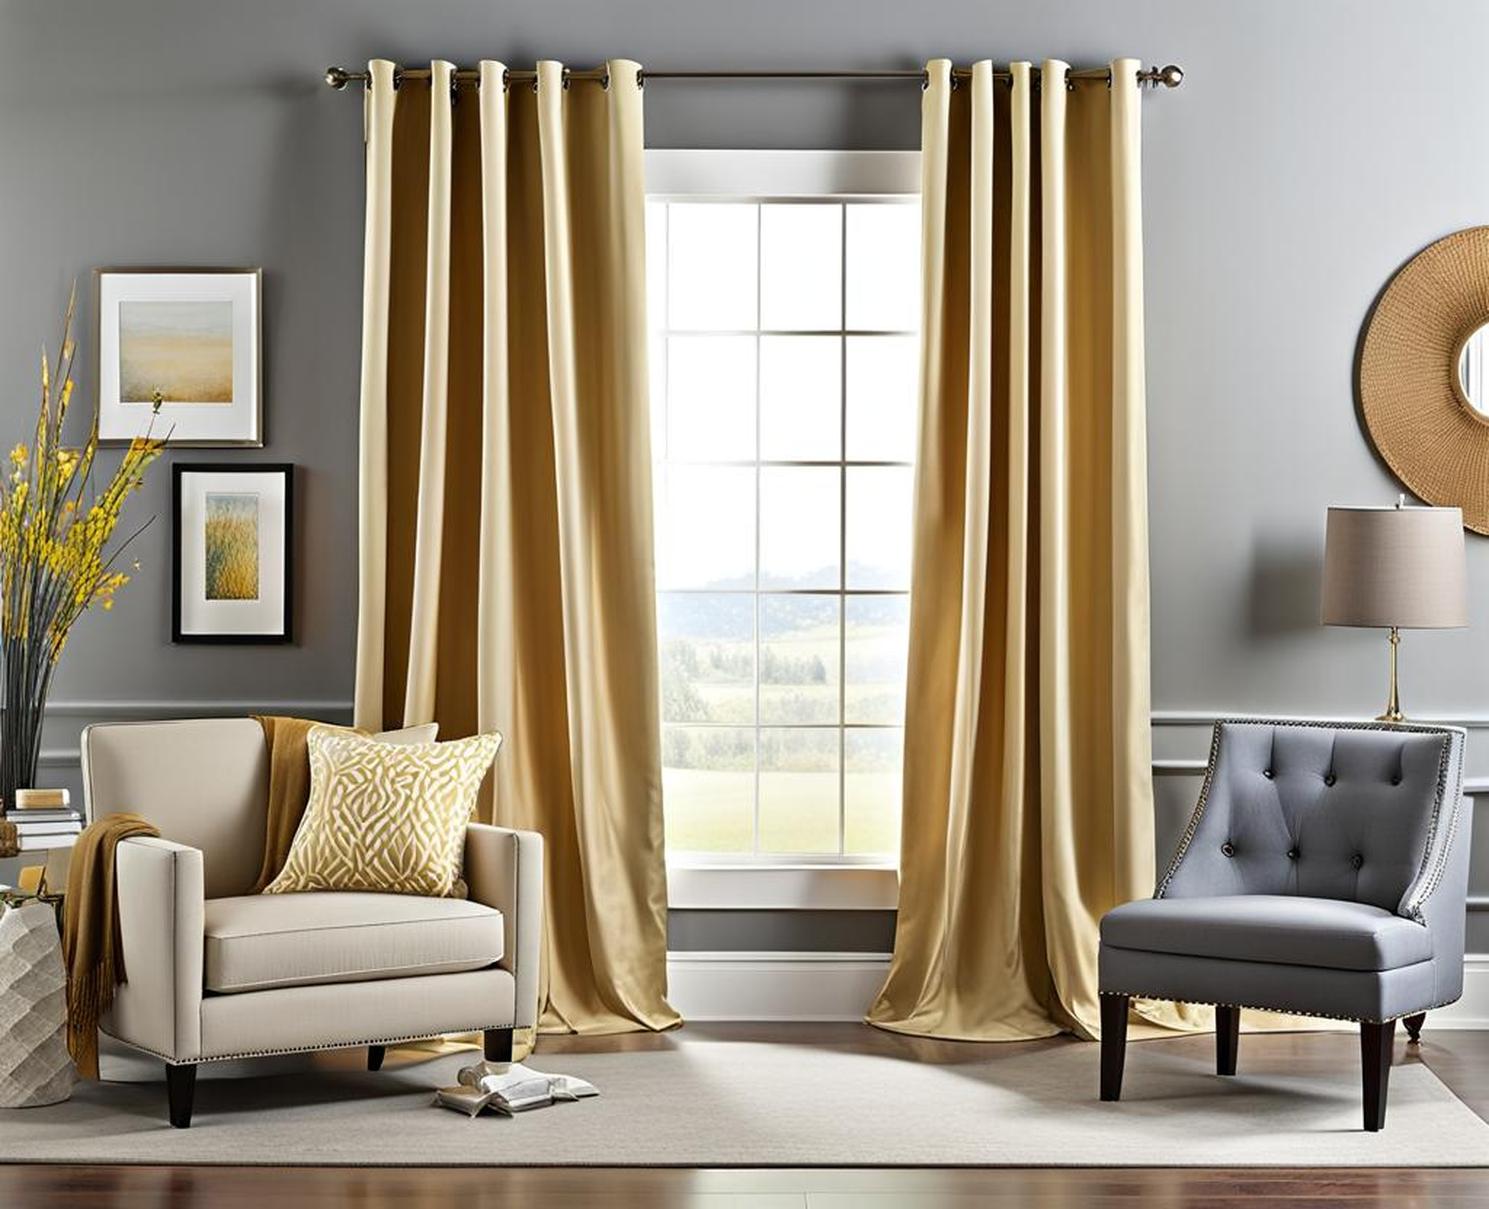
Eyelet curtains are a popular style of drapery that feature either built-in or applied metal or plastic rings along the top edge. The rings have a small opening or eyelet, allowing them to be mounted onto hooks, pins, clips or other hardware on a curtain rod. This creates a smooth, beautiful hang while ensuring the curtain can slide and move freely along the rod.
The eyelet rings provide weight distribution to prevent sagging and bunching. They also make a wonderful design element, lending a more finished, upscale look compared to plain curtain headers. The ability to easily slide the curtains is also a major perk for controlling light and privacy.
Built-in vs. Clip-On Rings
Eyelet curtains either come with the rings already attached by the manufacturer or you can add separate clip rings yourself. Built-in eyelets create a very seamless, integrated look but can be more expensive. Clip rings offer flexibility to DIY eyelet curtains from any normal drapes. The clips tightly grip the fabric while still allowing movement. This is ideal for customizing eyelet curtains on a budget.
Getting Started with Hanging Eyelet Curtains
Before mounting the curtains, there are a few important initial steps to ensure your eyelet drapes are perfectly poised for hanging success. Taking the time to select the right curtains, rods and hanging method will make achieving that magazine-worthy look easy.
Choosing the Perfect Eyelet Curtains
When shopping for eyelet curtains, consider your overall decor, room size, window dimensions, and lighting needs. Popular colors and fabrics like linens, cottons or silks in solids or patterns can elevate the room.
Ideally, the total curtain width should be 2 to 3 times the window’s width. Allow 1.5 to 2 times the window’s height for length. Eyelet curtains often have 5-13 built-in rings. Purchase enough length and pairs for fullness and coverage. Clusters of 3 to 5 rings each create nice drape points. Measure carefully for a custom fit.
Selecting Compatible Hardware
Eyelet curtains require specific rods and hanging hardware to mount the rings properly. Common types like draw rods, cafe rods and tension rods accommodate various hanging options. For example:
- Draw rods have sliding hooks along the track to thread through rings.
- Cafe rods use securing pins to poke through the eyelet opening.
- Tension rods use adjustable clip rings that grip around the built-in rings.
Ensure the rod suits the curtain’s length and weight. The hooks, pins and clips should also be the right size to easily slide through the curtain’s rings. Sturdy hardware keeps drapes hanging smoothly.
Tips and Tricks for Hanging Methods
Once you’ve selected eyelet curtains and compatible rods and hardware, it’s time to mount the drapes for an expert finish. Follow these techniques for measuring, attaching and spacing the rings.
Measuring and Marking Ring Placement
To achieve even, consistent drape points, carefully measure and mark where to place each ring along the rod. As a general rule of thumb, space rings every 6 inches. But first measure across the entire rod length and divide by the number of rings to find the optimal interval.
Mark the measured intervals with painter’s tape. For centered patterns, start from the middle and work outward. Check that the spacing achieves the fullness and drape points you desire before attaching the rings.
Attaching Rings and Clips
Clip the open rings around the top edge of the curtain at each mark, taking care to attach near the grommet’s center. For heavy curtains, overlap two rings per grommet for added support. Ensure rings are very secure – a snapped clip can be a real headache!
Built-in eyelets already have centered rings so simply check even spacing. Avoid pulling fabric too taut when clipping on rings to prevent distortion or damage.
Mounting Curtains Onto Rods
Slip the rings onto the rod hardware following your chosen hanging method and style. For example, with a draw rod, thread each ring individually onto hooks. Or poke cafe rod pins through the eyelet holes. Secure all rings before moving the curtains.
To center the drapes, start by mounting the middle set of rings first. Work outward securing ends last. Skipping occasional rings creates nice fuller points. Adjust as needed for even lengths and shapely drape.
Putting the Finishing Touches on Your Eyelet Curtains
You’ve measured, marked, clipped, pinned and mounted your beautiful eyelet curtain. But it takes a bit of finesse to put the final perfecting touches on the drapes. Follow these tips for adjusting the hang and preventing any sagging issues over time.
Adjusting and Centering the Eyelet Curtains
Initial hanging almost always needs a bit of tweaking for the drapes to really sing. Gently slide rings to center curtains over the window and evenly align side lengths. For slight adjustments, twist rings to reset drape points and pleats.
If hems or edges twist, carefully unclip one end to realign and re-clip. Be meticulous – every inch affects the overall look!
Keeping Eyelet Curtains Looking Fresh
Over time, eyelet curtains can start to sag, especially heavier fabrics. Regularly check clip tightness and connections to ensure rings are secure. For heavy drapes, consider underlying split-ring reinforcement.
Periodically dust rings and rods to keep movement smooth. Upgrade to heavier-duty hardware if sagging persists. And follow any manufacturer cleaning recommendations to keep curtains fresh.
Decorating with Eyelet Curtains
Once properly installed, it’s time to add complementary accents and really put your eyelet curtains on display. Consider these decorating tips:
- Layer sheer under-curtains to soften the light.
- Add matching or contrasting tie-backs for an elegant touch.
- Crown the curtains with pretty swagged valances.
- Incorporate scarves, garlands or other accents on the rods.
Tie the whole window treatment together with surrounding furniture, pillows, art and other details. Harmonious decor is in the details!
Achieving an expert, elegant eyelet curtain look requires selecting the right hardware, properly spacing and securing the rings, accurately mounting the rods, making minor adjustments, and perfecting the details. But the end result is well worth the effort and care.
Properly hung eyelet curtains add style, sophistication, and visual interest to any window. Follow the tips and techniques outlined to elevate your space to new heights of decor harmony. Your eyelet curtains will not only look beautiful but also provide adjustable light control and privacy for years of fashionable function.
With the right curtains, rods, rings, and a bit of decorating flair, you can create a showstopping focal point. Who knew the key to charming style was as simple as perfectly placed rings?
