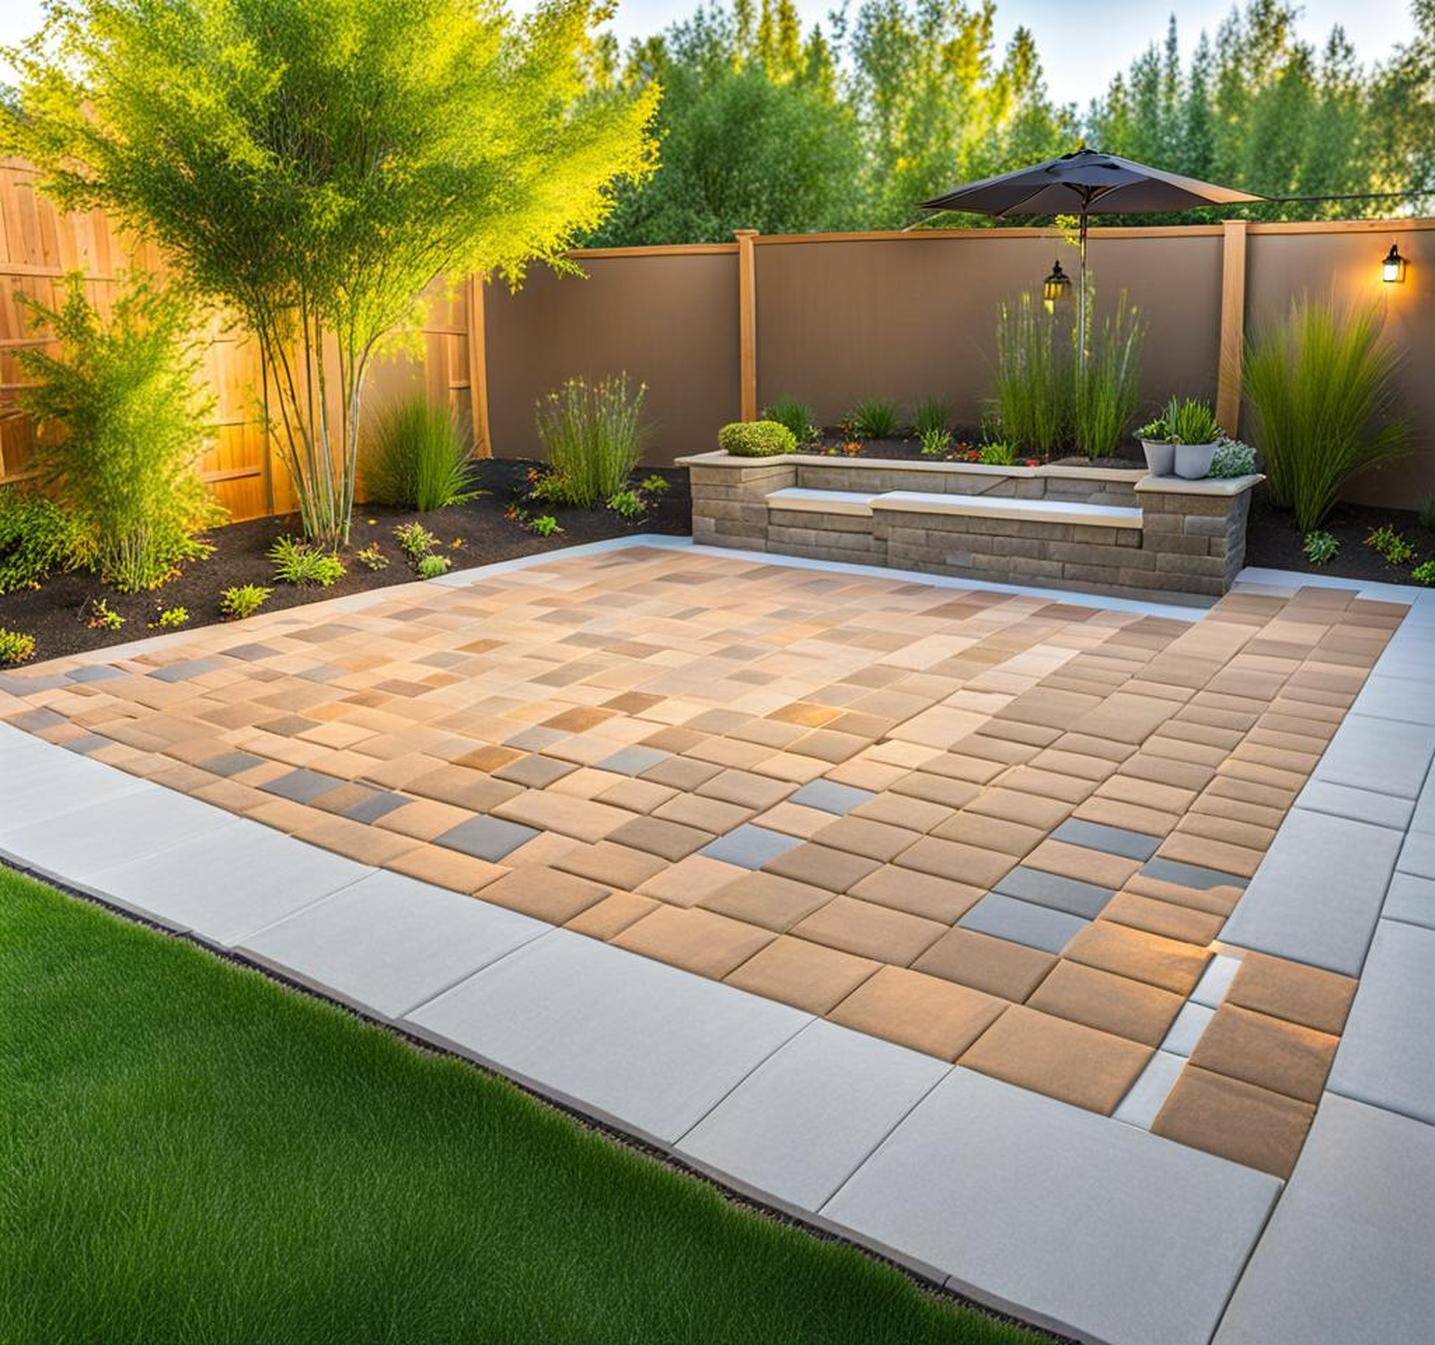
Installing an elegant paver patio, walkway, or driveway on a dirt surface may sound daunting, but it can be simple if you follow some key steps. Pavers are a great way to upgrade the look of your yard without the high cost of poured concrete. By properly preparing the base and carefully laying the pavers, even amateur DIYers can achieve professional-looking results. This straightforward 7-step process will transform your dirt yard into a stylish paver oasis.
The keys are taking time to prepare the soil beneath the pavers, providing a solid base layer for drainage, and precisely installing the pavers. Follow these steps and tips, and you’ll end up with a beautiful, long-lasting paver surface you can enjoy for years to come.
Step 1: Plan and Prepare the Installation Area
The first step is deciding on the size and layout of your paver patio or walkway. Determine the boundaries and use string, flour, or spray paint to mark clear outlines on the ground. This helps visualize the area and serve as a guide when installing the pavers. Remove any existing grass, plants, or debris within the outlines to create a flat, bare surface.
For proper stability, dig down 4-6 inches within the outlines and level out the soil. Use a shovel, rake, and measuring tape to ensure an even depth. Compacted soil is vital for preventing the pavers from shifting or sinking over time. Once leveled, compact the soil with a plate compactor. Having underground utilities marked beforehand helps avoid accidental damage while digging.
Tips for Planning:
- Allow for a slight slope or grade for drainage.
- Eliminate any sticks, rocks, or imperfections in the soil.
- The soil should be moist, not overly dry and crumbly.
Step 2: Install Gravel Base Layer
With the soil prepped, it’s time to install a gravel base layer. This sub-base of crushed stone provides a vital foundation for the pavers. Add 4-6 inches of road base gravel or crushed limestone over the leveled soil. Use a rake to spread the gravel evenly.
Compact the gravel using a plate compactor, working in 2 inch layers. The goal is to create a completely flat, smooth, and dense sub-base for the pavers to rest on. A proper gravel base prevents sinking and allows for drainage underneath the pavers.
Gravel Subbase Tips:
- Use road base gravel for superior strength.
- Compact in thin layers for best results.
- Crown the middle slightly to facilitate drainage.
Step 3: Install Edging to Contain Pavers
Edging helps define the paver area and hold the pavers in place. You can use landscape timbers, bricks, composite boards, aluminum, or concrete for edging. Partially bury the edging 2-3 inches below ground level around the perimeter of the paver base. Follow the marked outlines for smooth edges.
For rounded patios, curve the edging gradually. Miter cut the ends at 45 degree angles for clean transitions between pieces. Stakes help secure edging temporarily until the area is backfilled. Leave a 1/2 inch gap between the edging and any walls or structures to allow for drainage and prevent buckling due to soil movement.
Edging Tips:
- Use stakes to hold edging in place while backfilling.
- Miter cut edges at corners for seamless transitions.
- Allow gap between edging and any fixed structures.
Step 4: Spread and Level Sand Base Layer
With the gravel base installed, spread a 1-2 inch layer of coarse sand over the entire area. Screed the sand flat until perfectly smooth and consistent. Mist the screeded sand lightly with water before compaction. This allows the sand particles to settle and bind for a denser base.
Compact the damp sand with a plate compactor. Avoid walking on the finished screeded sand, as footprints can telegraph through the pavers. Polymer jointing sand offers enhanced stability and weed resistance compared to regular builder’s sand.
Sand Base Pointers:
- Use polymer sand for best stability and weed resistance.
- Make sure sand is perfectly level and consistent.
- Don’t walk on screeded sand to avoid footprints.
Step 5: Lay the Pavers
With the gravel and sand prepped, start setting the pavers in place. Begin laying pavers in the corner and work outward in rows. Place the pavers about 1/8-1/4 inches apart. Use string lines to keep rows straight and a rubber mallet to tap the pavers into the sand.
Cut border pavers as needed with a masonry saw to achieve the right fit. Random paver patterns create a natural look. Continue laying pavers one row after the next until you fill the area. Tamp each paver into the sand continuously to prevent shifting.
Paver Placement Tips:
- Use string lines to keep rows straight.
- Place pavers randomly, not in patterns, for natural look.
- Leave consistent 1/8″ gap between pavers.
Step 6: Sweep Sand into Gaps
Once all pavers are laid, spread dry joint sand over the surface. Use a broom to gently sweep the sand into the gaps between the pavers. The sand will compact slightly in the joints as you walk on the pavers. Applying water helps the sand flow into the paver joints.
Do multiple passes with the broom to ensure the gaps are completely filled. Avoid overfilling the gaps or a haze can form on the pavers that needs removal later. Compact the pavers again with the plate compactor to further settle the sand into the joints.
Joint Sand Pointers:
- Avoid overfilling gaps to prevent hazing later.
- Multiple passes may be needed to fully fill joints.
- Mist lightly with water to help sand flow into gaps.
Step 7: Seal and Finish the Pavers
Once the joint sand is installed, the pavers are ready to be sealed. First use a pressure washer to clean the entire surface. Allow the pavers to dry fully before applying any sealer, which requires 24-48 hours. Read the sealer instructions carefully before starting.
Using a paint roller on an extension pole makes applying the sealer easier. Apply two coats of a joint stabilizing sealer, allowing proper drying time between coats. The sealer protects the pavers from stains and prevents weeds and ants. Reapply sealer every 1-2 years.
- Read sealer instructions carefully before applying.
- Use a paint roller and extension pole for easy application.
- Reseal every 1-2 years for lasting protection.
Following these 7 crucial steps will allow you to install beautiful, long-lasting pavers on a dirt surface. Paying close attention to properly preparing the gravel base and sand layers prevents the pavers from sinking or shifting over time. With a weekend of work, you can transform any dirt space into a professional-grade paver patio, walkway, or driveway.
