Is your kitchen in need of an aesthetic boost but you’re hesitant to take on a major remodeling project? Installing a new backsplash offers big design impact at a fraction of the cost and effort of a full kitchen overhaul. With easy DIY materials like peel-and-stick tile, faux brick, painted murals, and more, you can upgrade your kitchen’s style affordably and without construction headaches.
A stylish backsplash serves as the focal point of your kitchen, bringing vibrancy, texture, and personality to the space. It ties your countertops, cabinetry, and appliances together into a cohesive look. Best of all, backsplashes come in endless styles to match any design aesthetic, from modern geometric patterns to cozy cottage panels.
Why Invest in a Kitchen Backsplash?
Major Visual Impact
The backsplash is a blank canvas that allows you to infuse color, texture, and creativity into your kitchen design. Since the backsplash takes up a significant portion of visual real estate, updating it makes a major impact on the overall aesthetic. You can create an enticing accent wall or bring a secondary color from accessories like bar stools into the main design.
A backsplash introduces depth, dimension, and visual interest to prevent a flat, boring look. The right backsplash pulls your entire kitchen together into one cohesive design statement. It enhances and unifies the look of your cabinets, counters, flooring, and other elements instead of each piece looking disjointed.
Protection for Walls
On a practical level, a backsplash safeguards your kitchen walls from daily wear and tear. Splattering sauces, spilled drinks, and cooking grease can cause stains and permanent damage on drywall. A properly sealed and grouted backsplash creates a protective barrier. The right water-resistant materials also guard against moisture damage from constant sink use.
Affordability
A backsplash offers one of the biggest bangs for your buck when it comes to kitchen upgrades. The relatively small surface area means less cost for materials and shorter installation time. Focused just behind the counters and appliances, a backsplash also avoids the demolition and construction mess required for overhauling cabinetry or flooring.
DIY backsplash installation skips the expense of hiring contractors. And choosing budget-friendly materials like stick-on tiles or paint means you can get a high-end designer look without draining your bank account.
Backsplash Design Considerations
Before diving into DIY backsplash projects, take a moment to think through your design goals. This planning will ensure your new backsplash fits your kitchen style and solves your functional needs.
Material Options
Ceramic, porcelain, or glass tile remain go-to backsplash materials for their durability, easy cleaning, and design versatility. Subway tiles, a popular rectangular shape, have a classic look. Handmade art glass tiles can provide colorful pops. Mosaics create intricate patterns. Thin brick veneers offer a rustic cottage feel. Natural stone like marble, travertine, or granite slabs add elegance.
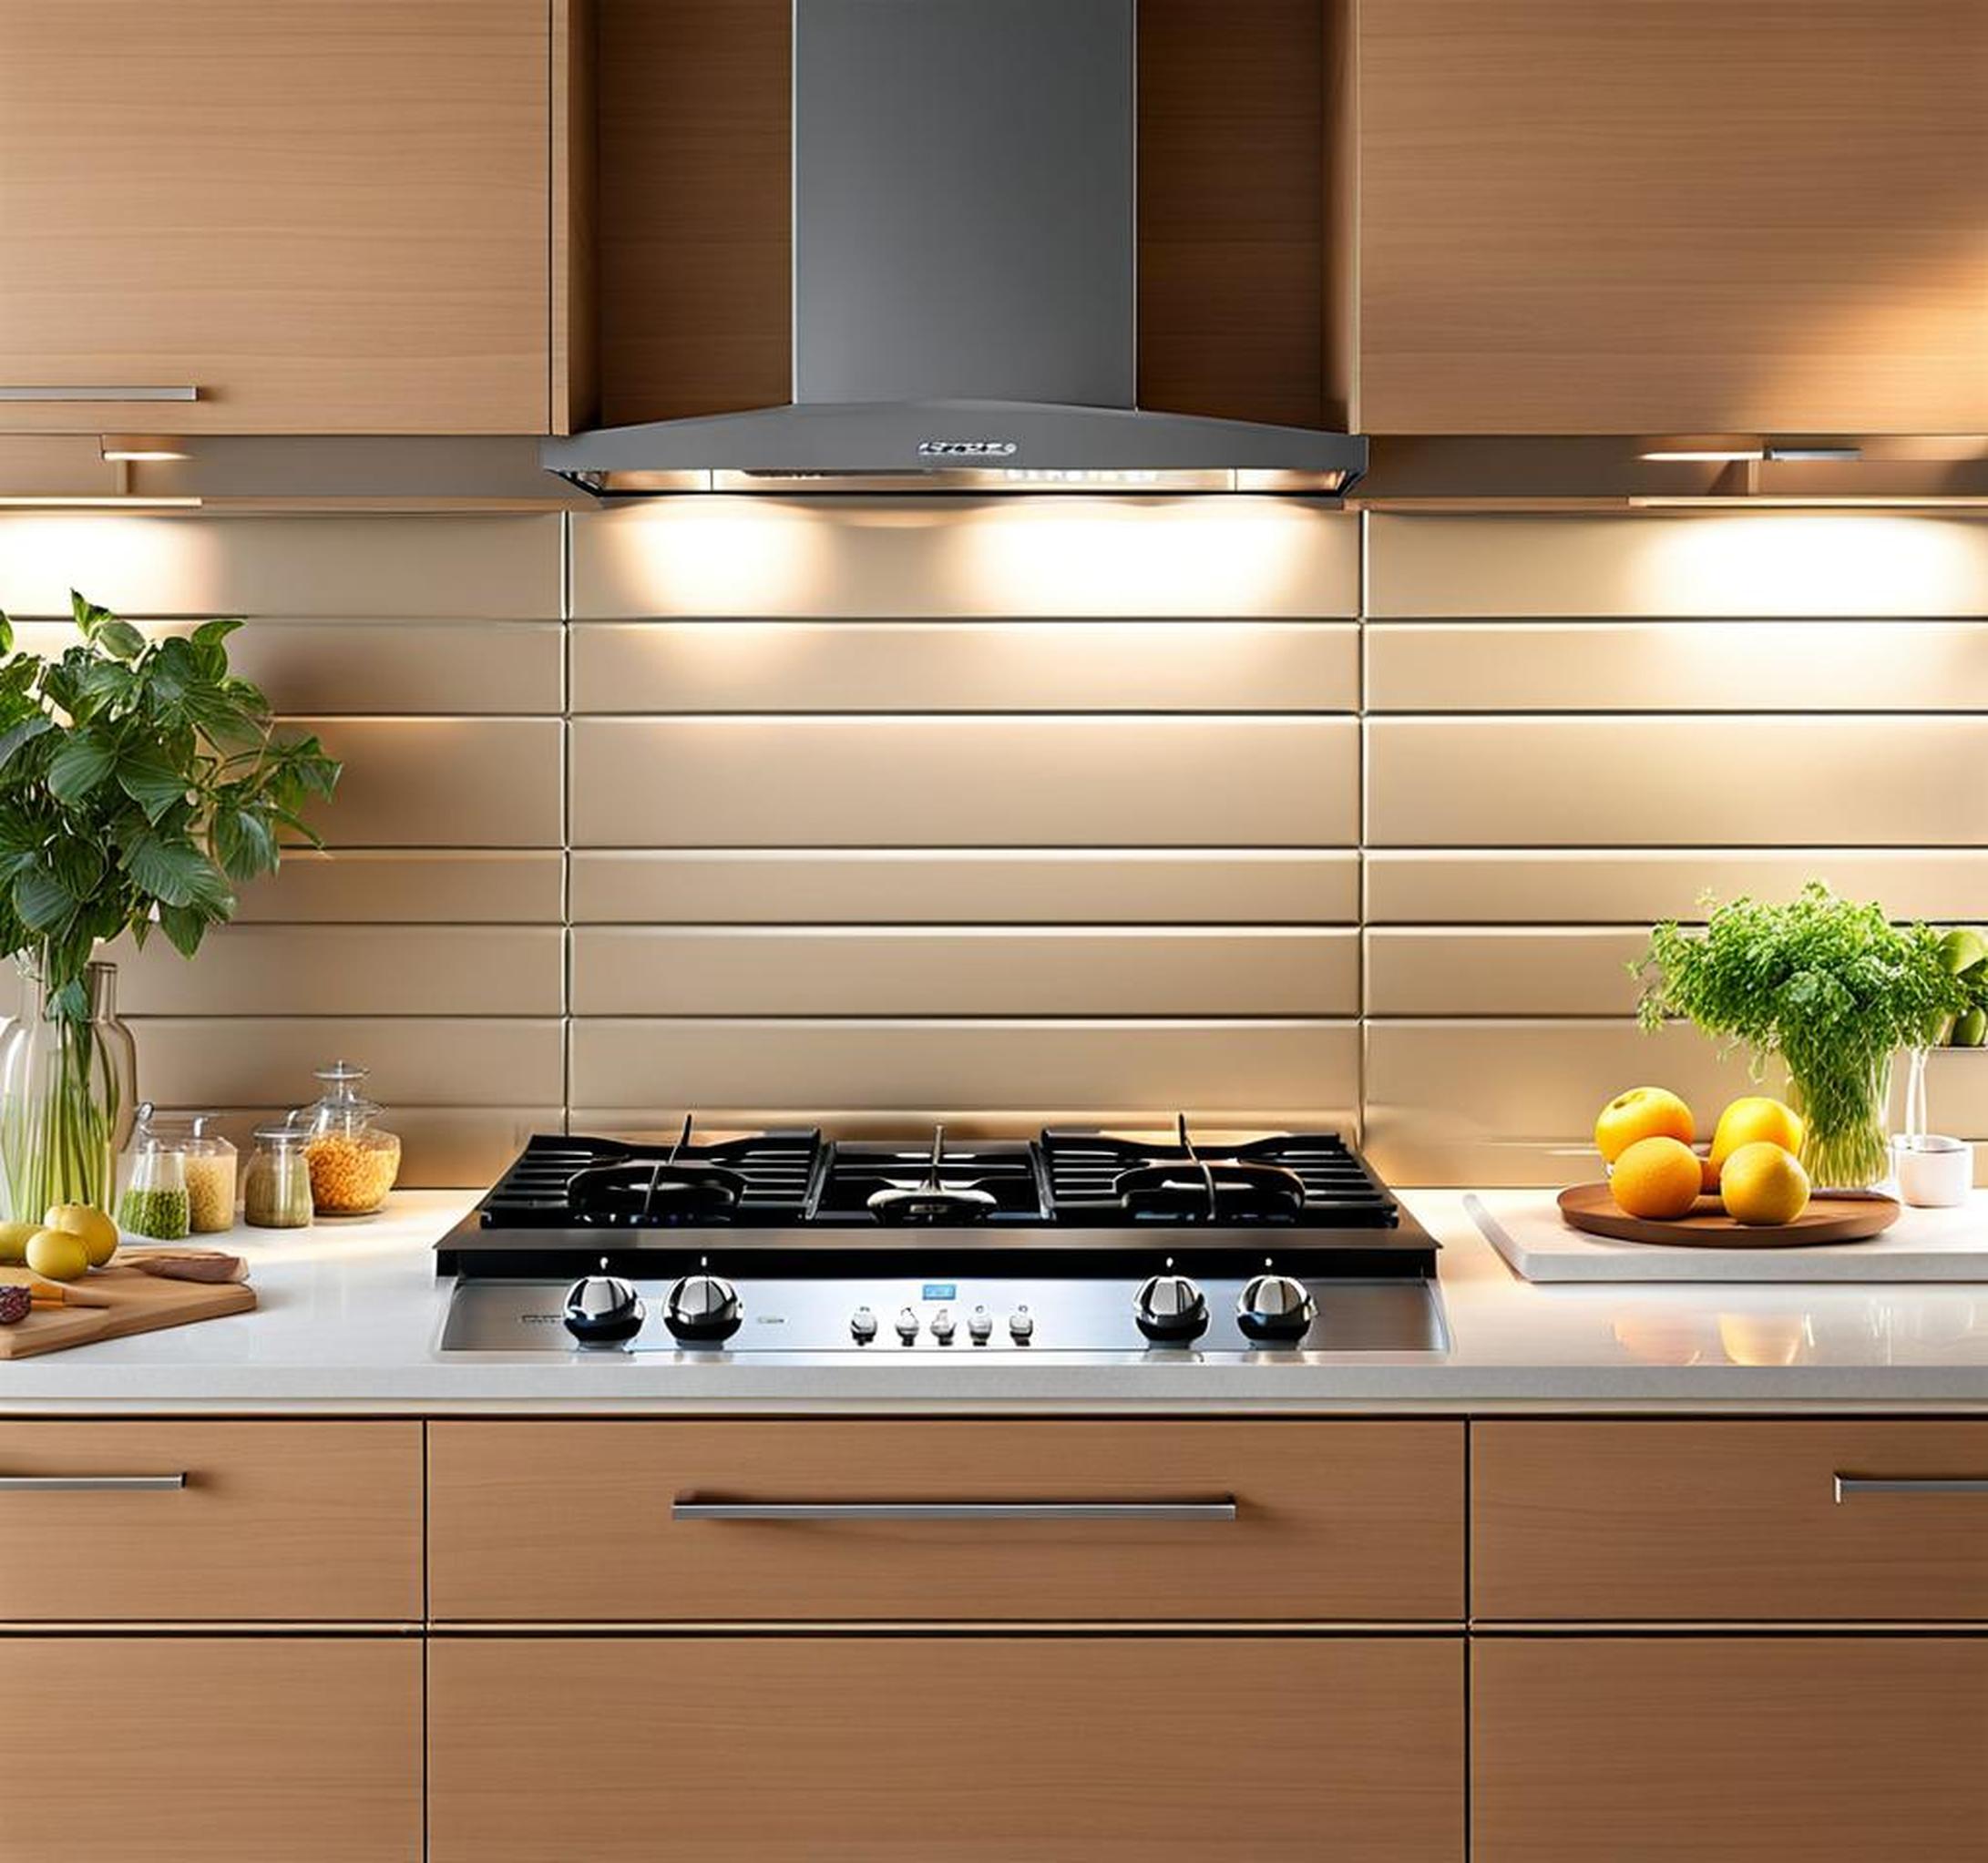
Metal backsplashes from copper, stainless steel, or tin sheets introduce industrial flair. They offer both smooth and textured looks depending on finishing. Mirror or stained glass backsplashes open up a small kitchen with light reflection. Faux finish options like wood paneling, brick veneers, or stone laminates provide realistic looks without the higher price tag.
For easy DIY installation, peel-and-stick backsplash tiles now offer the look of authentic ceramic or stone tiles without the struggle of grouting or precise cuts. Paint also opens up endless color and pattern options.
Style Considerations
Look at the current elements like cabinetry, countertops, and flooring to decide on a compatible backsplash style. Subway tiles in white or light grey are a versatile neutral option for both modern and traditional spaces. Bold colors, intricate patterns, or mosaic tiles create a more dramatic accent wall.
If your countertops or floors have a natural stone or marble look, select a backsplash in similar earthy hues and veining for continuity. Stainless steel appliances pair nicely with a matching modern metal or subway tile backsplash.
For a focal point, run tiles vertically or in a herringbone design. Full backsplashes that cover the entire wall behind counters and appliances make the biggest impact. To save on materials, create a focal point around the range hood area and do a mini-splash along the edges.
Layout Considerations
Measure to determine how much backsplash area you want to cover. Mark off any awkward angles, outlets, or built-ins that will require cautious tile-cutting. Decide whether you want the backsplash tiles to start directly at the countertop height or hang slightly lower for a gap revealing a hint of wall color.
Make sure to plan for the extra space needed to continue the backsplash into the areas around windows, corners, or the cooktop hood. Skipping these edges results in a disjointed look.
Top Easy DIY Backsplash Projects
With the right materials and a bit of creativity, you can install a backsplash to upgrade your kitchen’s style without breaking the bank or demolishing drywall. Here are a few of the easiest projects for DIY backsplash success.
Peel-and-Stick Backsplash Tiles
Peel-and-stick backsplash tiles provide the look of real ceramic or stone tile without the struggle of grouting or messy adhesives. These vinyl tiles simply peel off their backing paper and stick directly onto your primed wall. No tile saw or special tools needed!
Peel-and-stick tiles come in a variety of stone, marble, and geometric patterns. Their affordable price point allows you to experiment with fun designs. Just stick them on, sand any corners, and wipe clean as needed. However, vinyl tiles are less durable over decades than real tile. With care, they can last several years before needing replacement.
Painted Backsplash
An easy DIY option is painting directly onto your existing backsplash or drywall. After proper prep and priming, simply use a small roller or brush to apply your desired paint colors and designs. This is great for renters who want a customized look without permanent installation.
Paint allows you to create any patterns your creativity can dream up. Use painters tape and cardstock stencils to make stripes, geometric shapes, or scenic landscapes. Paint the entire wall or just a contained backsplash area. You can easily change the paint color when you tire of it. However, painted backsplashes show wear and stains over time. They require touch up paint jobs every few years.
Faux Brick Backsplash
For a cozy cottage feel, faux brick backsplashes recreate the charming look of natural brick without the masonry work. Peel-and-stick brick veneers make installation easy since they go up in full sheets like wallpaper without individual bricks. Or, painting brick-like lines and shading can mimic a realistic texture.
Faux brick backsplashes pair well with exposed wood beams, copper accents, and stainless steel. Their earthy red hues radiate warmth and artisanal style. However, brick limits your flexibility for future redesigns. It also doesn’t provide the authentic feel and durability of real brick and masonry work.
Beadboard Backsplash
Beadboard offers a timeless vintage style reminiscent of old farmhouse kitchens. You can install white beadboard planks in horizontal rows along your backsplash area using construction adhesive and nails. Beadboard cuts easily with a handsaw or circular saw for precise fits around outlets and corners.
The ribbed grooves and slight gaps between planks create visual texture and dimension. Beadboard works well with worn, distressed cabinets and stainless steel appliances. Keep in mind that wood backsplashes are susceptible to water damage and require refinishing sealants.
Design Inspiration and Ideas
Looking for additional backsplash design inspiration? Utilizing unique materials and getting creative with painted designs allow you to fashion a customized backsplash that reflects your personal taste.
Some eye-catching materials to consider are reclaimed wood, glass bottles, or wine corks. Install a single line of bottle bottoms or flattened cork tiles for an artsy accent. Wood slices on a contrasting wall make a bold organic statement.
Painting creative murals opens up limitless possibilities. Try geometric designs, bold stripes, stenciled patterns, or abstract color shapes. Incorporate meaning with favorite song lyrics or inspirational quotes.
Another idea is a little unexpected glitter or metallics. A statement-making foil, glitter, or iridescent mosaic tile focal point draws the eye. Mixing metal finishes like sleek nickel with rustic copper makes the textures pop.
Frequently Asked DIY Backsplash Questions
Ready to tackle a DIY backsplash makeover? Here are answers to some common questions on successful installation and maintenance:
How do I prepare the surface?
Proper prep work ensures your backsplash materials adhere correctly. Start by thoroughly cleaning the wall surface with a degreasing cleaner to remove residue. Sand glossy areas to help paint or adhesive stick. Spot fill any cracks or holes with spackle, letting dry completely. The area should be smooth and ready for your backsplash materials.
What’s the best way to apply backsplash paint?
Be sure to select quality acrylic latex paint designed for kitchen backsplash use. This formula resists staining from grease splatter. After cleaning and priming the surface, apply two coats of paint using a small foam roller, waiting several hours between coats. Smooth the paint with a brush, avoiding excess roller texture.
Use painter’s tape to create sharp edges along countertops or ceilings. Carefully remove tape right after painting before the paint fully dries. Touch up paint around edges. Finally, apply a clear acrylic sealant.
How do I properly grout backsplash tiles?
Grout fills the spaces between tiles, locking them together and providing a finished look. Apply grout by pressing it deeply into the gaps with a grout float. Hold the float at a 45-degree angle and scrape diagonally across tiles to remove excess. After grouting the entire area, wipe tiles clean with a damp sponge.
Allow 24 hours for grout to cure before sealing. Apply a penetrating grout sealant to prevent staining. Reseal grout every 1-2 years. Using a matching sanded caulk around the outer edges provides flexibility.
What are some tips for cutting tricky backsplash areas?
A multipurpose oscillating tool with a tile-cutting blade can make precise cuts around fixtures and outlets. These make clean internal cuts without damaging the surrounding surfaces. You can also use a carbide scoring tool and straightedge to score and snap tile.
For around pipes, valves, or vents, lay tile pieces upside down to trace an outline of the shape. Cut just inside the line with a Dremel-type rotary tool and then use sandpaper to refine the opening. Remove rubber pipe rings temporarily to get tiles as close as possible.
How do I keep my backsplash looking new?
Apply a sealing product like grout sealer for porous tile or polyurethane on painted backsplashes to protect from moisture and staining. Use non-abrasive cleaners specifically designed stone and tile for routine maintenance.
Promptly wipe up any messes on your backsplash to prevent buildup. Re-caulk areas like the counter-backsplash juncture when cracked or peeling caulk appears. Replace broken tiles or redo paint touch ups periodically. Lastly, limit direct sunlight exposure which can cause fading.
The right backsplash ties your entire kitchen decor together into a cohesive story reflecting your personal taste. With smart planning and easy DIY materials, you can install an eye-catching backsplash without breaking the bank.
Peel-and-stick tile panels, faux brick, beadboard, or metal backsplashes offer shortcuts for achieving a designer backsplash on a budget. Paint allows nearly endless customization options. Incorporate your unique style with creative materials or hand-painted designs.
You can easily level up your kitchen style with an affordable, innovative back splash. So tear out that outdated or damaged backsplash and get ready to install a beautiful focal point that elevates your cooking space.
