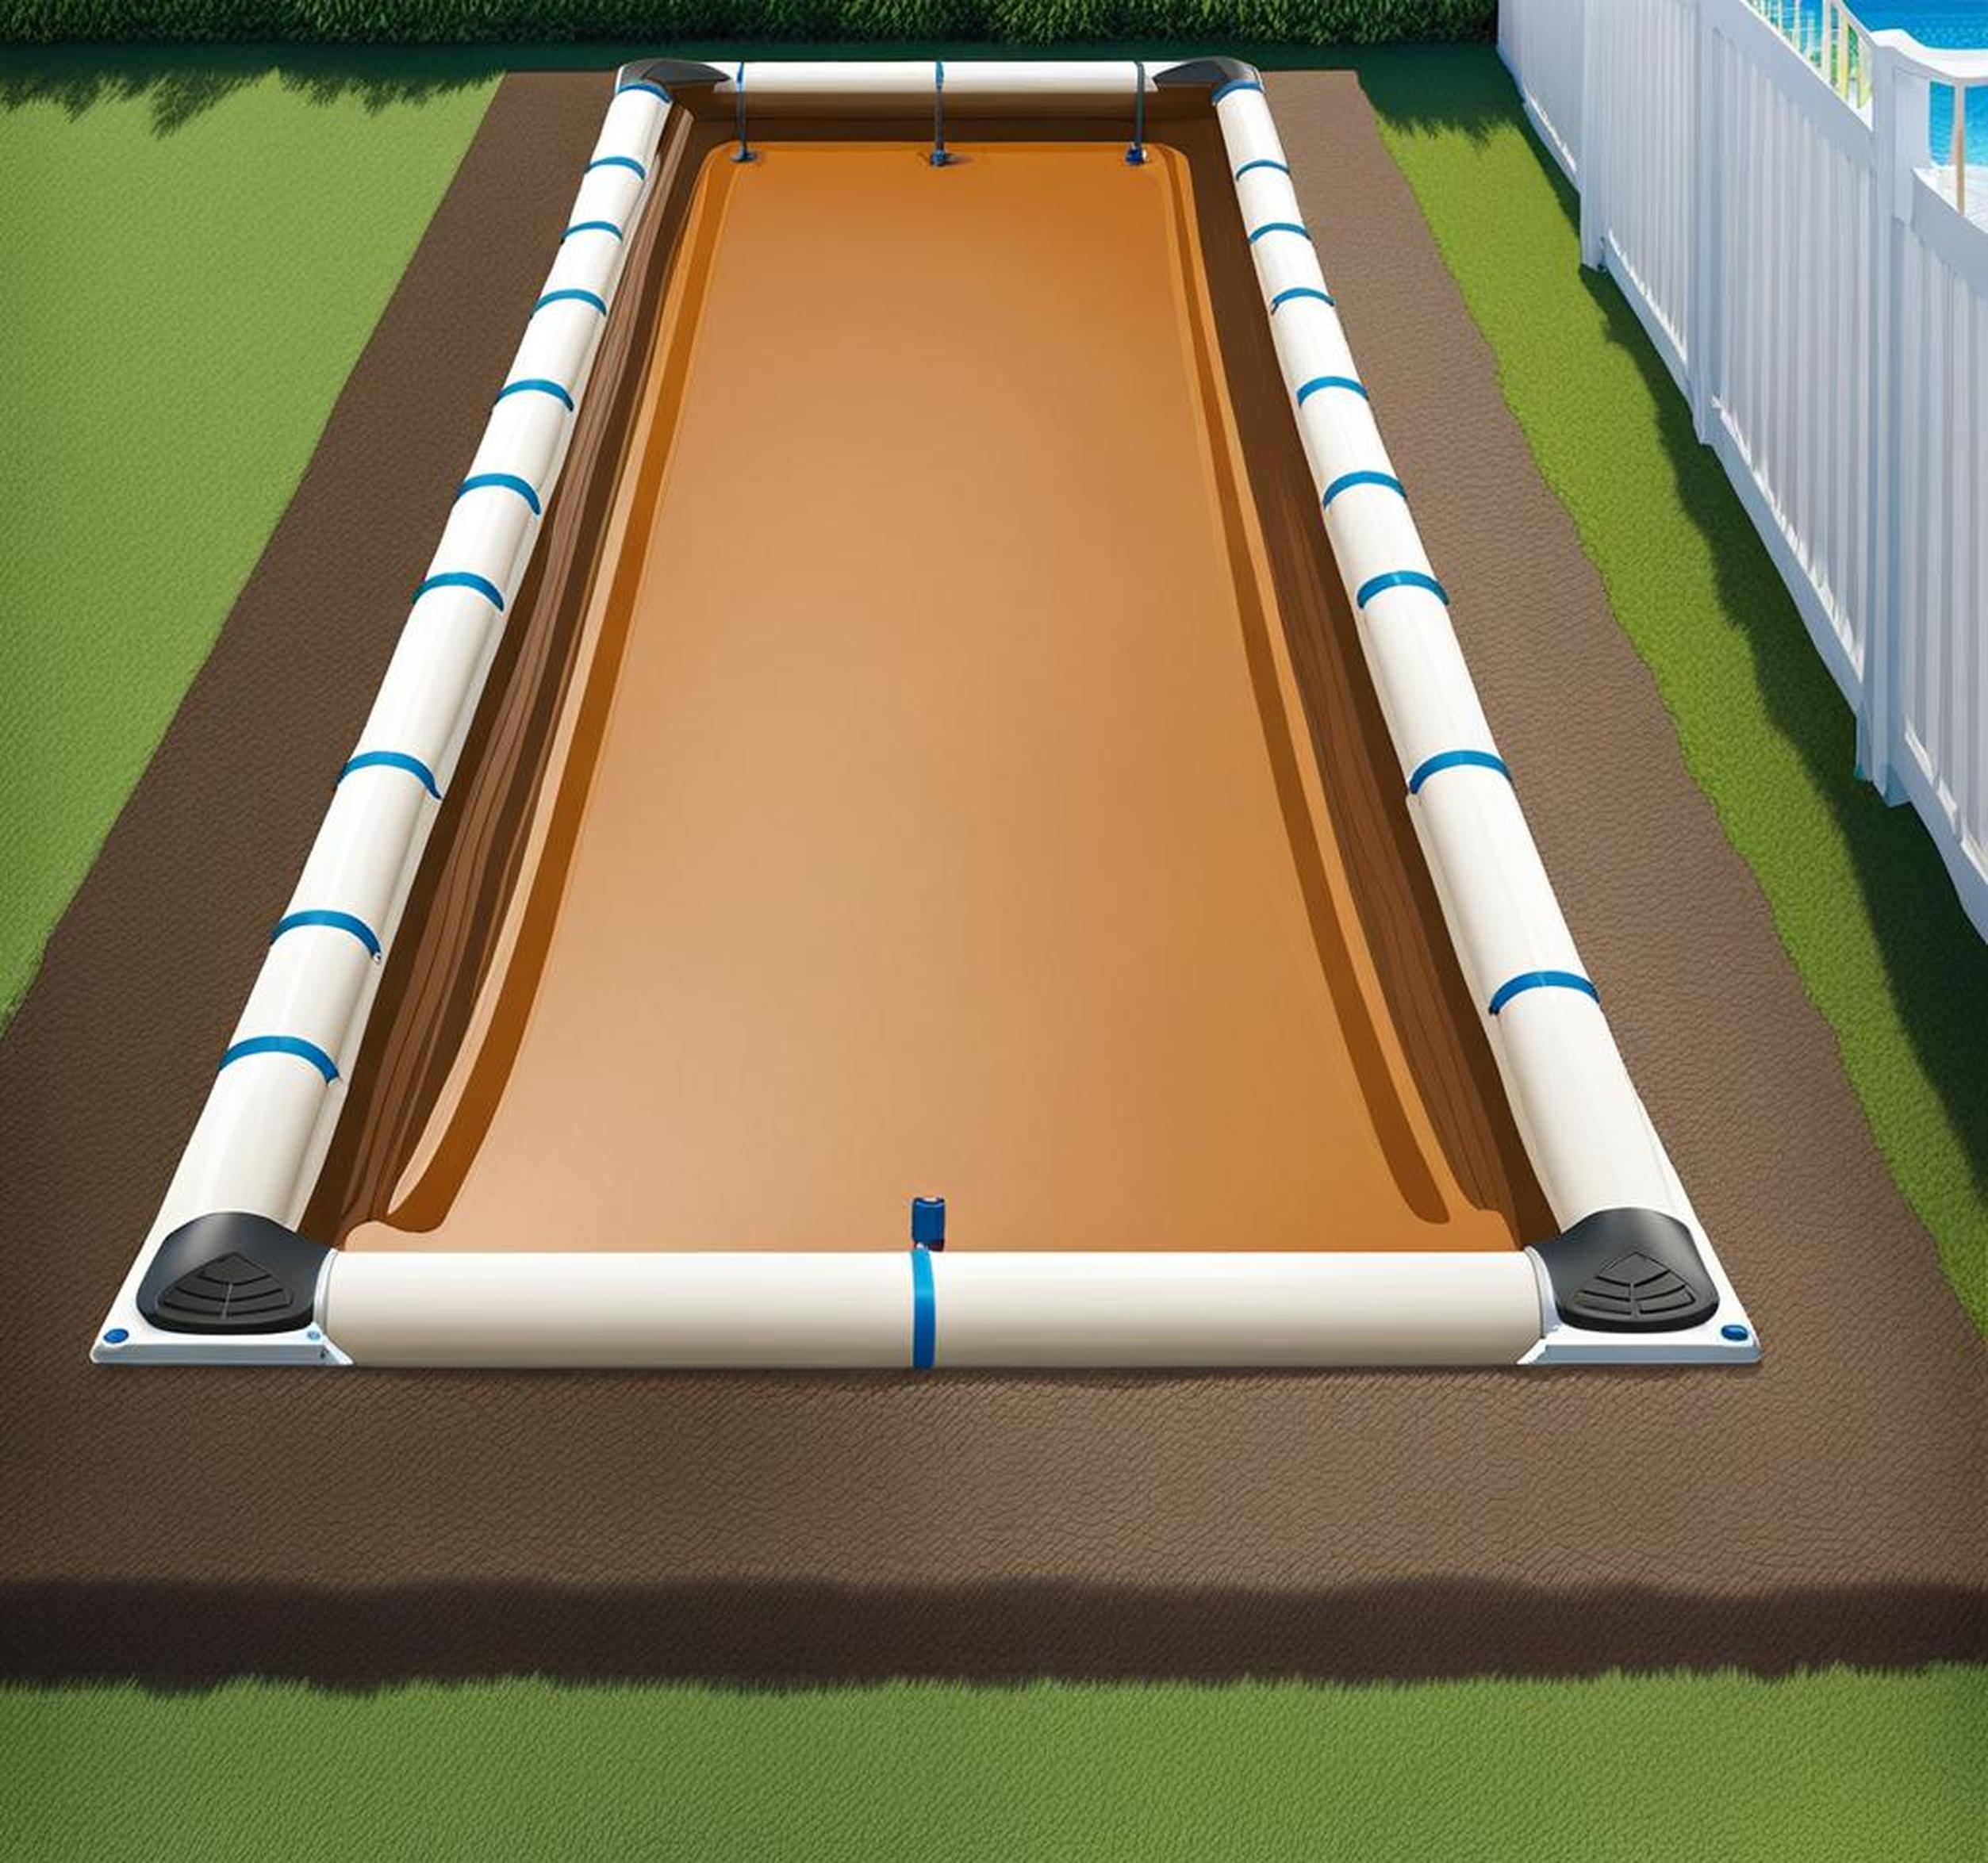
Installing an above-ground pool in your backyard can be an exciting summer project. But taking the time to properly prepare the ground first is crucial, especially for Intex pool models with flexible vinyl sidewalls. If the base is uneven, you’ll likely end up with an eyesore of a lopsided pool. Worse, the structural integrity of the pool can be compromised over time, leading to leaks or even collapse. The good news is that with the right tools and techniques, you can quickly achieve a perfectly level surface for assembling your Intex pool. In this post, we’ll cover proven methods that pool pros rely on to effortlessly grade and flatten any terrain.
Evaluate Your Pool Site
Before doing any groundwork, take time to closely examine the install location. Look at the overall slope and terrain – are there noticeable high and low spots? Pay attention to how water drains across the area. Identify any problem drainage areas where water collects after rainstorms. This initial site evaluation will help determine the scope of leveling work needed. For relatively flat yards with minimal slope, you may be able to get by with just smoothing out the surface. But major regrading will be required if there are significant high and low areas in the intended pool zone. The goal is to achieve less than 1 inch of elevation change across a 10 foot range. Knowing the lay of the land upfront allows you to plan the most efficient approach.
Tools and Materials You’ll Need
Having the right gear for preparing the base will make the job much easier. Essential tools for any ground leveling project include a flat shovel for digging and spreading, a metal rake for smoothing, and a tamper to compact soil. You’ll also need an accurate level – either a laser level or standard spirit level will work. A plate compactor is useful for compacting added base material evenly. And don’t forget a tape measure and stakes to map out the exact pool perimeter.
In terms of fill material, washed concrete sand is an ideal choice for achieving a perfectly flat subsurface. Crushed stone or gravel can also work well. Having extra soil and sand on hand will allow you to fill low spots and make adjustments until the surface is perfectly even.
Laser Leveling – By Far the Fastest Method
If you really want to achieve a flat, smooth grade in record time, there’s no better option than laser-guided leveling equipment. Laser levels use a high-precision laser beam rotating at 600 rpm to create an ultra-straight reference plane extending 360 degrees. The laser emitter mounts on a tripod, allowing you to position and adjust it where needed. Combining a laser level with equipment like a skid steer or tractor scraper delivers the best results.
Here’s a quick rundown of how laser leveling works:
- Set up the laser level tripod near the center of the intended pool area.
- Attach the laser receiver to the back of the skid steer/tractor cab or scraping blade.
- Power up the laser level unit. The laser plane will project in all directions.
- Drive the skid steer or tractor over the area, with the scraping blade adjusting up and down to follow the laser plane.
- Make multiple passes across the area, each time getting closer to the perfect grade.
With laser grading, you can transform an extremely bumpy yard into a flawlessly flat surface with minimal effort. The laser receiver automatically signals the blade to adjust up or down to match the precise laser plane. Multiple passes smooth out any remaining bumps or ruts down to the inch. If renting laser level gear is not an option, the manual method described next can still get the job done.
Tips for Best Laser Leveling Results
To achieve maximum accuracy and speed leveling your pool site, keep these laser technique tips in mind:
- Start leveling passes near the center of the planned pool location, then work outward.
- On each subsequent pass, lower the blade slightly to gradually “shave” the surface down.
- Occasionally stop to check grade with a standard level or use the laser receiver to spot check.
- Create a very slight slope (around 1″ drop per 10′) by adjusting the laser plane.
The versatility of laser levels allows creating virtually any slope or grade to achieve proper site drainage. For pool installations, a barely perceptible 1 inch per 10 feet slope works perfectly. With some skill, you can grade a site ready for pouring concrete or pavers in less than an hour.
Manual Leveling Method
If laser level rental is beyond your budget, don’t fret. The tried-and-true manual approach using basic hand tools can still achieve excellent flatness. Here are the key steps:
- Use stakes and string lines to mark out the pool boundary, plus an outer 10 ft wide work area.
- Use a flat shovel to cut high points down to the grade of lower areas.
- Spread the excess soil into nearby low spots to bring them up to grade.
- Use a landscaping rake to smooth and distribute fill evenly across the surface.
- Compact added soil layers with a tamping tool like a jumping jack.
- Check for level frequently with a spirit level or use a straight 2×4 with a level on top.
Be prepared to invest some elbow grease with the manual grading process. Removing high spots and filling in low areas incrementally will eventually yield a flat plane. Patience and continually checking your progress are key. Work in a grid pattern over the entire area for best results. Tap down added soil with the tamper and recheck level often. Also pay attention to soil moisture – overly dry or wet soil is harder to level precisely.
Achieving the Right Drainage Slope
In addition to flatness side-to-side, you also need to grade the soil with a slight downhill slope to facilitate proper drainage. Most pool installers recommend creating a 1 inch drop for every 10 feet distance. This amount of slope is nearly unnoticeable visually but makes a big difference for efficient drainage. Here are a few tips for establishing the right slope:
- Determine the low end of the site where water should drain away from the pool.
- Place stakes and run a string line at the 1 inch per 10 feet slope grade.
- Use this string slope guide as you level, removing soil to create a smooth downhill.
- A laser level if available can precisely dial in the needed slope.
- Use a level on a straight board to check slope regularly.
Take time to get the minimal 1:10 slope correct when doing your initial grading. This prevents standing water issues around the pool perimeter later on. The slope should direct drainage away from the foundation, not back towards the pool. Careful grading now means you won’t be creating troublesome swales and water channels after installation.
Add and Compact Base Layer
Once the soil is flattened and sloped, adding a base layer gives you a perfectly smooth surface for pool assembly. Here are the steps:
- Spread a thin layer (1-2 inches) of crushed stone or coarse sand across the leveled area.
- Use a tamping tool like a jumping jack to lightly compact the layer.
- Optional: Rent a vibratory plate compactor to really settle and flatten the base layer.
- Smooth and grade the compacted layer with a flat board or steel rake.
This last smoothing pass with thin added base material ensures no high or low spots remain. The slight vibration from compaction fuses everything together into a perfectly flat, durable surface. Washed concrete sand makes an ideal base but crushed limestone or gravel also works well. Just be sure to tamp and re-smooth until flat. The last step is verifying levelness before installing your Intex pool.
Final Levelness Check
After all your hard work preparing the base, take a moment to check that the surface is truly level before placing your Intex pool. Here’s how:
- Fill a standard spirit level, place on the surface, and observe the bubble.
- Adjust by adding material to any areas until the bubble remains centered.
- For the best accuracy, sweep the laser level receiver over the entire area.
- Make any final tweaks needed until completely flat and even.
You may be surprised that a seemingly flat grade is slightly off. Don’t be afraid to nitpick and make adjustments until the bubble stays perfectly centered. Confirm that your slight slope for drainage did not get lost during the final leveling pass. With the site meticulously graded and flattened, you can now start Intex pool assembly knowing the foundation is rock solid.
While preparing the underlying ground takes effort up front, the benefits for your Intex pool lifespan are huge. A properly leveled site prevents water from pooling unevenly and causing sidewall buckling or strain over time. Plus you’ll avoid constant battles with unsightly algae growth. Take your time and use the right tools to achieve a perfectly flat base before installation. We covered the fastest laser-guided method as well as the traditional manual approach. Whichever technique you choose, the small time investment is well worth it for years of pool enjoyment ahead.
We hope these tips give you confidence to tackle leveling your Intex pool site. Let us know if you have any other questions as you get underway with this crucial first step. Here’s to swimming in a beautiful level pool this summer!
