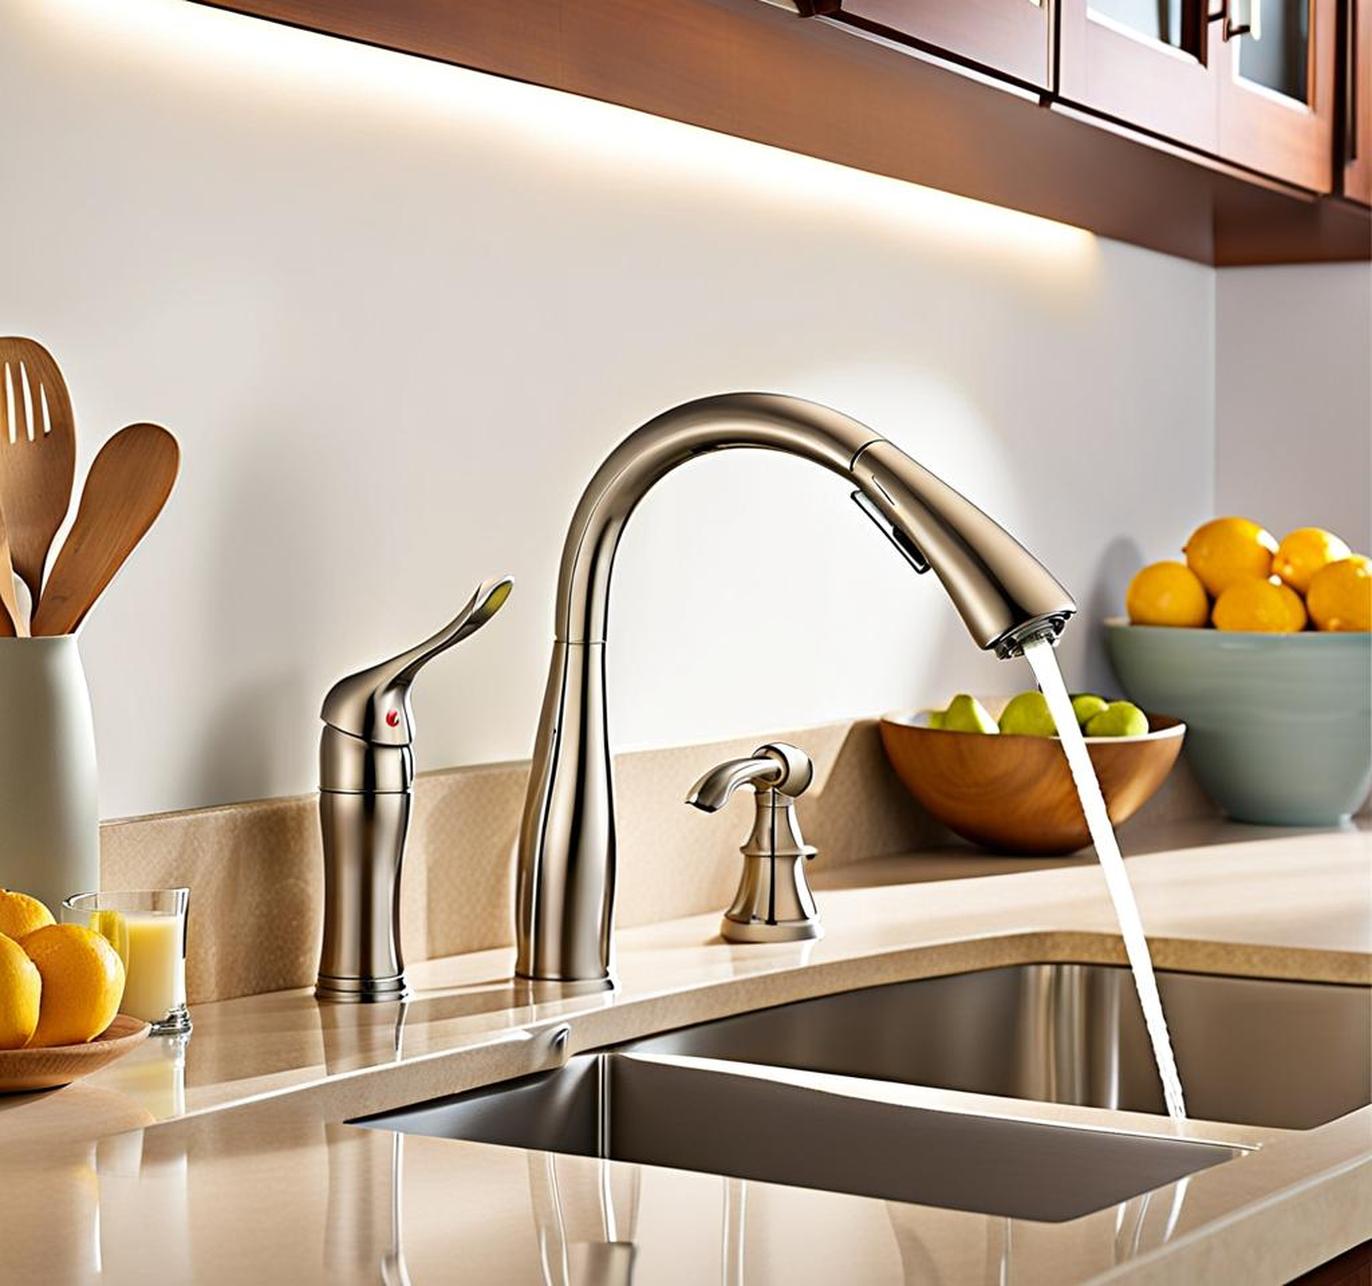
Installing a new Moen kitchen faucet can be a straightforward DIY project that will instantly upgrade the look and functionality of your sink. With the right tools and our detailed, step-by-step instructions, you’ll have your new faucet fully installed in no time.
Follow along closely, and you’ll have hot and cold running water from your stylish new Moen faucet in just a few hours!
Step 1: Turn Off the Water Supply Lines
Before taking apart your old kitchen faucet, you need to shut off the water supply. Locate the shutoff valves under the sink that control the hot and cold water lines. They are normally toward the back wall of the cabinet. Use an adjustable wrench to turn the valves clockwise until they are completely closed.
After closing the valves, turn on the faucet to release any built-up pressure and ensure that the water is fully shut off. No water should come out when you turn the faucet handles. With the water turned off, you can now safely remove the old faucet without any messy leaks.
Step 2: Remove the Existing Faucet
With the water supply shut off, it’s time to get rid of that dingy old faucet. Start by disconnecting and detaching the supply lines from the inlet ports underneath the faucet body. Use a wrench or pliers to loosen any compression fittings or nuts.
Next, you need to remove the mounting hardware that holds the faucet to the sink. There are typically nuts that can be loosened either under the sink or above the countertop. You may need to use a basin wrench to reach the nuts securing the faucet down.
Once you’ve detached all the connections, lift the faucet out of the sink holes and remove any remaining hoses, fittings or parts left behind. Now the sink should be empty and ready for the new Moen faucet.
Old Faucet Removal Tips
Here are a few tips for removing stubborn old faucets:
- Use penetrating oil if screws are rusted in place
- Take your time removing old plumber’s putty and gaskets
- Replace existing supply lines and flex hoses for easier install
Step 3: Prepare the Sink
With the old faucet removed, take a few minutes to thoroughly clean the sink holes and countertop area around the faucet with a rag or paper towel. Any dirt, grime or previous plumber’s putty should be removed so you have a clean surface for the new faucet.
It’s also smart to place a towel in the sink basin during installation to prevent any small parts or tools from falling and scratching the new sink finish.
Make sure to also remove any leftover plumber’s tape or putty from the previous install. Clean threads ensure water-tight seals when you connect the supply lines.
Helpful Sink Prep Tips
- Use non-abrasive cleanser or mild detergent
- Inspect sink holes for cracks or damage
- Cover drain to prevent losing small parts
Step 4: Install the Faucet Spout
The spout is arguably the most prominent part of your new faucet, so taking care during installation is key. Start by placing the foam gasket on the bottom of the Moen spout. Then feed the spout up through the selected hole in your sink or countertop.
Align the spout and press it firmly into place while ensuring the gasket makes full contact with the sink. The gasket creates a watertight seal between the spout and sink surface. Then from below, use the metal washers, nuts and mounting screws provided with the Moen kit to fully secure the spout.
Spout Install Tips
- Hand tighten before final wrench tightening
- Apply silicone sealant for extra leak protection
- Ensure spout is centered and facing correct direction
Step 5: Mount the Faucet Handles
With the main spout in place, it’s time to install the hot and cold water handles on either side. Start by inserting the handle stems through the appropriate holes on the side of the spout. Most Moen models come with color-coded hot and cold stems to eliminate confusion.
Slide the decorative handle components over the stems and tighten the handle screw from below until the handles are held firmly against the spout. Take care not to overtighten, as this can damage the internal cartridge. Give the handles a test turn to ensure smooth operation.
Helpful Handle Mounting Tips
- Handles should be snug but still move freely
- Use handles to test stem cartridge function
- Ensure any index/alignment pins connect
Step 6: Install the Sprayer Hose and Head
If your new Moen faucet comes with an optional side sprayer, installing it is easy. Start by connecting the threaded sprayer head to the flexible metal hose using the provided washers and nuts. Tighten these connections by hand only.
Now feed the sprayer hose down through the sink hole gasket and existing sprayer opening. Continue feeding until the hose is through and freely hanging underneath the sink. Finish up by snapping the end of the hose into the holding bracket.
Sprayer Install Tips
- Don’t kink or overtighten sprayer hose
- Test sprayer function before finishing
- Use weight to prevent hose tangling
Step 7: Connect the Water Supply Lines
Almost there! With the spout, handles and sprayer (if applicable) fully installed, all that’s left is to hook up the hot and cold water supply lines. Start by threading the lines into the inlet ports on the faucet valves underneath the spout. Use Teflon tape and wrench-tighten these connections.
Next, attach the opposite ends of the braided supply lines to the angle stop valves under your sink. Again, wrap with Teflon tape and tighten with a wrench. Don’t overtighten, as this can damage the valve seals. With supply lines connected, you’re ready to test the faucet!
Supply Line Tips
- Replace old supply lines for easier install
- Use plumbers putty if leaks persist
- Ensure lines aren’t kinked or stressed
Step 8: Check for Leaks
The faucet is nearly complete! The last crucial step is checking for leaks. Turn the hot and cold water supply back on using the angle stop valves. With the handles in the “off” position, carefully inspect all connections for any drips or drops of water.
If you do spot a leak, simply tighten the fitting slightly or add some additional plumber’s putty or thread seal tape. Doing this now prevents any water damage down the line. Once leak-free, you can turn on your Moen faucet and enjoy!
Tips for Finding Leaks
- Inspect below the sink and fittings
- Let faucet sit for a few hours, then recheck
- Turn water to full pressure and re-inspect
Step 9: Reattach Sprayer Hose Weight
If you installed a side sprayer, you likely had to remove the weight that keeps the sprayer hose from tangling underneath the sink. Now is the perfect time to reattach this handy weight.
Simply feed the weight back onto the sprayer hose in the proper position to prevent kinks and allow full range of motion when pulling out the sprayer. Positioning is important, so check that the hose moves freely without catching.
Proper Hose Weight Positioning
- Midway down the hose length
- Above the hose curve behind sink
- Doesn’t restrict sprayer motion
Step 10: Flush Debris and Test Faucet
You did it! New Moen faucet installation complete. Before enjoying your upgraded kitchen sink, it’s smart to flush any potential debris that may have entered the supply lines during installation.
Turn on both hot and cold water to full pressure and let them run for a minute. This clears out any sediment or residue. Also test your new faucet’s functions, including the side sprayer if you have one. Ensure all accessories work correctly.
Make any final adjustments to the handles and check that the water temperature regulation is working properly. Your Moen faucet should now be fully operational and ready for years of daily use!
Final Installation Checks
- Inspect for leaks with water at full pressure
- Ensure sprayer has proper range of motion
- Test hot and cold water flow/temperature
Tips for Maintaining Your Moen Faucet
Now that your new Moen kitchen faucet is installed, you’ll want to keep it looking and performing like new. Here are some quick tips for faucet maintenance:
- Wipe down regularly with mild soap and water
- Avoid harsh cleaners or abrasive sponges
- Inspect supply lines periodically for leaks
- Lubricate handles if they become sticky
Catching leaks early and cleaning your Moen faucet properly will keep it in tip-top shape for many years of daily use. With just occasional minor upkeep, your faucet will stay looking shiny and new.
Finding More DIY Tutorials
If you enjoyed learning how to install a Moen kitchen faucet on your own, be sure to check out our other DIY tutorials. We offer detailed guides on projects like:
- Installing a garbage disposal
- Replacing a kitchen sink drain
- Swapping out a kitchen soap dispenser
- Upgrading kitchen sink plumbing
Our step-by-step instructions and handy tips make home improvement projects achievable for novice DIYers. Browse our tutorial library and tackle your next kitchen upgrade with confidence!
While installing a Moen faucet is totally doable for many DIYers, it’s okay to call in a professional plumber if anything about the project seems daunting or complex. Our guides aim to equip you with basic skills, but there’s no shame in asking for expert help when you need it.
A professional can ensure your Moen faucet is installed correctly the first time. They have the experience to overcome tricky situations that can come up during any sink installation project.
So don’t be afraid to call a qualified local plumber if you have any apprehension about installing a faucet yourself. Safety and proper function are most important.
We hope our detailed guide gives you the knowledge and confidence to install a Moen kitchen faucet on your own. Just take it slow, follow each step closely, and soon you’ll have an upgraded, great-looking faucet that works flawlessly for years to come!
