Is your Moen single handle kitchen faucet dripping constantly, even when turned all the way off? Those seemingly endless drops can be more than just annoying–leaky faucets waste gallons of water and drive up your utility bills over time. But there’s good news: Moen cartridge faucet repairs are straightforward DIY projects for most homeowners.
Pinpointing the Leak Location
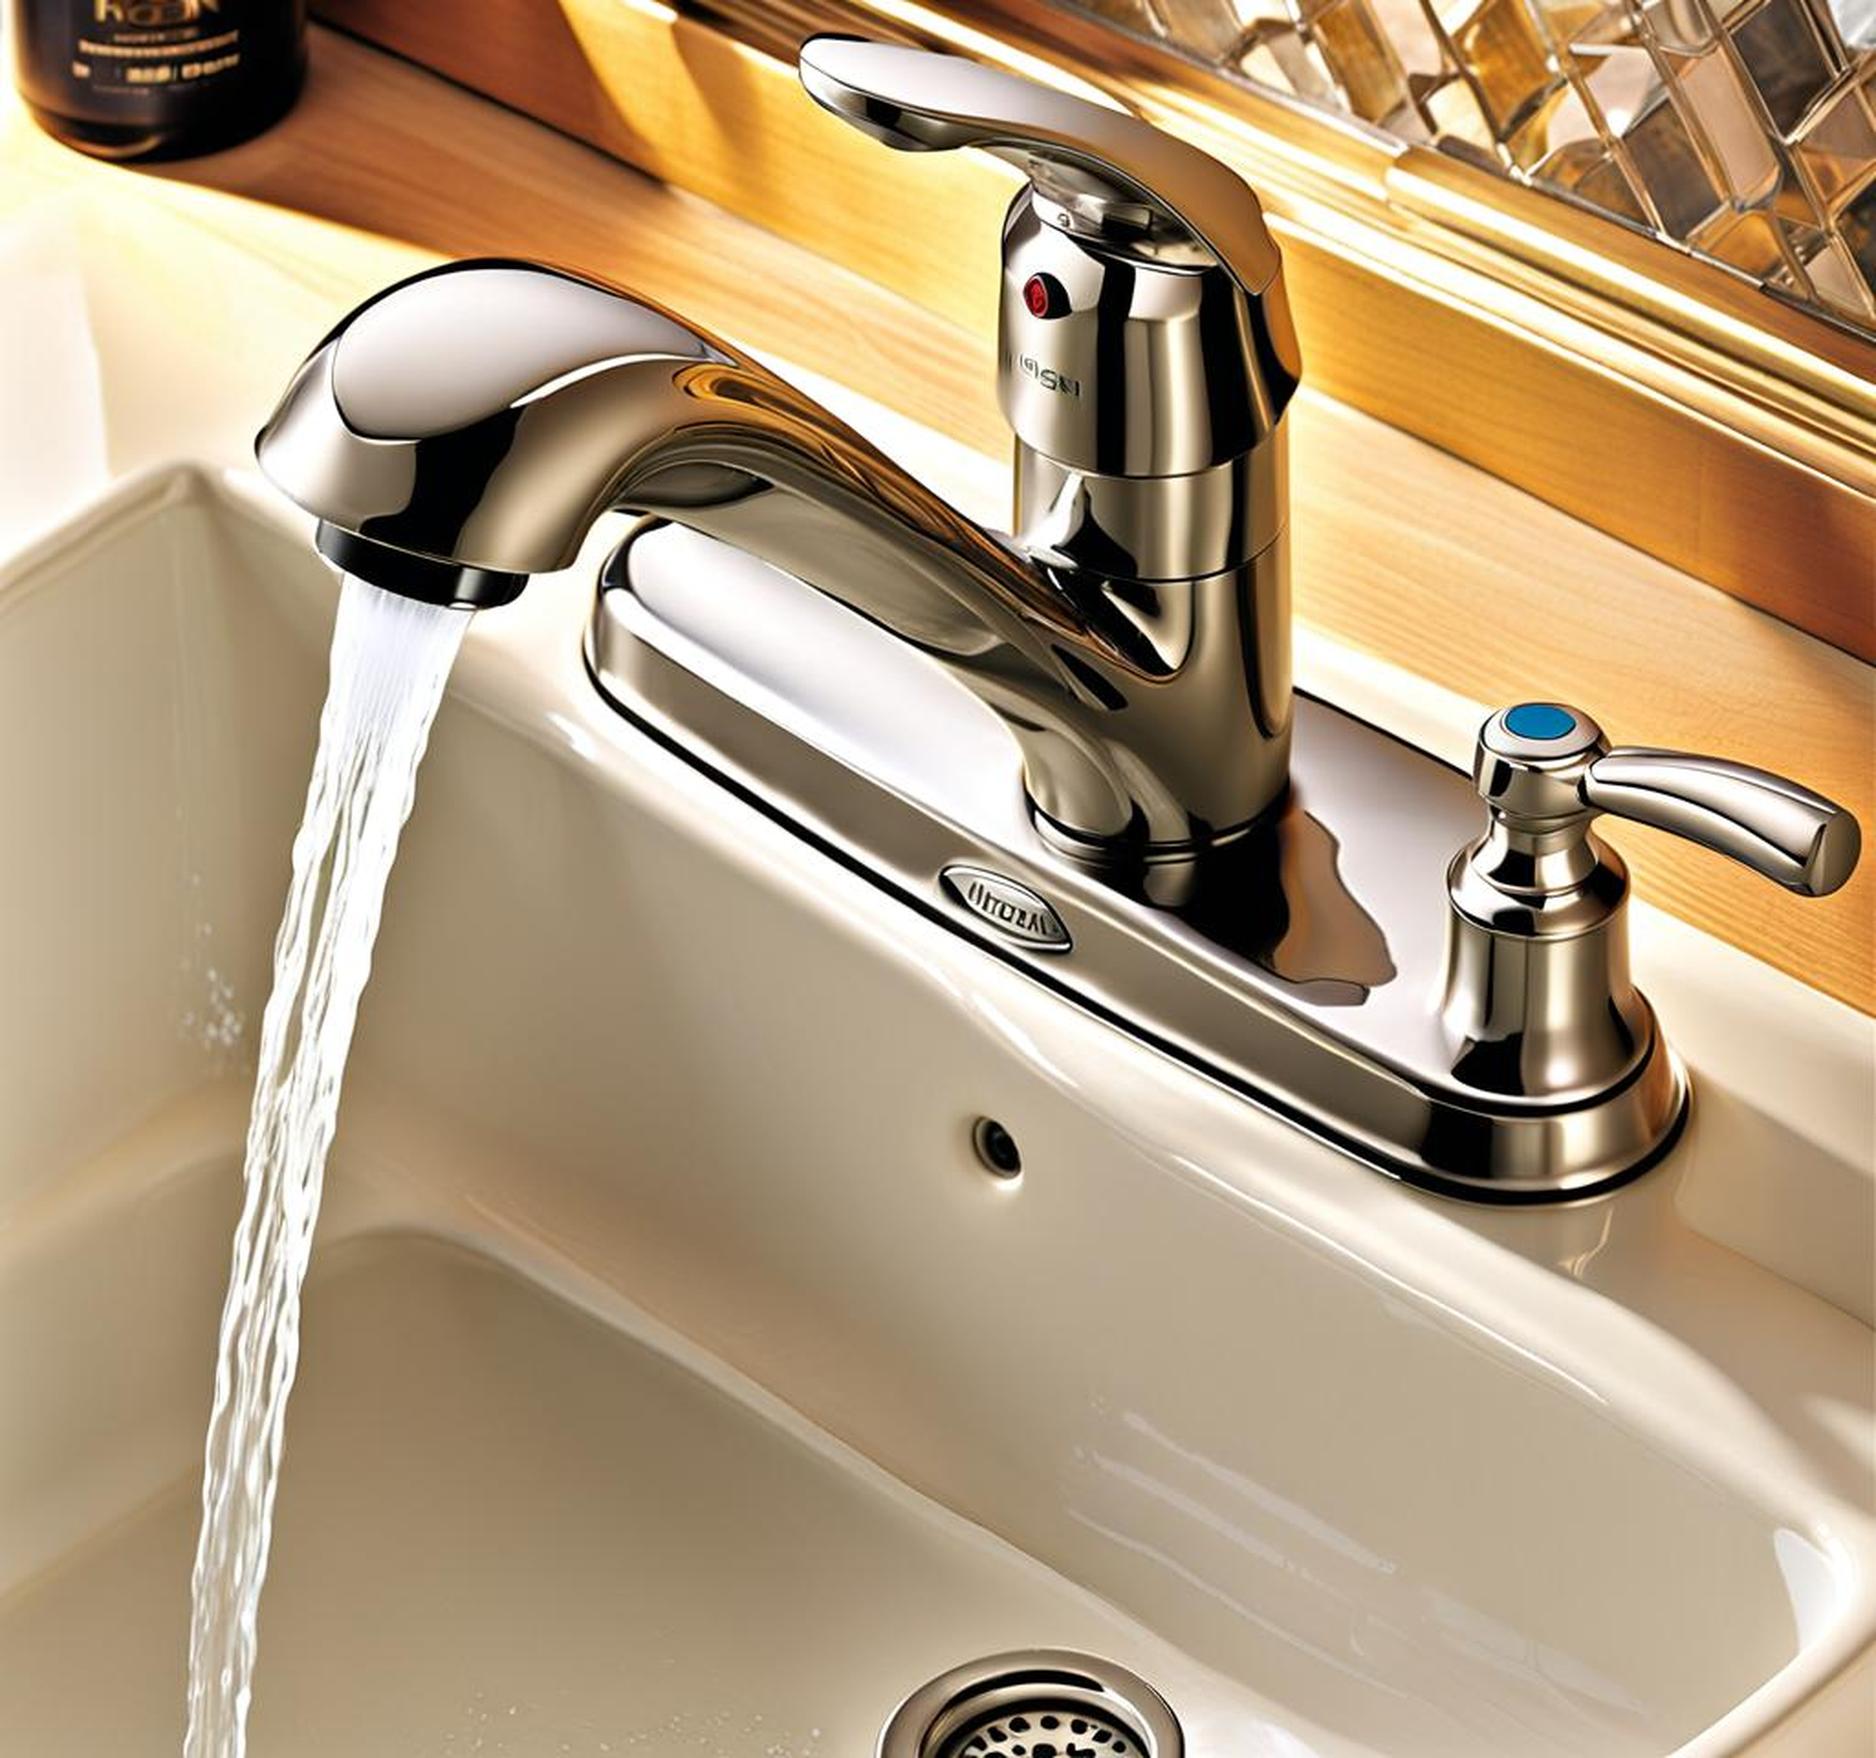
Before you can fix that leaky Moen faucet, you need to locate exactly where the drip is coming from. There are two main problem areas:
Leaking from the Spout
If water is dripping out of the faucet spout, the issue is likely with the internal cartridge or worn out O-rings.
- Cartridges control the flow of hot and cold water mixing inside the faucet.
- Rubber O-ring seals prevent leaks around the cartridge and additional internal components.
Over time, cartridges become clogged with mineral deposits from tap water while O-rings flatten and crack with age. Replacing these parts restores the faucet’s watertight seal.
Leaking from the Base of Spout
Leaks originating at the base of the spout indicate a problem with the quick connector that links it to the faucet body. Quick connectors use O-ring seals or gaskets to create watertight joints between faucet components. If fitted loosely, small gaps allow water to escape.
Other Leak Points
While less common, leaks near the base of the faucet handle or body may indicate loose fittings. Before any major disassembly, try tightening retaining screws or nuts first. We’ll cover detailed troubleshooting tips later on.
Getting Started: Turn Off Water and Remove Handle
Before tackling repairs on your Moen kitchen faucet:
Shut Off Water Supply Lines
Locate the hot and cold water shut-off valves underneath or behind the sink and turn them clockwise to stop flow through the faucet. Attempting repairs with the water on makes a messy situation even worse!
Remove the Faucet Handle
The faucet handle needs to be detached to access interior components. Check Moen’s website to identify your specific model based on finish and design features. With the right faucet ID, Moen provides detailed handle removal instructions for their various product lines:
- Single handle kitchen faucets typically have a small set screw at the rear base of the handle.
- Simply loosen this screw counterclockwise, then lift the handle straight up and off the faucet assembly.
Removing the handle exposes the top of the cartridge for maintenance and replacement.
Replacing the Cartridge and O-Rings
Leaks coming directly from the faucet spout indicate failing seals on the cartridge piston and O-rings deep inside the faucet body. Here’s how to replace these crucial components:
Remove the Stuck Cartridge
Cartridges can be extremely difficult to dislodge if mineral deposits have built up over time. Try rocking the cartridge gently side-to-side while pulling up. As a last resort, submerge stuck cartridges in undiluted white vinegar overnight to dissolve deposits and loosen the fit.
Inspect and Replace O-Rings
Carefully check rubber O-rings fitted around the cartridge and seating areas inside the faucet body. Look for cracks, flat spots, and brittleness indicating wear. Also, lubricate the replacement O-rings with a small dab of plumber’s grease during reassembly to prevent twisting and pinching.
Install the Replacement Cartridge
Always search Moen’s website using your faucet ID to find the correct replacement kit. Gently press the new cartridge straight down into the faucet body until fully seated then reinstall the handle to test for leaks.
Fixing Leaky Quick Connect Fittings Under the Spout
If water leaks near the base of the spout itself, the issue may be loose quick connect fittings that link the spout to the faucet body. Try the following fixes:
Disconnect and Re-Attach the Fittings
Access the inlet and outlet quick connect fittings by firmly pulling downward on the spout assembly. Check for debris clogging the connectors before carefully pressing the spout outlet and inlet ports back into their mating fittings. The connections should click and lock smoothly.
Replace Damaged Quick Connect Components
If the leak persists, replace problematic quick connect fittings with identical matching parts ordered through Moen’s customer support. Installing new quick connect components is fast and easy – simply push in by hand until fully seated.
While no faucet lasts forever, practicing simple maintenance habits can add years of drip-free life for your Moen kitchen faucet:
- Clean the exterior with mild dish soap and buff dry with a soft cloth to prevent mineral buildup.
- Disassemble and soak the faucet cartridge in vinegar every 2 years to descale inner components.
- Inspect rubber O-ring seals whenever the faucet is disassembled to replace worn parts proactively.
- Tighten the handle base, spout fittings, supply lines, and drain connections periodically.
Knowing how to take apart, troubleshoot, and fix a leaky Moen single handle kitchen faucet pays off both financially and environmentally for the useful life of your faucet. With a little regularly scheduled TLC, you can stop that drip for good!
Common causes of leaks in Moen single handle kitchen faucets include a worn-out cartridge, loose connections, corroded valve seats, and damaged seals around the base of the spout or faucet body. To prevent leaks, periodically clean the faucet with vinegar, avoid abrasive cleaners that could compromise the seals, and perform regular maintenance like replacing worn parts and tightening connections.
When troubleshooting a leak, first identify where water is dripping from. If it’s from the spout, try replacing the cartridge and O-rings. Leaks at the base likely indicate loose fittings. Test for leaks after any repairs by running water for a few minutes to check for drips or seepage. Catching small leaks early and performing regular maintenance helps extend the life of your Moen faucet.
