Upgrading your kitchen faucet can completely transform the look and functionality of your sink area. With some basic DIY skills and the right tools, you can install a beautiful new faucet perfectly suited to your needs without hiring a professional.
Follow along to learn crucial plumbing tips so you can install your dream faucet hassle-free. Let’s dive in!
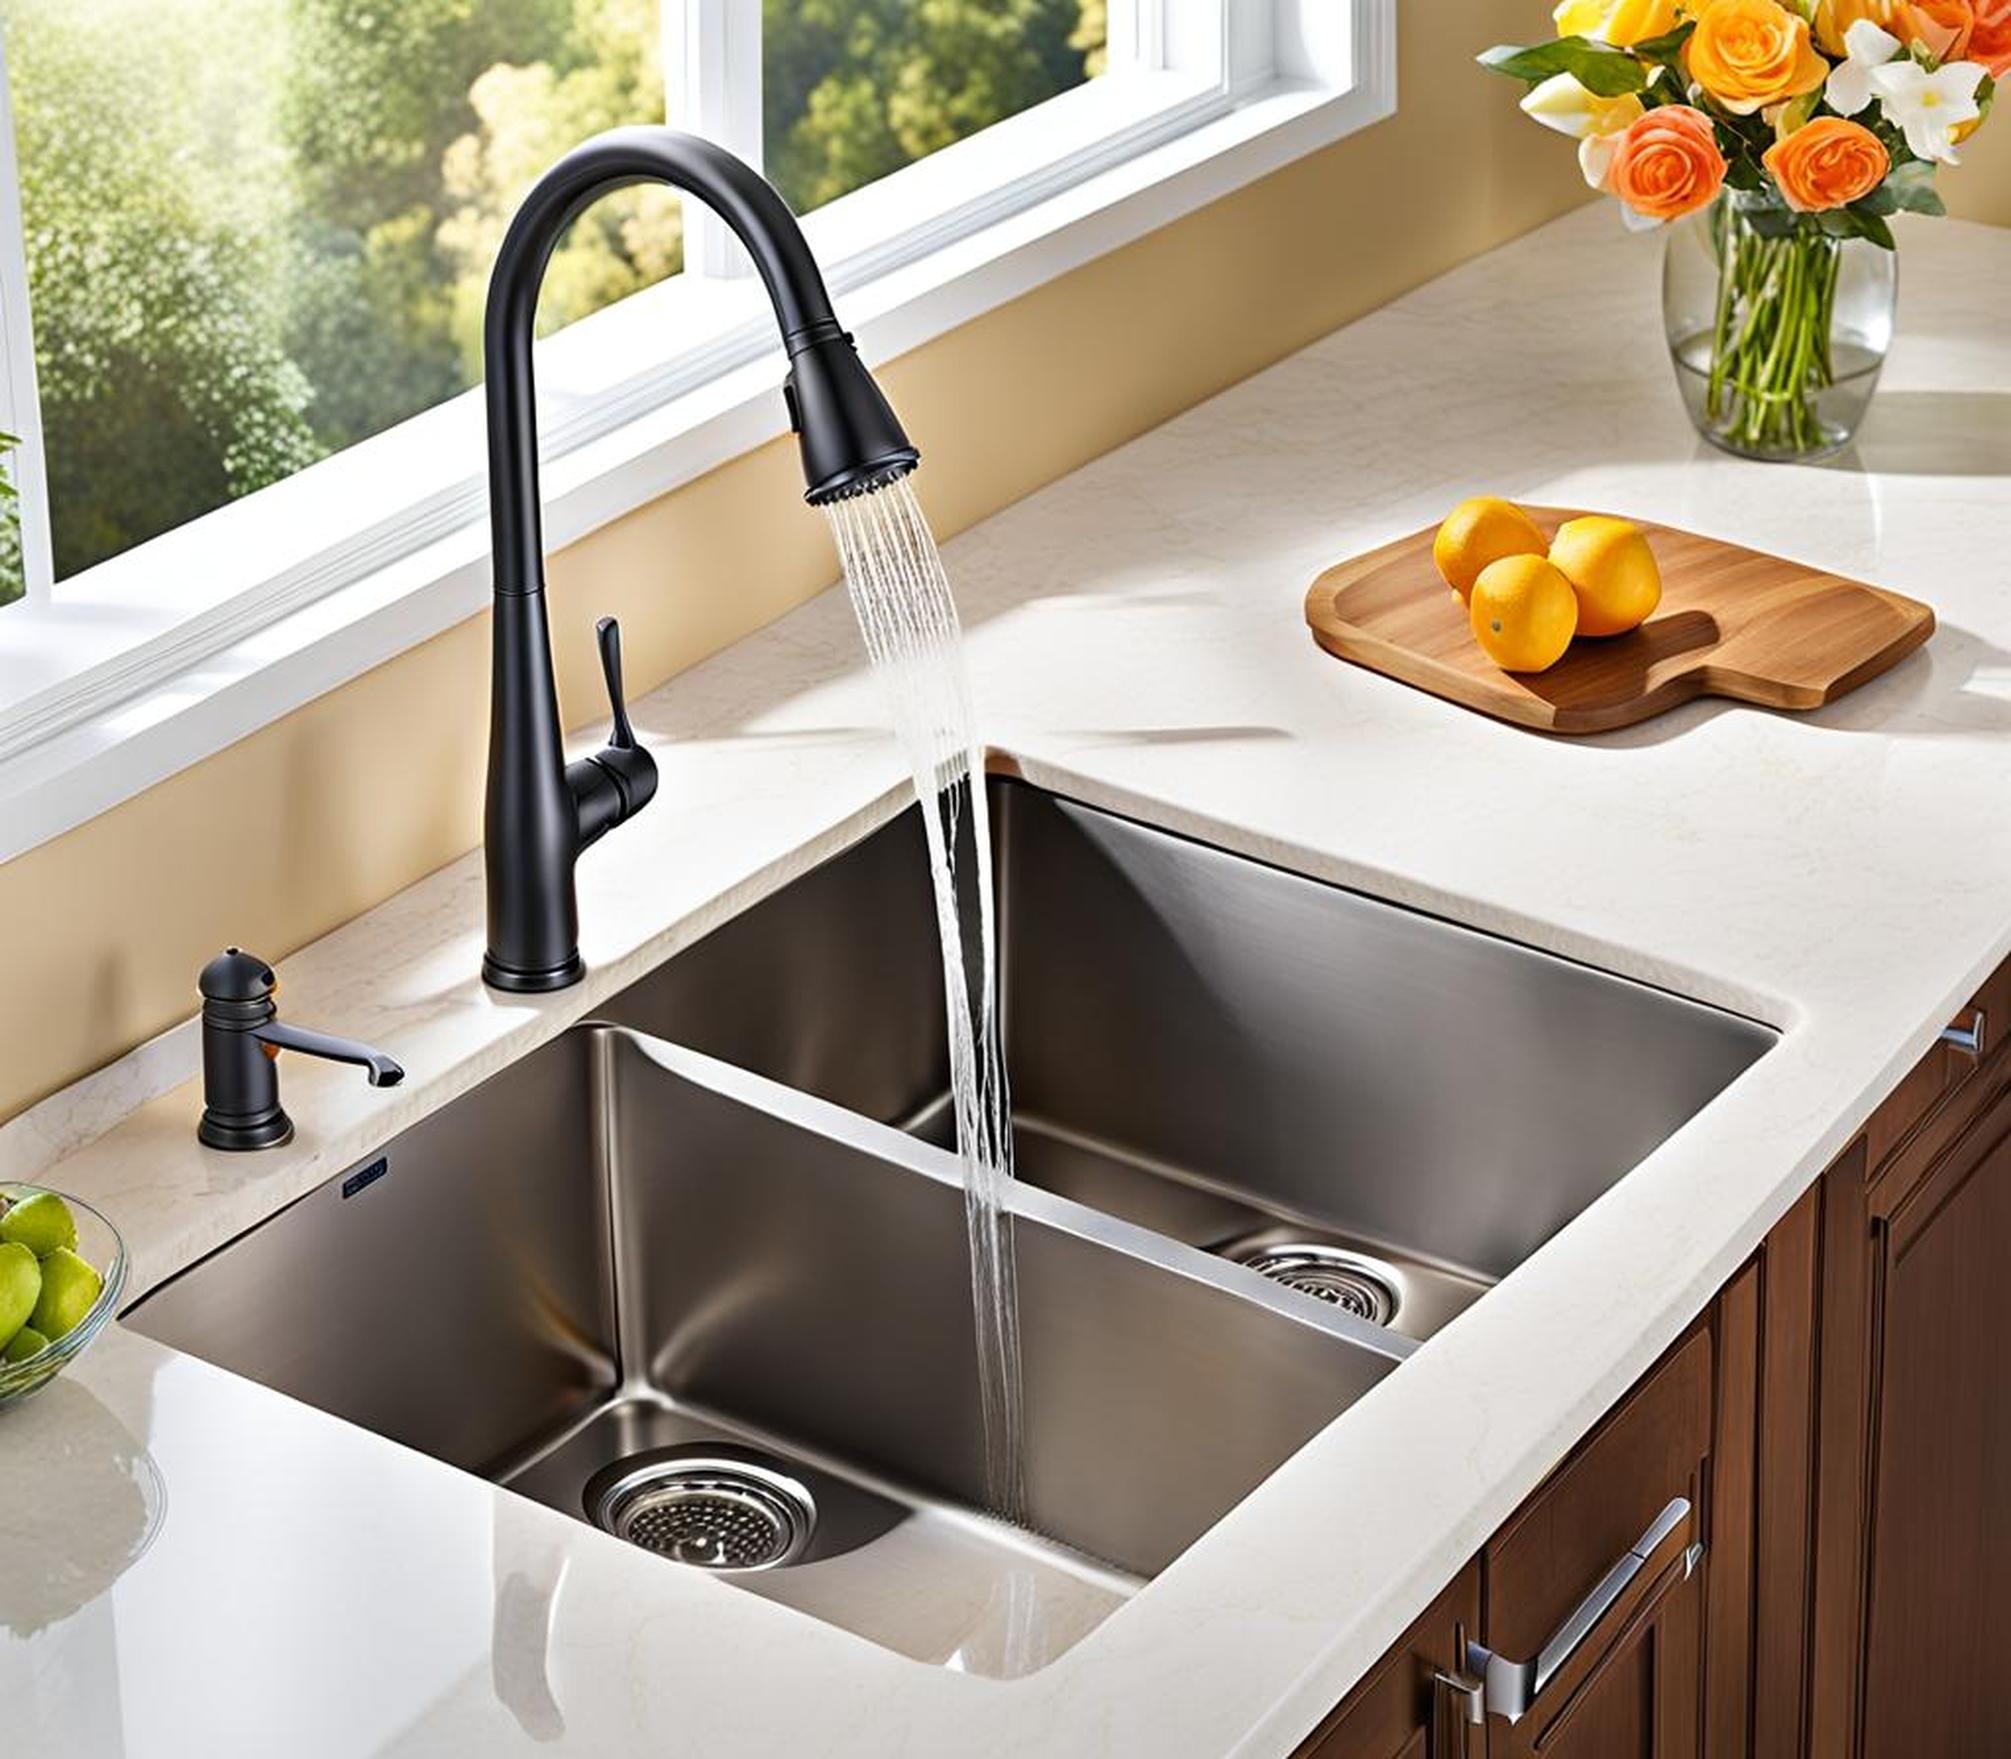
Step 1 – Select the Perfect Faucet
The first step is choosing a faucet that matches your style, sink setup, and functionality needs. Consider key factors like the number of sink mounting holes, the size and type of your sink, and special features you may want:
- Number of holes – Count how many holes are pre-drilled in your sink to choose a compatible faucet.
- Sink type – For example, undermount, drop-in, farmhouse, or vessel sink.
- Features – Such as sprayer, soap dispenser, filtration system.
- Finish – Matte black, stainless steel, bronze, chrome, etc.
- Budget – Prices range widely, setting a budget will narrow options.
Once you select the perfect model, ensure it meets standards for water efficiency and lead content. With crucial details confirmed, it’s time to gather supplies.
Step 2 – Gather Necessary Plumbing Tools & Materials
Installing a kitchen faucet requires some basic DIY tools and materials. We recommend having the following on hand for the process:
- Basin wrench – For tightening nuts in cramped sink spaces
- Adjustable wrenches – To secure supply line connections
- Plumber’s putty or silicone caulk
- Teflon tape
- Paper towels or rags
- Bucket – For flushing debris from supply lines
- Flashlight – To see tight spaces under the sink
- Safety goggles
You’ll also need any special supplies noted in the manufacturer instructions, like specific tubing or adapters. With your new faucet unpacked and tools nearby, it’s time to switch off the water.
Step 3 – Turn Off the Water Supply
Before removing your existing faucet, locate the supply valves below your sink or behind a wall panel leading into the cabinet. Use an adjustable wrench or basin wrench to turn the hot and cold valves clockwise until closed tightly. Then turn on your faucet momentarily to release pressure and drain any water from the lines.
Check that the valves are fully closed by attempting to turn them clockwise with the adjustable wrench again – the handles will spin freely when completely shut off. Avoid plumbing disasters by confirming water supply is off before proceeding!
Step 4 – Dismantle & Remove the Old Faucet
With the water valves securely closed, start dismantling the hardware holding your outdated faucet in place:
- Detach the spray hose, side sprayer or soap dispenser tubes/wires if applicable.
- Loosen nuts securing the supply lines below the sink and disconnect.
- Unscrew mounting hardware like nuts, screws, brackets under the sink.
- Twist the faucet from above the sink to fully detach it.
Also remove any remaining silicone, putty, washers or other debris around the sink holes. Thoroughly clean the sink surface with rubbing alcohol, then dry with a clean cloth.
Step 5 – Modify Sink Holes If Necessary
Examine the faucet hole openings carefully – if the spacing or size doesn’t match your new unit, modifications are required before mounting. To expand a hole:
- Place a towel in the sink basin below to catch debris.
- Use a faucet hole punch kit or small file to enlarge the opening edge.
- Smooth any rough edges with fine grit sandpaper, cleaning frequently.
- Test fit the new faucet repeatedly for a precise fit.
Alternatively, escutcheons can conceal small sink-faucet spacing gaps. Mismatched holes take patience but prevent leaks long-term.
Step 6 – Mount the Faucet
It’s finally time to put your stunning new faucet in place! Follow manufacturer instructions exactly, but the process generally involves:
- Sliding any required washers or plates over the faucet supply tubes.
- Lowering the new faucet into the sink holes from above.
- Aligning holes in the faucet base with those in the sink.
- Hand tightening mounting nuts, brackets and screws from below.
Take care not to overtighten hardware that can crack porcelain sinks. Temporarily support the faucet from below until supply lines are reconnected. We’re in the home stretch!
Avoid Leaks By Installing Escutcheons
Escutcheons are decorative trim plates that surround faucet bases, hiding any gaps between new hardware and existing sink holes. Consider incorporating an escutcheon during your kitchen upgrade for enhanced visual appeal and leak protection.
Available in finishes matching your faucet, simple DIY installation typically involves sliding escutcheons over supply tubes before lowering the faucet into place. Non- adhesive models slip snugly around bases while self-adhesive options offer an extra leak barrier.
Step 7 – Reconnect the Faucet Supply Lines
With your faucet firmly secured, the next crucial step is safely reconnecting hot and cold water supply:
- Attach flexible supply tubes to the faucet inlet ports below.
- Securely fasten supply tubes to shut-off valves with washers.
- Wrench tighten connections.
- Slowly restore water supply.
Avoid potential leaks by applying Teflon tape to tube threads and valves during reassembly. Support joints with one wrench while tightening with another.
Upgrade With Easy-Install Soap Dispensers
For even more functionality, consider adding convenient soap dispensers which integrate seamlessly into your new kitchen hardware. Installation takes mere minutes:
- Drill 1-1.4″ diameter hole in sink or counter top.
- Drop dispenser nozzle through, securing with provided locknut.
- Attach dispenser tube to bottle pump underneath.
- Fill with hand or dish soap, lock in place!
Position near the faucet within comfortable reach. No plumber necessary for instant sinkside access to suds.
Step 8 – Test for Leaks
The final and most important step is meticulously testing your handiwork for any drips or leaks:
- Turn water supply back on very slowly.
- Carefully check all connections including inlet ports, tubes, shower heads, and handles.
- Tighten joints immediately if any water drips are spotted.
- Wipe hardware dry, repeat leak checks for 15 minutes.
Additionally, look under the sink over 24-48 hours. Persistent wetness indicates loose joints. Catching leaks quickly prevents extensive water damage down the line.
Step 9 – Enjoy Your Dazzling New Faucet!
After confirming watertight installation, your work is complete – relish your stylish, flawlessly functional sink upgrade! Before enjoying, be sure to:
- Clean the new faucet thoroughly with a soft cloth.
- Run hot and cold water for a few minutes to flush supply lines.
- Check for leaks over the next several days.
With those final tips checked off, congratulations on saving significant money by tackling kitchen faucet installation yourself! Sip your morning coffee proudly at a picture-perfect new sink.
Frequently Asked DIY Faucet Installation Questions
For quick plumbing answers, see our most commonly asked faucet installation questions below:
How do I remove the old kitchen faucet? Start by shutting off hot and cold water valves below the sink. Detach any supply tubes, sprayer hoses, drain lines and mounting hardware. Twist and lift the faucet out of the sink holes, removing remaining debris or silicone thoroughly with rubbing alcohol. What size hole do most kitchen faucets require? Standard faucet holes measure 1.25 inches to 1.5 inches in diameter. Faucets labeled “widespread” require 3 holes allowing independent handles and spouts. Carefully measure your sink holes before choosing. Help! I can’t get the old faucet supply lines disconnected! Penetrating oil around threaded connections can help loosen stubborn supply tubes. Allow the lubricant to soak in fully before gently attempting to unscrew fittings with adjustable wrenches, taking care not to strip fasteners. Are there any special considerations for installing a filtration faucet? Yes – filtration faucets have additional components like drinking water spouts and dedicated supply lines for filtered/unfiltered flow. Carefully follow the manufacturer guide and allow ample room under the sink for extra hardware. Well done! Please let me know if you have any other DIY faucet installation questions.
With crucial steps from choosing your dream faucet to leak testing complete, gain confidence to conquer faucet replacement yourself moving forward! You’ve got this – no plumber needed to help tackle home upgrades.
We hope this guide illuminated tips and tricks for smooth, successful DIY installation. Sinking money into a professional is now entirely optional with these comprehensive directions. Dazzle guests with striking new fixtures cleverly crafted by your own hands. Happy wrenching!
