If you want to grow a lush, beautiful lawn from seed, understanding the grass seed germination timeline is essential. In this post, we’ll walk you through the full 1-week germination process, day by day. You’ll learn the stages all grass seeds go through and what you can expect to see each step of the way from planting to sprouting. Whether you’re overseeding an existing lawn, planting a new lawn from scratch, or just re-seeding patchy spots, this will help ensure success!
Introduction
When you plant grass seed, it typically takes between 5 and 14 days to germinate, or sprout. The exact duration depends on several key factors like temperature, soil moisture, seed variety, and more. Generally though, you can expect to see visible growth within 1 week.
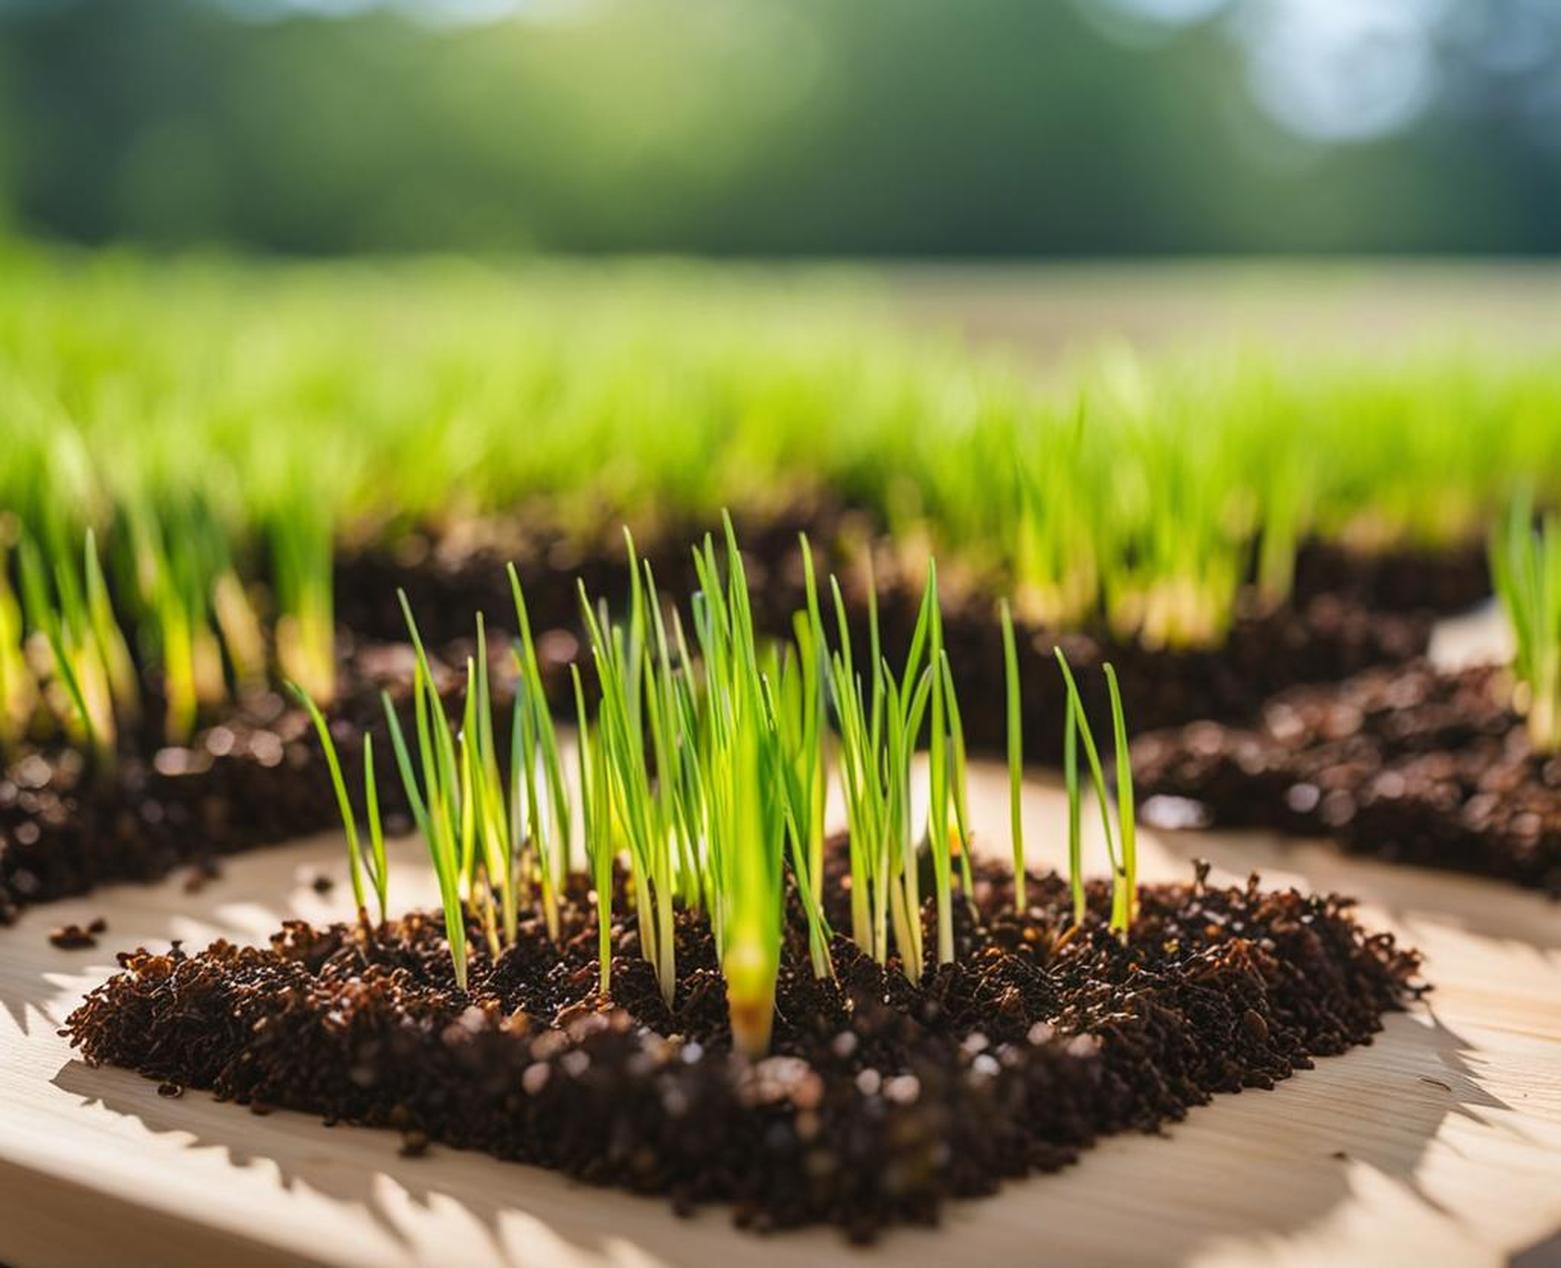
Germination starts with water absorption by the seed, which activates growth. Over the next several days, a root emerges and grows down into the soil while a shoot emerges and grows upwards. Once both root and shoot are present, the seed has officially germinated. After germination, the grass continues developing its stems and leaves.
In this guide, we’ll explore the specific changes to expect each day over a 7-day period. We’ll also look at the optimal conditions for germination and how to care for newly sprouted grass.
Day 1 – Water Imbibition
The very first step in grass seed germination is imbibition, or absorbing water. As soon as a seed gets moistened, it starts taking in water through a process called imbibition. The dry seed rapidly absorbs water, causing it to swell up and soften.
During imbibition, moisture content inside the seed can increase by 30% or more within the first 24 hours after planting. This initial water intake kickstarts the biochemical processes needed for growth and is an essential first step.
For successful germination, it’s critical that the soil has adequate moisture. The top 1/4 inch should be kept consistently damp. If the soil dries out during this critical time, the whole germination process shuts down.
Day 1 Germination Tips
- Water seeds regularly to facilitate imbibition
- Gently tamp seeds into soil for good contact
- Use a seed starter fertilizer to aid water absorption
Day 2 – Metabolic Activation
During day 2, metabolic activity ramps up inside the seed. As more water is absorbed, biological processes and enzyme systems are activated. This metabolic activity is necessary to fuel the growth and organizational changes required for the embryo within the seed to emerge.
You won’t see any visible changes yet, but important developmental activity is happening inside the seed. Cell elongation begins in the embryo root and shoot. Food reserves like carbohydrates, proteins, and fats also begin breaking down to provide energy and materials for growth.
Day 2 Germination Tips
- Ensure soil moisture 1-2 inches deep
- Provide sunny, warm conditions between 65-85degF
- Allow oxygen flow by avoiding overly wet soil
Day 3 – Radicle Emergence
Around day 3 is when the very first visible signs of germination occur. The root of the grass embryo, called the radicle, emerges from the seed coat and begins growing down into the soil. This crucial event is known as radicle emergence.
As the radicle pushes through the shell, it anchors the seed into the ground. This establishes contact with the surrounding soil and allows the seedling to start taking up moisture and nutrients.
Radicle emergence marks the official onset of germination. Growth is now visible! Once the radicle breaches the seed coat, rapid downward elongation begins.
Day 3 Germination Tips
- Check for radicle emergence and growth
- Loosen top 1/4 inch of soil to ease root penetration
- Continue consistent light watering as needed
Day 4 – Root Elongation
Once the radicle emerges, the root continues growing rapidly downwards into the soil. Expanding soil contact allows it to take up water and nutrients like nitrogen, phosphorous, and potassium. These essential nutrients fuel aboveground leaf and shoot growth.
By day 4, the primary root can extend 1 to 1 1/2 inches deep. Developing secondary branch roots will also begin emerging from the main root as it grows down. These help stabilize the seedling.
Strong root growth provides an anchor for the developing seedling to start pushing upward. As the roots elongate, the shoot also begins heading upwards.
Day 4 Germination Tips
- Ensure soil 1-2 inches deep stays moist
- Avoid fertilizing with nitrogen to prevent excessive top growth
- Use a seed starter fertilizer to encourage rooting
Day 5 – Coleoptile/Leaf Emergence
Around day 5 or 6, you should see the first leaf (coleoptile) emerge from the seed. The coleoptile is a protective sheath covering the first true leaf inside. It pushes up through the soil surface and into sunlight.
Once the coleoptile reaches light, photosynthesis begins. This provides energy allowing the first true leaf to unfold and expand. This leaf is the first part of the shoot system to start growing upwards.
Both root and shoot systems are now established. With visible growth above and below ground, germination is well underway. From here, development transitions into further seedling establishment and growth.
Day 5 Germination Tips
- Look for shoot growth breaking the surface
- Ensure sunlight exposure for the emerging leaves
- Consider applying a seedling fertilizer to support growth
Day 6 – Seedling Establishment
By day 6, the root system deepens and expands branching roots while leaves unfold and widen. The seedling taps into soil moisture and nutrients to support rapid growth.
Expanding leaf surface area allows increased light absorption for photosynthesis. This powers faster growth and development. The seedling now has established both anchoring roots and leaves capable of energy production.
Moisture, warmth, and sunlight remain critical through this phase. The young seedling is still fragile and just getting established, so protection from diseases, pests, and traffic is also important.
Day 6 Germination Tips
- Allow seedlings 4-6 hours of sunlight
- Keep soil moist but avoid saturation
- Consider protective coverings if pests are an issue
Day 7 – Early Vegetative Growth
By day 7, the seedling is anchored, energy-producing, and ready for further growth. More leaves emerge and begin filling out. The shoot system forms new stems and blades while the root system continues to expand.
At the 1-week point, the grass plant transitions from germination to further vegetative development. More advanced growth stages can now begin taking place.
While still delicate, the 1-week old seedlings are past the initial sprouting phase. With a well-established root and shoot system, they can now focus energy on leaf and tiller development, heading towards becoming a dense, lush grass plant.
Day 7 Germination Tips
- Gradually reduce watering frequency as plants strengthen
- Apply starter fertilizer to encourage leaf growth
- Consider protective UV coating if hot, dry weather
Optimal Germination Conditions
For your grass seeds to sprout successfully in 1 week, having the right growing conditions is key. The main factors that affect germination speed and vigor include: Moisture – Consistent moisture is vital. The top 1 inch of soil should be kept damp during the first 10 days. Grab a handful of soil and squeeze – if no water comes out, it’s time to water. Soil temperature – 65degF to 85degF is ideal. Use a thermometer to check the soil temp at seed depth. Cool-season grasses prefer lower temperatures. Oxygen – Good drainage and aeration allows oxygen flow. Avoid overly compacted or saturated soil. Sunlight – Grass seeds don’t need light to germinate but do once shoots emerge. 4-8 hours of sun per day is optimal. Properly preparing your seedbed and caring for factors like moisture, temperature, and drainage will ensure your grass seeds germinate successfully within the typical 1 week timeline.
Common Germination Problems
While most grass seeds germinate within 5-14 days, you may encounter issues along the way. Some common problems include: Poor moisture – Without adequate water, germination will fail. Ensure consistent dampness in the top 1 inch of soil. Compacted soil – Lack of oxygen from overly dense soil inhibits germination. Loosen soil to a depth of 3-4 inches before planting. Cold weather – Soil temperature below 50degF slows germination. Use cold-tolerant seed blends and consider protective covers. Seed planted too deep – 1/4 inch depth is ideal; don’t bury seeds more than 1/2 inch deep. Rake gently after planting. Diseases or pests – Damping off disease, birds, insects, or rodents may attack seedlings. Applying fungicide/pesticides can help. If germination problems occur, don’t panic. Simply reseeding once conditions improve may be all that’s needed for success.
Choosing the Best Grass Seed Variety
The specific grass seed variety you choose can impact how quickly it germinates. Consider these factors when selecting your grass seed: Climate – Choose cool-season grasses like fescue and ryegrass in northern areas. Warm-season types like bermuda thrive in southern zones. Sunlight – Full sun, partial shade, or deep shade each require adapted grass varieties. Match seeds to your light conditions. Use – Turf-type grasses for lawns, sports fields, etc. Varieties differ for pasture, conservation, or landscaping uses. Germination rate – Check the seed tag; fast-germinating blends will sprout sooner. Mix with slower varieties for extended coverage. High-quality seed of adapted species and varieties suited to your specific needs will give the best germination and establishment.
Preparing Your Lawn for Seeding
Proper lawn preparation sets the stage for fast, uniform grass seed germination. It’s worth taking the time upfront to establish good conditions. Key steps include: Test soil pH – Adjust pH to optimal 6.0-7.0 range if needed. This facilitates nutrient availability. Eliminate weeds – Remove existing vegetation that will compete with grass seedlings. Till or use herbicide in advance. Loosen soil – Cultivate to a 3-4 inch depth so roots penetrate easily and water infiltration improves. Level and rake – Smooth the soil surface and break up large clods, then lightly rake. Fertilize – Apply a balanced starter fertilizer to support seedling growth. Taking these simple steps when preparing your seedbed will ensure no obstacles impede your grass seeds from germinating in the critical 1-week window.
Caring for Newly Germinated Grass
Your work isn’t done once sprouting occurs. Proper ongoing care ensures seedlings survive and thrive beyond germination. Tips for newly germinated grass include: Water lightly and frequently – Avoid washing out tender roots. As plants strengthen, gradually water more deeply and less often. Apply seedling fertilizer – Look for formulations with higher phosphorous to fuel root and shoot growth. Allow leaves to dry before mowing – Wait until grass reaches 3-4 inches before the first gentle mowing. Set blades high. Manage disease and pests – Monitor for fungal disease, grub damage, etc. and treat promptly if found. Protect from foot traffic – Erect barricades and temp signs to keep people and pets off establishing grass. Proper follow-up care ensures your seedlings continue flourishing into a mature, healthy lawn.
Understanding the timeline of grass seed germination empowers you to plant at the right time, provide optimal growing conditions, and properly care for your grass as it sprouts and matures. Expect visible germination in 5-7 days, but have patience for up to 2 weeks before assuming a problem.
The process begins as soon as seeds get moistened, with the first roots emerging around day 3. Shoots follow shortly after, and visible seedlings are up and running within 1 week under good conditions. Avoid issues like poor moisture, compacted soil, and improper planting depth to achieve full, even germination.
Pay close attention throughout the first week and beyond. The work doesn’t stop once sprouting occurs – newly emerged grass requires careful follow-up care. But with the right preparation, seed selection, and attentive watering and protection, you’ll be rewarded with a thriving lawn.
