Installing kitchen cabinets on your wall may seem intimidating, but with the right techniques, you can do it yourself without needing an extra set of hands. By preparing your workspace, using essential tools, and following key installation steps, you’ll have stunning, straight cabinets mounted in no time.
Prepare the Installation Area
Before even unpacking your cabinets, take time to set up your workspace. Carefully preparing the installation area makes the entire process faster and prevents potential issues down the road.
Here are a few key steps:
- Clean the wall surface thoroughly to remove any dirt, dust, or debris
- Fill any small cracks or gaps so the wall is completely smooth
- Use a level to ensure the wall is straight. Correct any uneven spots if necessary.
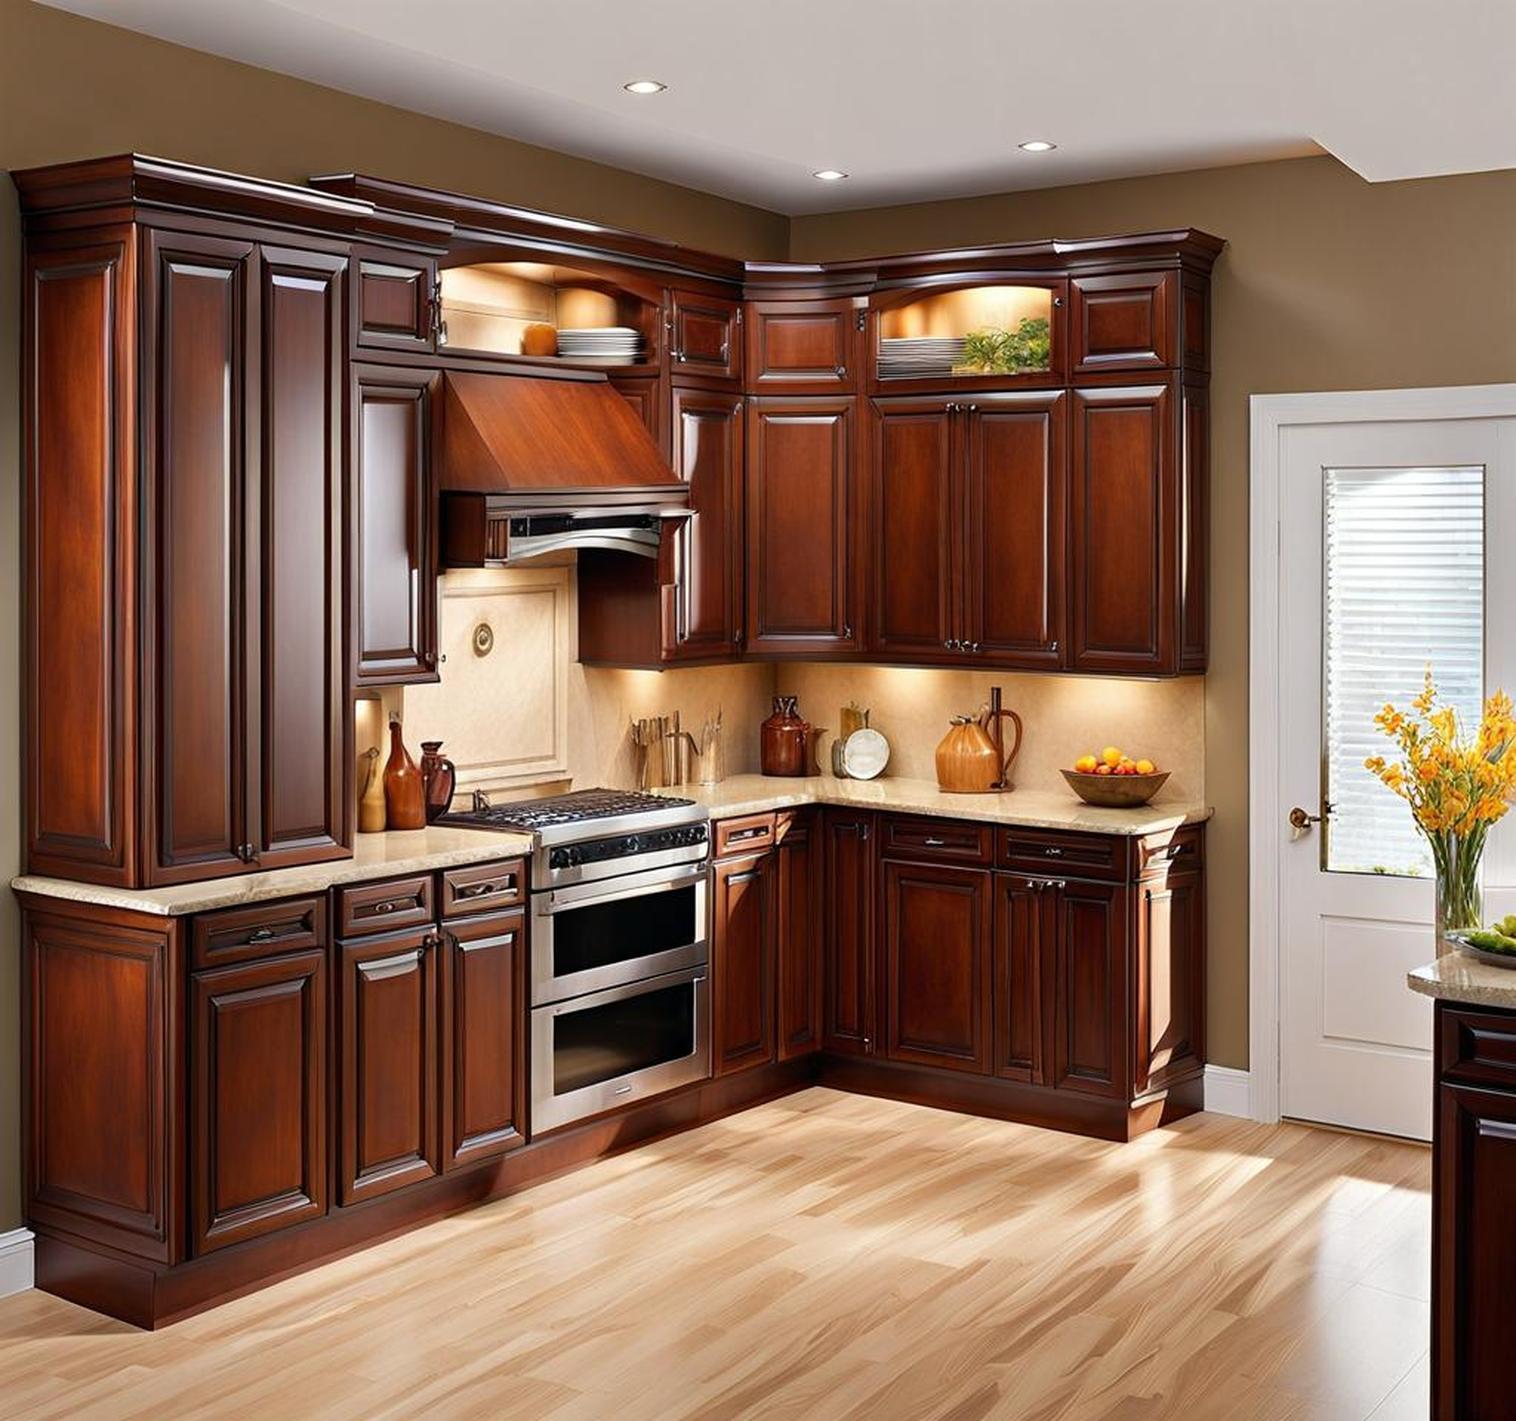
- Determine exact cabinet placement and use a pencil to outline the perimeter where they’ll be installed.
- Locate studs using a stud finder and mark these spots for drilling pilot holes later.
Preparing the Wall Surface
Before hanging anything on your walls, it’s essential to start with a smooth, clean surface. Wipe down the area to eliminate dust, then fill minor cracks or holes with spackle compound. Allow time for drying before sanding the patches flush.
Paint if desired, then use a level to identify any uneven spots on your wall. You may need to skim coat certain areas so that your cabinet installation starts on an perfectly flat, level plane.
Choose Appropriate Hardware
The specific screw type required depends on your wall material and cabinet style:
| Masonry | Use Tapcon screws |
| Frameless cabinets | Opt for wood screws |
Ensure you select screws designed for the loads cabinets place on walls. Purchase extras in case any break or strip during installation.
Add Internal Cabinet Components
It’s much easier to insert adjustable shelves, roll out trays, and other interior fittings before you permanently mount the cabinet itself. Have these items ready to go prior to starting.
Use Essential Installation Tools
Having the right gear makes installing wall cabinets solo achievable. Be sure to have these tools on hand:
- Stud finder for locating wood studs
- Level to double check alignments
- Cabinet lift for hands-free support
- Protective cardboard to prevent cabinet damage
A cabinet lift proves especially useful when working alone. This adjustable cradle holds the cabinet at just the right height while allowing you to drill, shim and secure everything into position.
Step-by-Step Cabinet Hanging Process
Once fully prepped, you have everything needed for DIY success. Follow these key steps:
- Place cabinet lift securely under cabinet.
- Drill pilot holes into wall studs.
- Partially insert screws, check levelness, then tighten.
- Secure cabinet firmly to a minimum of two wall studs.
Work slowly, repeatedly verifying everything remains plum using your level. Gradually tighten screws rather than cranking them down quickly to prevent cracking the cabinet or stripping the screws.
Adjust and Complete Installation
After mounting each cabinet, take time for adjustments:
- Recheck level and use shims if necessary.
- Inspect all hardware is fully tightened.
- Test doors and install interior fittings as needed.
- Add desired trim pieces or paint.
Carefully going through this list guarantees your solo installation looks fantastic and functions flawlessly for years to come.
What if I don’t have a helper?
Using a cabinet lift allows a single installer to fully support the cabinet while keeping hands free for drilling, shimming, and securing it to the wall.
Do I need to prepare the wall first?
Yes, proper wall preparation is a must. Fill holes, remove bumps, clean thoroughly, check for level, and mark stud locations before ever lifting your cabinets into place.
How do I ensure the cabinets are installed straight?
Frequently check for level and plumb as you work using a quality level tool. Start with a flat wall and use shims during installation to make minor adjustments.
