Cooking delicious meals quickly is one of the main advantages of using a microwave oven. However, the steam, smoke, and unpleasant smells released during the cooking process can make the air quality inside your home uncomfortable. Venting your microwave fumes to the outside is an effective solution to prevent the buildup of moisture, odors, and air pollutants indoors.
Properly venting your microwave not only keeps the air fresh inside, but also enhances the overall cooking experience.
Why Proper Microwave Ventilation is Important
Before installing an external microwave ventilation system, it is crucial to understand why proper ventilation is important for a microwave oven in the first place:
- Prevents moisture buildup and mildew growth inside the kitchen
- Removes odors, smoke, fumes, and other air pollutants
- Improves indoor air quality for a healthier home
- Enhances the cooking experience by clearing away unpleasant smells
Microwave ovens heat food quickly by generating electromagnetic waves that cause water molecules to vibrate rapidly. This quick cooking process creates significant moisture and steam. Without proper ventilation, the moisture can condense on surfaces and promote mold, mildew, and bacteria growth.
Additionally, heating or burning certain foods releases smoke, grease, and odors that linger in the kitchen. Accumulation of these air pollutants leads to stuffiness that makes cooking less pleasant. By venting the microwave air outside, you can avoid issues with high humidity and foul smells when operating your microwave.
Potential Health Issues of Poor Microwave Ventilation
If microwave exhaust containing grease, smoke, and moisture is not effectively removed from the kitchen, it can negatively impact health in a few ways:
| – Asthma & allergy symptoms | – Eye, nose and throat irritation |
| – Increased heart disease risk | – Headaches and nausea |
Proper microwave ventilation dilutes and redirects these air pollutants outside instead of spreading them throughout the indoor environment. By clearing away grease, smoke and humidity from cooking, an external vent helps keep the kitchen dehumidified and free of irritants.
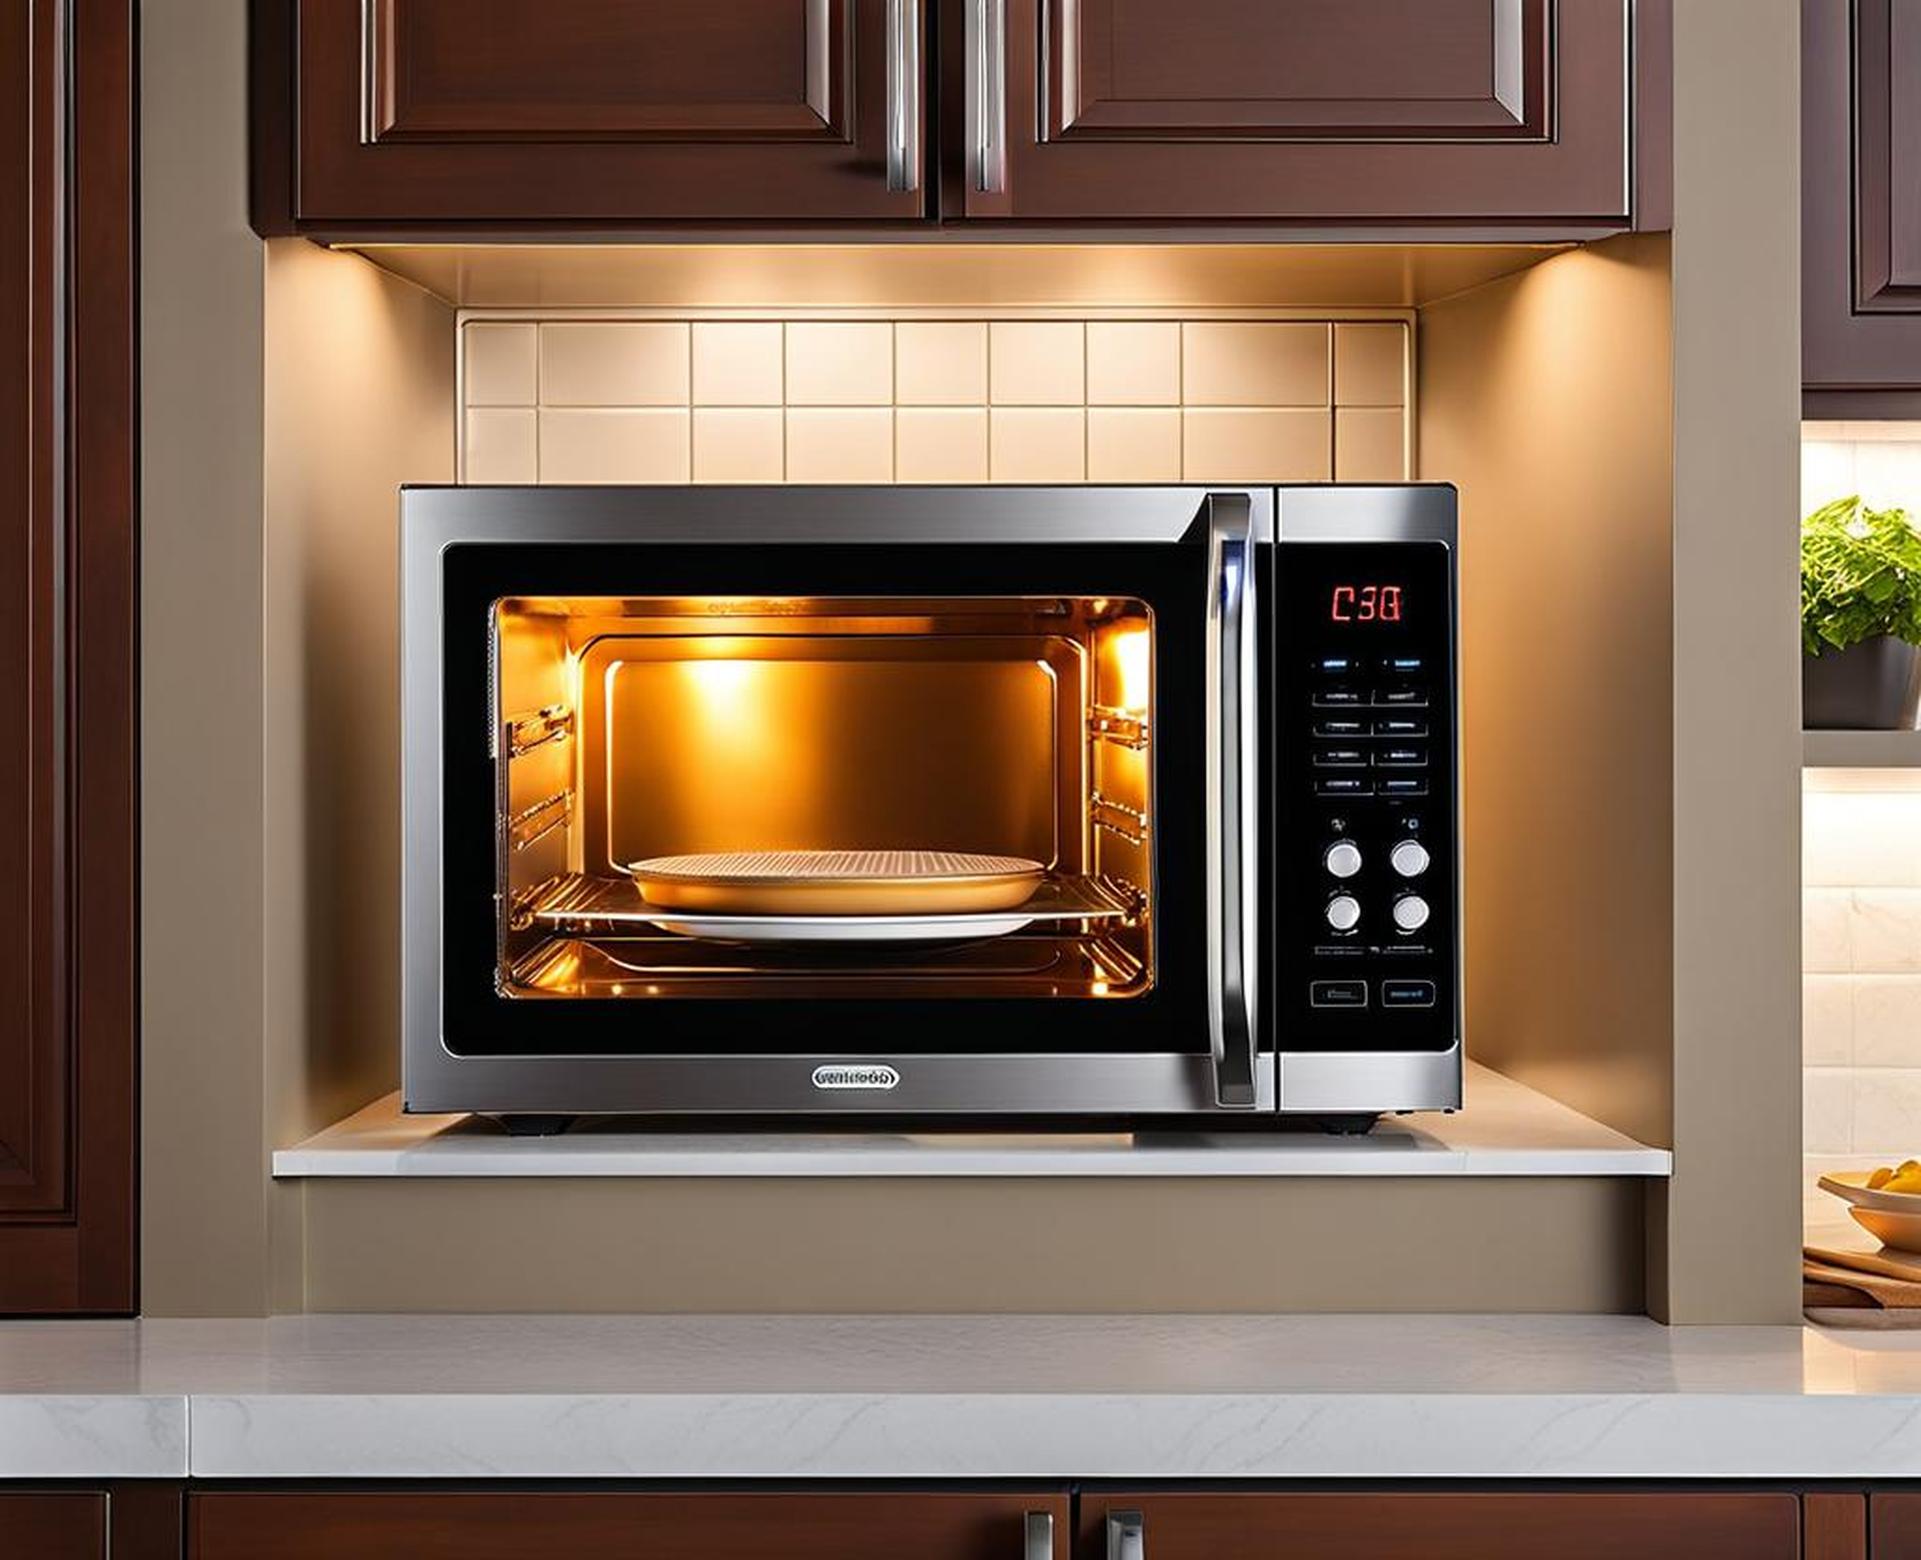
Choosing a Microwave Designed for External Venting
The first step when installing a ventilation system is selecting an appropriate microwave oven intended for external venting:
- Confirm the microwave has venting capability by thoroughly checking the manufacturer instructions
- Some models feature a built-in ventilation system, while others require connecting to additional overhead ductwork and a vent hood
- It is essential to pick a system designed explicitly for outside venting to ensure full compatibility
- Closely following the installation methods in the manual is crucial for proper functioning
There are a couple microwave and venting configuration options to consider for effective externally vented systems:
Over-The-Range Vent Hood Combo
Many external venting microwave systems utilize an integrated vent hood that doubles as a range fan and microwave vent. A vent duct carries the fumes from both the cooktop surface and the microwave outside.
Dedicated Microwave Vent Hood
Alternatively, some systems feature a standalone vent hood exclusively for the microwave placed above it. The customized microwave vent hood connects directly to ductwork routing exhaust outside.
When selecting a microwave, double check that the model explicitly states “external venting” capabilities to guarantee seamless integration with your kitchen ventilation.
Getting the Right Ventilation System for Your Kitchen
Once you select an exterior venting microwave, the next key step is choosing and implementing the right companion ventilation system for your kitchen layout and specifications:
- The position and available duct routes will determine which vent style fits best
- Aim to balance sufficient airflow with minimal bends in the ductwork
- Ensure all connections are properly sealed to prevent leaks that reduce efficiency
- Match duct sizing to the published airflow specs of your microwave model
As a rule of thumb, a good external venting system should have a powerful 300+ CFM fan rating to quickly funnel smoke, fumes and moisture outside. Duct type, routes available, and distance all factor into airflow resistance as well. Working closely within these constraints during planning allows proper installation.
Microwave Vent Duct Routing Tips
To maximize airflow efficiency, here are some best practices when routing microwave vent ductwork:
- Use straight duct routes with minimal 90deg elbow bends
- Smooth, gradual bends are preferred over sharp angles
- Ensure duct diameter matches system requirements
- Keep duct length under 20 feet if possible
- Use rigid metal ductwork rather than ribbed plastic
Careful planning of the shortest, straightest duct pathway improves venting power and prevents clogs from grease buildup over time.
Installing a Vent Hood Above the Microwave
Once your ideal external venting microwave and duct system are ready, the next phase is proper overhead vent hood installation:
- Follow manufacturer instructions exactly
- Proper sealing around the vent hood is crucial to prevent air leaks
- Choose a hood size appropriately matched to your kitchen’s dimensions
- Check if local regulations require a hood exhaust flow rate
Vent hood type varies depending on the microwave and ventilation configuration. Some microwaves have integrated hoods and blowers, while others require a separate hood unit installed above.
Integrated Vent Hoods
Self-contained over-the-range microwave and hood combos feature built-in blowers that channel from the hood up through ducts reaching the roof or wall.
Separate Vent Hoods
Alternatively, standalone vent hoods for microwaves come in under-cabinet or wall-chimney configurations to connect with external venting.
No matter what style vent hood your setup utilizes, check for a tight hood-to-wall seal during mounting to prevent ventilation leakage indoors.
Ideal External Vent Placement
Where you position the exterior microwave vent outlet itself is also integral for effectively removing indoor air pollutants:
- The ideal placement is directly above the cooking surface
- Avoid cabinet overhangs or decor impacting the immediate vent hood area
- Closer proximity to cooking maximizes air pollution and odor capture
Most external microwave vents route through the back wall behind the appliance. Quickly funneling steam, grease, and smells outside right above their source improves venting performance.
Try to minimize competing kitchen decor or cabinets interfering with direct vent hood space. Even a small gap of separation reduces ventilation efficacy over your stovetop.
Vent Electrical and Duct Connection
With the ideal external vent location chosen, finish by:
- Connecting ductwork pathways leading outdoors
- Wiring the vent hood lighting, fan, and microwave power supply
- Checking all fittings are tightly sealed
Having an electrician complete the appliance electrical connections and inspect duct fittings ensures a secure, leak-free system.
Testing External Venting Performance
Once installation finishes, thoroughly test your microwave’s ventilation system before use:
- Run the microwave and cook a variety of strong-smelling meals
- Check that steam, smoke and odors are venting outside, not inside
- Inspect the entire system carefully for any air leaks
- Reseal any leaky joints found or make alignment adjustments
Monitoring smell intensity while cooking confirms your ventilation extract effectiveness. Catching duct leaks early prevents declined performance over years of use.
In addition, ensure the hood-mounted ventilation controls operate the blower speeds and ceiling vent flaps properly. Valuable microwave ventilation relies on clear, unobstructed airflow through correctly functioning ducts.
Troubleshooting Venting Issues
Here are some common external microwave venting problems and solutions:
| Issue | Solution |
| – Weak airflow | – Check for leaks, tighten connections |
| – Little ventilation | – Clear debris in duct pathway |
| – Noisy operation | – Inspect blower motor and blades |
Addressing installation defects immediately leads to better long-term microwave ventilation.
Performing Regular Maintenance
For smooth performance over time, build these maintenance habits:
- Clean blower fan blades and the bottom vent hood regularly
- Ensure duct pathways remain clear and unblocked
- Replace ventilation filters as frequently as recommended
- Test overall system airflow biannually as preventative care
Routinely checking and clearing all ventilation components prolongs peak functioning. Over time, grease deposits inside ducts gradually hinder airflow. Catching buildup early by removing collected residue sustains strong venting suction performance long-term. Replacing filters per the manufacturer’s timeline also maintains indoor air purity. Once properly installed and tested, here are the upside perks of venting your microwave externally:
- Cleaner indoor air through direct fume removal
- Less condensed moisture leading to fewer mold risks
- Decreased smoke, grease and unpleasant cooking odors
- A more comfortable and pleasant cooking experience overall
Venting microwave exhaust outdoors solves issues like high humidity and lingering smells during and after cooking. Opening kitchen windows to dissipate steam and odors becomes unnecessary. With an effective external ventilation system set up, the advantages of faster microwave cooking can shine without the downsides of indoor air pollution.
Implementing a quality overhead microwave ventilation system requires careful planning and methodical installation for optimal performance. We hope detailing this straightforward 3-step external venting process assists your next kitchen upgrade for cleaner indoor air and better cooking!
