Is your kitchen looking tired and dated? Are you wanting to update the look without undergoing a full kitchen remodel? Kitchen cabinet refacing kits provide an affordable, convenient way to give your existing cabinets a whole new look fast. With some simple DIY techniques, you can upgrade your kitchen cabinets with beautiful new finishes and hardware using a refacing kit.
DIY Refacing vs. Cabinet Replacement
Traditionally, renovating an outdated kitchen meant ripping out and replacing old worn cabinets entirely. But complete cabinet replacement is expensive, disruptive, and wasteful. Refacing kits allow you to refresh your existing cabinet boxes while only replacing the doors and drawer fronts for a fraction of the cost.
The average cost of new kitchen cabinets ranges from $5000-$15000 depending on materials and installation. Refacing existing cabinets with new veneers, doors, and hardware costs 25-50% less on average. You’ll save significantly on demolition, new cabinet boxes, and installation labor with refacing.
Replacing cabinets also takes more time, often at least a week of disruption to your kitchen’s use. Refacing can usually be completed in just a few days. And since the cabinet boxes stay intact, you avoid excessive landfill waste compared to replacing.
What Parts Can Be Refaced?
With DIY kits, you can reface cabinet door fronts, exposed end panels, and the boxes/frames visible from the exterior. Upgrading these visible components lets you change the look dramatically. To replace interior-facing surfaces, new cabinet interiors, or base structures would require professional refacing.
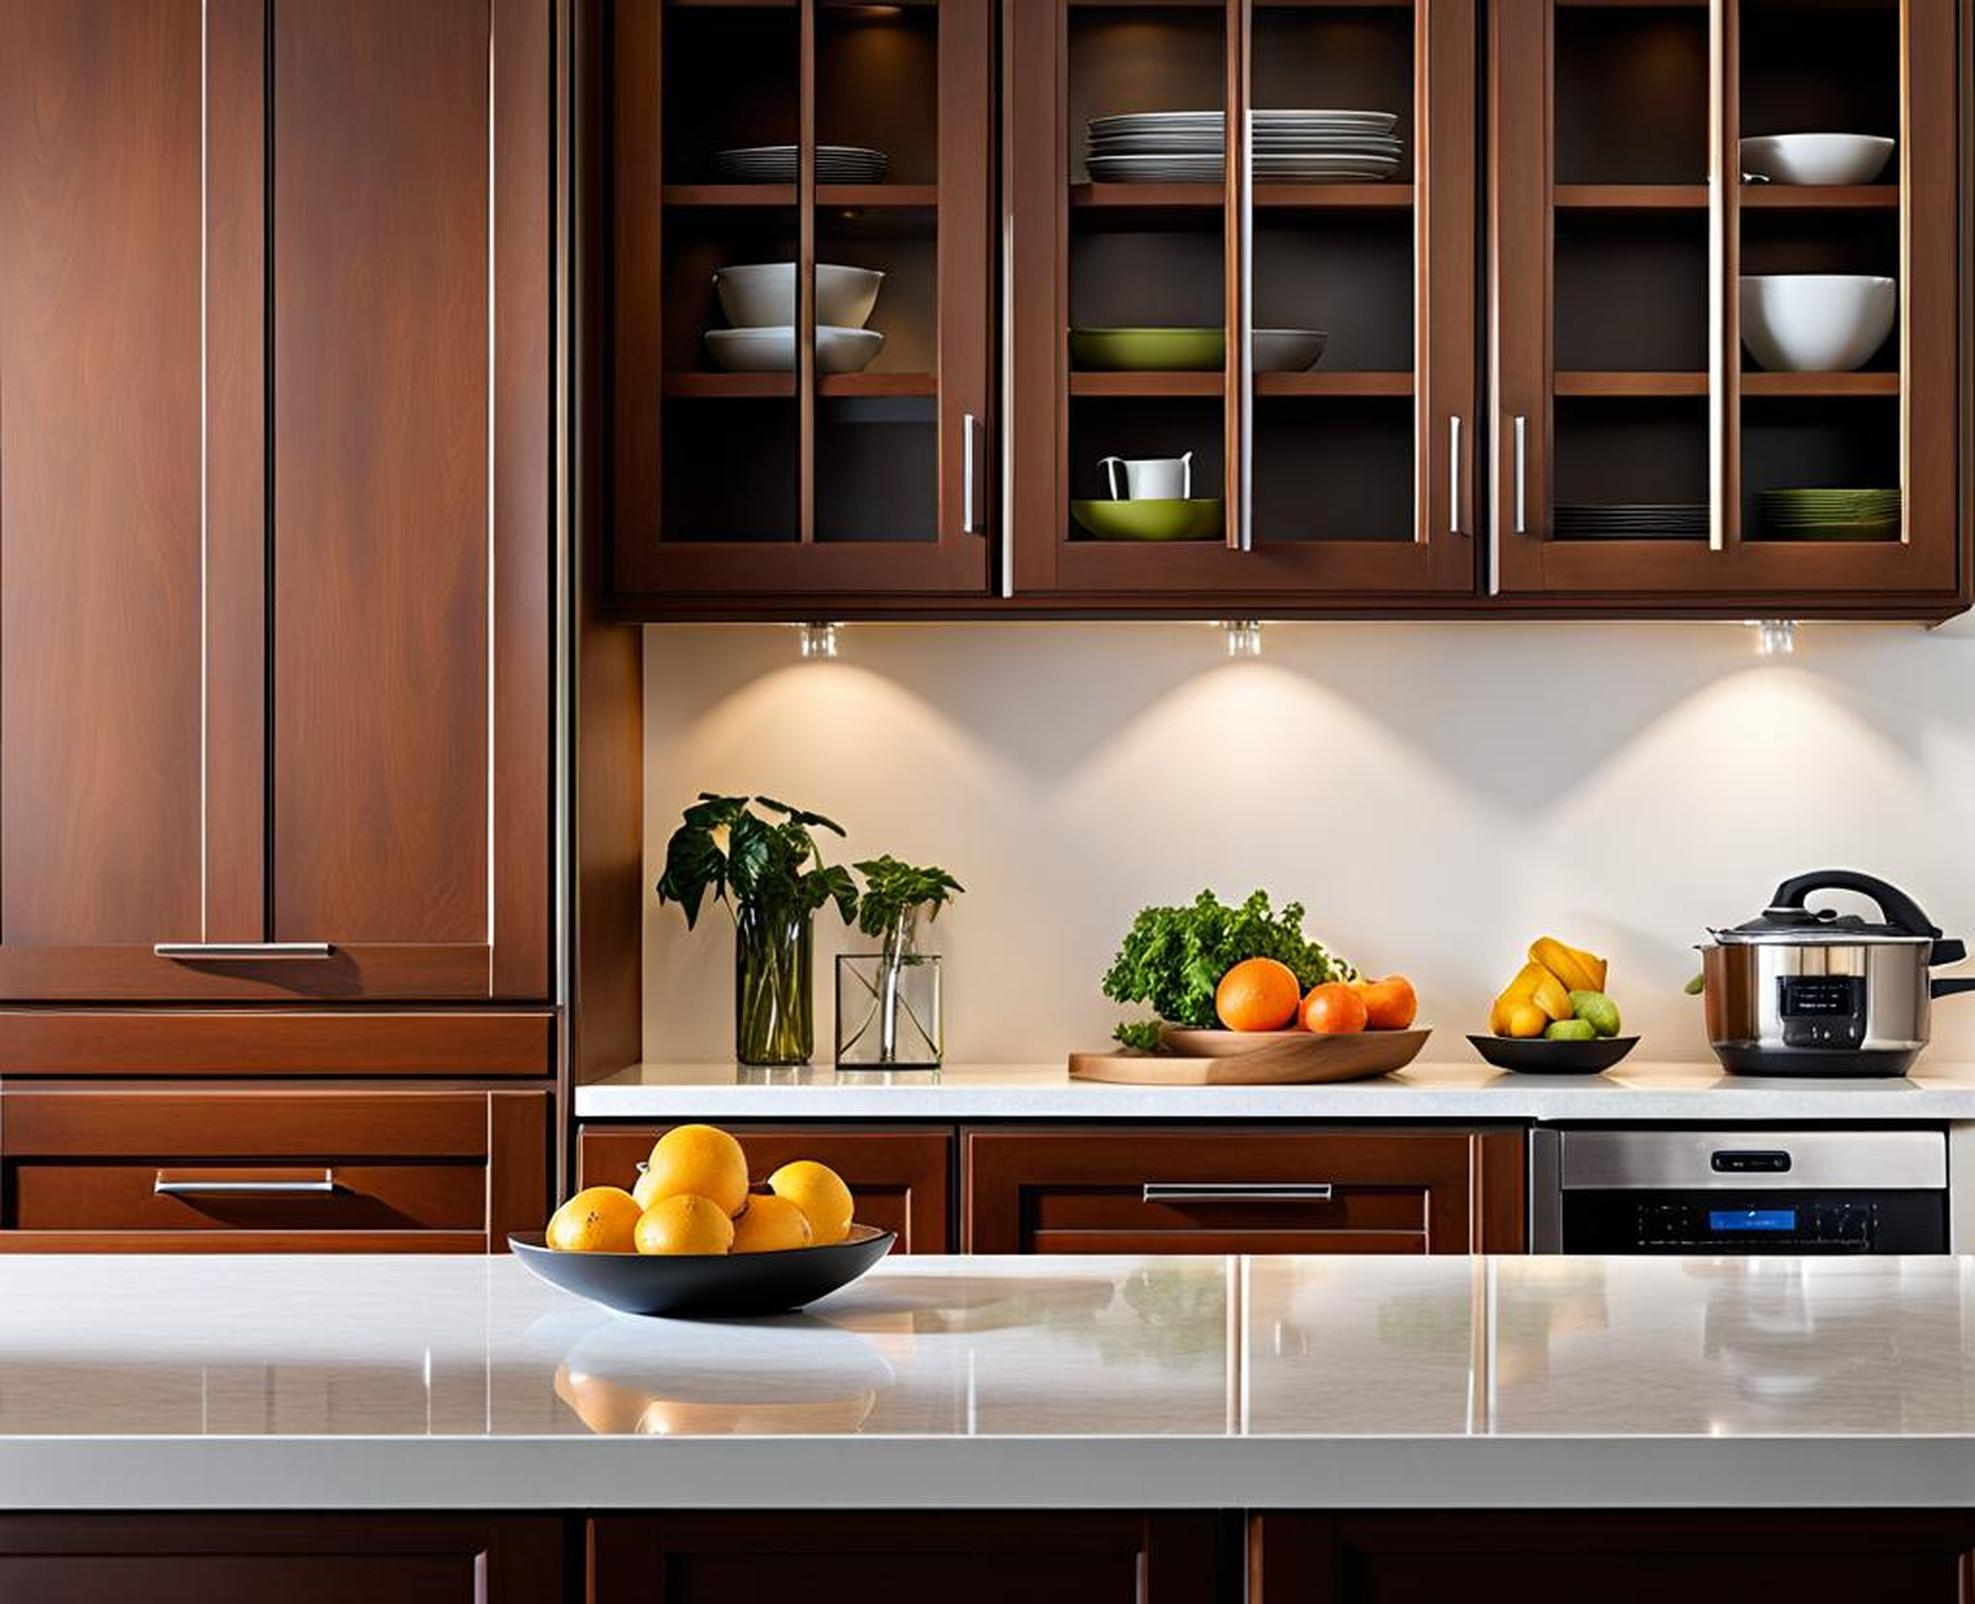
Most kits also include new matching drawer fronts to coordinate with the updated doors. And you can swap out old dated hardware like knobs and hinges for modern finishes like brushed nickel or oil rubbed bronze to tie the whole new look together.
How Refacing Kits Work
Refacing kits include decorative veneers, replacement doors and drawer fronts, and new hardware if needed. The veneers adhesive directly to existing cabinet frames to coat the exterior-facing surfaces.
The process involves carefully removing your old doors, thoroughly cleaning and sanding cabinet boxes, measuring for the new components, securely adhering the new veneers, then hanging the replacement doors and drawers. Detailed instructions walk you through each step.
Pros of DIY Refacing Kits
There are many benefits to choosing refacing over cabinet replacement, including:
- Cost Savings – Less demolition and installation work reduces expenses by thousands.
- Convenience – Refacing goes faster with less kitchen downtime.
- Customization – Kits let you choose unique finishes like glazes and glimmers.
- Less Disruptive – Avoids excessive construction mess in your home.
With a quality kit, even novice DIYers can achieve dramatic upgrades. And you can work on your own timeline nights and weekends.
Potential Cons to Consider
While there are many advantages, refacing your own cabinets also comes with a few drawbacks:
- Results Vary – DIY finishes may show imperfections versus pro refacing.
- Partial Upgrade – Only visible exterior surfaces get refreshed.
- Time Consuming – Refacing still requires an investment of your sweat equity.
Fully replacing cabinets will achieve a more seamless and integrated renovation. But hiring a contractor costs exponentially more money in most cases.
Tips for Best Results
While each kit includes detailed instructions, there are some best practices that can help you achieve quality results refacing yourself:
Prep Work is Crucial
Thoroughly cleaning and sanding cabinet surfaces ensures finishes adhere smoothly and evenly. Fill any cracks or holes with wood filler and sand smooth.
Remove doors/drawers carefully to avoid damage. Number doors and boxes with painters tape so everything gets reinstalled in the right spot.
Use a liquid degreaser and then a wood cleaner to remove residue and dirt. Lightly sand to rough up the surface for maximum adhesion.
Work Slowly and Methodically
Applying finishes requires patience. Many coats of thin veneers or paints are better than a single thick coat. Sand lightly between coats for a perfectly smooth finish.
Work in sections, allowing proper drying time between each cabinet. Rushing through the job can lead to drips, runs and uneven coloring.
Follow Instructions Exactly
Use the adhesive, preparation solutions, applicators, and finishes included in your kit for best results. Follow the steps outlined precisely.
Always test stains and paints in an inconspicuous place first. Finishes can look different against your existing cabinet color.
Apply any decorative glazing or finishing coat per the manufacturer’s directions. Using recommended tools improves the final look.
Finish Strong
Once your doors are rehung and drawers reinstalled, add a final protective sealant or topcoat to the finished refacing surfaces. This locks in the color and creates a uniform sheen across old and new components.
Sealing the finish also helps prevent scratches, dings, and makes cleaning easier going forward.
DIY vs Hiring a Pro
While DIY refacing kits allow you to upgrade your kitchen affordably, professional refacing has some distinct advantages:
- Skilled Technique – Experts properly prep surfaces and apply finishes for flawless results.
- New Box Interiors – Pros replace old cabinet interiors with new finishing.
- Cohesive Finish – A coordinated process means all components match seamlessly.
- Faster Timeline – Multiple technicians refinish efficiently, typically in just a few days.
However, pro refacing costs several thousand dollars more on average. For many homeowners, DIY kits provide an excellent middle ground alternative to upgrade affordably.
The Refacing Process Step-By-Step
While every kit includes specific manufacturer instructions, the general refacing process involves:
- Prepping – Clean inside and out, remove doors/drawers, fill holes, sand.
- Measuring – Check area to refinish and measure precisely per kit guidelines.
- Applying Veneers – Adhere new veneers smoothly and evenly onto cabinet boxes.
- Replacing Components – Attach new doors, drawers, and hardware.
- Sealing – Apply protective sealant or topcoat for durability.
It is imperative to follow the kit directions carefully from start to finish. Rushing or skipping steps can lead to issues with adhesion or uneven finishes.
Choose the Right Refacing Kit
With many options on the market, it’s important to select the right refacing kit for your specific kitchen and skill level:
- Cabinet Style – Choose veneers and replacement doors to match existing cabinet type – traditional, shaker, modern, etc.
- Finish – Consider desired stain, paint, or laminate colors and finishes.
- Skill Level – Opt for pre-cut panels and pre-drilled doors if you’re less experienced.
- Kit Contents – Ensure all materials, tools, and instructions are included.
Carefully measure your existing cabinets and have sample finish swatches on hand when ordering your kit for the best match.
Refacing kitchen cabinets using a DIY kit allows you to refresh the look of your kitchen quickly and affordably. The process involves replacing doors, veneering visible surfaces, and installing new hardware without removing existing cabinet boxes. While hiring a professional will achieve the highest quality results, DIY kits offer an easy cabinet makeover solution for most homeowners and renters.
Even novices can update their kitchen with beautiful new cabinets by following the instructions in the kit. The difference a well-executed refacing project can make is amazing. So don’t live with an outdated kitchen when cabinet refacing kits make upgrading achievable on almost any timeline and budget!
