Painting the interior walls of your home can feel like a daunting task. But with the right prep work, tools, and technique, you can use a paint sprayer to achieve professional-quality results and transform any room fast. Here’s how to spray paint interior walls like a pro.
Spray painting interior walls rather than rolling or brushing the paint on offers a few key advantages. Spraying provides a more seamless, consistent finish without the brush marks and uneven coverage associated with conventional painting methods. Sprayers also allow you to paint large surface areas much faster. Plus, spray painting makes it easier to apply an even coat on textured surfaces like popcorn or acoustic ceilings.
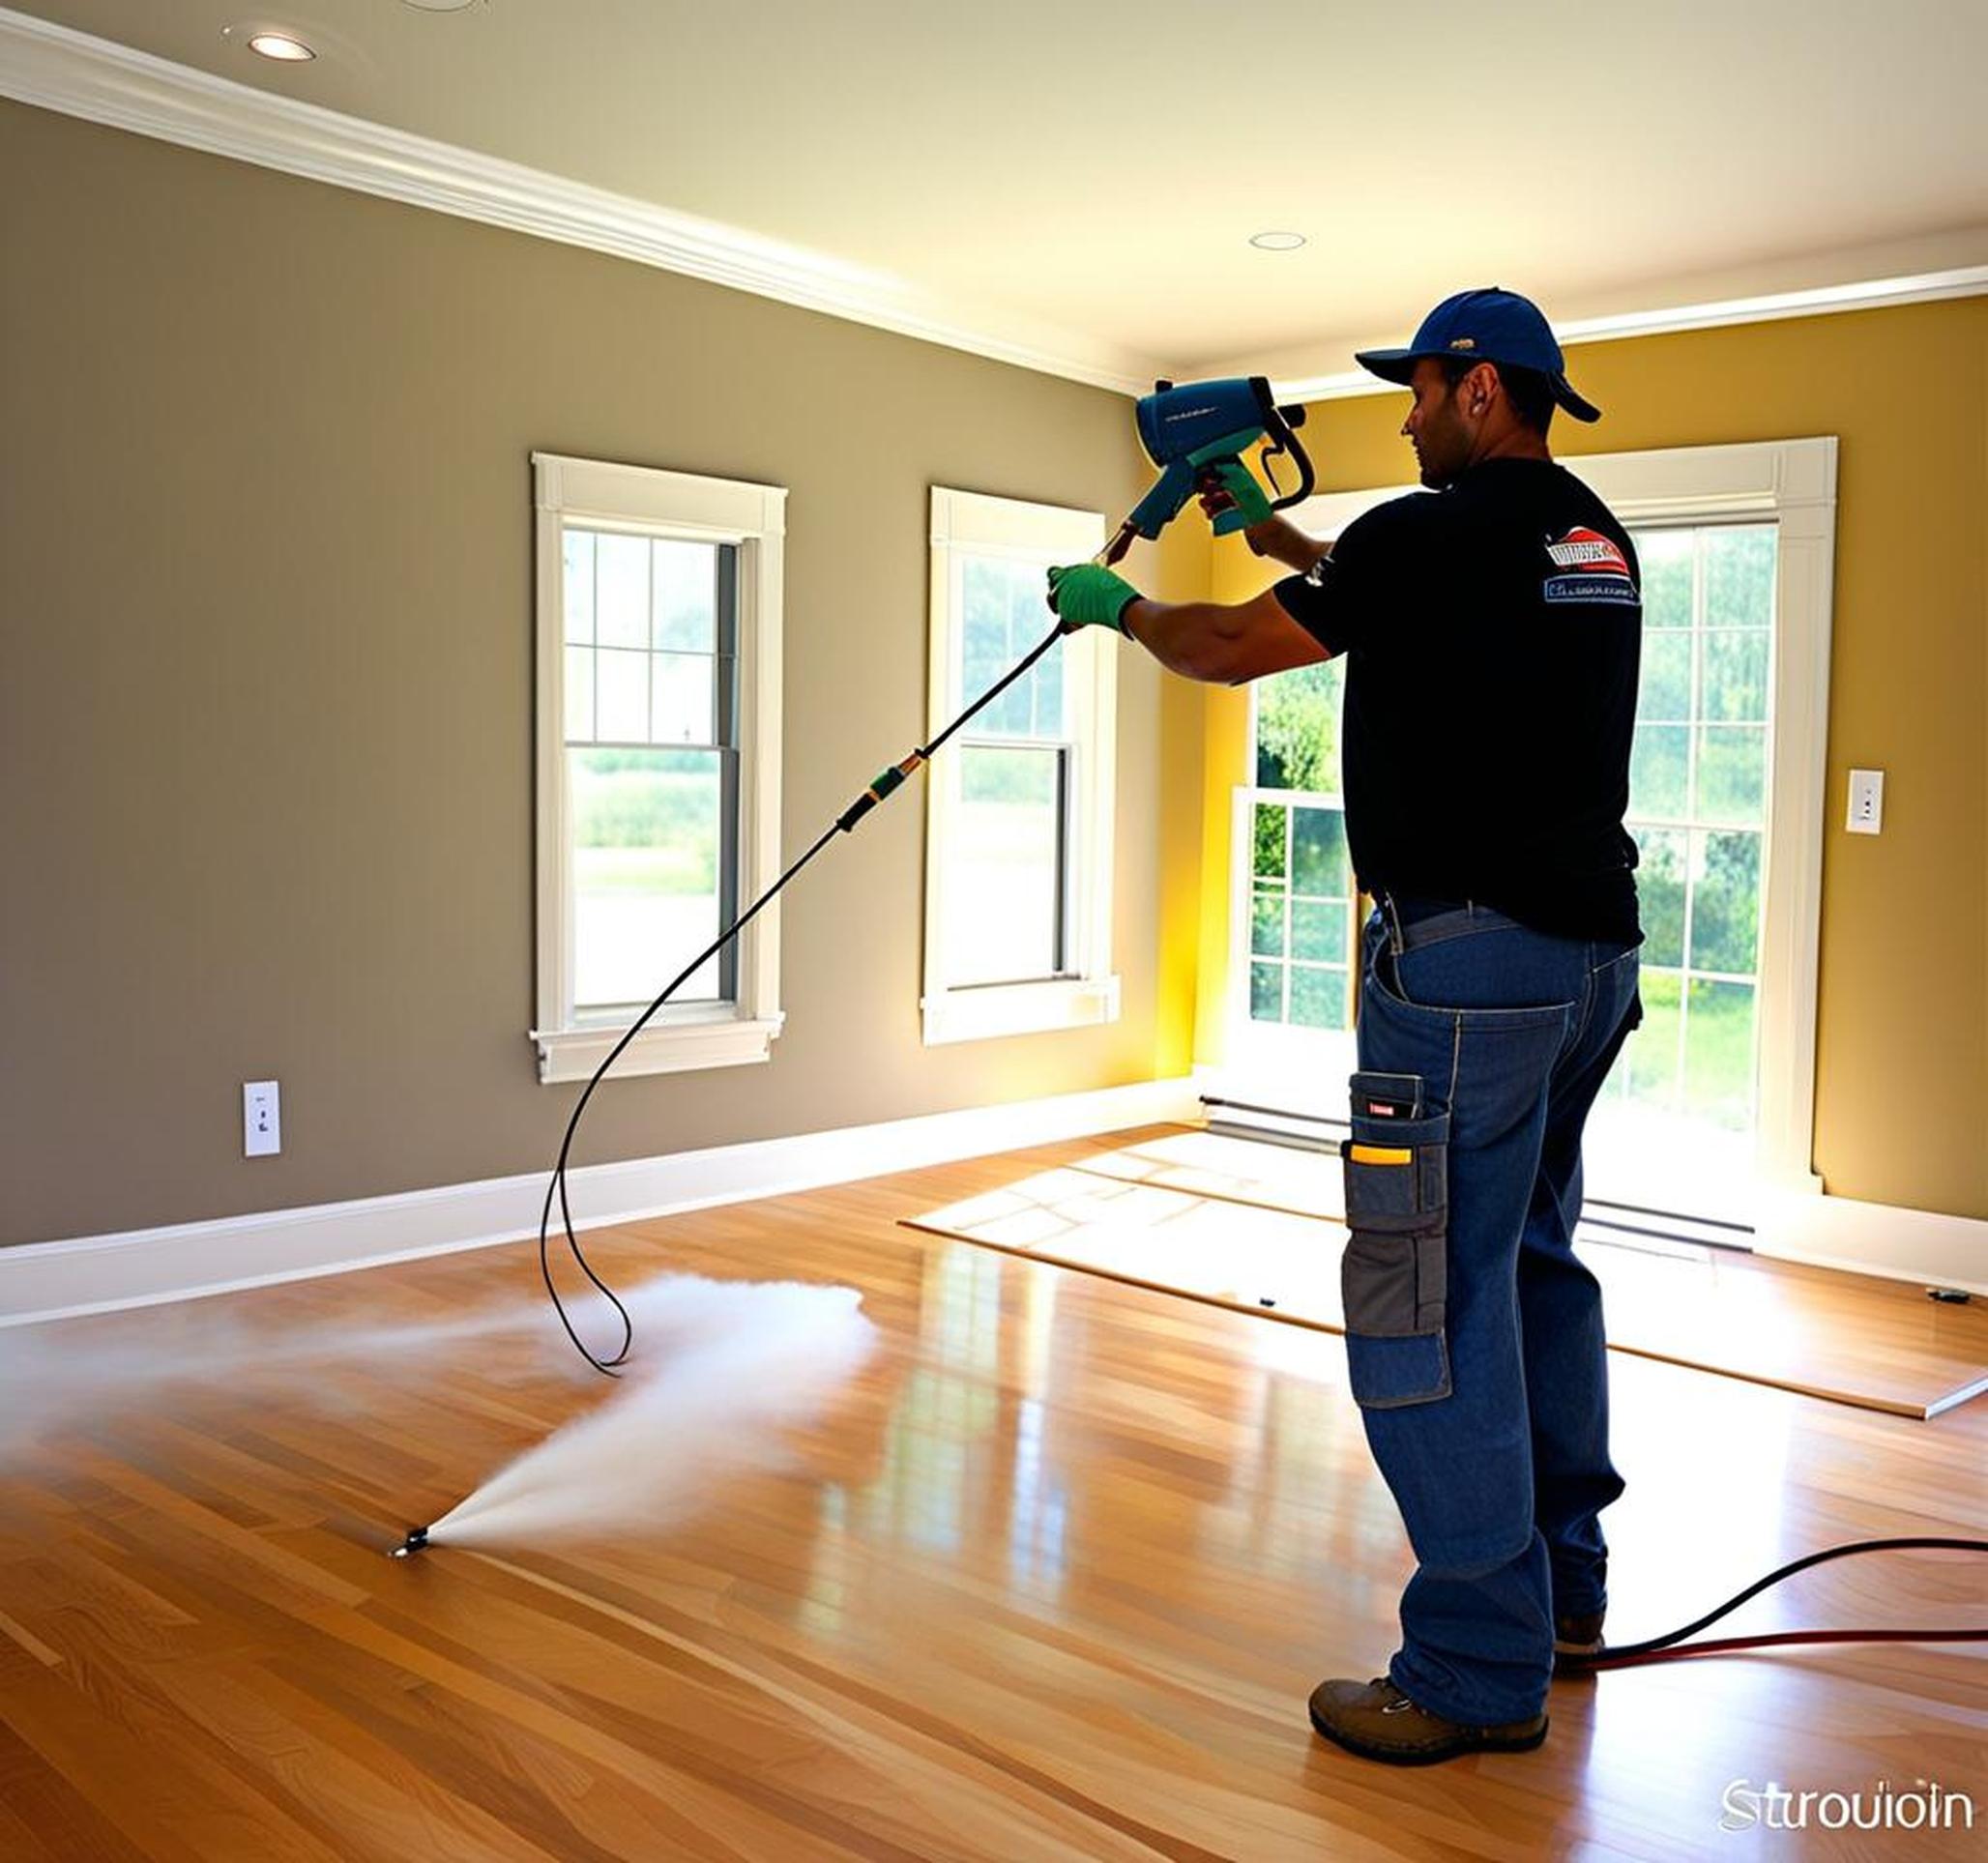
Choosing a Paint Sprayer for Interior Walls
When selecting a paint sprayer for DIY indoor painting projects, you’ll want to consider a few factors:
- Airless paint sprayers provide the best finish for interior walls. They use powerful pressure to push paint through the spray nozzle, allowing you to apply a smooth, consistent coat.
- Look for a sprayer with adjustable pressure settings and reversible spray tips. This allows you to customize the spray pattern and flow for the paint type and project.
- Portability is key for indoor use. Opt for a compact, lightweight sprayer that’s easy to maneuver in tight spaces.
For painting typical room-sized interior wall spaces, a small but powerful airless paint sprayer around 0.5 HP offers the best balance of spraying power and mobility.
Picking the Right Interior Wall Paint
While virtually any paint can be adapted for use with a sprayer, some specialty formulations provide optimal sprayability right out of the can:
| Paint Type | Benefits |
|---|---|
| Latex paints labeled “interior” or “wallcovering” | Specifically designed for indoor wall applications |
| Paints with high titanium dioxide content | Enhanced coverage and hiding power |
| Paints marked “low VOC” or “zero VOC” | Lower fumes when spraying |
A satin, eggshell, or matte interior latex formulated for airless spraying will provide the best end results on your walls.
Preparing Walls for Painting
While prep work may not be the most exciting step, properly preparing your walls before spraying paint is critical:
- Clear the room of furniture, artwork, and other belongings. Cover floors with drop cloths.
- Clean surfaces thoroughly – dust, dirt, oil, and soap can interfere with paint adhesion.
- Fill any holes or cracks with spackle; sand glossy areas to roughen the surface.
- Lightly sand walls and prime if painting over an oil-based coat.
Taking the time to prep ensures the paint bonds tightly to the wall for a durable, lasting finish.
Setting Up and Using a Paint Sprayer
Once your space is prepped, it’s time to set up your paint sprayer – be sure to read the instruction manual! Here are some tips:
- Thin the paint if needed – check label recommendations based on sprayer type.
- Adjust the nozzle and pressure for your paint’s viscosity.
- Practice on cardboard to get a feel for the sprayer.
- Hold sprayer 6-12 inches from wall at proper angle.
- Move arm in horizontal motions, overlapping passes by 30%.
Take your time, spraying light coats to build up even coverage. Allow proper drying time between coats. Finally, do a final inspection to catch any missed spots and drips.
Follow these pro tips and techniques to get flawless, salon-quality results when spray painting interior walls:
- Use painter’s tape for crisp edges along ceilings, trim, and baseboards.
- Divide larger walls into sections using tape; paint each section fully before moving on.
- Maintain consistent distance and speed as you spray.
- Work top to bottom; finish edges and corners by hand if needed.
You can achieve professional-looking results spraying interior walls with the right tools. The key is taking your time and applying multiple thin coats. Before you know it, you’ll have beautifully transformed walls done with a sprayer, not a brush!
