Is your shower cramped and tiny? Do you dream of having a spacious, relaxing bathtub to unwind in instead? Converting your existing shower into a bathtub may be easier than you think. With some strategic demolition, construction, and finishing work, you can gain all the benefits of a bathtub without undertaking a major bathroom remodel.
Read on to learn how to assess your current shower, design your ideal new bathtub layout, and step-by-step instructions for the complete transformation process.
Assess Your Existing Shower
Before beginning any demolition, it’s important to thoroughly examine your existing shower area. This will help you understand what needs to be removed, identify any issues to address, and determine if adjusting the plumbing to accommodate a bathtub is feasible.
Take Measurements
Carefully measure the width, depth and height of your shower area. Note any special features like corner benches, niche shelving, or tile accents that you may want to incorporate into your new bathtub design. Also measure the locations of faucets, shower heads, and soap holders to plan where you’ll relocate plumbing fixtures.
Identify Plumbing Locations
Locate the main water supply lines and drainage pipes behind shower walls. See if extending or rerouting them is realistic for your planned bathtub position. This may require selective demolition to access and assess plumbing.
- Use caution not to damage lines still in use.
- A professional plumber can help evaluate feasibility of adjustments.
Check for Moisture Damage
Examine walls, floors, grout and caulking closely for any signs of mold, mildew or rotting from water leaks. Identifying and fixing leaks before you begin is critical. Damaged areas must be remediated or will quickly worsen once exposed during demolition. Symptoms to look for include:
- Discolored or bubbling paint
- Crumbling drywall or tiles
- Soft, spongy floors under footing
- Separating or missing grout
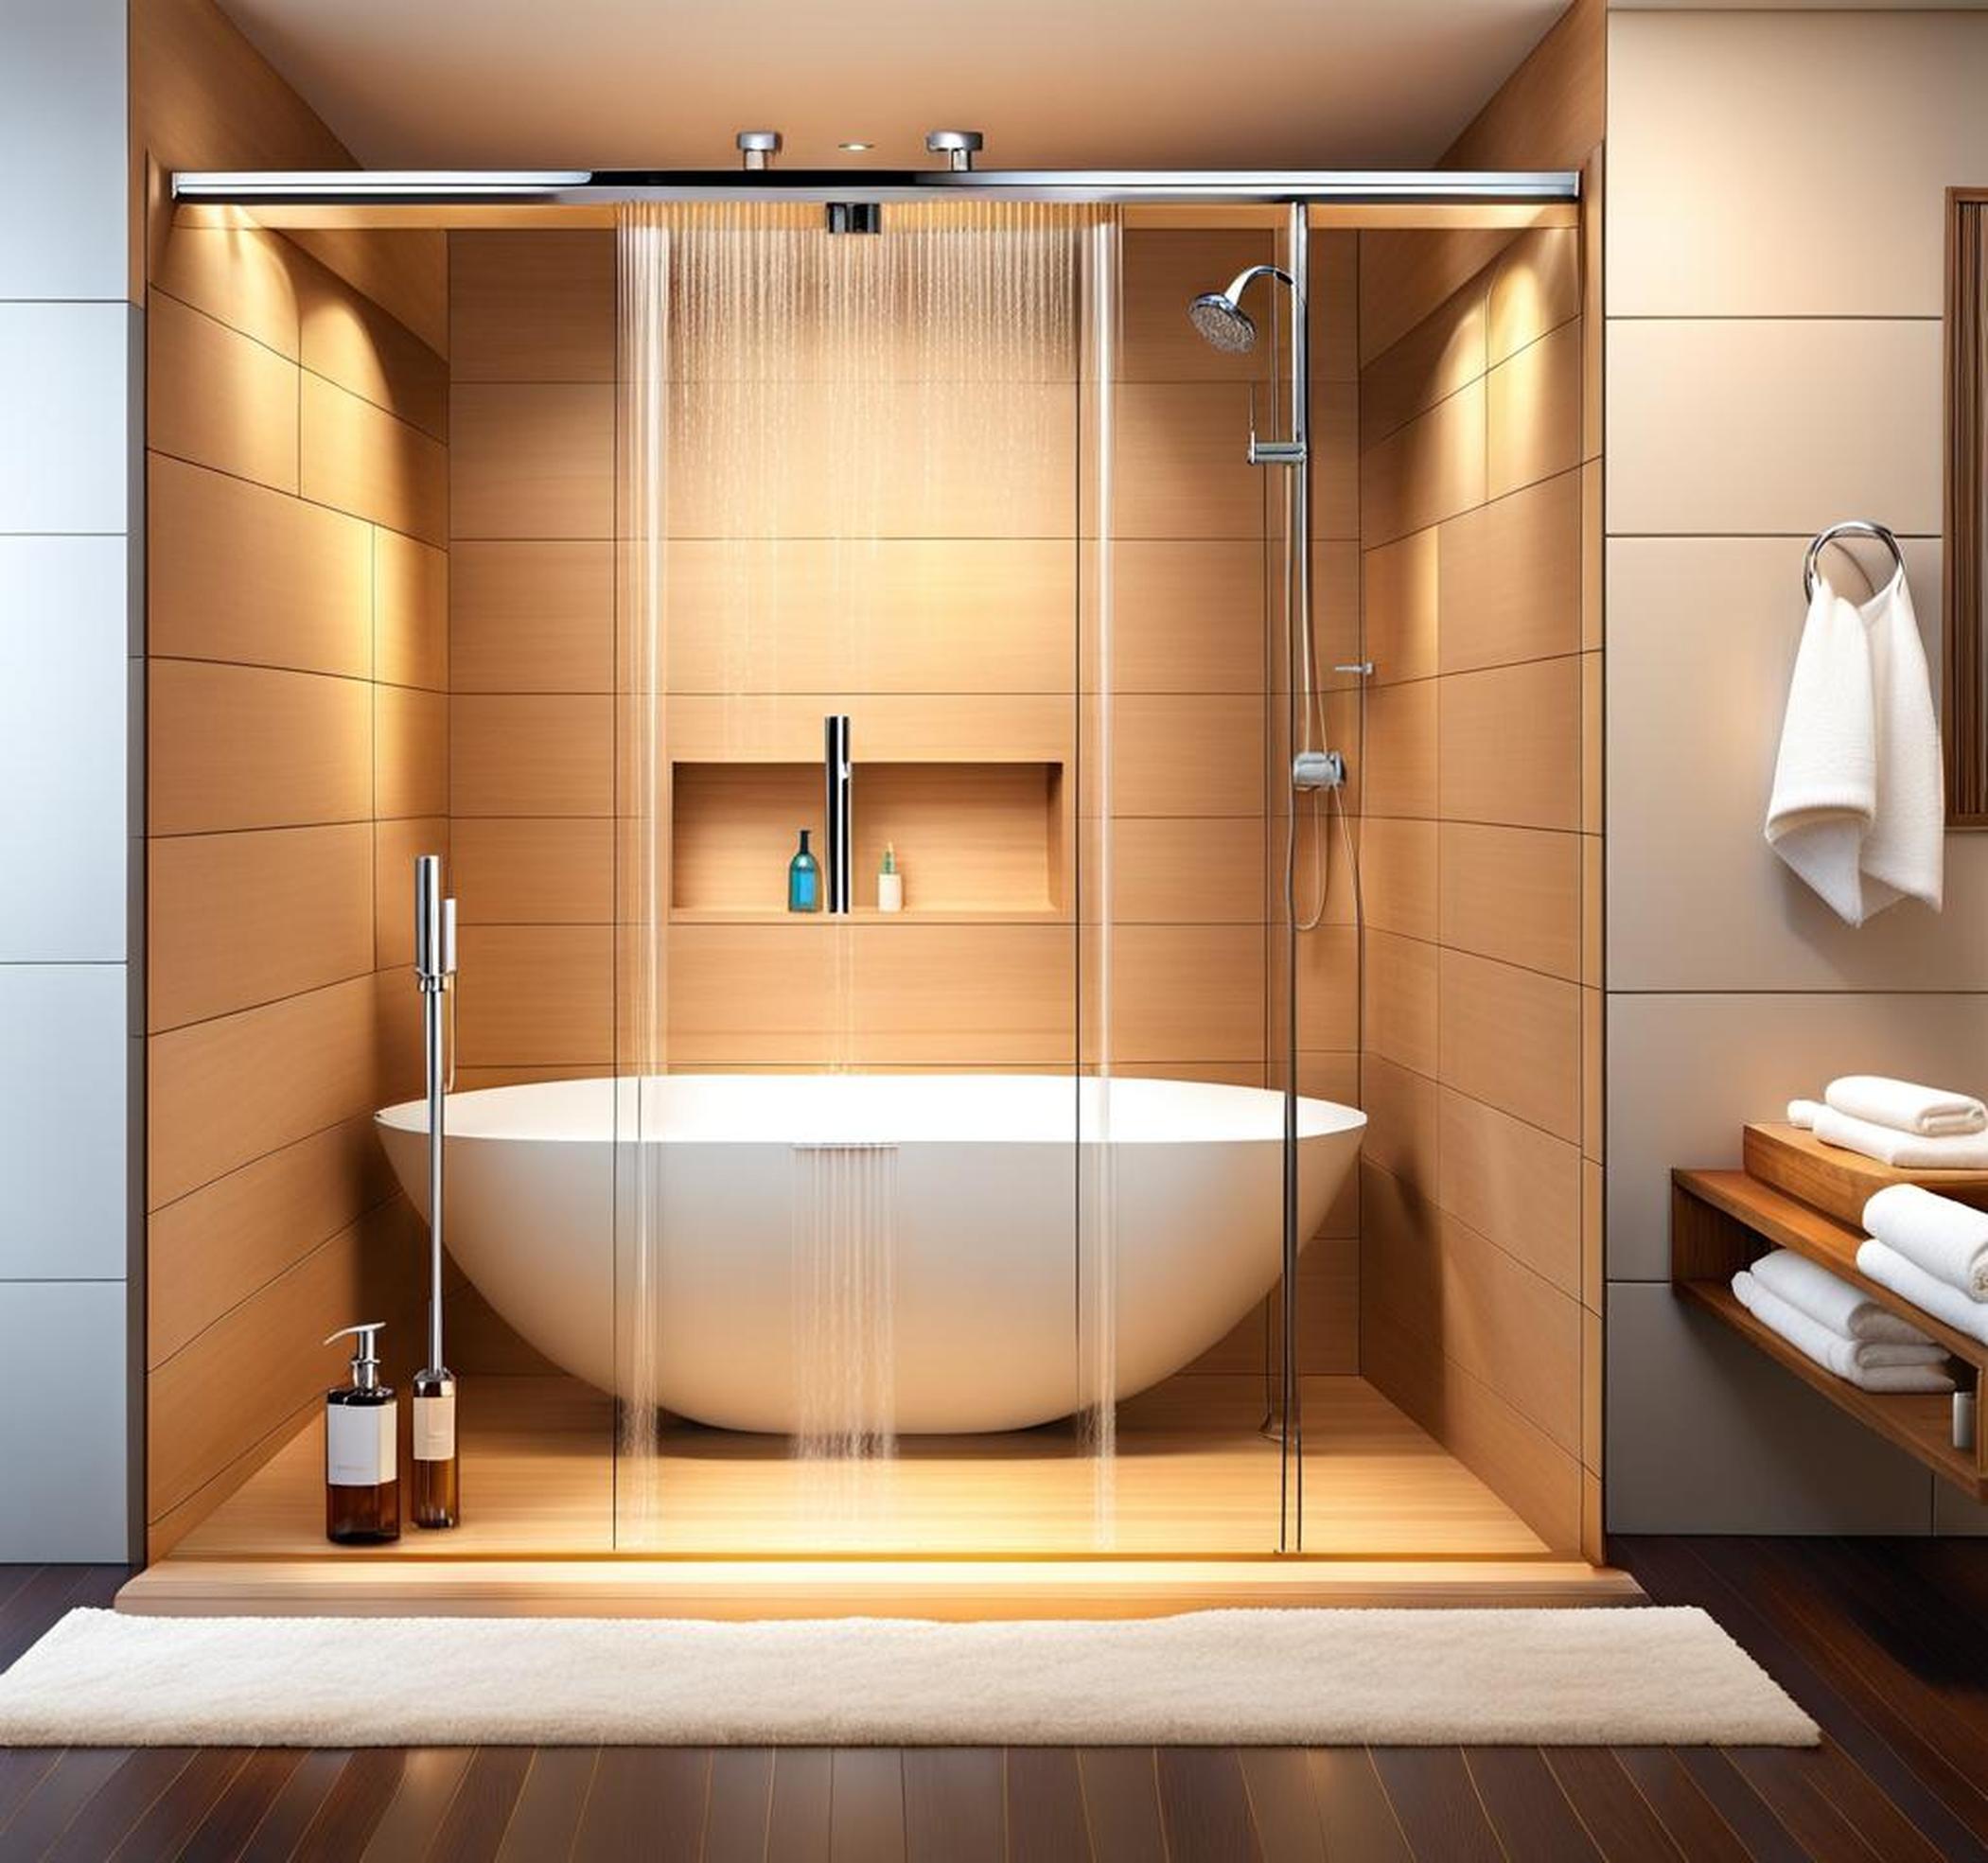
Design Your New Bathtub Layout
Once you understand your shower’s footprint and possibilities, it’s time to map out the details for installing your dream bathtub. Carefully consider what type of tub to install, plumbing requirements, and how you’ll construct the new framework.
Choose Bathtub Type
First, decide whether you want an alcove, drop-in or freestanding bathtub. Key factors include:
- Alcove: Rests against 3 walls in an enclosure. Must build out framework.
- Drop-in: Sits into a cutout hole with flange/skirt. Requires waterproof flooring.
- Freestanding: Sits alone w/exposed exterior. Needs floor drain + refinishing.
Also choose a material. Budget-friendly options like acrylic or fiberglass work well. For luxury, opt for stone resin, enameled steel or porcelain.
Map Out Plumbing Changes
Based on where your new bathtub will sit, plan adjustments to:
- Water supply lines – May need to reroute, extend length
- Drain pipes – Usually requires replacing with bathtub specific
- Add new bathtub faucet, spout and controls
A professional plumber can ensure proper drainage slope and supply pressure for optimal functionality.
Create Alcove Framing
If installing an alcove tub, you’ll need to construct new walls and a floor platform for it to sit into. Waterproofing elements are also crucial:
- Framing with moisture-resistant wood materials
- Cement board underlying surfaces
- Backerboard on walls
- Proper slope to tub drain
Bathtub Conversion Process Step-By-Step
With planning and design complete, now comes the fun part – demolition and building your beautiful new bathtub! Follow these key steps:
Demolish Existing Shower
Carefully dismantle your shower enclosure, removing:
- Glass doors / curtains
- Plumbing fixtures like showerhead
- Surrounding tile and back walls
- Supporting wood framework
- Floor surface down to subfloor
Also deactivate then remove old plumbing supply lines and drains. Safely cap connections you want to reuse later.
Construct New Framework
Build out walls and flooring for your bathtub alcove based on chosen dimensions using moisture resistant wood, cement board, etc. Follow local codes and ensure:
- Proper slope towards new drain location
- Reinforcements to bear tub weight when full
- Corner posts for tile backerboard attachment
Install New Plumbing
With rough framework in place, begin installing new plumbing like:
- Main drain connection + P-trap
- Hot and cold water supply lines
- Bathtub faucet and controls
Connect and test prior to closing up walls. Allow for access should leaks occur. Follow codes and ensure proper ventilation.
Add Tiling & Waterproofing
Waterproof all surfaces using materials like:
- RedGard(r) Waterproofing and Crack Prevention Membrane
- Cement backerboard affixed over framing
- Fiberglass mesh joints
Then apply thinset mortar and adhered tile of choice. Wait for full cure before grouting.
Finish With Trim & Accessories
Complete your bathtub conversion by:
- Caulking gaps and perimeters
- Painting framing and un-tiled walls
- Installing trim like baseboard
- Adding accessories like towel rods
Perform final wipe down, then fill ‘er up your your first glorious soak!
With some planning and elbow grease, you can convert your shower into a relaxing bathtub oasis. Follow the steps above to gain a spacious tub for soaking sore muscles without sacrificing big costs or time. Soon you’ll forget how tiny your shower once was as take the first blissful dip into your new custom spa-at-home!
