If your kitchen is overflowing with gadgets, dishes, and food items, yet you still find yourself cramming daily essentials into every possible nook and cranny, it may be time to consider expanding your storage upwards. By installing additional cabinets that extend to the ceiling above your existing ones, you can effectively double your storage capacity without undertaking a major renovation or expansion.
Extending your kitchen cabinets vertically is one of the simplest and most budget-friendly ways to gain substantial storage and reduce clutter. With a few tools, materials, and free weekends, you can transform your kitchen’s organization and aesthetics.
Benefits of Extending Kitchen Cabinets Upwards
Gain More Storage Space
The main appeal of extending cabinets upwards is the significant amount of new storage space. By utilizing the empty vertical real estate above your existing cabinets, you can often double your usable storage cubic footage without increasing your kitchen’s footprint. Items of all shapes and sizes can be accommodated, from large platters and baking sheets to bulky stand mixers and food processors. Going vertical allows you to distribute lesser-used items across more cabinets, freeing up your everyday dishes and cookware below.
Rather than constantly reorganizing and still struggling with cluttered counters, extending your cabinets provides new homes for everything currently crammed into your lower cabinets or left out on the counter. Meal prep and cooking become more organized processes.
Reduce Kitchen Clutter
In addition to gaining storage for overflow items, opening up new overhead cabinet space allows you to clear countertop clutter and create cleaner lines in your kitchen. Small appliances like coffee makers, toasters, microwaves, and mixer can be stored above conveniently when not in use, reducing permanent appliance footprint on your counters. Odd-shaped cooking tools and gadgets can also migrate upwards.
Mismatched plastic containers and lids become easier to organize when you have twice the cabinet real estate. Your most-used everyday dishes remain easily accessible below, while backups and special occasion dinnerware can live above neatly. Extra canned goods, baking ingredients, and bulk snacks disappear behind cabinet doors.
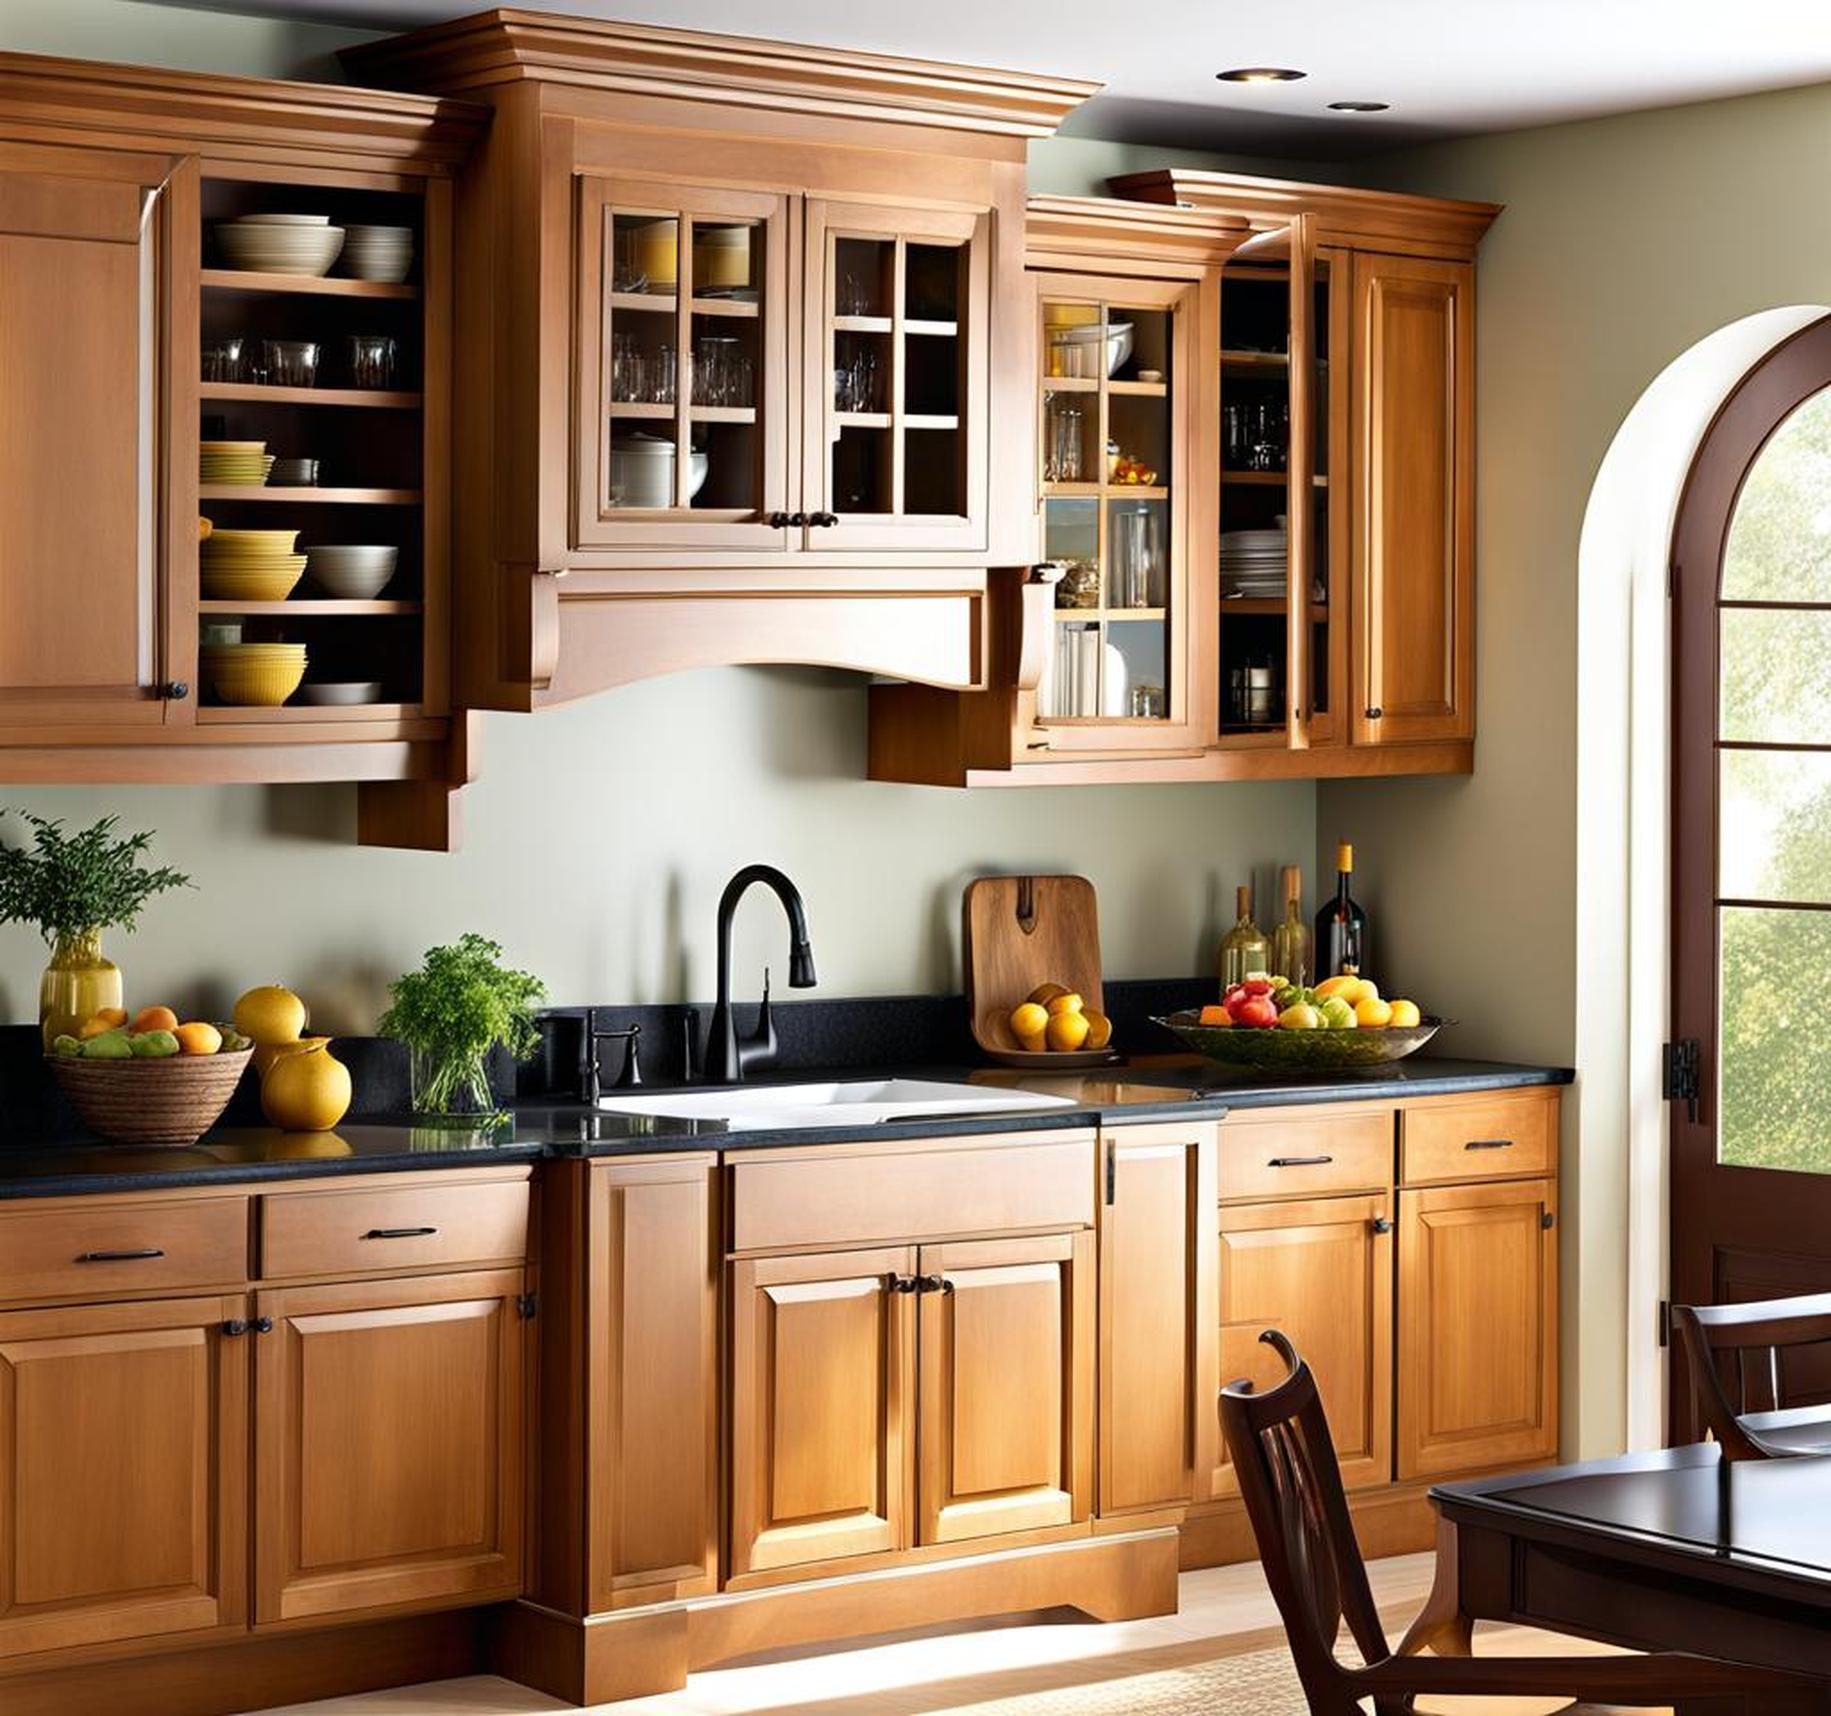
Improve Aesthetics
Besides decluttering your countertops, extending your cabinets to the ceiling gives your kitchen an upgraded, custom look. The addition of cabinetry stretching upwards draws the eyes up and makes the space appear larger and more expansive. The extension of an existing architectural detail to the ceiling also feels more seamless and built-in compared to a mismatched peninsula or island.
For a truly unified look, extended cabinets allow you to maintain the same crown molding or trim detailing that frames your existing cabinets. This continuity of lines lends visual flow. New ornamental trim can also be installed above the new cabinets for another opportunity to add stylistic interest through molding profiles.
Assessing Your Kitchen’s Storage Needs
Before deciding on a specific approach to take, carefully evaluate what types of items you need more space for, what you use most regularly vs. only occasionally, and how much room you have to work with vertically. This assessment will help hone in on the best storage solution.
Take Inventory of Items Needing Storage
Walk through your kitchen as it is now and take notes on every item that currently needs better storage or organizational solutions. What’s consistently left on counters or crammed into drawers? What overflow gets stashed in random cabinets away from where you actually use it? What supplemental storage pieces like freestanding racks or shelves are used to compensate for lack of cabinet storage?
Also think through upcoming storage needs, like holiday dishware or a stand mixer you want to save for. Documenting all of these pain points will allow you to gauge what cabinet configuration and space you need.
Consider Accessibility Requirements
As you take stock of items needing better homes, consider how accessible they need to be. Items you use multiple times daily, like go-to pans and prep bowls, should likely stay in your primary lower cabinets for convenience. Lesser used specialty appliances or tableware may only be accessed weekly or monthly, so upper cabinets make more sense.
Also keep in mind that ceilings higher than 8 feet will require a step stool to reach, so be realistic about what you’ll actually pull out from hard-to-access upper shelves on a regular basis.
Measure Available Vertical Space
Before designing or purchasing any new cabinetry, pull out your tape measure. Carefully measure the height of your existing cabinets, the space between their tops and the ceiling, the positioning and dimensions of any windows, as well as the location of overhead lights or vents to work around. This will give you accurate dimensions for building or ordering new cabinets.
If you plan to keep your existing crown molding, measure its depth as well so your new cabinets can align flush beneath it. Having all of these vertical space measurements in hand will save you headaches down the road.
Options for Extending Kitchen Cabinets Upwards
Once your storage needs are assessed, it’s time to choose a cabinet extension style. Here are some of the most popular options for going vertical.
Fully Enclosed Cabinets
For households who love everything neatly tucked behind closed doors, extending existing cabinets by building out full cabinet boxes, doors, and drawer fronts offers maximum concealment. This looks seamless and provides versatility for storing a wide variety items. Upper enclosed cabinets are great homes for small appliances, cookbooks, bulk dry goods, dinnerware, or cooking gadgets.
Open Shelving
The quickest and most affordable way to extend kitchen storage upwards is open shelving. Simply building a basic box above existing cabinets instantly provides surfaces for stacking items or arranging frequently-used items for easy access. While open shelving doesn’t hide items from view, it’s a great choice when you want to showcase decorative cookware and accents.
Glass Front Cabinets
Glass front cabinet doors or open shelving units with glass sides offer a lightly obscured view of contents while still hiding small clutter items you’d rather not display. Glass fronts maintain an open, airy aesthetic but are more finished than fully open shelves. Glass door upper cabinets nicely show off collectibles, glassware, or dishware.
Installing Above Existing Molding
To preserve existing crown molding but still extend cabinets upwards, new cabinets can be stacked closely above on added ledger boards or decorative corbels as supports. The molding helps visually separate the new and existing cabinets. This approach maintains your kitchen’s architectural detailing.
Steps for DIY Installation
If you’re comfortable using basic power tools and building materials, extending kitchen cabinets upwards can absolutely be tackled DIY. Here’s an overview of the installation process:
Removing Molding
If your design involves removing existing crown molding to allow cabinets to reach the ceiling, use a pry bar carefully to detach it without damage. Label pieces and store safely for reuse or replacement later.
Building Cabinet Box
Using plywood, 2x4s, nails, and wood glue, construct simple boxes with side, top, and bottom panels cut to precisely match existing cabinet widths. Repeat to make multiple boxes as needed over each base cabinet section.
Adding Cabinet Fronts/Doors
Affix new doors, fronts, or open shelving using cabinet screws after boxes are leveled and mounted. Custom build drawer and door fronts to match bases for a unified look. Paint or stain to match the rest of the kitchen.
Securing to Walls
Use lumber and metal brackets to firmly anchor the extended cabinet boxes into wall studs for sturdy support. Heavy-duty anchors into drywall alone risk eventual failure.
Finishing Touches
Fill any gaps with wood putty. Reinstall original or new molding. Consider under-cabinet lighting. Add shelves and organizers. Paint or stain any unfinished surfaces to match.
Hiring a Professional If Desired
While a DIY approach works for many homeowners, you may want to hire a kitchen remodeling pro for cabinet extensions in some instances, such as:
- Electrical or plumbing relocating is needed
- Load-bearing issues exist
- Matching custom cabinetry details is important
- Installation area is difficult to access
When vetting professionals, look for experience with cabinetry installation and knowledge of load-bearing walls. Check reviews and examples of past kitchen projects to evaluate quality. Upcharges exist for custom cabinets and features. Overall costs typically run $2,000-$4,500 depending on project scope.
Frequently Asked Questions
What’s better – open or enclosed extended cabinets?
It depends on your needs! Open shelves provide easier access and display. Enclosed cabinets conceal contents and protect from dust. Assess what you’ll store up top when deciding.
How much does extending kitchen cabinets cost?
DIY using stock cabinets and basic materials can cost $50-$100 per linear foot. Professionally built custom cabinets typically run $150-$300 per linear foot installed.
Can I install these myself or do I need a contractor?
Handy homeowners can tackle most cabinet extensions solo. But if structural changes, complex builds, or relocating utilities are needed, professional help is best.
What height should upper cabinets be?
Standard upper cabinet height is 12″-18″ above existing cabinets. But measure your ceiling height and account for molding clearance too.
How deep should overhead cabinets be?
Overhead cabinets are typically 12″-14″ deep. Measure carefully to allow room for future crown molding if needed.
If cluttered counters, messy pantries, and stuffed drawers make your kitchen feel disorganized and small, expanding your storage vertically with ceiling-height cabinets can restore order. By taking advantage of unused overhead space, you can double your usable storage and display areas with minimal investment of time or money compared to a major remodel.
From budget-friendly open shelves to custom crafted enclosed cabinetry and everything between, you can select an extension style that fits your lifestyle and design taste. Focus on assessing your needs, measuring carefully, and methodically building or installing new cabinets. Soon you’ll be enjoying a newly spacious, streamlined kitchen that makes cooking, prep, and clean-up far simpler.
