Imagine coming home after a long, hot day ready to bask in the cool air of your home AC. But despite the thermostat reading a nice, low temperature, the AC just isn’t kicking on. The air remains stale and warm no matter how low you turn the thermostat down. Sound familiar? Don’t sweat it! With a few troubleshooting steps, you can get to the bottom of why your Emerson thermostat shows the right temperature but your AC stays off.
Keep reading for tips on checking your thermostat settings, wiring connections, AC unit, and more. With a combination of DIY fixes and professional maintenance, you can once again enjoy a properly cooled home.
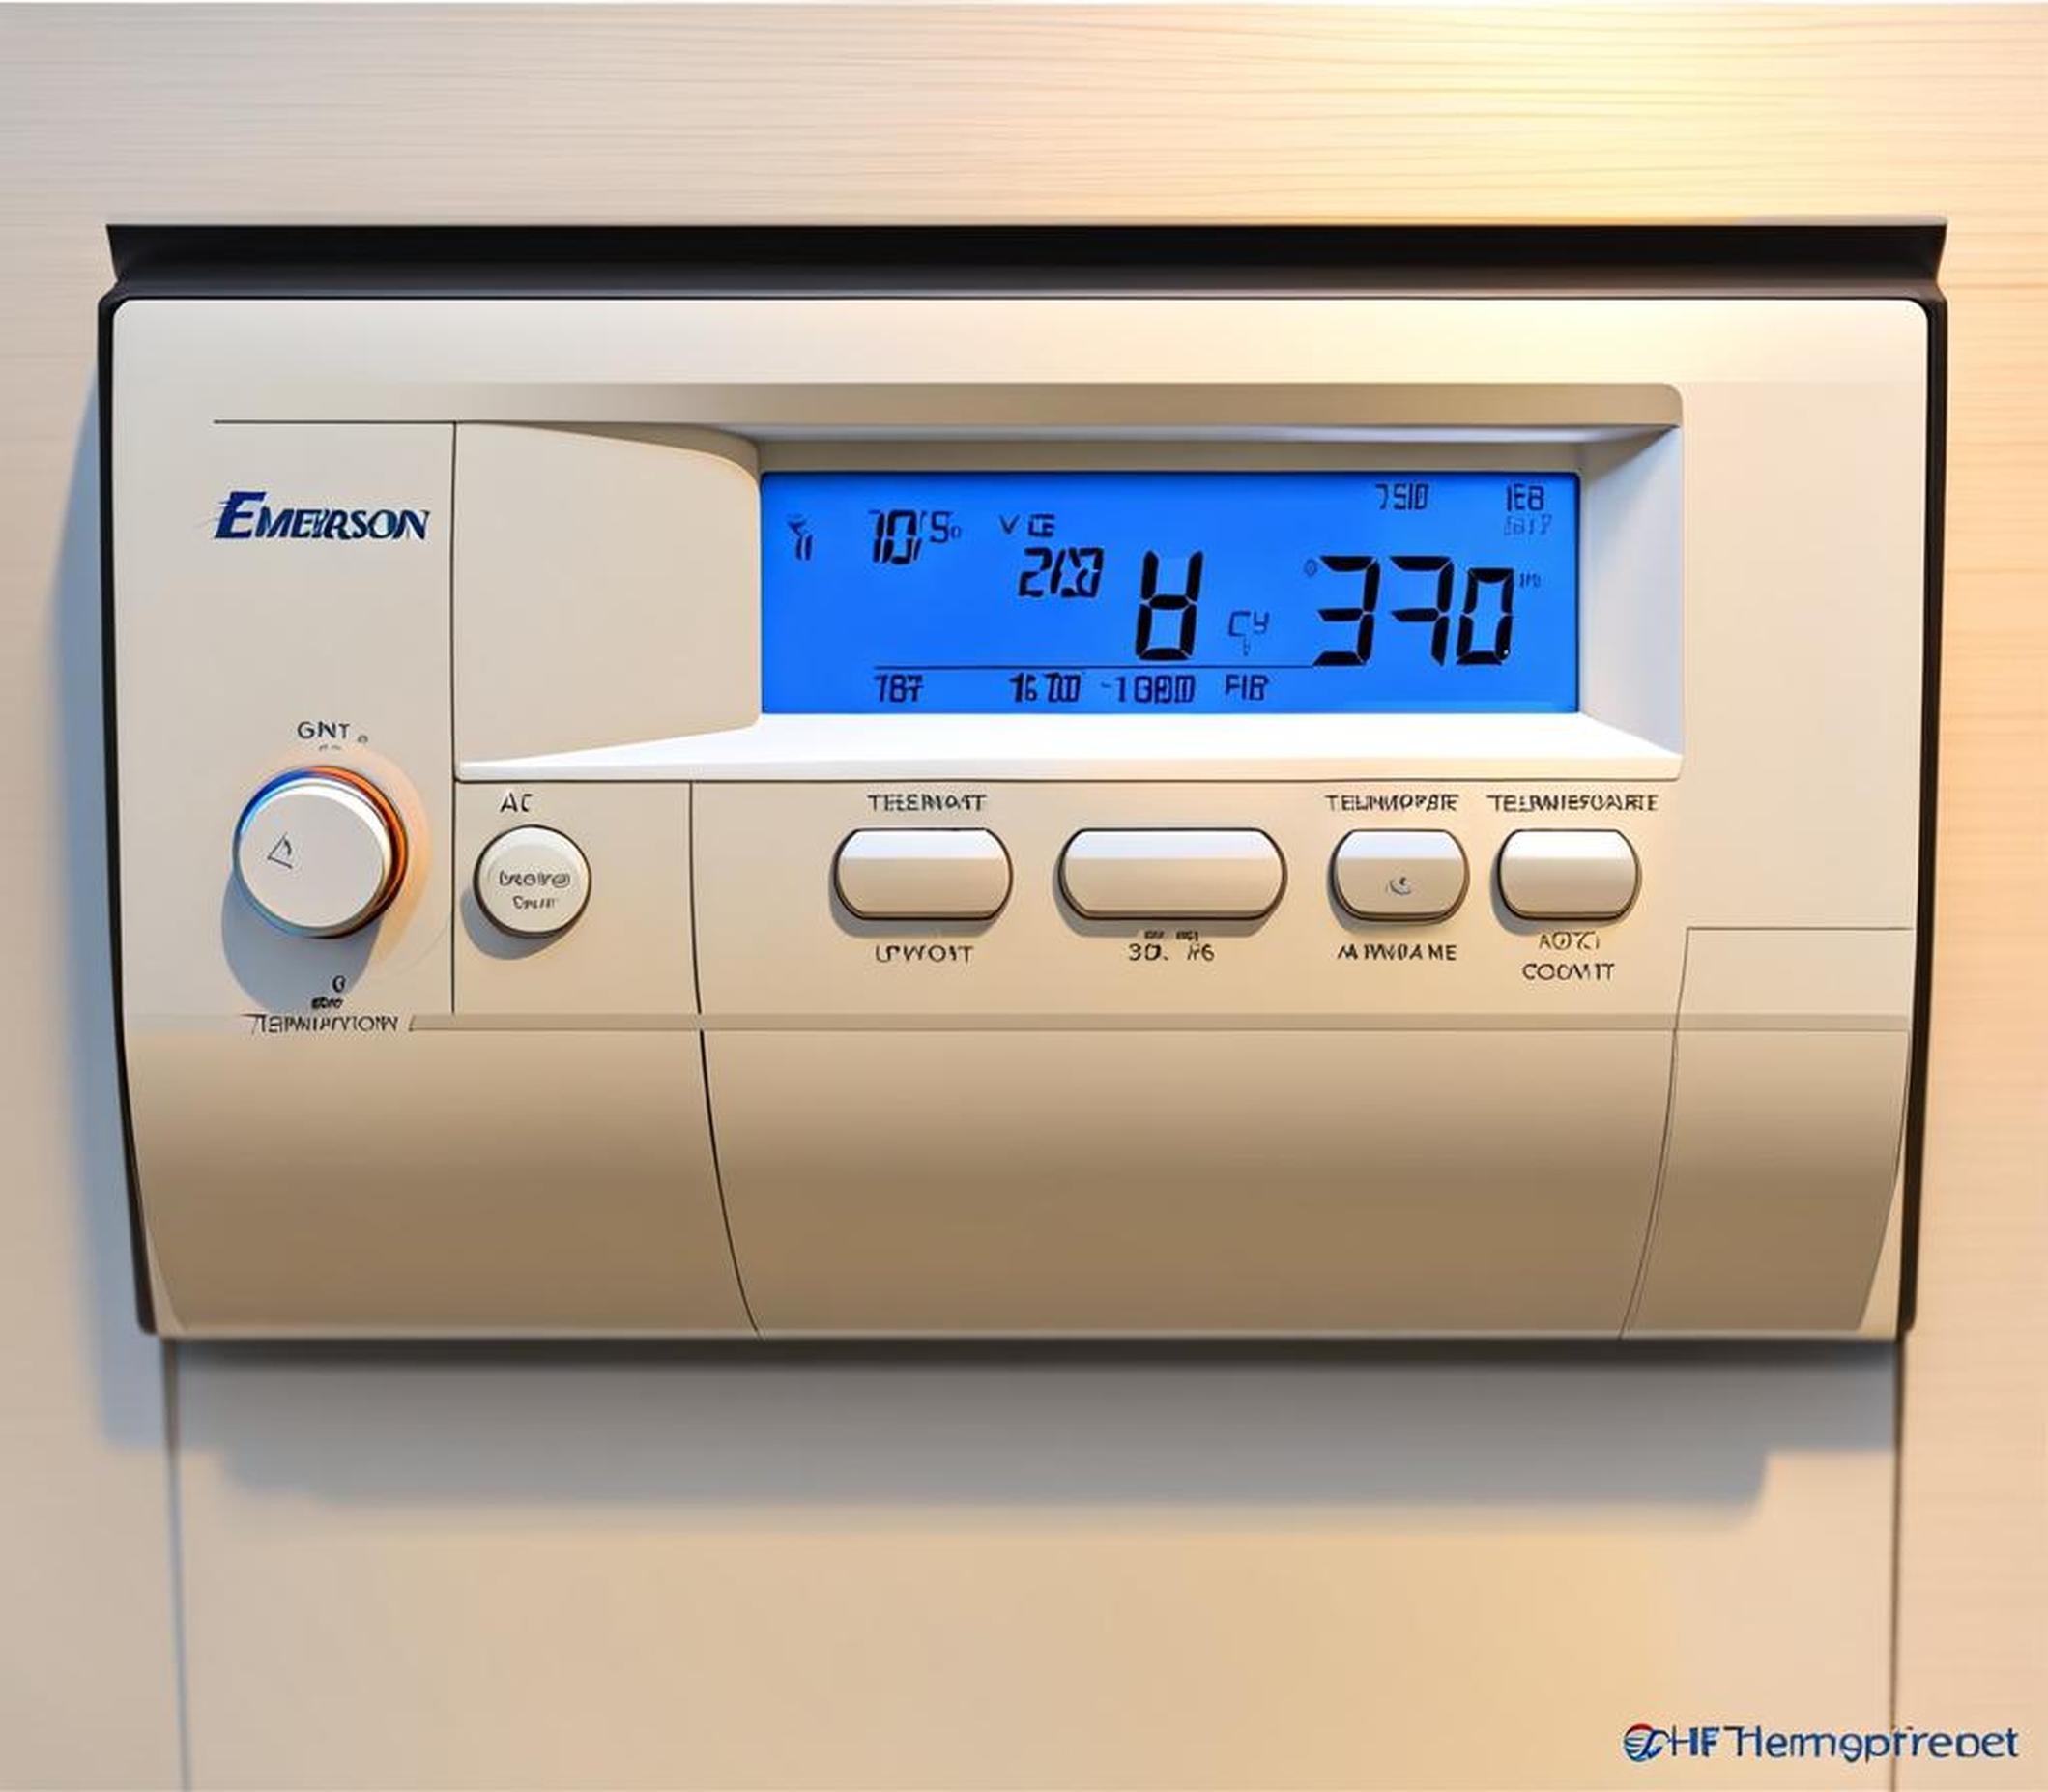
Potential Causes of the Thermostat Not Powering the AC
When an Emerson thermostat displays the correct room temperature but fails to activate the cooling system, there are several possible culprits to check:
Thermostat Mode Isn’t Set Properly
One of the simplest explanations for this issue is that the thermostat mode is not properly set. Emerson thermostats have various modes, including heat, cool, auto, and off. If the system is set to heat mode, the AC will not turn on when the temperature drops. And if it’s set to off, the AC will not activate at all.
Double check that your thermostat mode is set to cool. Make sure the desired temperature is set below the actual room temperature displayed. If the settings look correct but the AC is still inactive, it likely points to another issue.
Loose or Disconnected Wiring
Communication issues between the Emerson thermostat and AC unit can occur if wiring comes loose. Check for any wires that appear disconnected or faulty connections at the thermostat or the control board on the furnace/AC system. Wires should be securely inserted into the correct terminals and tightly screwed into place.
Loose wiring is sometimes indicated by erratic thermostat operation, such as scrambling numbers on the display screen. A professional can use a multimeter to test for continuity and identify any problem wiring that needs replacement.
Blown Fuse
Like most appliances, AC systems have fuses that act as a safety switch to prevent electrical damage. If a fuse blows, it cuts power to the AC unit. Check your main electrical panel for the fuse connected to the AC and inspect it for any signs of damage. Turn off power before removing and replacing any blown fuses.
Faulty Thermostat
While the thermostat may still be displaying temperatures accurately, it could have an internal malfunction that prevents communication with the AC unit. Try resetting the thermostat by removing batteries and unplugging the unit for 30 seconds. If issues persist, test the voltage at the thermostat wiring terminals to determine if power is going to the unit properly.
If voltage checks out, it likely indicates a bad thermostat that should be replaced. Installing a new digital or programmable thermostat is recommended.
AC Unit Issues
Don’t forget – the thermostat only controls the AC unit, it doesn’t power it. Problems with the AC equipment itself, such as refrigerant leaks, bad capacitors, or contactor failure can prevent the system from running even when signals are sent. An HVAC technician can diagnose and service the AC unit if needed.
Reset the Thermostat
Resetting the thermostat is one of the easiest DIY steps to try and get the AC running again.
Be sure to give the thermostat adequate time to reboot and reconnect with the AC system after resetting it. Follow any prompts on the display screen as it restarts. A reset can often resolve error messages or glitches in communication with the AC equipment.
Update Thermostat Firmware
Newer Emerson smart thermostats rely on firmware to operate features and connectivity. Problems can occur if the firmware is outdated. Locate the model number and access the settings menu to check your thermostat’s current firmware version. Compare this to the latest version available.
If an update is needed, visit the manufacturer’s website and download it to a FAT32 formatted USB drive. Insert the USB into the port on the thermostat and carefully follow the instructions to complete the firmware update. This will install the latest software and can fix bugs causing the AC malfunction.
Replace Batteries
Thermostats powered by batteries will eventually need a change. Low or dying batteries can cause inconsistent operation long before the display goes completely blank. If your Emerson thermostat shows the right temperature but the AC won’t start, it’s a good idea to replace the batteries.
Make sure to use the size and type indicated in the battery compartment, typically AA or AAA alkaline batteries. Check that the positive and negative terminals align properly. A complete power reset after installing fresh batteries may get the AC working again.
Check Air Filter
Don’t overlook the simple air filter as a possible reason your AC fails to turn on. The filter removes dust and allergens from the air, but over time it can become clogged with debris. This restricts airflow through the ducts and AC unit. With inadequate airflow, the system cannot cool effectively.
To improve airflow, turn off the AC and inspect the filter. If it looks heavily coated in dust, replace it right away. Make it part of your regular system maintenance to change the filter every 1-3 months.
Call in a Professional
If you’ve worked through all of the above DIY troubleshooting tips but the Emerson thermostat still isn’t activating the AC system, it’s probably time to call a technician. Heating and cooling professionals have specialized tools and expertise to properly diagnose the issue. They can test components like refrigerant levels, fuses, capacitors, fans, compressors, and wiring for problems.
The average cost for an AC repair visit ranges from $50 to $150. Replacing parts like compressors or condensers would be an additional cost. But paying for professional service can save you money and headaches in the long run by quickly solving the problem.
Preventative Maintenance Goes a Long Way
While we’ve covered how to troubleshoot and fix a currently non-working AC and thermostat, a little preventative maintenance can avoid many issues in the first place. Here are some tips to keep your cooling system – including the Emerson thermostat – operating smoothly for years to come:
- Change air filters regularly every 1-3 months
- Have an HVAC technician annually service the AC system
- Clean debris from AC condenser coils and fins
- Clear plants/obstructions from outdoor AC unit
- Fix minor wiring issues as soon as noticed
- Test and replace thermostat batteries every year
- Update thermostat firmware when new versions available
Creating a maintenance schedule and committing to routine checks of your Emerson thermostat and AC system will go a long way towards preventing frustrating thermostat and cooling issues. But try not to stress too much if you do face problems – just follow the troubleshooting guide above to quickly get your system back up and running cool air throughout your home.
Dealing with an AC system that won’t properly cool your home can be aggravating, especially during hot weather. But in most cases, the culprit ends up being an easy fix like adjusting thermostat settings, replacing a dirty air filter, or reconnecting loose wiring. Using the troubleshooting advice above, you can get to the bottom of the issue and get comfortable cool air flowing once more.
Of course, sometimes professional service will be required. But try not to let the stress get to you – it will be resolved eventually! Our guide has your back for optimistically diagnosing and resolving problems with an Emerson thermostat that displays the right temperature but fails to activate the cooling system. Stay cool out there!
