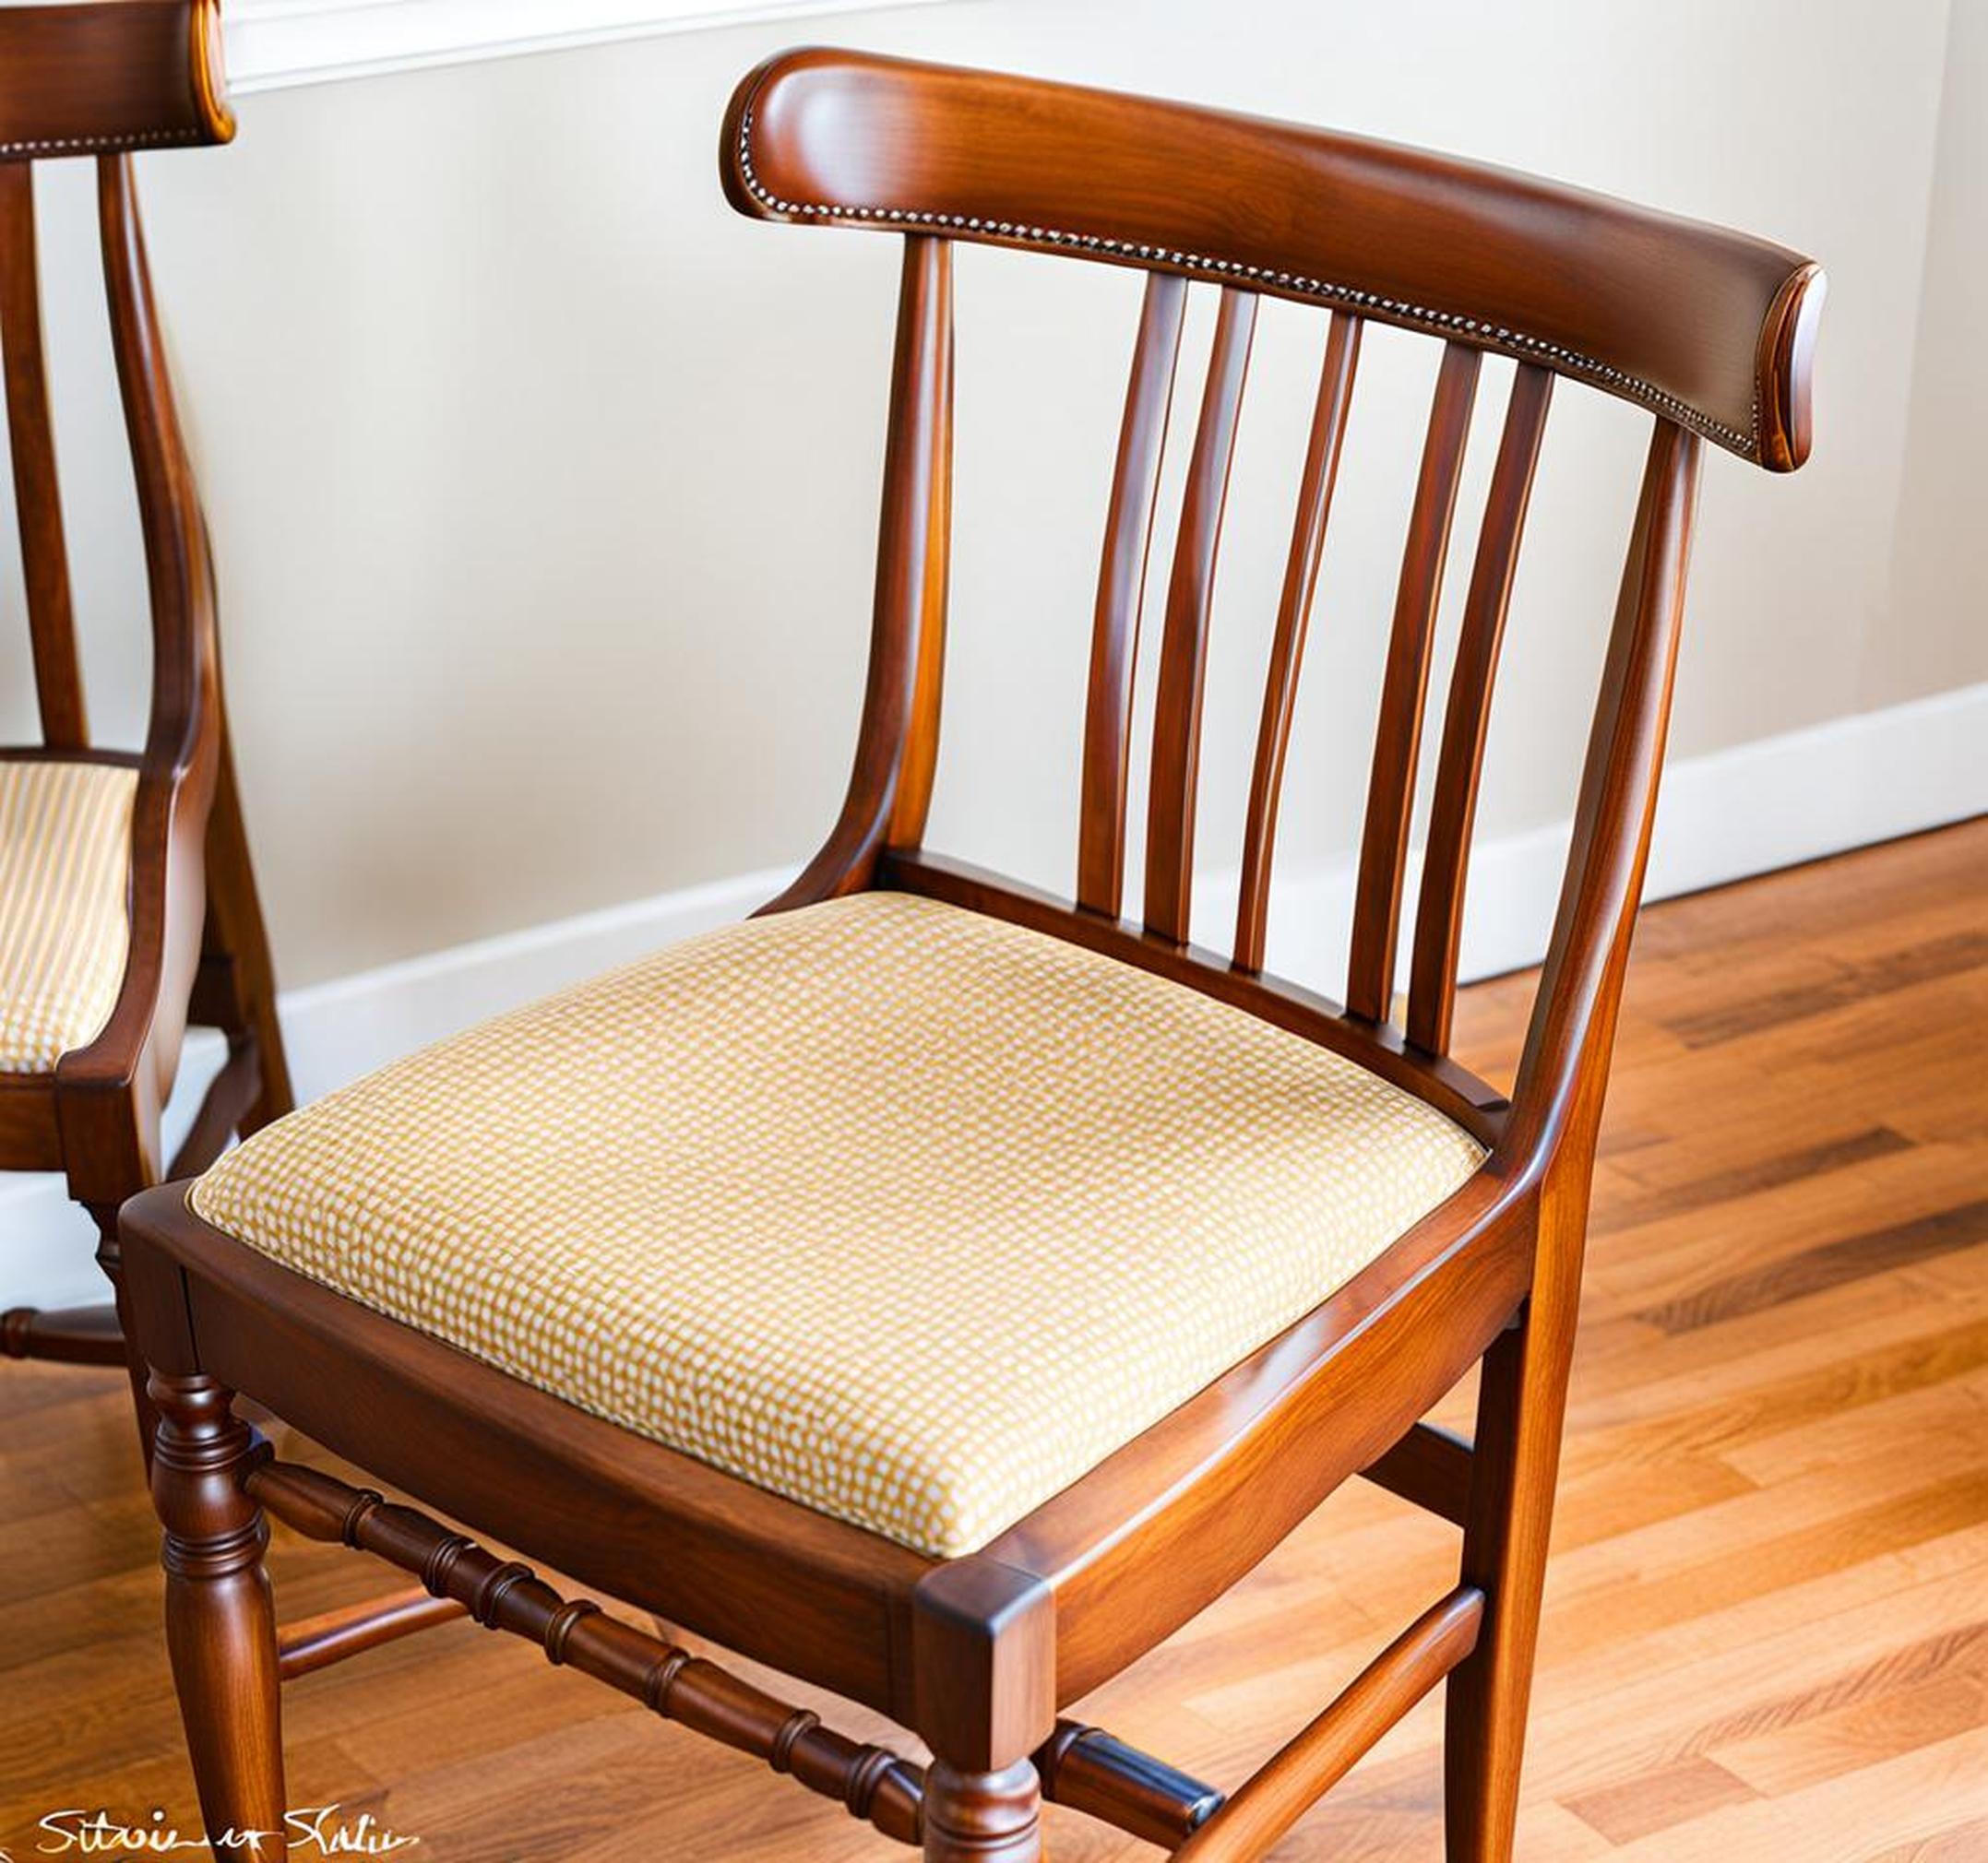
Giving worn, dated kitchen chairs a fresh makeover is easier than you think. With some basic supplies and a bit of patience, you can reupholster those rickety old seats and make them look brand new. Reupholstering your own chairs allows you to customize the fabric to match your kitchen’s style perfectly. You’ll also save money compared to buying new chairs. Follow this DIY tutorial to learn pro tips and tricks for reupholstering kitchen chairs.
Step 1 – Remove the Old Upholstery
Start by taking off any existing fabric or trim. Use pliers or a staple removal tool to detach the piping and pull out all staples around the edges and underside of the seat. Remove any padding or cushioning as well to reveal the bare frame.
Next, thoroughly clean the chair to prep it for new fabric. Use a stiff bristle brush or sandpaper to remove any dirt, debris, or loose paint. Pay special attention to rough spots and lightly sand them smooth. Wipe away all dust with a dry cloth.
Consider applying wood stain to refresh the look of the frame and legs. Choose a color that coordinates with your kitchen decor. Use a rag to wipe the stain over all surfaces, let dry, then buff with a clean cloth for a polished look.
Step 2 – Prepare the New Fabric
When selecting fabric for your kitchen chairs, opt for durable and easy-to-clean options like cotton, canvas, microfiber, or synthetic blends. You’ll want material that can withstand everyday wear and tear. Make sure to pick a pattern and color scheme that complements your existing kitchen style.

To calculate how much fabric you need, carefully measure the length and width of the seat, backrest, and any visible sides of the frame that you want to cover. Add at least 2 extra inches in both dimensions to allow sufficient fabric for a snug fit. For patterned material, factor in optimal placement of the print as well.
| Chair Section | Dimensions |
| Seat Width | 15 inches |
| Seat Length | 16 inches |
| Backrest Width | 12 inches |
| Backrest Height | 20 inches |
Once you’ve purchased the necessary yardage, use sharp fabric scissors to precisely cut the material to size. Create a test sample first if working with an intricate print or stripe to ensure the pattern remains aligned and continuous over seams.
Step 3 – Cut and Attach the Seat Fabric
Lay the seat fabric cutout over the cushion and pull it taut in all directions. Use a staple gun to attach the center first, then work outward toward the edges. Place staples every 1-2 inches, keeping the fabric grain straight and without puckers or wrinkles.
When you reach the corners, fold the material at a 45 degree angle rather than pulling and stapling flat. This creates neatly mitered corners for a smooth, rounded look all the way around the seat edges.
Continue stapling the underside of the seat, keeping it stretched firmly and folding under any excess. For piping, leave about 1/2 inch extra fabric around the edges.
Step 4 – Cover the Chair Back
Cut your backrest fabric according to the curved shape of the chair back. Drape it over the top and sides and smooth out any ripples or creases. Like the seat, you’ll want to pull the fabric taut in all directions as you staple.
Work side to side, positioning staples every 1-2 inches around the perimeter. Make small snips in the fabric around curved areas to allow it to lay flat. For seams along the top back edge, fold under the fabric by 1/2 inch and staple into place.
Continue attaching the fabric on the underside of the backrest frame as well, keeping it stretched smooth and tight. Trim off any excess fabric once fully secured all around.
Step 5 – Add Piping or Trim
Piping or contrasting trim gives your upholstered chair a professionally finished look. Cut strips the length of each fabric edge and pin them in place, with right sides together and seam allowances sticking out. The trim should overlap the front and underside.
Use a zipper or piping foot to sew the trim to the edges, mitering the corners by folding at an angle. Carefully trim any protruding fabric from the seams for smooth edges. Top stitch close to the piping for a tailored detail.
For a more casual look, attach ribbon trim at the seams using fabric glue or small finishing nails. Opt for nail heads that coordinate with your kitchen hardware for a cohesive style.
Step 6 – Fill Holes and Finish
Examine the chair for any remaining holes or gaps around frame edges and fill as needed with wood filler. Let dry completely and sand smooth.
For a flawless finish, cut small pieces of coordinating fabric to cover visible staples on the seat and backrest. Adhere them with spray adhesive or liquid fabric glue, pressing down firmly.
Reattach the chair legs or hardware if they were removed earlier in the process. Give the entire chair one final wipe down before placing it back in your refreshed kitchen!
Take your chair makeover even further with these additional upholstery techniques:
- Mix and match printed fabric on the seat and back for a eclectic mismatched look.
- Add thick foam under the fabric to create a plush, cushioned effect.
- Incorporate bright contrast piping or welting for a bold outline.
- Tuft the seat fabric using buttons and string to create deep, decorative indentations.
- Brush a layer of spray adhesive to the chair frame before stretching on fabric for easier application.
This easy step-by-step guide will help you transform your kitchen chairs. No need to splurge on expensive new seating when a simple reupholstery project lets you customize chairs to suit your style. Show off your handiwork and enjoy the renewed look of your kitchen chairs for years to come!
