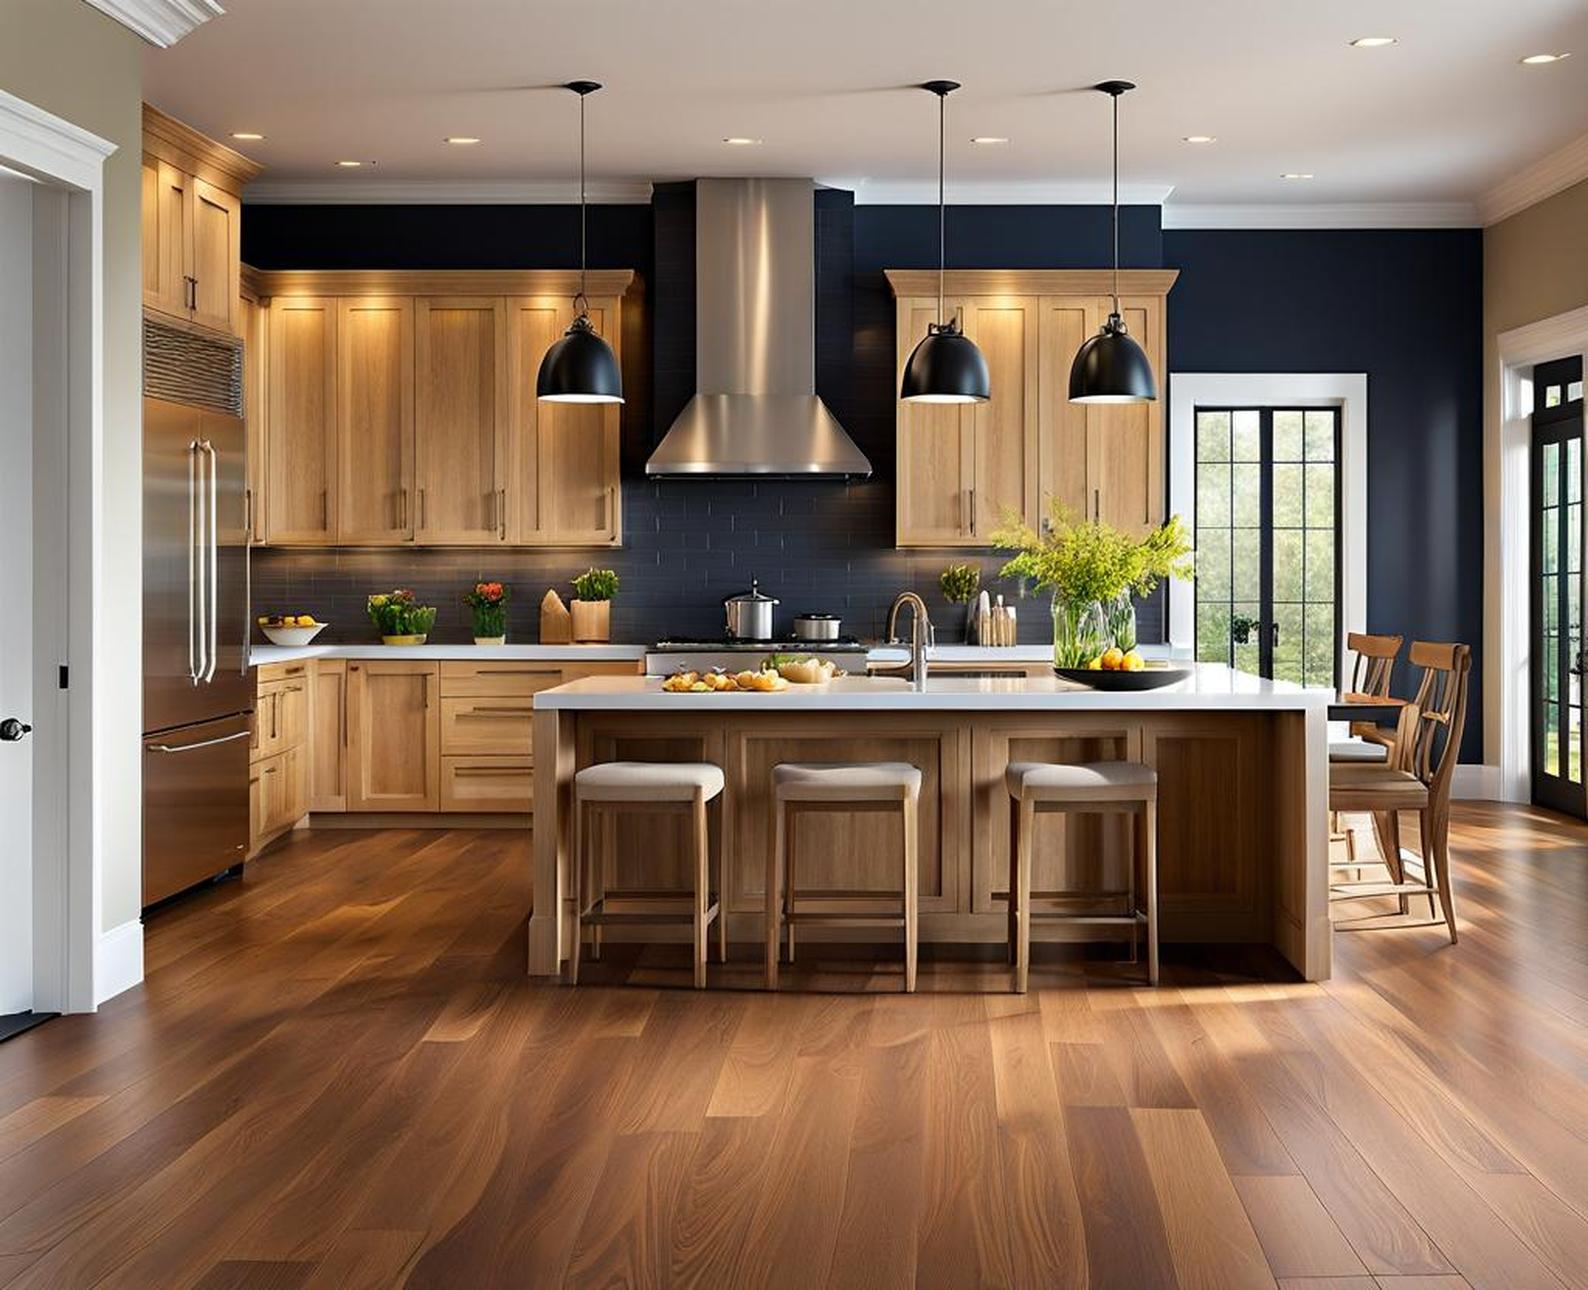
Wood floors are a great choice for kitchens because of their timeless appeal. But before taking the wood floor plunge, there are some key considerations when it comes to choosing, installing and caring for wood in one of the home’s busiest spaces.
Kitchens present some unique challenges for wood floors. Spills, splashes and high moisture levels can damage flooring over time. And all of that chopping, dropping and moving heavy appliances across the surface can lead to nicks, dents and scratches. While wood can withstand the demands of a kitchen, proper selection and maintenance is key.
Choosing the Right Wood Species
Not all wood is created equal when it comes to strength and durability. The species, or type of wood, determines factors like hardness, stain absorption, grain patterns and overall look. For kitchens, a hard, dense wood is best.
Oak
A popular choice, oak is valued for its attractive grain patterns and warm color tones ranging from light tan to deep brown. Red oak rates 1,290 on the Janka hardness scale, while white oak ranks even harder at 1,360. Oak’s density makes it resistant to dents and scratches.
Maple
Prized for its smooth, uniform look, hardness and wear-resistance, maple rates 1,450 on the hardness scale. Its pale white to light brown hue brightens kitchens. The fine, straight grain is free of knots.
Hickory
This classic American wood blends incredible hardness with rustic character. At 1,820 on the Janka scale, hickory is one of the toughest domestic woods. The bold grain patterns vary from straight to waved.
Exotics
Imported tropical woods offer exceptional hardness and rich visuals. Brazilian cherry with deep red tones or chocolate hues rates 2,820. Santos mahogany offers a straight grain and 2,200 rating. For the ultimate durability, Brazilian walnut registers 3,684!
Unfinished vs. Prefinished Planks
Wood floor planks are either prefinished at the factory or unfinished, awaiting stain and coating after installation. For kitchens, unfinished is best.
Benefits of Unfinished
- Customized on-site finishing allows matching stain colors to existing woodwork.
- Additional coatings create a thicker, more durable surface that better withstands moisture.
- Able to re-sand and re-coat over time for a like-new floor.
Prefinished planks offer convenience, but unfinished maximizes coating protection. The finish also fills small gaps between planks for a flush floor.
Plank Width and Patterns
Beyond choosing a wood species, the widths and layout patterns make a design statement. Plank widths run the gamut from classic narrow 2 1/4″ strips to dramatic wide 8″ planks.
Varying Widths
Combining boards of mixed widths adds visual interest and dimension. Contrast extra wide planks with narrower pieces.
Consistent Widths
Using the same width throughout creates a seamless look. For a traditional style, stick with standard 2 1/4″ strips.
Patterns
Herringbone patterns interlock narrow planks at a 45-degree angle. Bold chevron patterns form a zig-zag. Consider extending patterns into adjacent spaces.
Moisture Protection Essentials
Protecting against moisture is paramount in kitchens. A few must-have elements provide a critical moisture barrier system.
Underlayment
Installing over a proper underlayment is essential. Options like cork or rubber provide a cushion and also block humidity from concrete subfloors. Look for materials with moisture warranties.
Vapor Barrier
A 6-mil polyethylene plastic sheet placed beneath the underlayment prevents moisture rising into the flooring. Lap and seal seams.
Sealants
Applying a quality sealer creates an impermeable barrier against topical moisture. Reapplying sealers periodically renews protection.
Acclimation and Installation
Proper acclimation, expansion space and quality installation prevents future problems.
Acclimate the Flooring
Planks must adjust to a home’s temperature and humidity before installing. Leave them in the rooms for 72 hours prior for proper acclimation.
Provide Expansion Gaps
Allow 1/2″ gaps between planks and walls. The wood needs room to expand and contract with humidity fluctuations.
Floating vs. Nail-Down
Floating floors lock together over underlayment. Nail-down secures planks to a wooden subfloor. Both are good options.
Hire an Experienced Installer
A flooring professional ensures correct acclimation, moisture barriers, expansion gaps and seamless plank connections.
Ongoing Maintenance
While wood floors are durable, they do require regular care to maintain their beauty and protect them in heavy use kitchens.
Daily and Weekly Cleaning
Sweep frequently with a soft bristle broom. Damp mop using minimal water and wood cleaner. Use doormats to reduce tracked-in dirt.
Preventative Care
Protect floors from appliance, furniture, chair legs and heavy items with felt pads. Immediately blot spills; never let liquid stand.
Re-coating and Refinishing
Over time, reapply protective sealers, especially in high traffic zones. When needed, re-sand and refinish to reveal fresh wood.
The right wood species, widths, patterns and professional installation establishes a beautiful and functional kitchen floor. Matching wood tones in adjacent dining rooms or great rooms creates appealing flow. Though requiring some maintenance, wood floors can stand up to the demands of kitchen life.
Even in the busiest kitchens, wood floors are warm and welcoming. Now that you know what’s involved, you can decide if wood is the right fit for your home.
