If you’ve ever attempted to paint kitchen cabinets only to have the fresh paint peel off in sheets shortly after, greasy residue is likely to blame. Years of cooking leaves a film of oil and grime on cabinet surfaces that prevent paint from properly adhering. Without proper cleaning and degreasing first, even the highest quality paint won’t stick.
That’s why degreasing is a crucial preparatory step before painting kitchen cabinets. Proper degreasing removes every trace of filmy residue so paint can form a tight bond to the bare wood. This allows the finish to cure smooth and durable rather than cracking and peeling at the slightest touch. It takes a little extra effort up front, but proper prep work pays off with long-lasting, beautiful results.
Why Degreasing is Crucial Before Painting Kitchen Cabinets
Grease left on the surface acts as a barrier that prevents paint from bonding directly to the wood. As a result, the paint merely sits on top of the grease instead of soaking into the grain and drying hard. With greasy residue underneath, the paint is easily chipped and peeled away.
Additionally, any trapped grease will continue to liquefy and leach through the new paint over time. This leads to yellowing, cracking, bubbling, and other paint failures. No matter how many coats of paint you apply, they won’t adhere properly or last without thorough degreasing first.
Degreasing removes every trace of oily film from repeatedly cooking and cleaning the cabinets over the years. It prepares the raw wood for primer and paint, allowing the new finish to soak in and bond tightly. Taking the time to properly degrease means your painted cabinets will last for years rather than needing touch-ups after just a few months.
Cleaning vs. Degreasing Kitchen Cabinets
Simply cleaning kitchen cabinets with soap and water isn’t enough prep work for painting. While cleaning removes surface level dirt and dust, it doesn’t cut through stubborn, greasy residue.
Soap and detergent can tackle the light oils from routine use. But heavily baked-on layers require a more heavy-duty degreasing treatment. The powerful solvents and chemicals in degreasers dissolve and lift away grease in a way that dish soap alone can’t.
Cleaning is an important first step to remove debris and work surface dirt. But for paint prep, cleaning then degreasing ensures all traces of greasy film are eliminated for the best adhesion and durability.
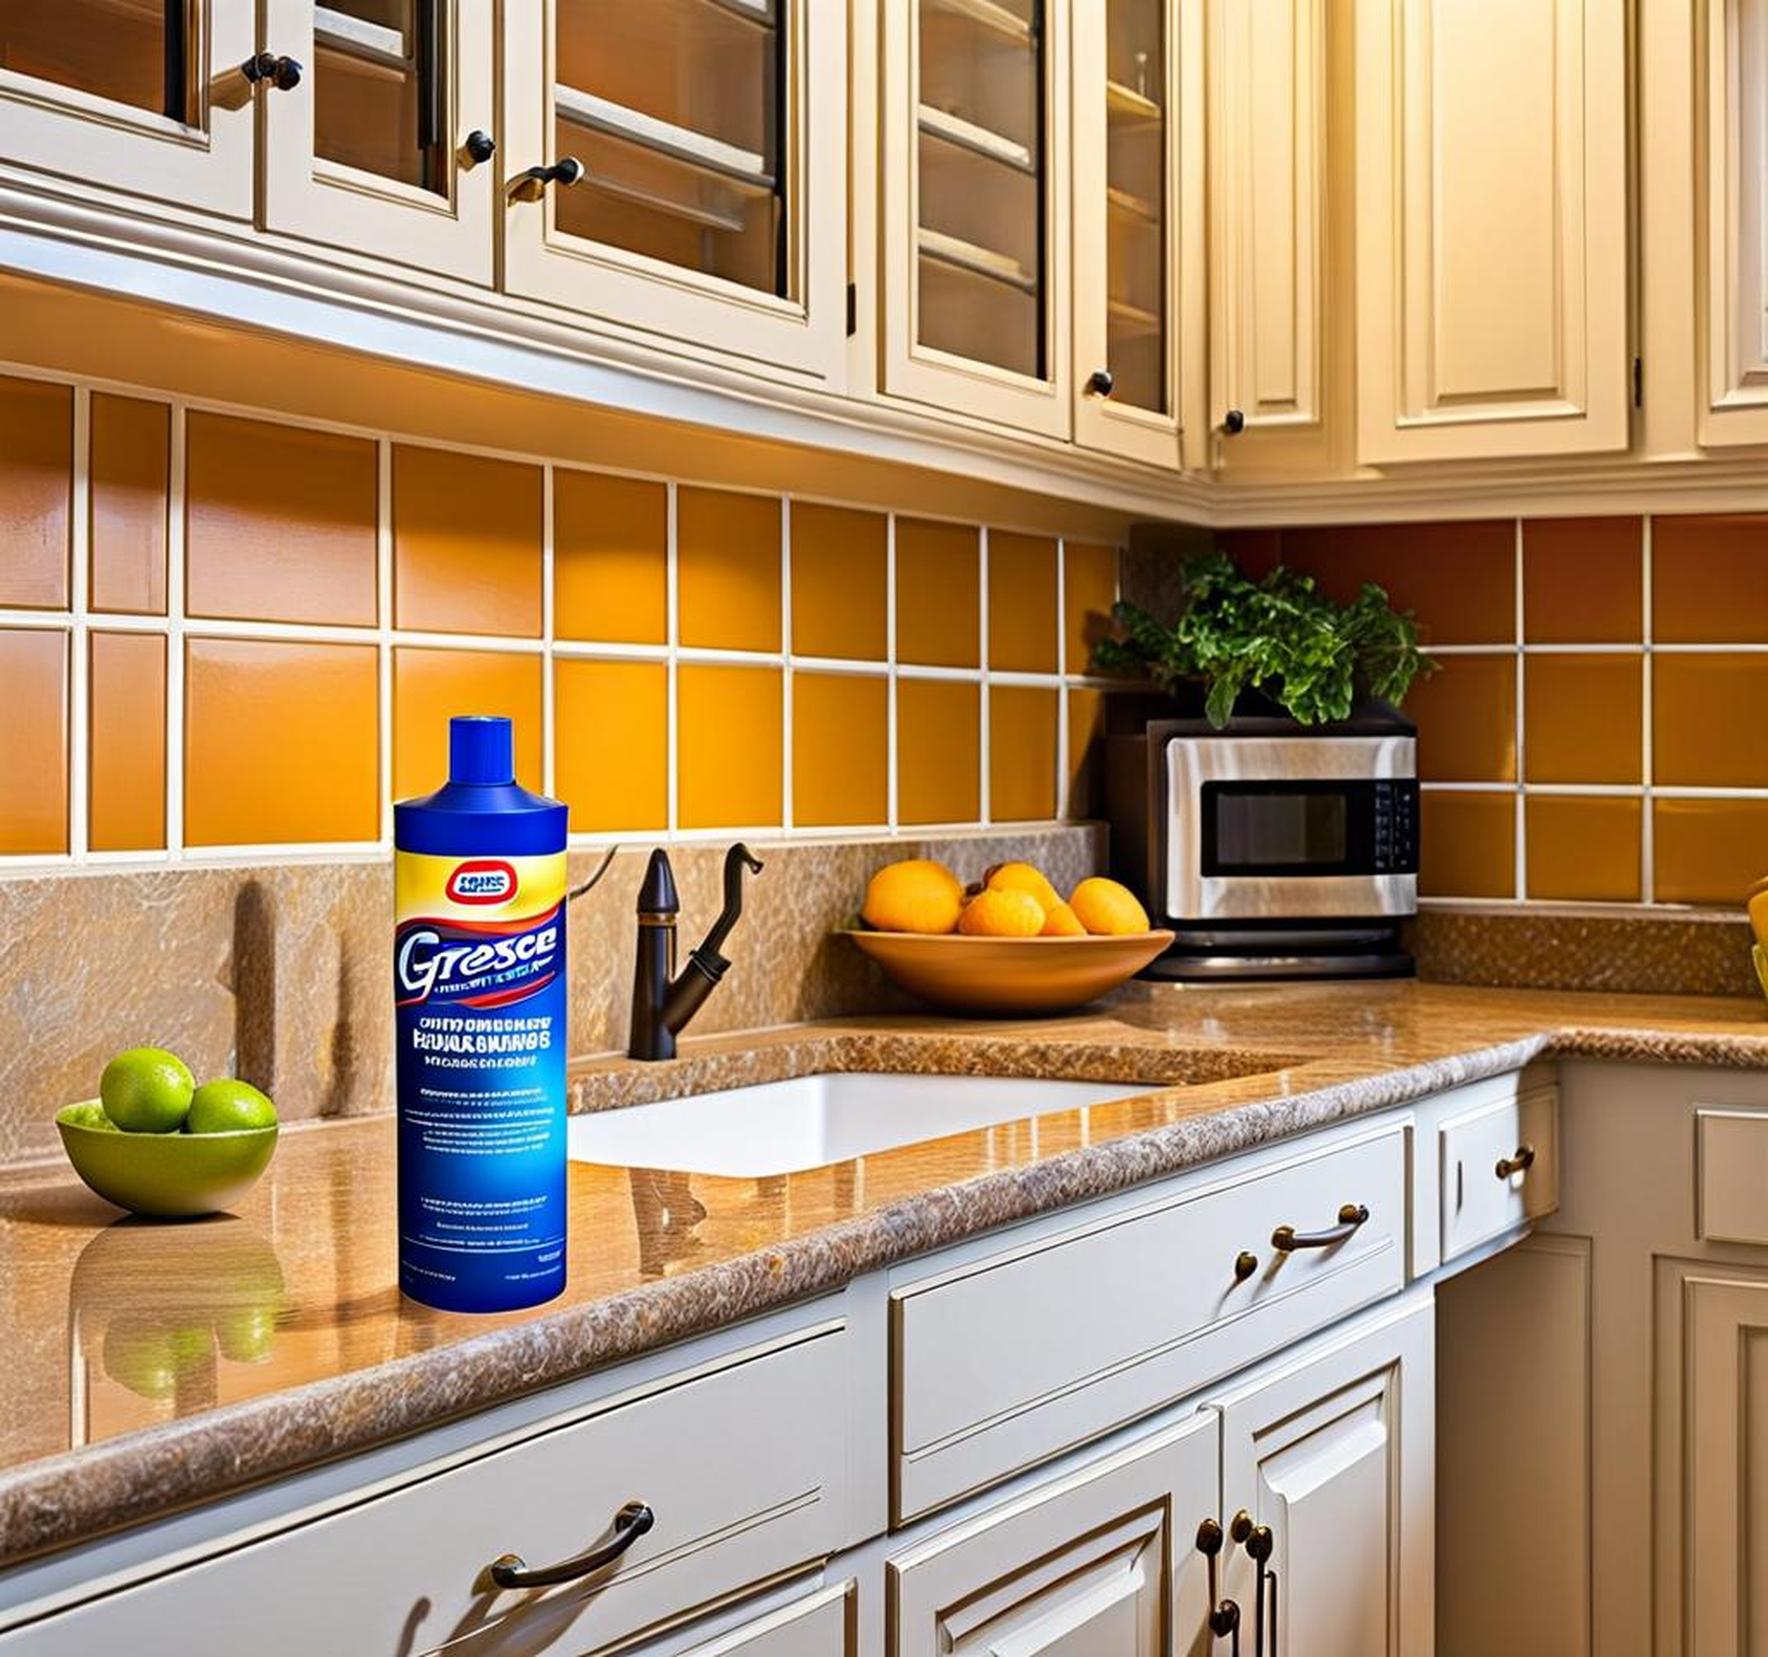
How to Choose the Best Degreaser for Kitchen Cabinets
TSP (Trisodium Phosphate)
Trisodium phosphate, commonly referred to as TSP, is a alkaline-based cleaning product excellent at removing the toughest grease buildup. Before the 1970s, TSP could be found in many heavy duty cleaners, but it has since been phased out of many formulas due to its harsh environmental impact. However, it remains available for tough cleaning projects like prepping grimy cabinets for paint.
While very effective at deep cleaning, keep in mind TSP has strong fumes and requires protective gear. Be sure to work outdoors or in a well-ventilated area. Wear gloves, goggles and a mask when mixing and using TSP.
Citrus Degreasers
Citrus based degreasers offer a more natural and less toxic option compared to harsh chemicals like TSP. They use solvents derived from citrus peels to cut through grease buildup. D-limonene, extracted from oranges, lemons and other citrus fruits, breaks down oils and dissolves greasy residue.
Citrus degreasers are biodegradable and leave a pleasant, fresh orange scent behind after cleaning. Look for brands like Sunshine Maker’s Orange Plus or Citra Solv degreasers to tackle grease before painting cabinets.
Soy-Based Degreasers
Soy based degreasers utilize soybeans and other plant oils to naturally lift away greasy grime without harsh chemicals. The soy acts as a solvent, dissolving the fatty acids in grease and oil. Soy-based degreasers are ideal for eco-friendly cleaning before painting.
Look for soy degreasing products like Krud Kutter Original Soy Cleaner or Bio-Force All Purpose Citrus Degreaser made with plant-derived ingredients. They are effective, non-toxic, and biodegradable.
Enzyme Degreasers
Enzyme degreasers use a natural process to break down and digest grease and oil residues. They contain protease enzymes harvested from plants that target and feast on proteins and fats. Over time, the enzymes liquefy solid grease and grime, allowing it to be easily wiped away.
Enzyme degreasers are ideal for deep cleaning heavily soiled cabinets prior to painting. Look for enzyme-based products from green brands like Eco-Friendly Eley’s Enzymatic Degreaser or microscopic MAGIC enzymatic degreaser and cleaner.
Step-by-Step Guide to Degreasing Kitchen Cabinets
Supplies Needed
- Degreaser of choice
- Soft cloths, scrub pads, scrub brushes
- Safety gear – gloves, goggles, mask
Instructions
- Remove cabinet doors and drawers for easier access to interior surfaces.
- Wash cabinets with warm water and dish soap first to clean off surface level grime and dirt.
- Apply your chosen degreaser liberally to cabinet surfaces, letting it soak for 5-10 minutes.
- Scrub surfaces with a soft cloth, scrub pad, or scrub brush to lift greasy residue.
- Rinse cabinets thoroughly with clean water to remove all degreaser and grime.
- Allow cabinets to dry fully before sanding, priming, or painting.
Tips for Proper Degreasing and Paint Prep
When tackling a degreasing project in preparation for painting, keep these tips in mind:
- Always test your degreaser first in an inconspicuous spot to ensure it doesn’t damage the finish.
- Pay special attention to areas around knobs, handles, and near cooking surfaces where grease accumulates.
- For tougher grease deposits, use fine steel wool in conjunction with the degreaser to help scrub away grime.
- Follow degreasing with some light sanding using 220 grit sandpaper to further prepare and smooth surfaces.
- Take safety precautions like wearing gloves and a mask when using harsh degreasers like TSP.
- Be sure cabinets are completely dry before applying primer or paint to prevent adhesion issues.
Common Questions about Degreasing Kitchen Cabinets
Can I use regular household cleaners instead of a degreaser?
While household cleaners like dish soap can help remove light greasy buildup, their cleaning power isn’t strong enough to tackle the deep-down grime accumulated on cabinets over years of use. Degreasing agents are specially formulated to dissolve grease so we recommend using a dedicated degreasing product.
How long should I let the degreaser soak before scrubbing?
Letting the degreaser sit for 5-10 minutes allows it time to penetrate and break down the greasy film. This makes scrubbing away residue much easier compared to immediately wiping. For heavier grime, some degreasers can be left overnight for maximum effectiveness.
What’s the best way to rinse off degreaser thoroughly?
Proper rinsing is key to remove both the lifted grease as well as any chemical residue left by the degreaser itself. Wipe surfaces with clean water and microfiber cloths, changing rinse water frequently. You can also use a hose on exterior cabinet surfaces. Ensure cabinets are completely dry before painting.
Should I sand the cabinets after degreasing them?
Lightly sanding with 220 or 320 grit sandpaper after degreasing helps further prepare and smooth surfaces for painting. The slight abrasion removes any remaining gloss or texture so paint adheres evenly. Just avoid over-sanding to prevent damage.
Is it necessary to take the doors off the cabinets to degrease them?
Removing doors makes the degreasing process easier by allowing you to fully access cabinet interiors and the door surfaces themselves. It’s not mandatory, but taking doors off can help you more thoroughly degrease every crevice.
When prepping kitchen cabinets for repainting, proper degreasing is just as crucial as choosing the right primer and paint. Taking the time to completely remove greasy residue allows your fresh paint job to last for years rather than peeling or cracking after just months.
Match your degreasing solution to the level of grime accumulation so all greasy buildup is dissolved and wiped away. Then follow with light sanding for a perfectly prepped surface ready for long-lasting, beautiful paint results. With the right prep work, you can enjoy revitalized kitchen cabinets with a durable, grease-free finish.
