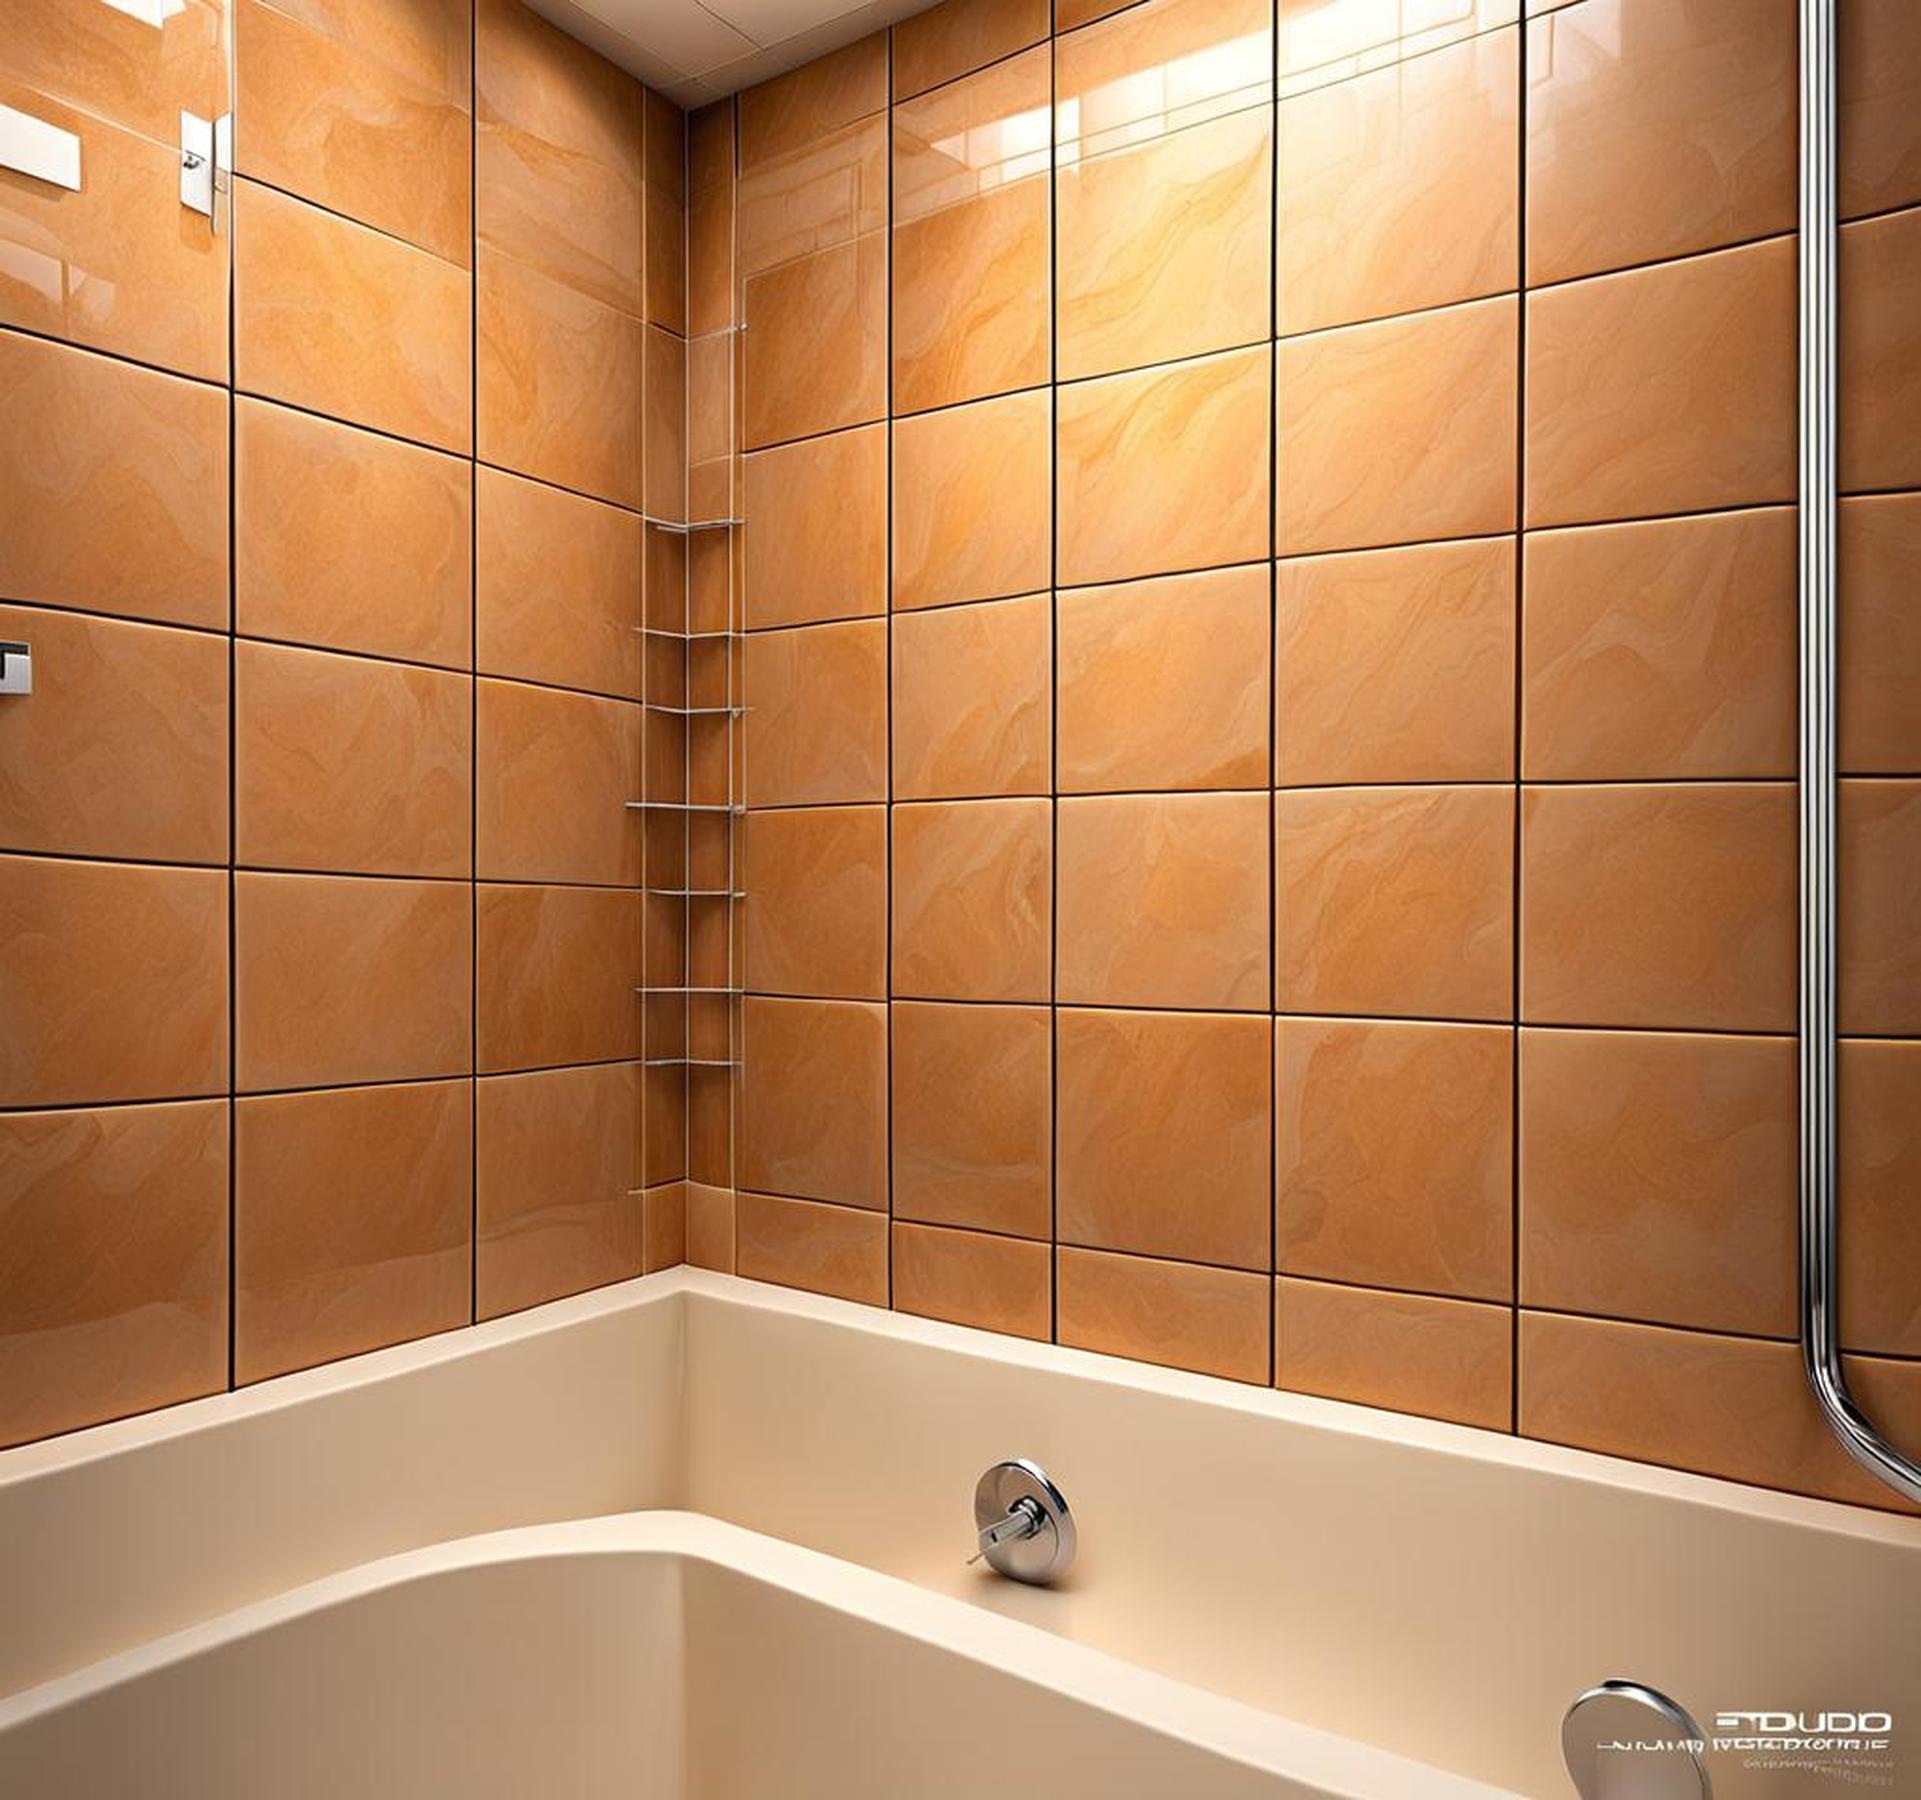
Installing tile in a shower can seem deceptively simple, but it requires careful planning and execution to prevent cracks from forming, especially in vulnerable inside corners. We’ll share the hidden reasons grout fails in corners and techniques to reinforce them during installation.
Why Inside Corners Crack Tile Grout
The 90-degree angle formed where two shower walls meet poses inherent risks for tile cracking. However, several preventable installation mistakes also commonly lead to corner failure.
The 90-Degree Corner Itself
The abrupt change in plane where walls join concentrates stress. Any movement or vibration transfers directly to this weak point, compromising grout adhesion. Using a tile membrane provides important corner protection.
Independent Movement of Walls
Walls move independently, yet grout bonds them together. This contradictory situation causes shearing stress. Thinset struggles to compensate as the walls expand and contract at their own rates with temperature/moisture changes. Flexible 100% silicone caulk makes up for thinset’s natural brittleness.
Improper Thinset Application
Sloppy adhesive work during tiling leads to corner failure down the road. Rushing the job causes inadequate thinset contact between tiles and walls. Air pockets eventually undermine grout. Using too little thinset also prevents a strong bond. Follow exact product specifications for corner installations.

Inferior Grout Quality
Not all grouts stand up equally to wet environments. Pre-mixed, inexpensive grout often lacks the resilient polymer agents of high-quality grout . Upgrading protects the thinset underneath from deterioration and damage.
Signs Your Shower Corners Are at Risk
Catching cracking grout early allows for easier repairs before underlying thinset fails. Check corners routinely for these subtle clues of structural issues emerging:
Hairline Fractures Forming
Barely visible cracks signify grout sinking into existing gaps. They indicate problems with corner integrity. Address immediately before further cracking or moisture intrusion occurs underneath.
Loose or Hollow Grout
Grout losing adhesion feels spongy underfoot or even sounds hollow if tapped. This suggests shrinking or debonding from the tiles, requiring regrouting. Hollow areas also provide pathways for water to penetrate the thinset.
Grout Discoloration
White grout turning dark brown or black typically results from persistent dampness. This precedes erosion and structural issues. Eliminate the moisture source first before regrouting stained areas.
Existing Repairs Fail Quickly
Corners with frequent need of regrouting likely suffer from underlying gaps or movement. They require sealing with flexible caulk combined with a full thinset replacement to provide stability.
Protect Shower Corner Integrity With Thinset
Proper thinset installation techniques reinforce corners to withstand years of use:
Mesh Tape Reinforcement
Embedding corner mesh tape into the first coat of thinset adds stabilization. It bridges the gap between walls, compensating for subtle movement.
Bonding Additives
Enhanced thinsets feature latex polymers that boost flexibility and bond strength to the shower substrate. They resist cracking far better long-term.
Let Each Layer Dry Completely
Allow initial thinset coats to cure overnight before adding second layers. Rushing the job leads to weak thinset prone to peeling away from corners.
Cut Tile to Fit Inside Corners
Avoid sloppy cuts leaving large corner gaps for grout and caulk to fill. Neat fitting tile improves structural integrity.
Technique for Cutting Square Corners
Use a wet saw fitted with a tile diamond blade to trim tile edges at a 45-degree angle. Position the cut tile piece into the corner before the thinset dries.
Coping Saw for Unique Shapes
A coping saw easily cuts curved corners found with neo-angle showers and other custom designs. Allow space for grout lines when fitting.
Leave 1/8″ Gap for Grout
Don’t abut tiles tightly. Leave a 1/8-inch gap between tile edges and walls to allow for expansion and filling with grout.
Apply Silicone Caulk After Grouting
Flexible caulk seals, waterproofs, and protects thinset and grout in corners.
Flexible Material Prevents Cracks
Unlike rigid grout, silicone caulk tolerates movement and shrinking without cracking or pulling away.
Tool Smoothly Into Grout Lines
Run a caulk bead along each inside corner, pressing down with a smoothing tool to integrate with grout lines.
Allow to Cure 24 Hours
Prevent water exposure during the silicone curing period. Moisture prevents maximum adhesion and performance.
Wrap vs. Mirror: Choose Your Corner Style
The visual effect comes down to personal preference for how corner tiles meet.
Wrapped Corner Aesthetic
This style cuts one tile edge to fit into the corner gap, making it appear to wrap around the wall’s edge.
Easier Mirroring with Square Tiles
Here, equal size corner tiles meet at identical angles, creating a mirror image on each wall.
Regrout Annually to Prevent Mildew and Damage
Regularly maintaining shower grout protects tile corners and other wet areas.
Carefully Remove Old Grout
Use a specialty grout removal tool with a narrow blade to clear out failing grout without damaging tiles.
Sanitize Before Regrouting
Clean corners thoroughly and let dry fully. Vinegar sanitizes to prevent mildew from gaining a foothold.
Sealing new grout makes cleaning and maintenance easier. Reapply yearly in wet areas like showers.
With proper installation techniques and routine maintenance, shower tile corners are waterproof for years. Pay special attention to inside corners during the tiling process to prevent premature cracking and leakage.
