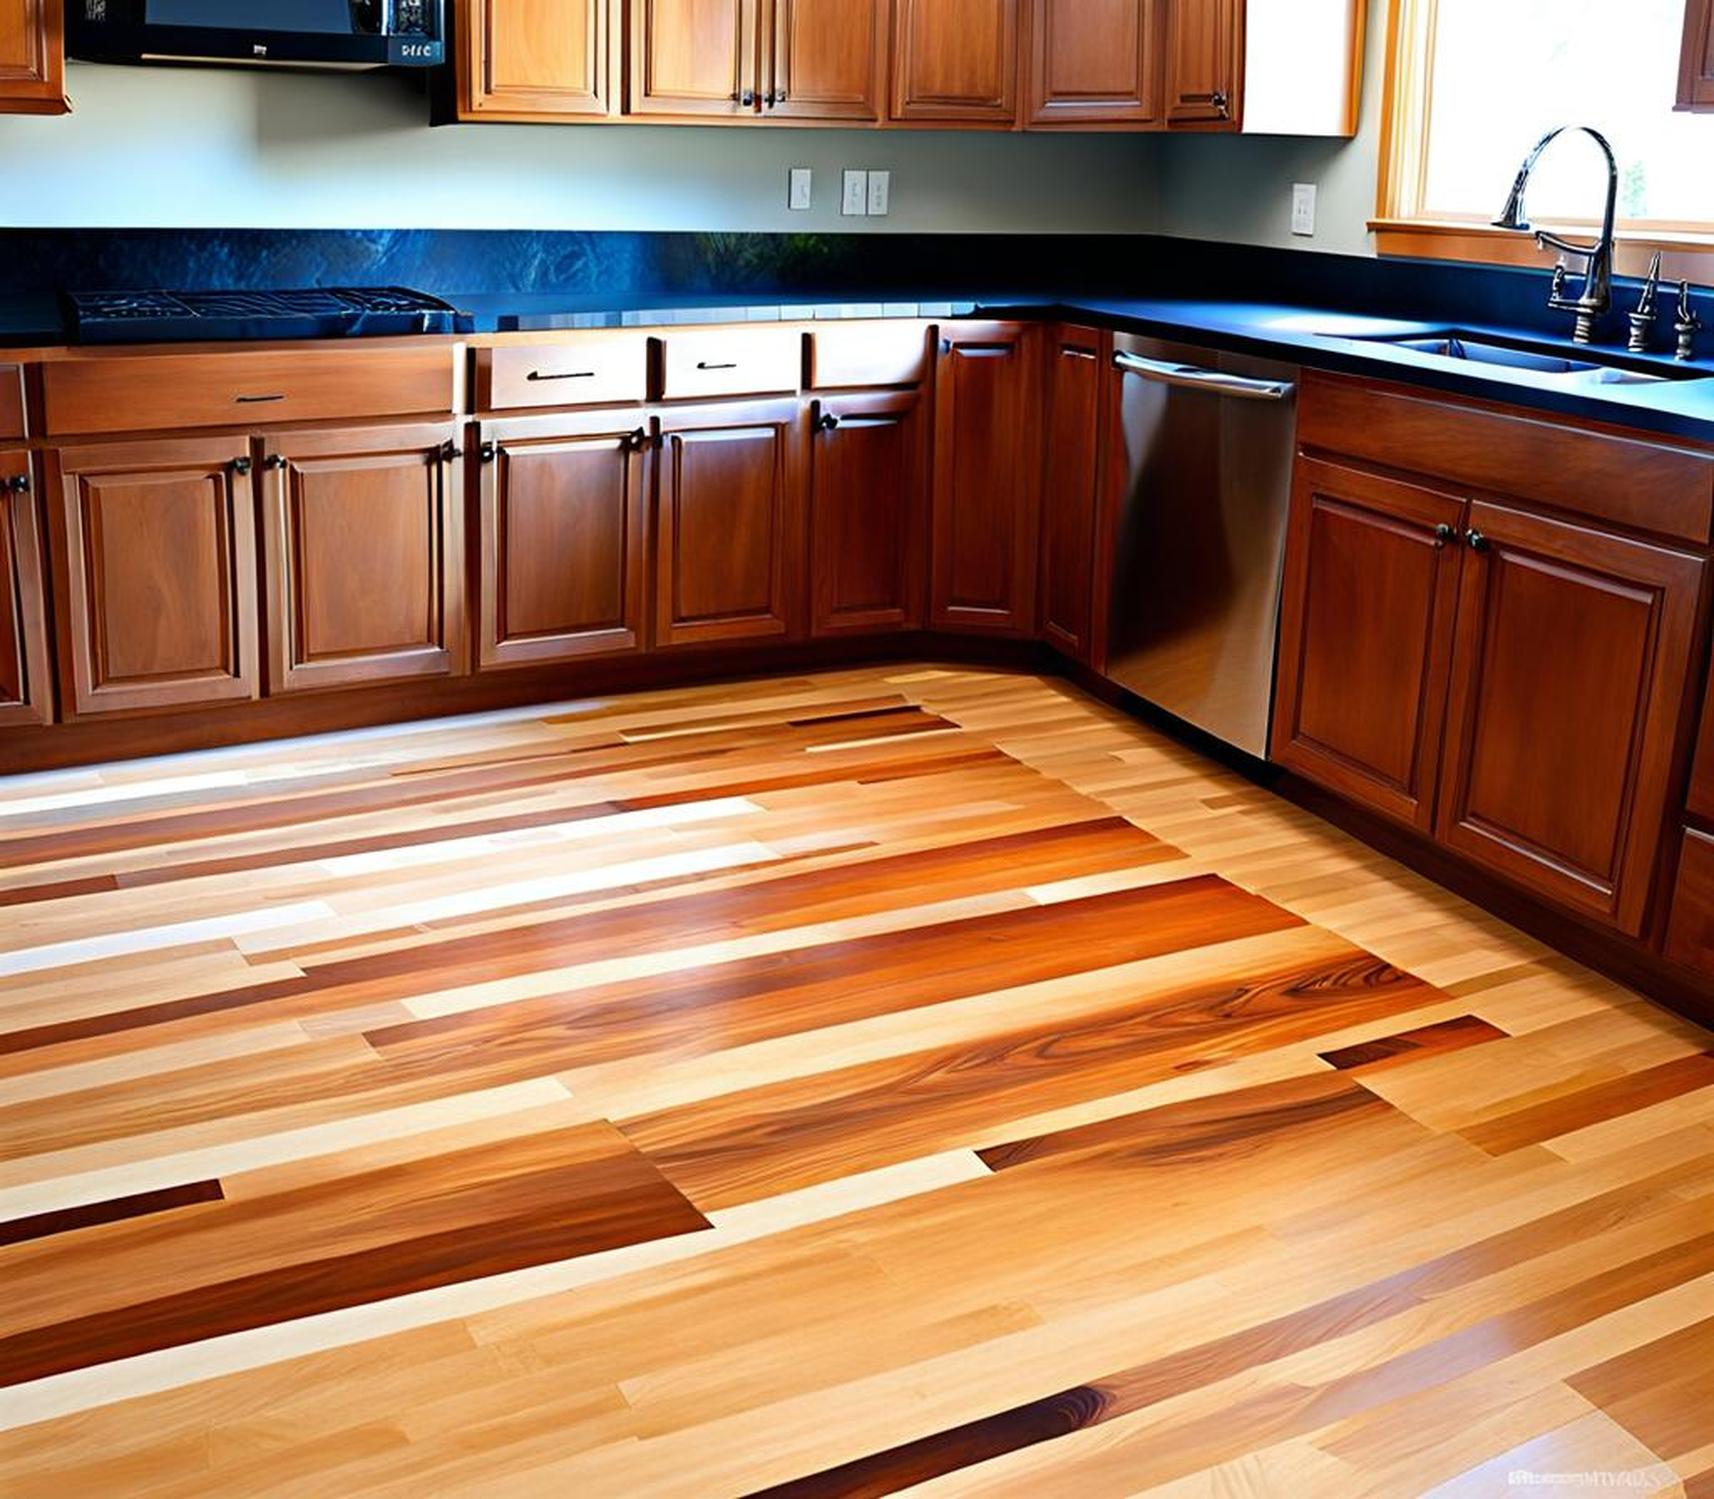
Butcher block countertops are a gorgeous addition to any kitchen. However, without the proper prep work, staining and sealing, your butcher block may not reach its full potential. This comprehensive guide will walk you through the entire process from start to finish, to help you achieve stunning, restaurant-quality finishes that will make your kitchen shine.
Butcher block brings liveliness and charm to kitchens with its organic, wood-grain beauty. However, without proper sealing and protection, it can be susceptible to stains, marks and damage from moisture. That’s why learning how to prep, stain and seal it correctly is key to preserving its natural magnificence for years to come.
Supplies You’ll Need
Before starting any work on your butcher block, make sure you have the necessary supplies on hand. Here’s what you’ll need:
- Orbital sander or sandpaper (180-320 grit)
- Dust extractor or vacuum
- Tack cloth
- Stain and sealer/finish of your choice
- Clean cloths and stain brushes
- Mineral oil or butcher block oil (if using for food prep)
Prep Work for Staining
The prep work is arguably the most vital part of the entire process. It lays the foundation for how your stain will penetrate and how your sealer will adhere. Proper prep ensures you achieve an even, flawless finish.
Sanding the Wood
Sanding removes any existing finishes or glossy top layers to open the wood pores and create a roughed-up surface the stain can really grip. Use 180-320 grit sandpaper and go with the direction of the grain. Sand all surfaces – top, sides and underside.
For best results, use a random orbital sander. The random action helps avoid swirl marks. Hand sanding also works, but take care to evenly abrade the full surface. Use a sanding block for hard-to-reach edges. Always finish sanding before staining.
Using a Wood Conditioner
For blotch-prone woods like birch, using a wood conditioner before staining is highly recommended. The conditioner seals the wood surface and allows for even absorption. Choose an oil or water-based product to match your stain type. Apply per manufacturer instructions. Let the conditioner fully dry before proceeding.
Applying the Stain
Now comes the fun part – adding color! When applying stain, work in sections using a brush or cloth to maintain a wet edge and prevent lap marks. Apply stain liberally in the direction of the wood grain. Let it sit for 5-15 minutes, then wipe off any excess. Allow ample drying time before sealing.
Sealing and Finishing
The final step is choosing a sealer to protect and beautify your stained butcher block while retaining its natural look. Food-safe oils are best for prep areas. For other surfaces, opt for a more durable film finish like polyurethane or varnish.
Food-Safe Oils
Mineral oil and butcher block oil penetrate deep into the wood grain to nourish and protect without forming a plastic-like barrier. Simply wipe and buff the oil into the surface. Reapply monthly or as needed. Oils require more upkeep but won’t chip or flake.
Film Finishes
If food prep isn’t a concern, consider polyurethane, lacquer or varnish. These create a hard, protective film on top of the wood. Choose low-sheen finishes to retain a natural look. Apply multiple thin coats with light sanding in between for best results and maximum durability.
Keep your butcher block looking like new by following manufacturer care guidelines. Use coasters, trivets and cutting boards to prevent dings. Routinely re-sand and re-apply protective finish coats as needed over time. With proper prep, staining and sealing, you can enjoy the warmth and charm of butcher block for years to come!
