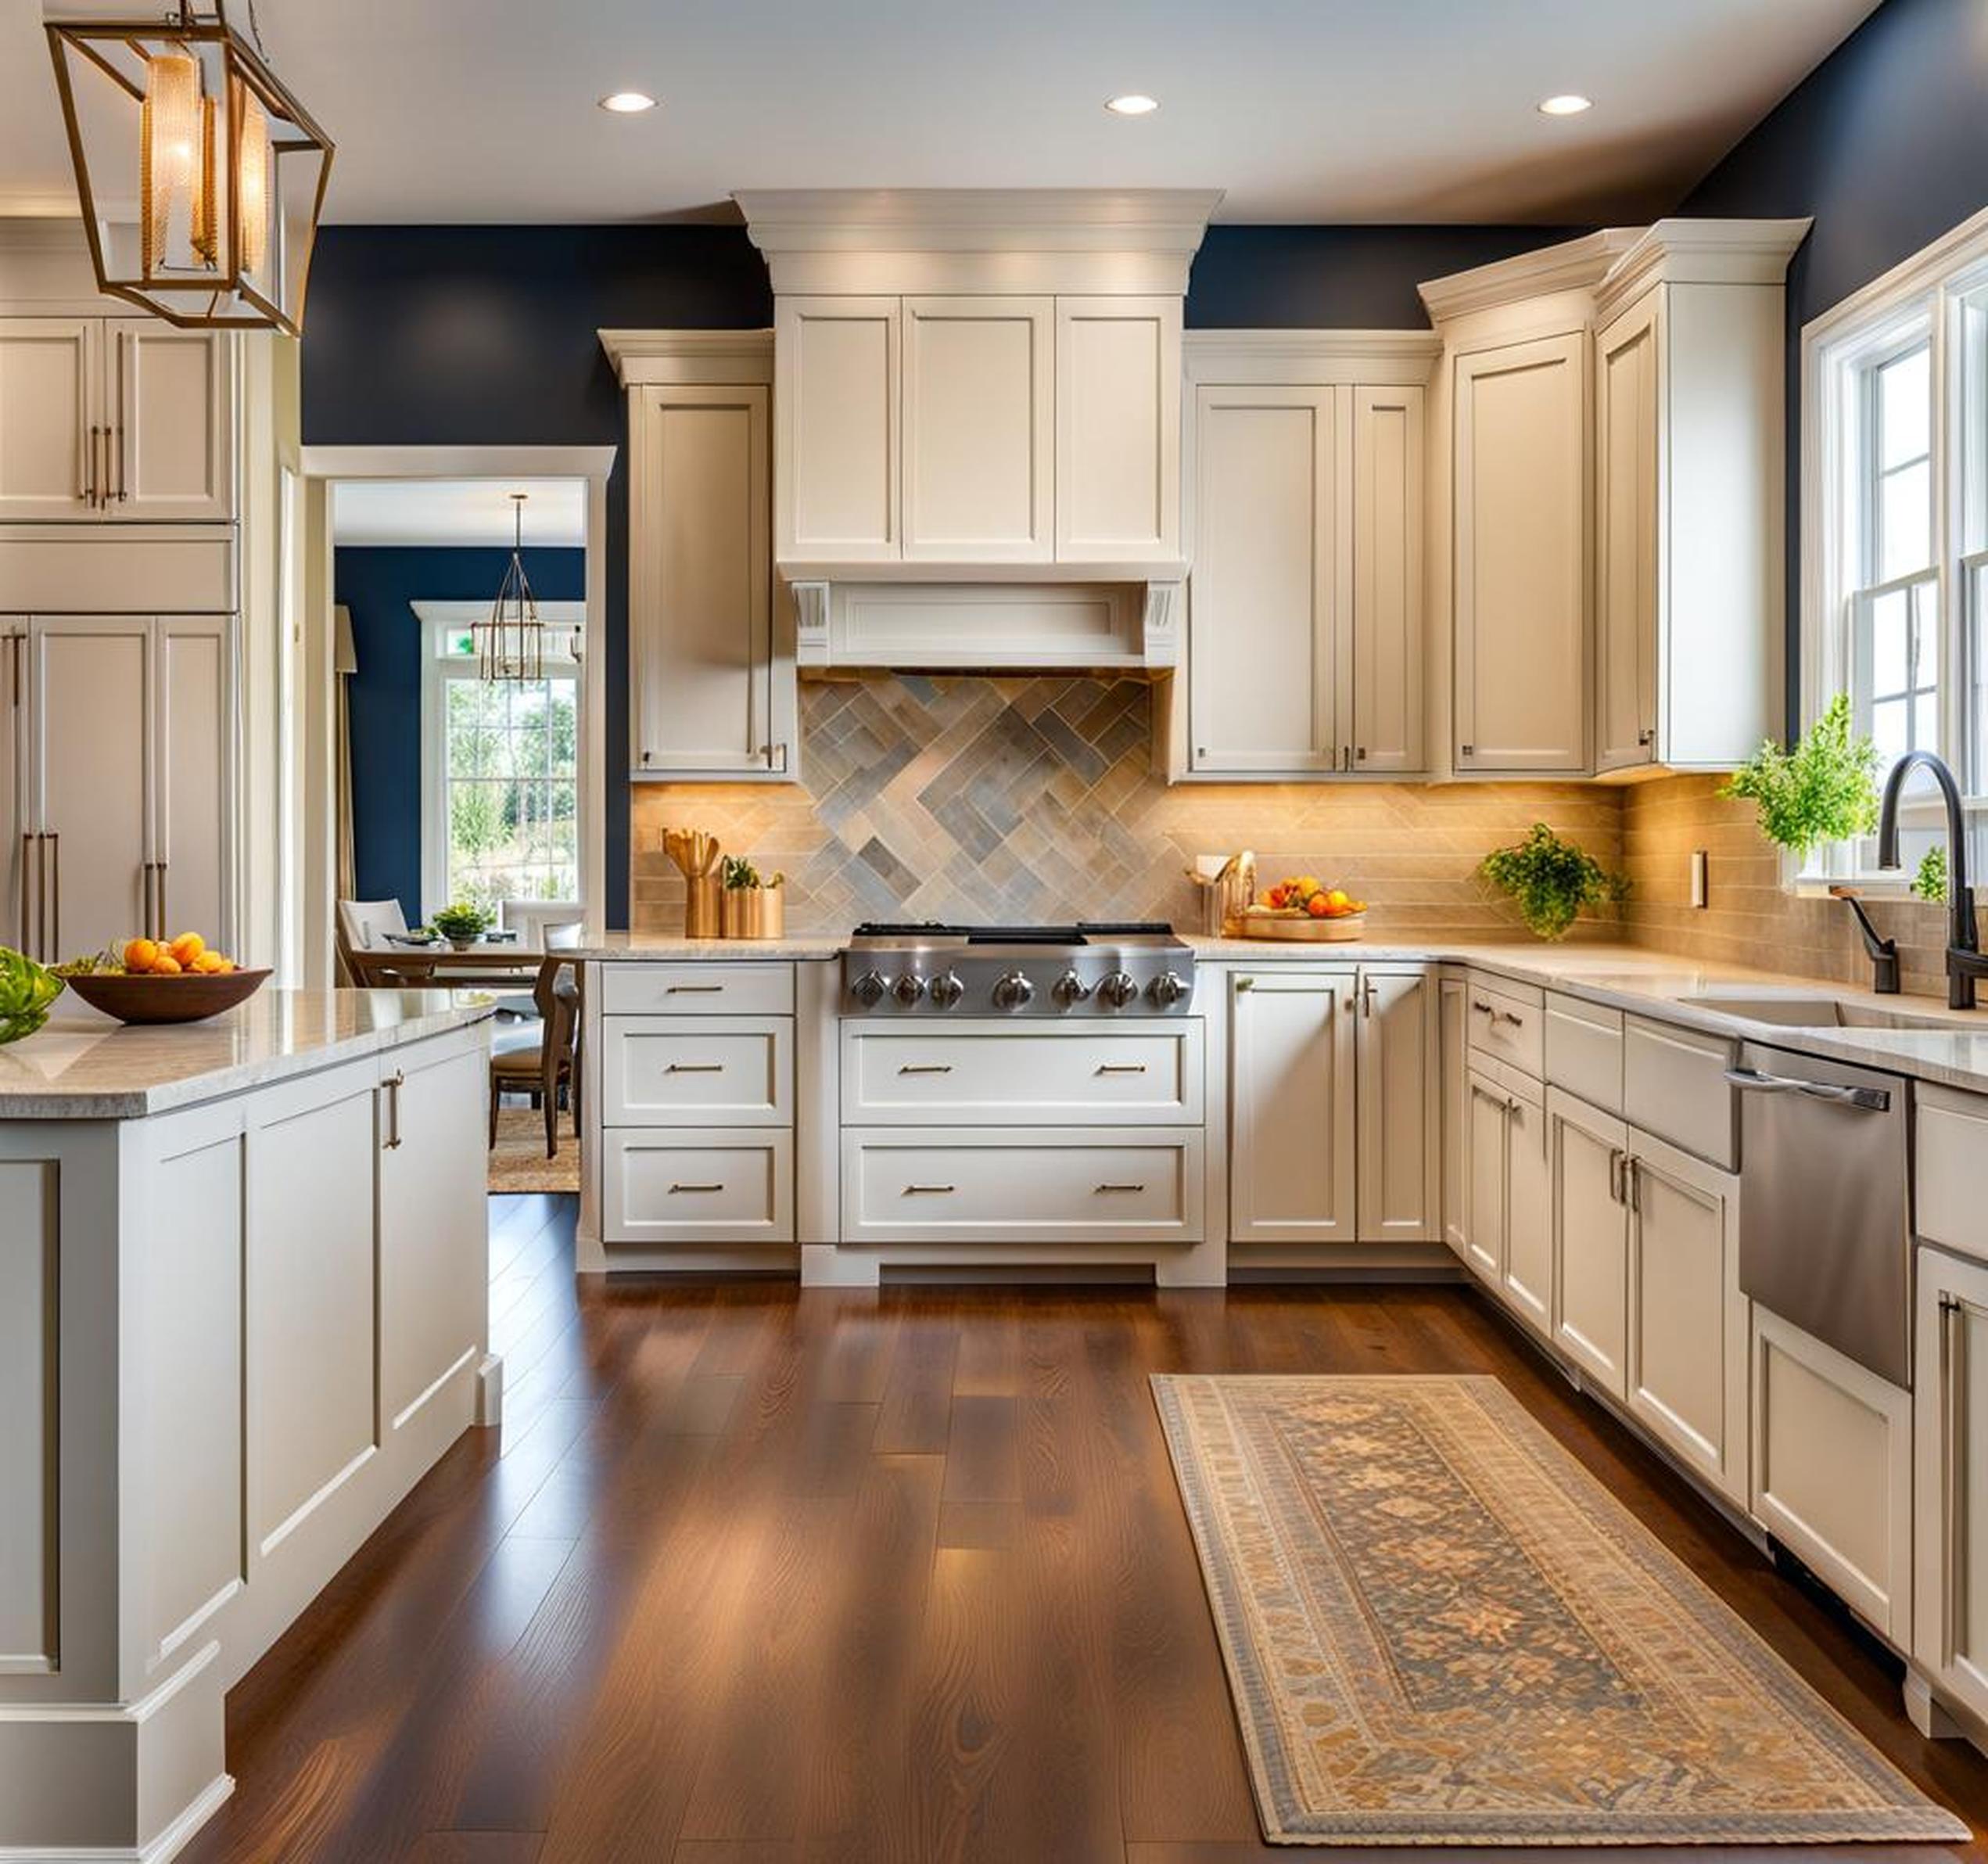
If your kitchen cabinets are looking tired but you don’t have the budget for a full replacement, a fresh coat of paint can make them look brand new again. Painting cabinets is an affordable way to transform the heart of your home without taking on a huge remodeling project. With some prep work, high-quality primer and paint, and attention to detail, you can change the entire look of your kitchen in a weekend.
Develop a Painting Plan
Before you pick up a paintbrush, take time to develop a painting plan. Assessing your cabinets’ current condition, choosing finishes and painting methods, estimating how much paint you need – planning these key details will ensure success.
Assess Cabinet Condition
Inspect cabinet surfaces for damage, wear and tear. Deal with repairs needed first so paint application goes smoothly.
Choose Paint Finish
Consider how you use your kitchen and cleanability. Popular cabinet paint finishes:
- Semi-gloss – bright, subtle sheen; resists moisture and washing
- Satin – silky smooth; hides surface imperfections
- Matte – flat, non-reflective; muted, natural look
Determine Painting Method
Brushes work for details; rollers speed things up on flat areas. Sprayers offer the most seamless finish but have a learning curve.
Prep Cabinets for Painting
Proper prep sets the stage for painted cabinets that look professionally done.
Clean Surfaces
Grease, dirt and residue interfere with paint adhesion. Use a degreaser to thoroughly clean inside and out.

Sand Cabinet Boxes and Doors
Lightly sand to rough up the finish so paint can grip. Address scratches, holes and flaws now.
Remove and Store Hardware
Number each door and drawer to keep hardware organized. Carefully remove hinges and pulls prior to painting.
Set Up Workspace
Protect floors from drips and spills. Arrange supplies efficiently within easy reach.
Prime Cabinets and Doors
Quality all-purpose primer bonds paint for a smooth, lasting finish. For best results:
- Apply 2-3 thin, even coats with light sanding between
- Use angled brush to coat hard-to-reach spots
- Allow at least 24 hours drying time
Paint Cabinets and Doors
Using latex paint formulated especially for cabinets, work in sections for the most seamless look:
- Do sides and face frames first, then work from back to front
- Apply multiple thin coats for full coverage and durability
- Lightly sand and wipe clean between coats
- Allow each coat to fully dry before adding another
Reinstall Doors and Hardware
Once fully cured, attach newly painted doors, drawers and hardware using your numbering system to get everything back into place.
Maintain Your Painted Cabinets
Keep cabinets looking like new with proper care:
- Allow paint to cure for 30 days before regular use
- Clean with soft cloth and mild soap and water
- Avoid harsh cleansers, excessive moisture
- Touch up worn areas promptly to prevent peeling
Mistakes to Avoid When Painting Cabinets
Watch out for these common missteps:
- Insufficient surface prep leading to peeling
- Choosing wrong sheen level for your kitchen
- Applying paint too thickly resulting in drips
- Forgetting to label hardware or doors
- Putting items away before paint fully cures
DIY kitchen cabinet painting allows you to refresh your space on a reasonable timeline and budget with outstanding results. Follow these essential tips for success from start to finish. Need more guidance? Connect with a professional painting contractor for a free consultation.
