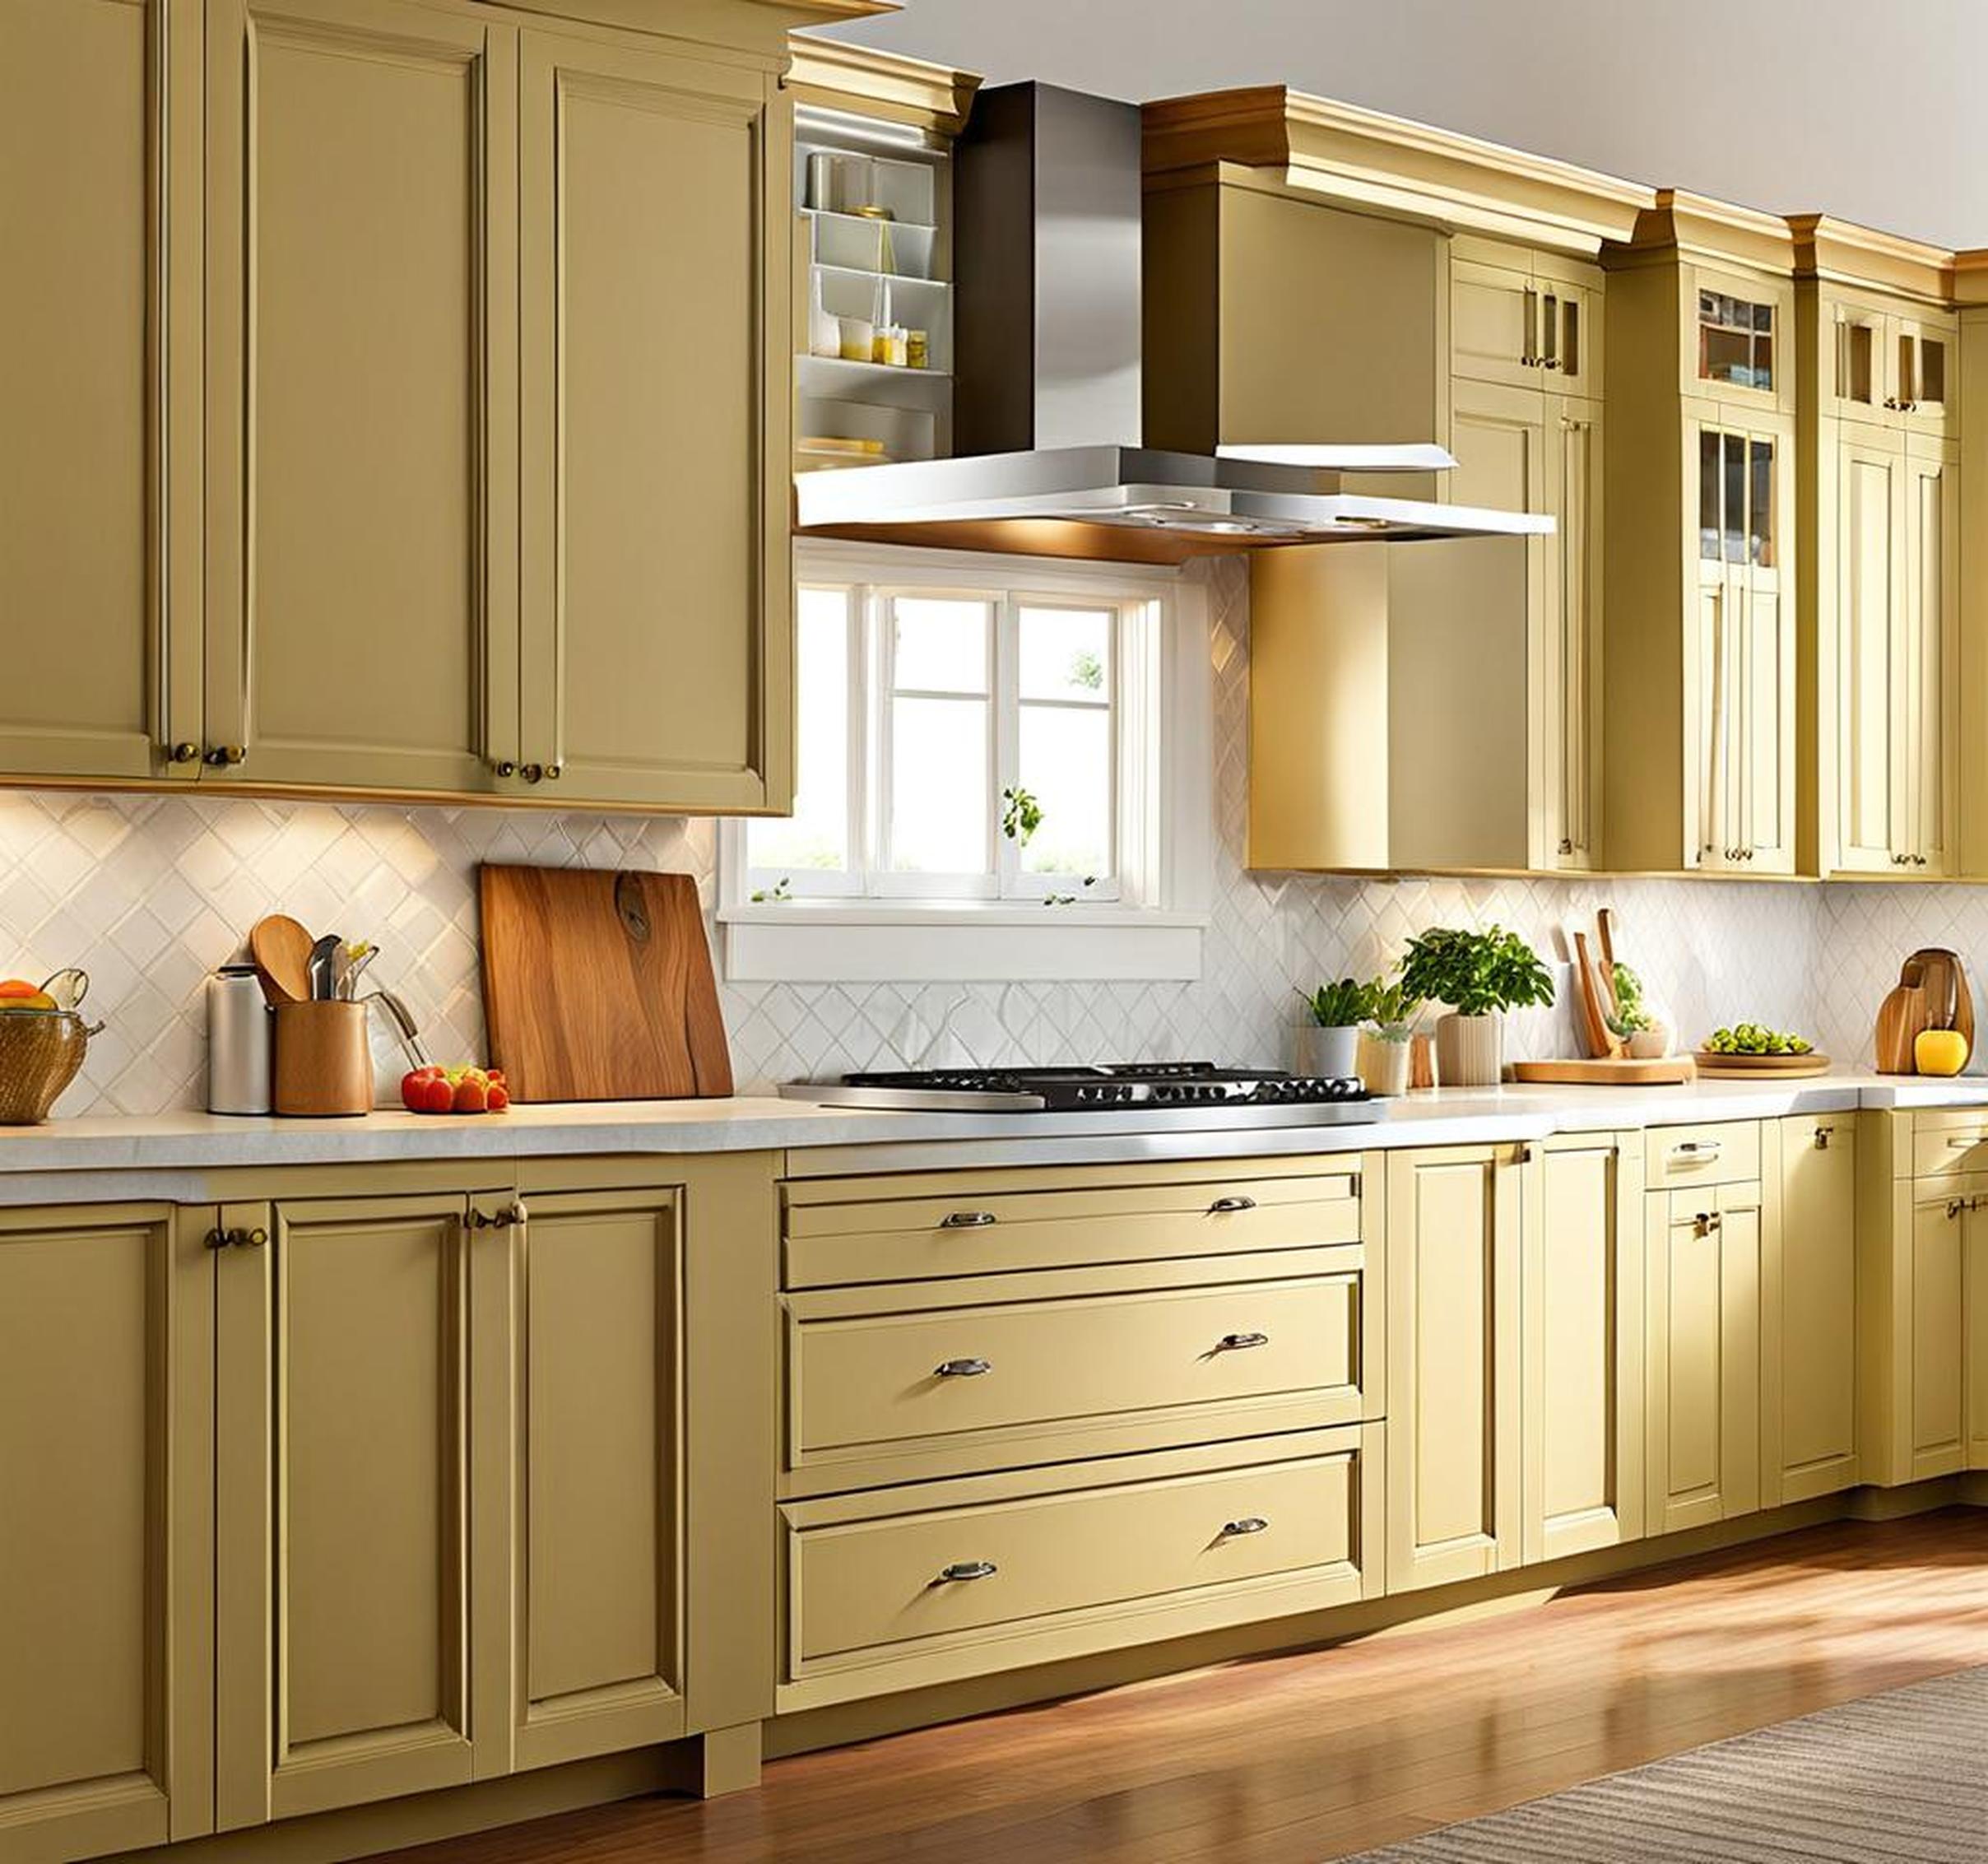
Is your kitchen looking worn and dated thanks to chipped cabinets and flawed paint? No need to endure an expensive full remodel or repainting project. With some simple cabinet paint touch ups, you can refresh your kitchen in a flash. Read on to unlock the secrets of DIY kitchen cabinet touch up painting for a budget-friendly mini makeover!
Touch up painting allows you to revitalize just the damaged spots on your cabinets, saving tons of time and money. Small chips, cracks, and scratches can be fixed with precision instead of coating everything in a fresh layer of paint. You’ll be amazed at the dramatic difference patching up flaws can make.
Picking the Perfect Touch Up Paint
The key to seamless, undetectable touch ups is using the exact same paint that your cabinets were originally finished with. Here are some strategies for color matching:
- Check if the cabinet manufacturer provides touch up paint pens or kits
- Bring a cabinet door sample to a paint store for matching
- Order touch up paint specific to your cabinet brand and finish
Look for fast-drying water-based paints that require minimal coats and prep work. Avoid oil-based paints that can yellow over time. When possible, choose options with a color match guarantee for peace of mind.
Prepping Cabinets for Touch Ups
Proper prep ensures the touch up paint adheres well and blends seamlessly:
- Clean damaged areas then lightly sand to rough up the surface
- Apply painter’s tape around repair zones to avoid stray paint
- Fill any deeper gouges with wood putty; let dry completely
Your cabinets need to be clean and dull for the paint to grip. Deeper flaws should be filled so repairs sit flush.
Brushing on Touch Ups
Use small foam or angled brushes for optimal control when applying the paint. Dip just the tip in the paint to avoid overloading it. Dab gently and let the paint dry fully between thin coats. Be patient – rushing leads to drips and globs.
Fill in the damaged spot completely before feathering out the paint. Extend thin layers just past the edges of repair zones to disguise them.
Foolproof Touch Up Painting
Follow these pro tips and tricks to get seamless, subtle results:
- Prep properly for max adhesion
- Avoid applying too much paint at once
- Feather out edges for invisible transitions
- Blend texture with brushstrokes or rag dabs
- Match sheen by adjusting paint consistency
With practice, you’ll be able to make chips and flaws seem to vanish. Save thousands over a remodel by refreshing just the troubled areas of your cabinets!
While minor touch ups are easy DIY projects, extensive damage or repairs may call for a professional painter. Consider hiring help for:
- Large damaged sections needing complete refinishing
- Difficulty color matching old cabinet paint
- Wanting an impeccable, seamless look
