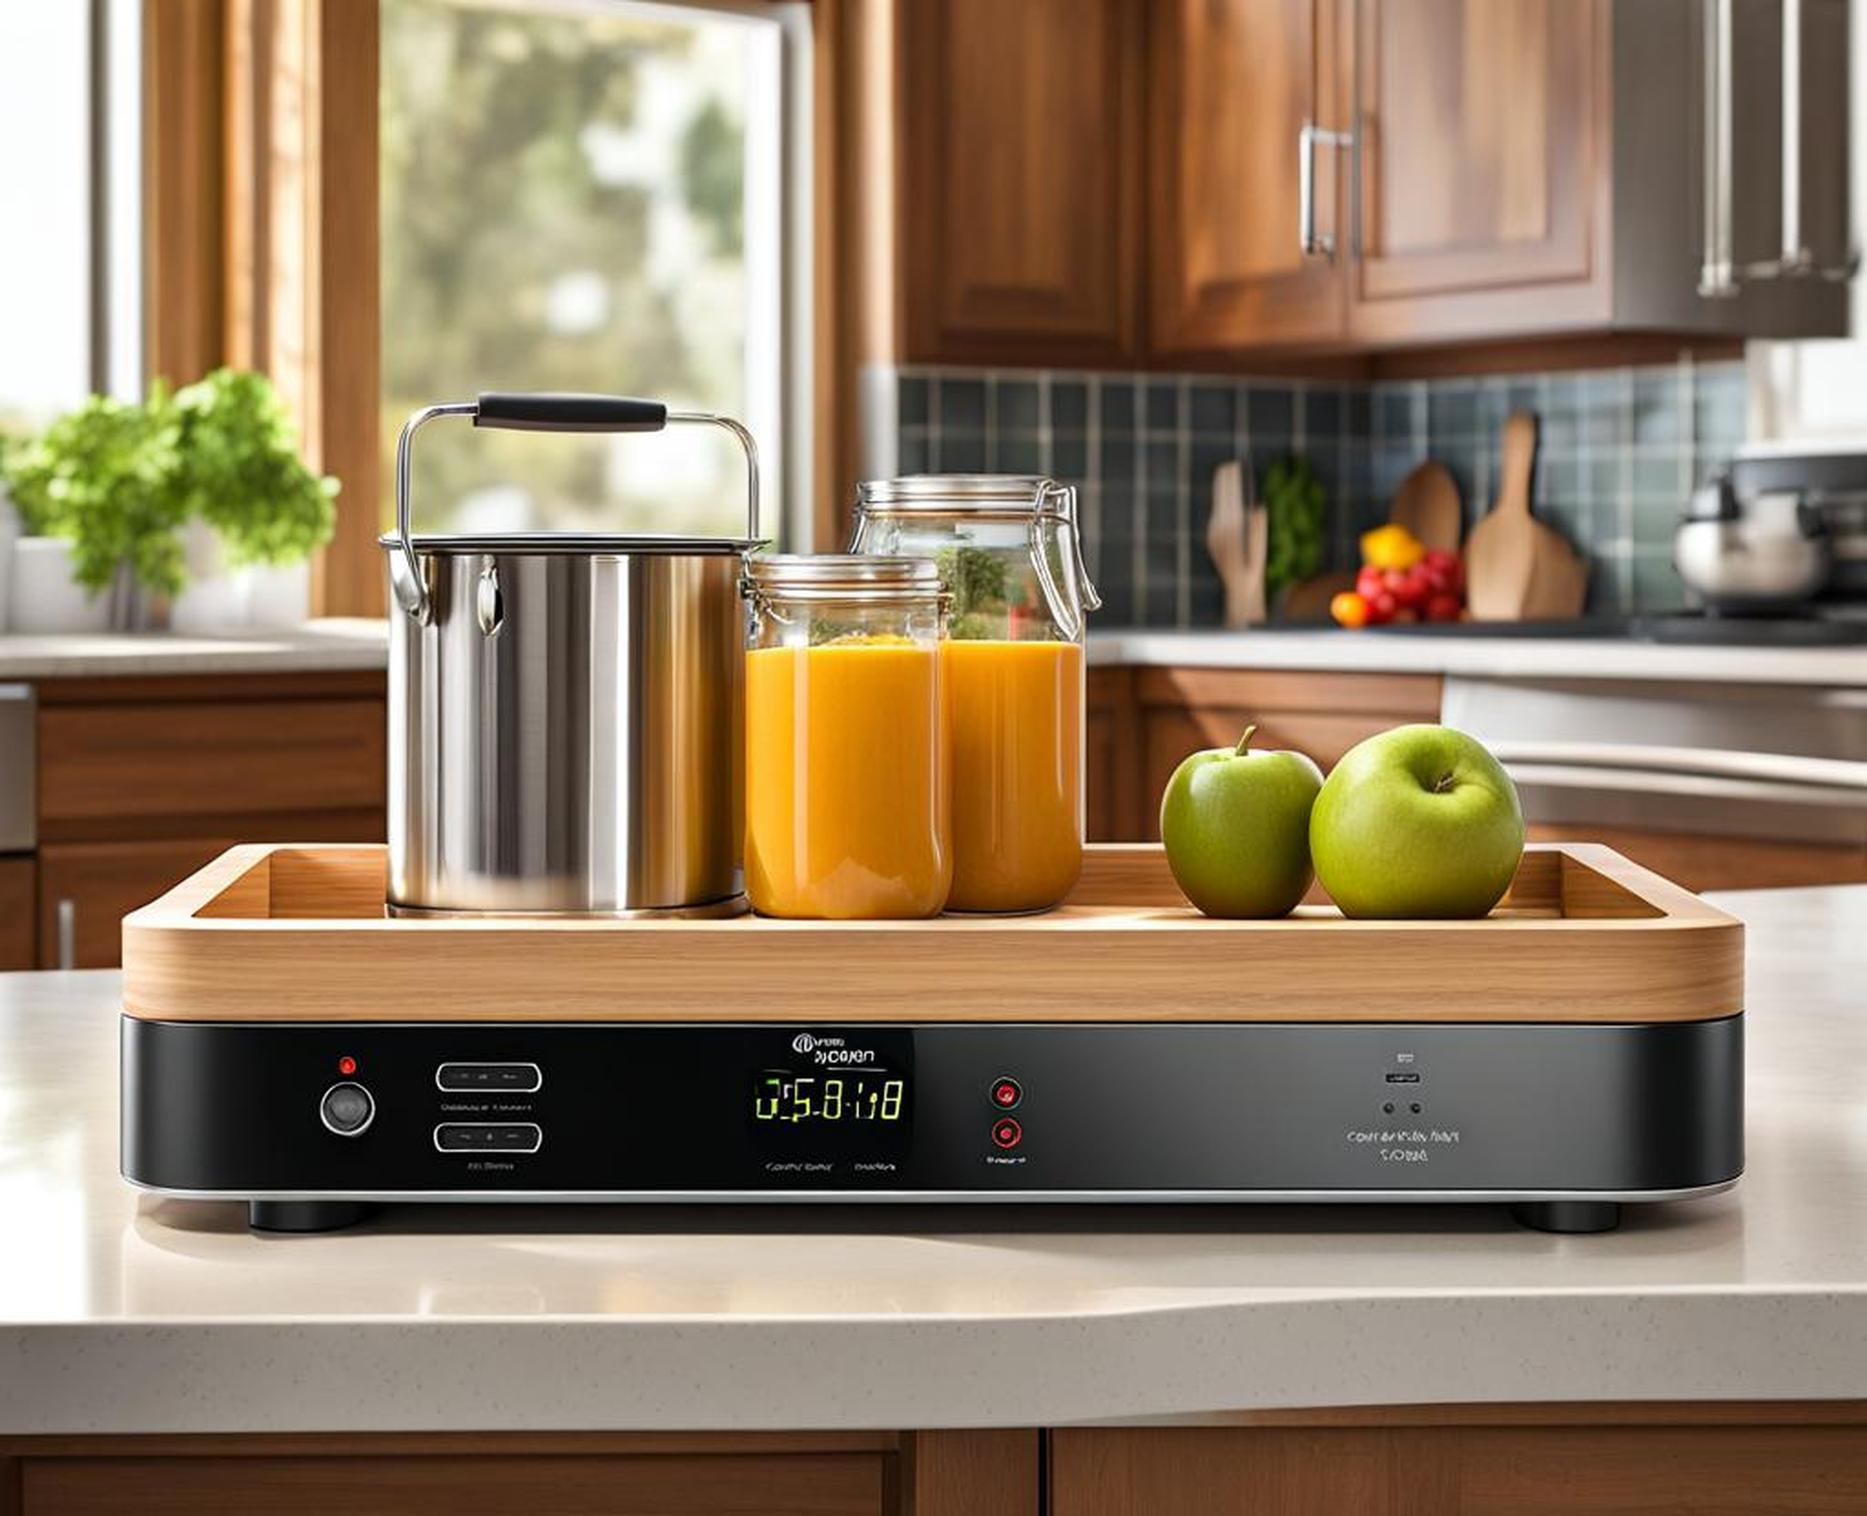
Having a cluttered countertop filled with tangled wires and scattered devices is an all too common problem in many kitchens. A kitchen charging station offers a solution, providing dedicated space to charge your devices while keeping your counters clutter-free.
Assess Which Devices Will Need Charging
First, take stock of which electronics you use and charge daily in the kitchen. This may include:
- Smartphones
- Tablets
- E-readers
- Bluetooth speakers
- Digital assistants like Amazon Echo
Make a list of each device and how often it requires charging. This will help determine how many outlets and USB ports you’ll need in your station.
Consider Power Needs
Think about if you’ll need only standard power outlets or also USB charging ports. Newer devices like phones and tablets typically charge via USB. Having both outlets and USB ports offers maximum flexibility.
Also consider if you’ll need wireless charging capabilities. While convenient, wireless charging is slower and specific models of phones/devices must be compatible.

Account for Frequency of Use
Are there devices that need charging every day versus a few times a week? Daily use electronics like phones and tablets should be easiest to access. Items used less frequently can go in less convenient spots.
Determine the Best Location
Placement of your kitchen charging station depends on your preferences and kitchen layout. Here are prime spots to consider:
Countertops
Countertop charging stations provide the most convenient access. Locate yours near where devices are used, like next to your coffee maker or on an eat-in kitchen island.
Pros: Ease of access, ability to monitor devices as they charge
Cons: Takes up counter space, can still look cluttered
Inside Cabinets or Drawers
Hide your station inside a cabinet or drawer to keep counters clutter-free. Use one near an outlet or install outlet inside.
Pros: Hides unsightly cords/chargers, frees up counter space
Cons: Not as easily accessible
Wall-Mounted
Wall-mounted stations are excellent options for small kitchens. Install vertically near outlets or horizontally using under-cabinet lighting rails.
Pros: Saves counter and floor space, keeps organized look
Cons: Cables may hang visibly, accessing ports less convenient
Consider the Station Style That Suits You
There are a variety of charging station styles, ranging from sleek wall-mounted units to customizable DIY options.
Wall-Mounted
Wall-mounted charging stations neatly attach cables and devices vertically. Search for versions with flip-down doors to enclose everything.
Freestanding
Freestanding or desktop stations have a weighted base so you can place them anywhere. Opt for one large enough to hold multiple devices.
DIY
Give old household items new life! Tray organizers, floating shelves, and magnetic strips can all become customized charging hubs.
Design and Setup Recommendations
No matter which station style you choose, incorporate these design ideas:
- Multiple outlets and USB ports based on device needs
- Retractable cable holders and clips
- Cord management sleeves
- Labels to identify devices
- Surge protector for safety
- Non-slip pad or fasteners if placing on counter
Minimize safety risks by keeping stations away from water sources like sinks. Regularly inspect for frays or damage to cords as well.
An organized charging station doesn’t happen overnight. But you can maintain order with these habits:
- Coil cables neatly when not charging devices
- Store devices in a nearby drawer or cabinet
- Clean station surface and cords monthly
- Upgrade power strip or USB hub if needing more ports
By taking the time to create a well-designed charging station, you’ll reap the rewards of decluttered counters and simplified charging. No more guessing if your devices are fully juiced or tripping over a tangle of cables.
