Do your cabinets look chaotic and cluttered? Are you constantly moving items out of the way to find what you need? If so, it may be time to add more shelves for organized storage. Installing new shelves in your existing cabinets is an easy DIY project that can completely transform your space.
In this complete guide, we will walk through all the steps for successfully adding shelves to any cabinet. With the right materials, tools, and techniques, you can double your storage capacity and keep everything tidy and accessible.
Determine If You Need More Cabinet Shelves
Take a good look inside your cabinets to assess if added shelves would be beneficial. Here are some telltale signs it’s time to increase storage space:
- Items are stacked or crammed onto existing shelves
- You have to move a lot of things to access items in the back
- Cabinets look cluttered and disorganized
- Frequently used items are hard to locate
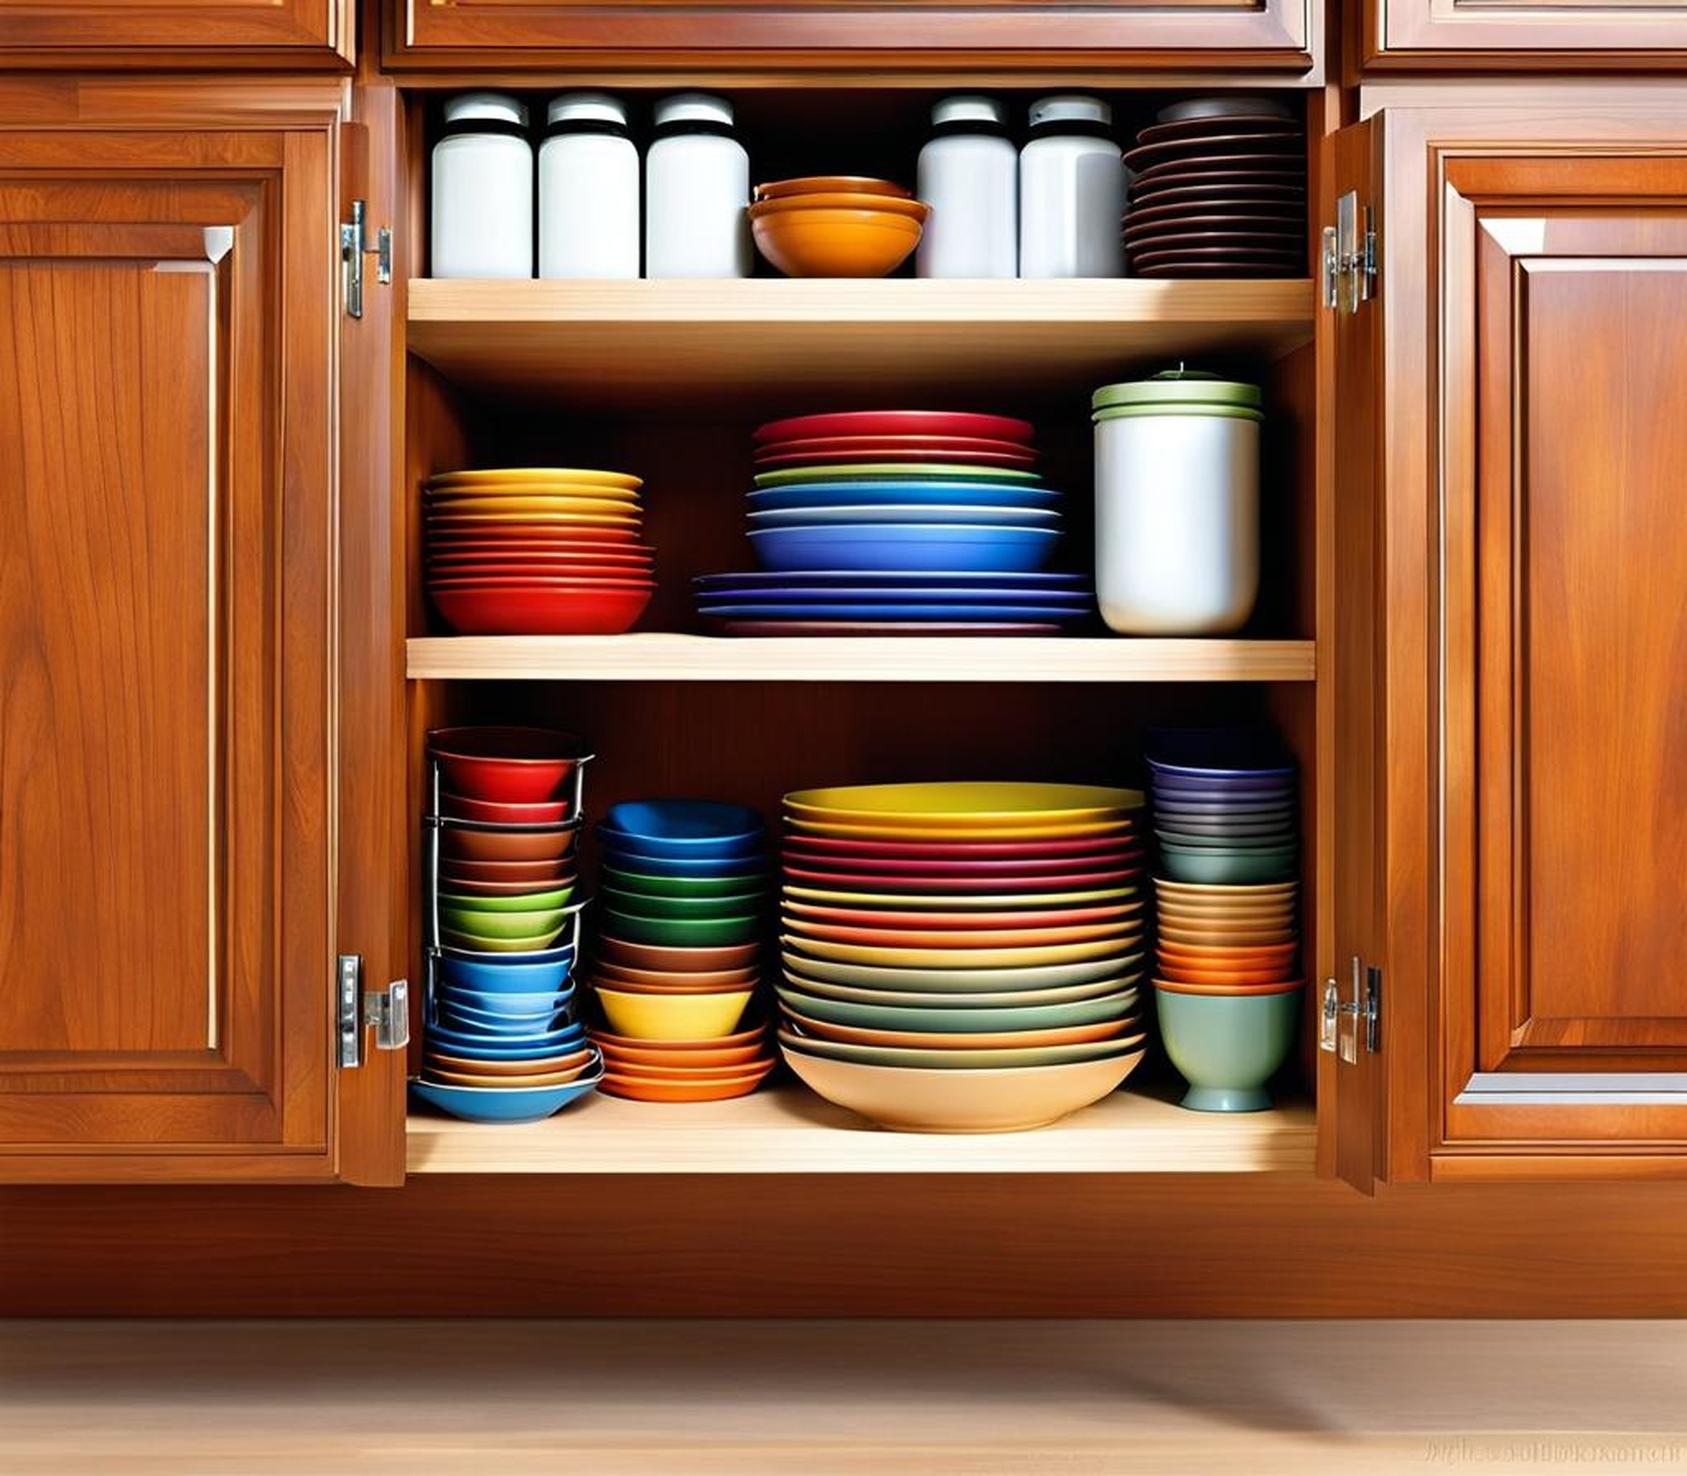
Extra shelves are especially useful for maximizing kitchen and bathroom cabinet storage. They provide more room for food, dishes, cleaning supplies, toiletries, and more. Measure your cabinet interiors to estimate what size shelves will fit.
Consider where new shelves will be most helpful. Base cabinets and upper corner cabinets often have untapped potential for additional shelves. Wall cabinets with a lot of vertical space are also prime targets for added storage.
Choose Materials For DIY Shelves
Now it’s time to select the materials to create your custom shelves. Here are some popular options:
Plywood
Plywood panels are an inexpensive and versatile material for DIY shelves. Visit your local home improvement store to select the desired thickness and cut plywood boards to size. Finish with paint or stain to match your cabinets.
Premade Shelf Boards
Many hardware stores carry premade shelf boards in various finishes like natural wood, white melamine, or glossy laminate. These just need edges finished and can instantly modernize your cabinets.
Standard Shelf Brackets
Basic metal L-brackets either mount to the cabinet walls or screw into wall studs. They support the weight of shelf boards. Measure carefully so shelves rest level.
Adjustable Shelf Standards
Shelf standards have built-in slots to insert and adjust shelf brackets as needed. This customizable system simplifies installing shelves at your ideal height.
Shelf Rail Systems
Modular rail systems give ultimate flexibility and support. Rails mount horizontally and shelf brackets clip in where desired. This streamlines adding and shifting shelves.
Hardware and Tools
For attaching brackets and rails, have screws, bolts, and wall anchors on hand. A drill, level, stud finder, and tape measure are essential tools. Safety glasses and gloves are also recommended.
Remove Existing Cabinet Contents
Before installing new shelves, completely empty the cabinet. Take out all food items, dishes, containers, etc. Remove any adjustable or fixed shelves that are already installed. Detach doors and drawers so you have unobstructed access.
Find temporary storage for the cabinet contents while you complete the project. Cover shelves, small appliances, and other items to protect them from damage.
Clean Cabinet Interiors
This is an ideal opportunity to clean cabinet interiors before adding new shelving. Remove grease or grime with a degreasing cleaner and then wipe down with a mild soap and water solution.
Measure Precisely For Each Shelf
Measuring correctly ensures your shelves will fit perfectly within the cabinet. Follow these steps for accurate measurements:
- Measure cabinet width side to side. Record the narrowest point.
- Measure cabinet depth from front to back. Record the shallowest point.
- Measure height from the cabinet bottom up to the ceiling.
- Account for the thickness of existing shelves when calculating placement of additional shelves.
Remember, it’s better for shelves to be slightly narrower than the cabinet opening. Allow a 1/4-1/2 inch gap for easy installation. Repeat measurements for every new shelf you plan to add.
Tips for Precise Measurements
Use a laser level for accuracy. Double check measurements in multiple spots to identify any irregularities. Have a helper confirm readings. Avoid taking rough estimates, as even 1/4″ variance can prevent proper shelf fitting.
Cut Shelves to Custom Size
Using your measurements, cut shelf boards to size with a circular saw, table saw, or jigsaw. Remember to account for the thickness of the saw blade (usually 1/8″). Here are some tips for smooth cuts:
- Use saw horses to securely support boards for straight cuts.
- Place painter’s tape along cut lines to prevent splintering.
- Make several light passes rather than forcing one heavy cut.
- Sand cut edges smooth so shelves rest flush against cabinet sides.
Test Fit Before Securing
After cutting shelf boards to size, place them on brackets or standards in the cabinet to test the fit. Make any minor adjustments before securing shelves in place. The boards should fit snugly while still being easy to install.
Install Wall Anchors and Shelf Brackets
Mounting the shelf brackets is the next critical step. Determine whether you can screw brackets directly into wall studs or will need anchors for added support. Here are some best practices:
- Locate studs with a stud finder and mark locations with painter’s tape.
- Space brackets evenly to support the entire shelf. Follow manufacturer guidelines for how many are needed.
- Predrill holes for screws using a drill bit slightly smaller than the screw diameter.
- Drive screws directly into marked studs where possible for maximum strength.
- Use hollow drywall anchors if not hitting studs. Tap anchors gently into predrilled holes.
Secure Shelving
Proper bracket installation secures shelving and prevents sagging over time. Don’t skimp on supports even for lighter items to ensure longevity.
Insert Shelves and Test Alignment
Once brackets or standards are securely fastened, carefully set shelves into position. Check that the shelf boards are completely level front to back and side to side. Look for any tilting or rocking that indicates an underlying issue.
If shelves are not resting evenly, don’t force them into place. Remove and adjust brackets as needed until proper alignment is achieved. Leveling issues are much easier to fix at this stage.
Test Weight Capacity
When correctly installed, the new shelves should easily hold 50-100 lbs without sagging. Test weight capacity by placing books or other heavy items on the installed shelf briefly. Make any reinforcements before loading fully.
Finish and Seal New Shelving
New wood shelves will look best if finished to match your existing cabinet interiors. Here are some quick finishing steps:
- Sand shelves well using 120 then 220 grit sandpaper to prep the surface.
- Apply wood conditioner so stain absorbs evenly.
- Use gel stain in your cabinet’s current hue and wipe away excess.
- Apply three coats of water-based polyurethane, sanding lightly between coats.
- Affix self-adhesive shelf liner to protect and add grip.
- Seal all raw wood edges with clear varnish to prevent moisture damage.
Painting Shelves
For a bolder look, paint shelves with cabinet enamel or acrylic paint. Adhere shelf liner afterwards for an easier-to-clean surface. Painted shelves also benefit from sealing raw edges.
Reinstall Doors and Original Shelves
Once your new shelves are installed and finished, the last step is carefully putting your cabinet back together. Here’s how:
- Return any existing adjustable or fixed shelves to their original positions in the cabinet.
- Reattach cabinet doors and drawers, verifying proper alignment and closure.
- Replace any door/drawer hardware if removed earlier in the process.
- Reload cabinet contents in an organized manner on old and new shelves.
Step back and admire your newly expanded and organized storage space. Adding your own custom shelves is deeply satisfying and provides years of utility.
To get the most out of your DIY cabinet shelving, be sure to:
- Use shelf dividers, bins, and organizers to neatly arrange items.
- Regularly check for sagging shelves and reinforcing as needed.
- Dust shelves and wipe spills promptly to maintain their appearance.
- Avoid placing very heavy items on shelves not rated to handle excess weight.
Adding shelves is an easy upgrade that can make your cabinets safer, tidier, and far more functional. Transform disorganized spaces with storage solutions customized precisely for your needs.
