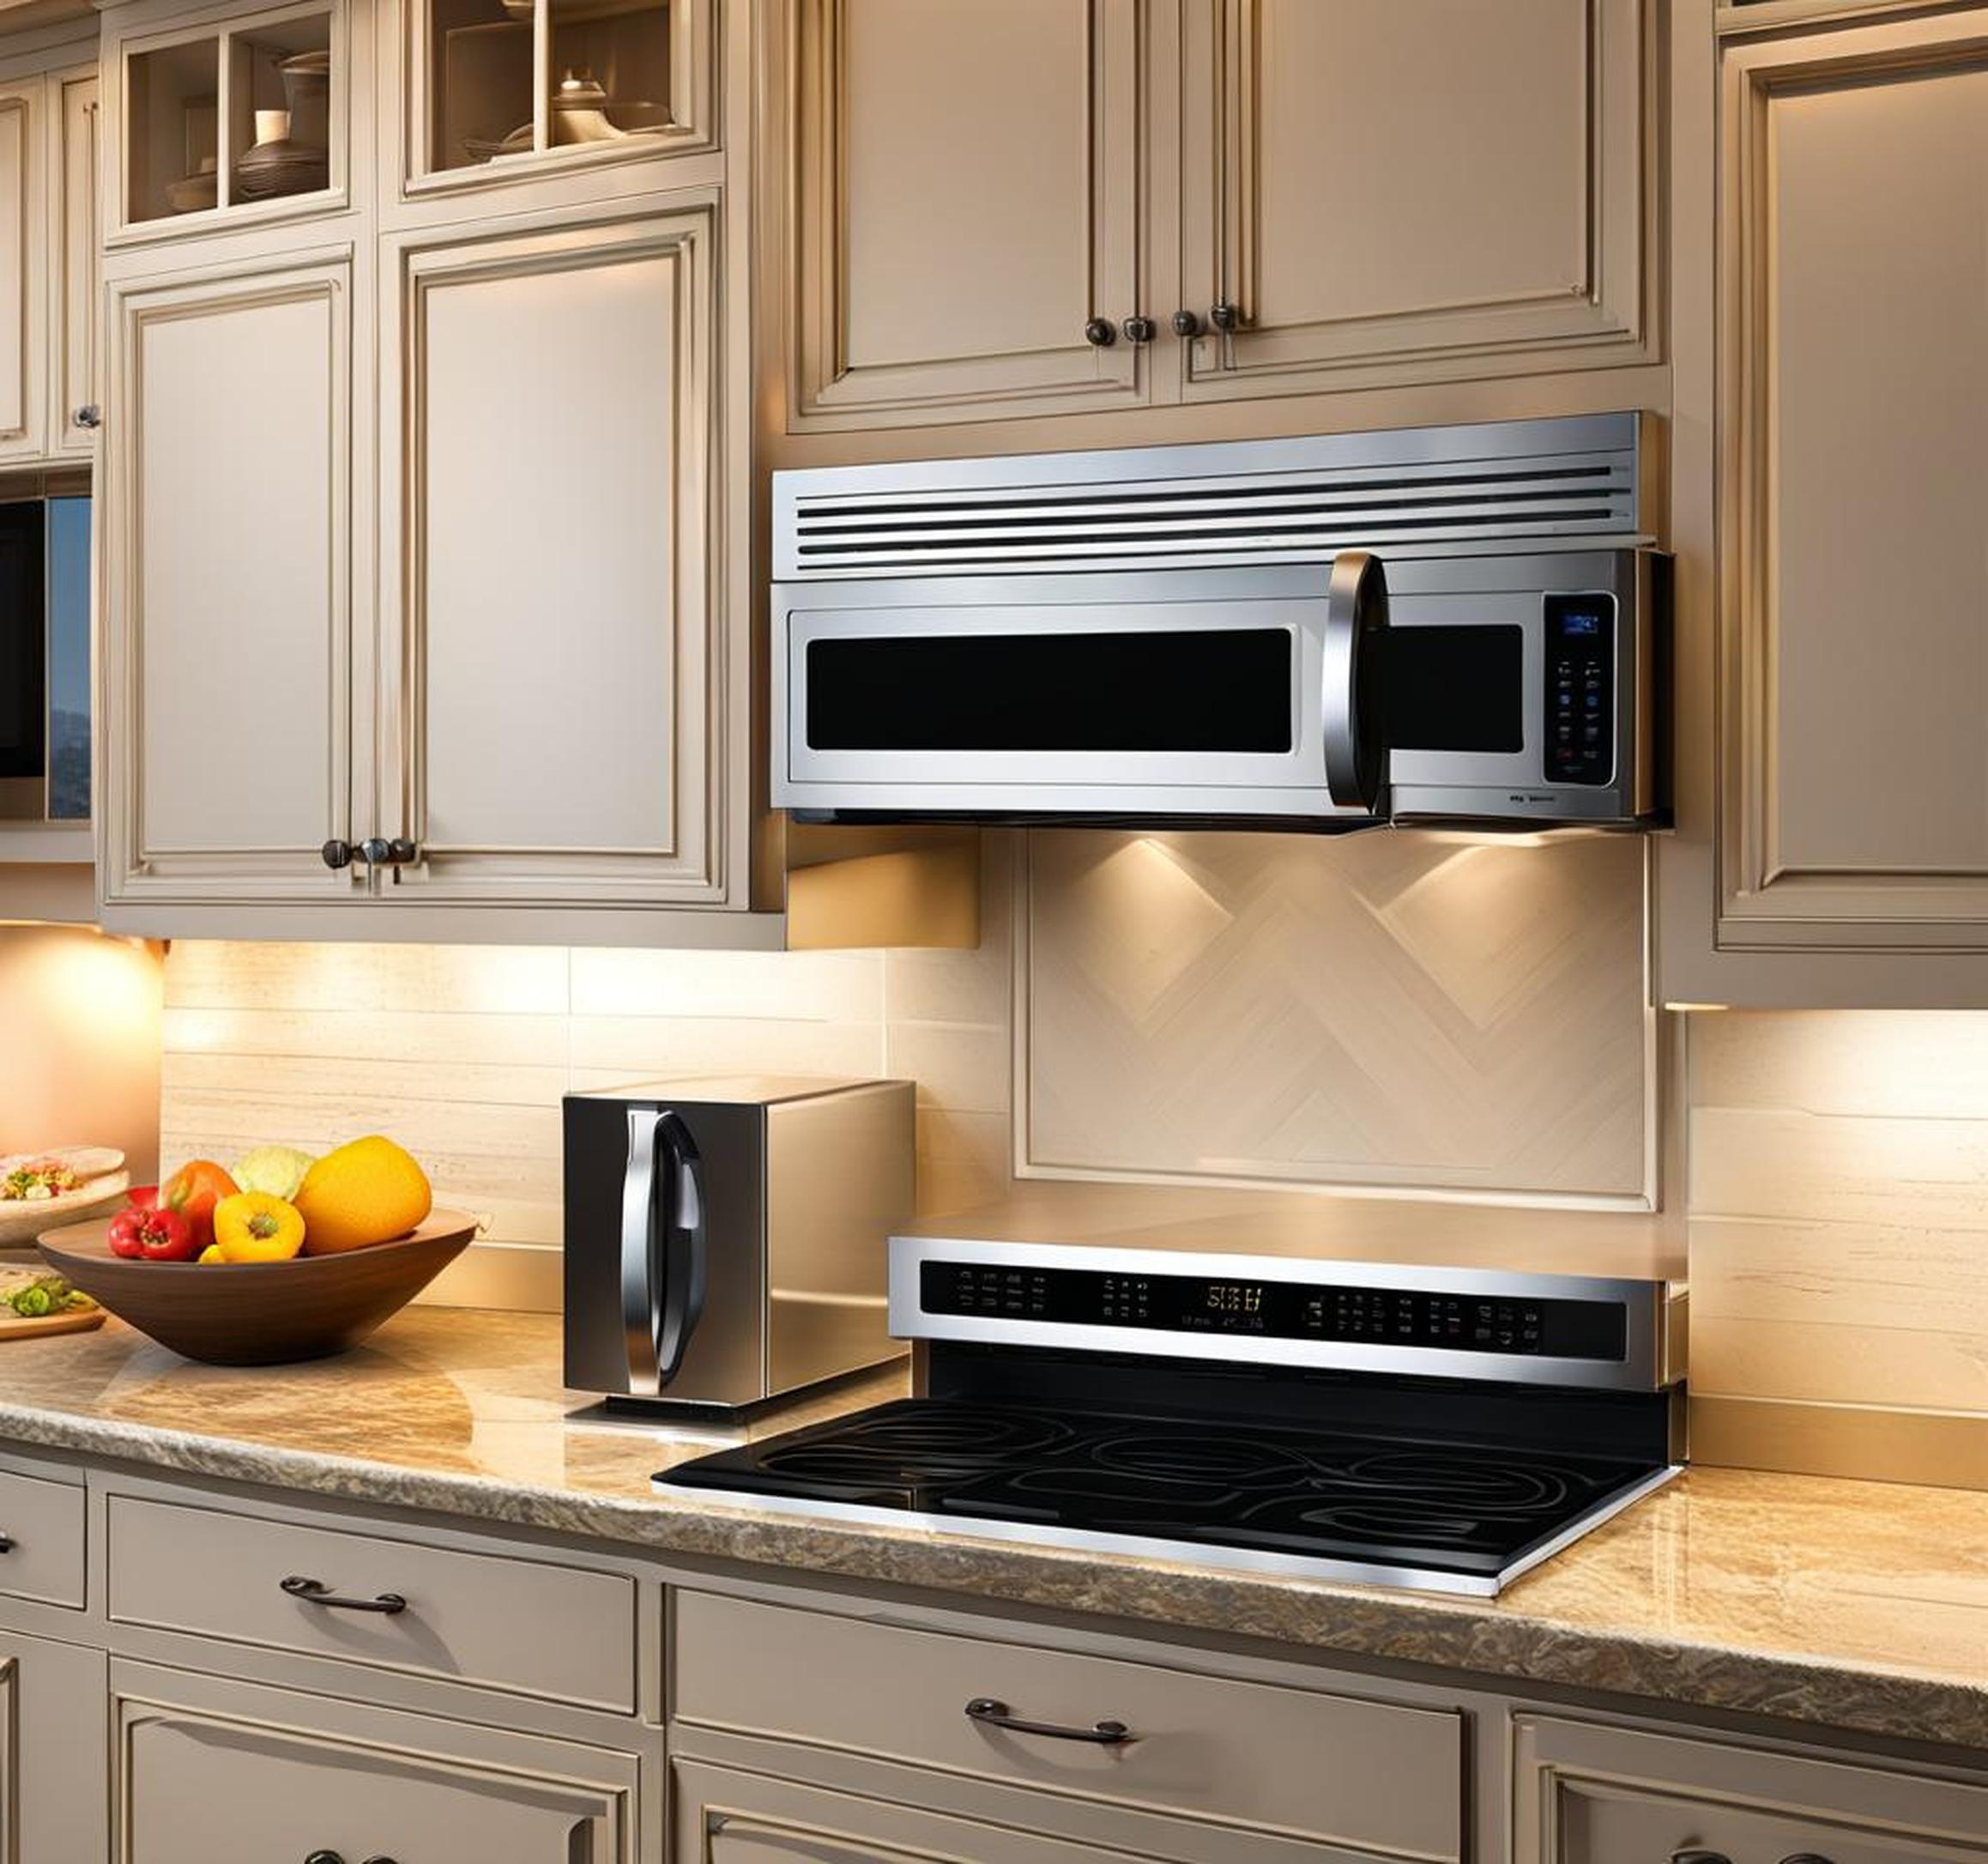
Over-the-range (OTR) microwaves are a popular choice for many homes and kitchens due to their space-saving design. These microwaves are designed to mount directly over your stove or cooktop, saving valuable counter space. However, proper installation is crucial to ensure your OTR microwave is safely and securely supported.
This is where the mounting bracket comes in. While it may seem like a simple metal part, the mounting bracket plays an essential role in firmly fixing your microwave in place above your stove.
Why the Mounting Bracket Matters
You may be wondering why a basic metal bracket is so important for an OTR microwave installation. Here are three key reasons:
Provides Structural Support
Over-the-range microwaves are heavy appliances, weighing up to 100 pounds in some cases. The mounting bracket bears the weight of the microwave and keeps it fixed in position above your stove without sagging or shaking. This prevents the appliance from detaching from the wall and falling, which could lead to damage or injury.
The bracket must be firmly screwed into a wall stud to provide adequate structural support. If the bracket is not properly anchored or the right type of bracket for your microwave model is not used, the appliance could pull away from the wall over time under its own weight.
Allows Proper Ventilation
OTR microwaves require proper airflow and ventilation to operate safely. There needs to be enough open space around the appliance for the intake and outflow of hot air. The mounting bracket positions the microwave at the manufacturer-recommended height above the cooktop to maintain the required clearance space.
If the bracket fails to hold the microwave in the proper ventilation position, the air vents could become blocked. This can cause the microwave to overheat, potentially leading to a fire hazard.
Follows Manufacturer Instructions
The mounting bracket is designed specifically for each make and model of over-the-range microwave. Using the incorrect bracket that doesn’t align with the back of your appliance could make for an unstable installation.
Your microwave’s user manual will specify the compatible mounting bracket and provide instructions for securing it properly. Following the manufacturer’s guidelines helps ensure your bracket properly supports the microwave and keeps it safely in place.
What’s Included for Installation
When you purchase an over-the-range microwave, the key components needed for professional installation are usually included. Here are the three essential items that come in the box:
The Mounting Bracket
This specially designed L-shaped metal bracket hooks onto the back top of the microwave. The horizontal part of the “L” has slots that align with holes on the appliance’s rear panel to be securely screwed in place.
The bottom vertical part of the bracket fits against the wall. Holes run down the length of the bracket to mount it to the wall studs with lag screws. The exact shape and size of the bracket varies based on microwave model.
Installation Templates
To position the mounting bracket correctly, temporary cardboard or plastic templates are included. There is a template for both the wall and the underside of the upper cabinets.
You tape these templates in the installation area and mark holes for drilling pilot holes for the bracket screws. The templates ensure all holes are drilled in the right spots for proper microwave placement.
Instruction Manual
Detailed step-by-step installation instructions are provided in the user manual. This includes important information like wall stud locations, recommended mounting height, bracket positioning, ventilation requirements, and safety notices.
Be sure to carefully read through the entire installation section of the manual before starting. Pay close attention to the manufacturer’s specified clearance distances to combustible surfaces like cooktops.
Choosing the Right Installation Location
The ideal placement for your over-the-range microwave depends on your kitchen layout. Here are two typical installation spots to consider:
Above Your Stove
The most common and convenient location for an OTR microwave is centered precisely above your cooking range or stove cooktop. This allows for easy access when cooking.
Make sure to measure the width of your stove and the available mounting space. Compare this to your microwave’s dimensions to ensure it will fit. Also measure the vertical clearance from the cooktop to ensure it meets the installation manual’s specifications.
On Your Wall
Alternatively, you can install the over-the-range microwave on any wall in your kitchen, not necessarily right above the stove. This allows for more flexibility in positioning the appliance wherever convenient.
The same installation procedure applies. Just be sure there is sufficient clearance from the nearest cooking surface so the microwave doesn’t overheat.
Mounting Tips and Tricks
Follow these handy tips when mounting your over-the-range microwave bracket:
Finding the Wall Studs
Use a stud finder to locate the position of studs inside your wall where the bracket will be installed. At minimum, one screw must anchor into a stud to provide enough structural support.
For heavier microwaves, consider screwing into two studs if possible. Studs are usually 16 inches apart in standard wall framing.
Getting the Bracket Positioned
Use the included templates to mark the wall and cabinet for drilling pilot holes. Hold the bracket in place and check it is level before marking holes.
It’s easier to mount the bracket if you have a helping hand to position and stabilize it while you drill screws into studs.
Ventilation Requirements
Review the installation manual’s clearance specs around air intake and outlet vents. Avoid blocking these ventilation openings when positioning the bracket.
Leave room for outside ventilation if ducting hot air out of the kitchen through an external vent.
Step-by-Step Installation Guide
Follow this complete walkthrough to properly mount your over-the-range microwave using the bracket:
- Read the full installation instructions in your microwave’s manual.
- Confirm the included mounting bracket is correct for your model.
- Select the installation location with proper clearances.
- Use a stud finder to mark stud locations.
- Tape templates to the wall and underside of cabinet.
- Drill pilot holes into studs as marked on templates.
- Hold bracket in position and drill screws into studs.
- Check bracket is secure and level before continuing.
- Hook microwave onto bracket following instructions.
- Finish installing ventilation and electrical connections.
- Carefully check microwave is fully secured before use.
Always refer back to the manufacturer’s guidelines at each stage. Take your time and don’t rush the installation. Have someone help lift and stabilize the microwave when fixing it onto the bracket.
Troubleshooting Common Issues
Here are some common problems that can occur with over-the-range microwave brackets, along with troubleshooting tips:
Microwave Is Crooked or Unlevel
Double check the bracket is evenly and securely screwed into the wall studs. Try adjusting the bracket or shimming one side to make the microwave sit level. The bracket may be bent out of shape and need replacing.
Vibration or Noise During Operation
The bracket screws could be loose or missing, causing the appliance to vibrate against the wall. Inspect all connections and refasten any loose screws. Excess motion indicates the bracket needs reinforcement or replacement.
Problems With Ventilation
Improper bracket positioning could block vents or not allow the specified clearance. Adjust the bracket height and location to provide the required air gaps.
Installing and securing your over-the-range microwave properly using the manufacturer’s mounting bracket is critical. While it may seem like a simple task, taking time to correctly position, level, and secure the bracket will ensure a long-lasting, safe installation.
Following the included instructions closely, anchoring into studs, leaving proper clearance, and using any provided templates will help guarantee your OTR microwave is sturdily supported. With the right mounting bracket in place, you can get many years of service from your appliance.
If you have any doubts, don’t hesitate to enlist the help of a professional installer. While an over-the-range microwave mounting bracket may be a basic part, giving it the attention needed during installation makes all the difference.
Alternative Mounting Solutions
While mounting an over-the-range microwave above the stove is the most popular option, some manufacturers offer alternative mounting solutions. For example, some microwaves can be mounted to the wall like a traditional countertop model. This provides more flexibility in positioning the appliance wherever convenient in the kitchen.
There are also tabletop or wall-mounted microwave mounting kits available. These allow you to mount the microwave on a wall away from the stove or place it on a standalone table or platform. The kit would include a different bracket designed specifically to provide support and proper ventilation for the installation type.
Installation Guidelines for Different Wall Types
Mounting an over-the-range microwave securely requires anchoring into solid structural framing. For standard drywall construction, this means screwing into wood wall studs. At least one top screw must penetrate a stud to carry the weight.
However, you may have a brick, concrete, or other non-standard wall type. The manufacturer’s instructions will specify the required hardware for these scenarios. Concrete may require toggle bolts or anchors. Brick may need wall plugs and lag screws. Always follow the guidelines for your specific wall construction.
Safety Considerations
Proper selection and installation of the mounting bracket is crucial to safely supporting your over-the-range microwave’s weight. Ensure the bracket is correctly sized and reinforced for the microwave model. Follow instructions to evenly distribute the appliance’s weight across multiple secure stud connections.
Check that ventilation openings are not obstructed and electrical/gas connections are made per instructions. Considering safety at each step allows safe enjoyment of the convenience of an over-the-range microwave.
Customization Options
Standard over-the-range microwaves are 30-inches wide to install above a 30-inch range. However, some manufacturers offer custom microwave sizes and styles. For example, Fisher & Paykel sells a 36-inch wide model to install over a professional 36-inch range.
These customized units require specialized mounting brackets and hardware to align with the appliance dimensions. The manufacturer will provide details on the custom bracket requirements needed to fit the larger size while still providing sturdy support.
Compatibility with Accessories
Many over-the-range microwaves come equipped with additional features like built-in ventilation systems, cooktop lights, or warming lights. Third-party accessories like backsplash panels may also be installed right up against the microwave.
It’s crucial to select a microwave mounting bracket that provides full compatibility with these extra accessories to create a seamless, integrated installation. Review accessory clearances and venting needs to pick the right bracket hardware.
Maintenance and Repair
Like any hardware, microwave mounting brackets are subject to wear and tear over time. Vibration, heat exposure, or stress cracks can damage the bracket. Regularly inspect for loose, broken, or bent parts. Replacing any damaged sections of the bracket is a repair that can restore safe mounting support.
Many manufacturers sell replacement mounting brackets that are backwards compatible with older models. This allows you to refresh the hardware and maintain stability. Check that replacement parts match your needs.
Energy Efficiency
New over-the-range microwave designs incorporate mounting brackets engineered for better energy efficiency. For example, Samsung’s Slide-in bracket angles the microwave downward to redirect rising heat away from the unit. This improves ventilation to reduce cooking energy costs.
Consider energy-saving enhancements like this when reviewing mounting bracket specifications. An efficiently mounted microwave promotes proper airflow and lower electricity bills.
Smart home technology allows you to monitor and control appliances from anywhere. Selecting a microwave and compatible mounting bracket that can connect to your home automation system enables exciting functionality.
Look for brackets designed to integrate microwaves with WiFi, voice control, and mobile apps. Microwave and bracket should seamlessly incorporate into your broader smart home ecosystem.
