Kitchen islands are immensely popular for good reason – they provide extra workspace, storage and seating without disrupting the flow of the room. However, not all kitchens can accommodate a spacious freestanding island. This is where strategically positioning an island against the wall can be a smart solution for small or narrow kitchen layouts. Wall-anchored islands maximize every inch by utilizing unused wall space to “anchor” additional function into tight footprints. Read on to explore how a wall-based island design can make the most of your kitchen!
Mind the Gap – Clearances and Dimensions
While a wall-backed island won’t have clearance on all sides, some breathing room is still needed for circulation. The NKBA recommends at least 42 inches between islands and opposing cabinetry or appliances. Backed against the wall, clearances can dip as narrow as 36 inches across – any less would be uncomfortably tight. Optimal dimensions depend on your kitchen’s proportions and layout. Just be sure to measure carefully so you don’t eat up too much floorspace.
In terms of shape, a rectangular island is usually most efficient use of space when anchored on one side. Size it to suit your goals – larger islands support more storage and prep zones, while slimline versions can squeeze into truly petite kitchens. Depth can also fluctuate from standard countertop width to a slightly deeper footprint depending on visual impact.
Match Island Size to Kitchen Scale
Proportionally size your island to fit both available wall space and overall kitchen dimensions. An overlarge island can make rooms feel crowded, while too small leaves functionality lacking. As a general rule of thumb, islands spanning 50-65% of the adjacent wall length tend to feel cohesive without overpowering. Just be sure to account for appliance clearances on that wall before setting plans.
Factor In Work Triangles
Island placement against the wall should align strategically with major kitchen work hubs like the stove, sink and fridge. Make sure to map out traffic patterns to allow convenient circulation. Wall proximity limits multi-directional approaches, so extra thought on positioning is key. You want cooking and cleanup to feel efficient, not bottled up.
Design Elements for Seamless Style
Well-integrated design allows a wall-based island to feel purposeful rather than plopped in place as an afterthought. Use trim, moldings, changed wall colors or materials to visually set the island apart from surrounding cabinetry. Decorative end panels can also “finish” visual edges, letting islands feel anchored without direct attachment.
Cohesive Finishes Build Unity
Unify island and wall finishes to prevent disjointed styling. Match countertop materials, paint colors or accent tile between structures. Repeating finishes (especially neutrals) helps spaces feel holistic. If you prefer pops of contrast on the island itself, opt for bolder color on removable decorative panels rather than permanent cabinetry for easier future style shifts.
Open Shelf Storage as a Room Divider
Position an island with open shelving against the wall to help subtly divide kitchen zones. The layered look visually separates cooking and dining spaces without totally blocking sightlines. Pretty dishware brings color to open shelves while metallic racks keep pots and pans organized via double-duty storage.
Functional Elements to Optimize Workflow
At its core, the purpose of any kitchen island is amplifying functional space. Wall placement limits some approaches but still allows you to maximize storage, expand prep room and more. Get creative with cabinetry dimensions, pull-out accessories and specialty built-ins to make this bonus footprint count.
Storage Innovations
Deep lower cabinets amp up holding room for appliances, cookware and pantry overflow. Consider extra dividers for optimized organization. Drawers keep contents visible while containing kitchen chaos. Pull-outs like spinning corner lazy susans or tiered spice racks compact abundant items in one neat spot. Upper cabinets offer a perfect perch for small appliances to free precious counters.
Task Zones
Extra surface square footage eases kitchen multitasking. Use outlet-enhanced spaces for beverage brewing and minimal cleanup. Integrate a microwave nook for rapid reheating between cooking steps. Expand landing space for recipe browsing and meal assembly. Even small task zones make working through elaborate menus less stressful.
Concealed Waste & Recycling
Hide unsightly garbage and recycling bins within cabinetry to keep surrounding floors clear. Flip-up compartments with custom dividers corral messy containers out of sight. Some designs even muffle sound for disruption-free party cleanup. With containers tucked tidily away, the only thing guests see is uncluttered island style.
Seating – Shape It to Your Needs
One benefit free-standing islands enjoy over wall-backed versions is easy access for seating on all sides. But don’t rule out seating against the wall. A little creative planning opens up options for casual dining and conversation areas.
Overhangs
An island countertop that extendsjust past cabinetry creates a slim spot for perching solo. Measure overhang width carefully – too narrow leaves little leg room, but going overboard eats up floorspace. For ample knee clearance, allow at least 10+ inches.
Built-In Benches
Constructed bench seating anchored to (or flush against) the island-adjacent wall accommodates families or larger groups. This customized look feels clean, streamlined and space savvy. Under-bench storage optional. Just be sure to allow enough walkway space behind diners.
Barn Doors Maximize Narrow Spaces
For truly petite kitchens, barn door mounted seating is a gap saver. These spacesaving solutions securely store away when meals end, simultaneously opening room for circulation. Closed, they simply blend in against cabinet facades. Both freestanding island and wall-backed models exist to suit needs.
Integrated Appliances & Utilities
While a freestanding island may offer easier plumbing and wiring access underneath, a wall-backed version still allows you to incorporate convenient utilities along its anchored side. Tap into existing infrastructure along that space to enable upgrades.
Instant Hot Water
An instant hot water dispenser delivers boiling water for beverages and cooking without wasting time waiting for kettles. Mount warming units near electrical outlets against the wall. Handsfree faucets simplify filling while preventing burns.
Wine Coolers or Mini Fridges
Undercounter wine and beverage coolers keep drinks properly chilled and directly accessible from the central island. Compact refrigeration works well positioned near seating zones. Some units allow custom panels matching cabinet finishes for seamless integration.
Sink Space
While a larger kitchen likely holds a main cleanup zone, it’s convenient having a small island-based sink for minor tasks like produce rinsing. Secondary sinks simplify preparation steps without trailing across the entire room. Coordinate faucets and drain details with existing kitchen hardware.
Lighting Layers: Task vs. Ambient
Effective kitchen lighting balances targeted task illumination against overall ambient glow. Island lighting considerations magnify with wall placement limiting some approaches. Combine light layers to ensure comfortable visibility.
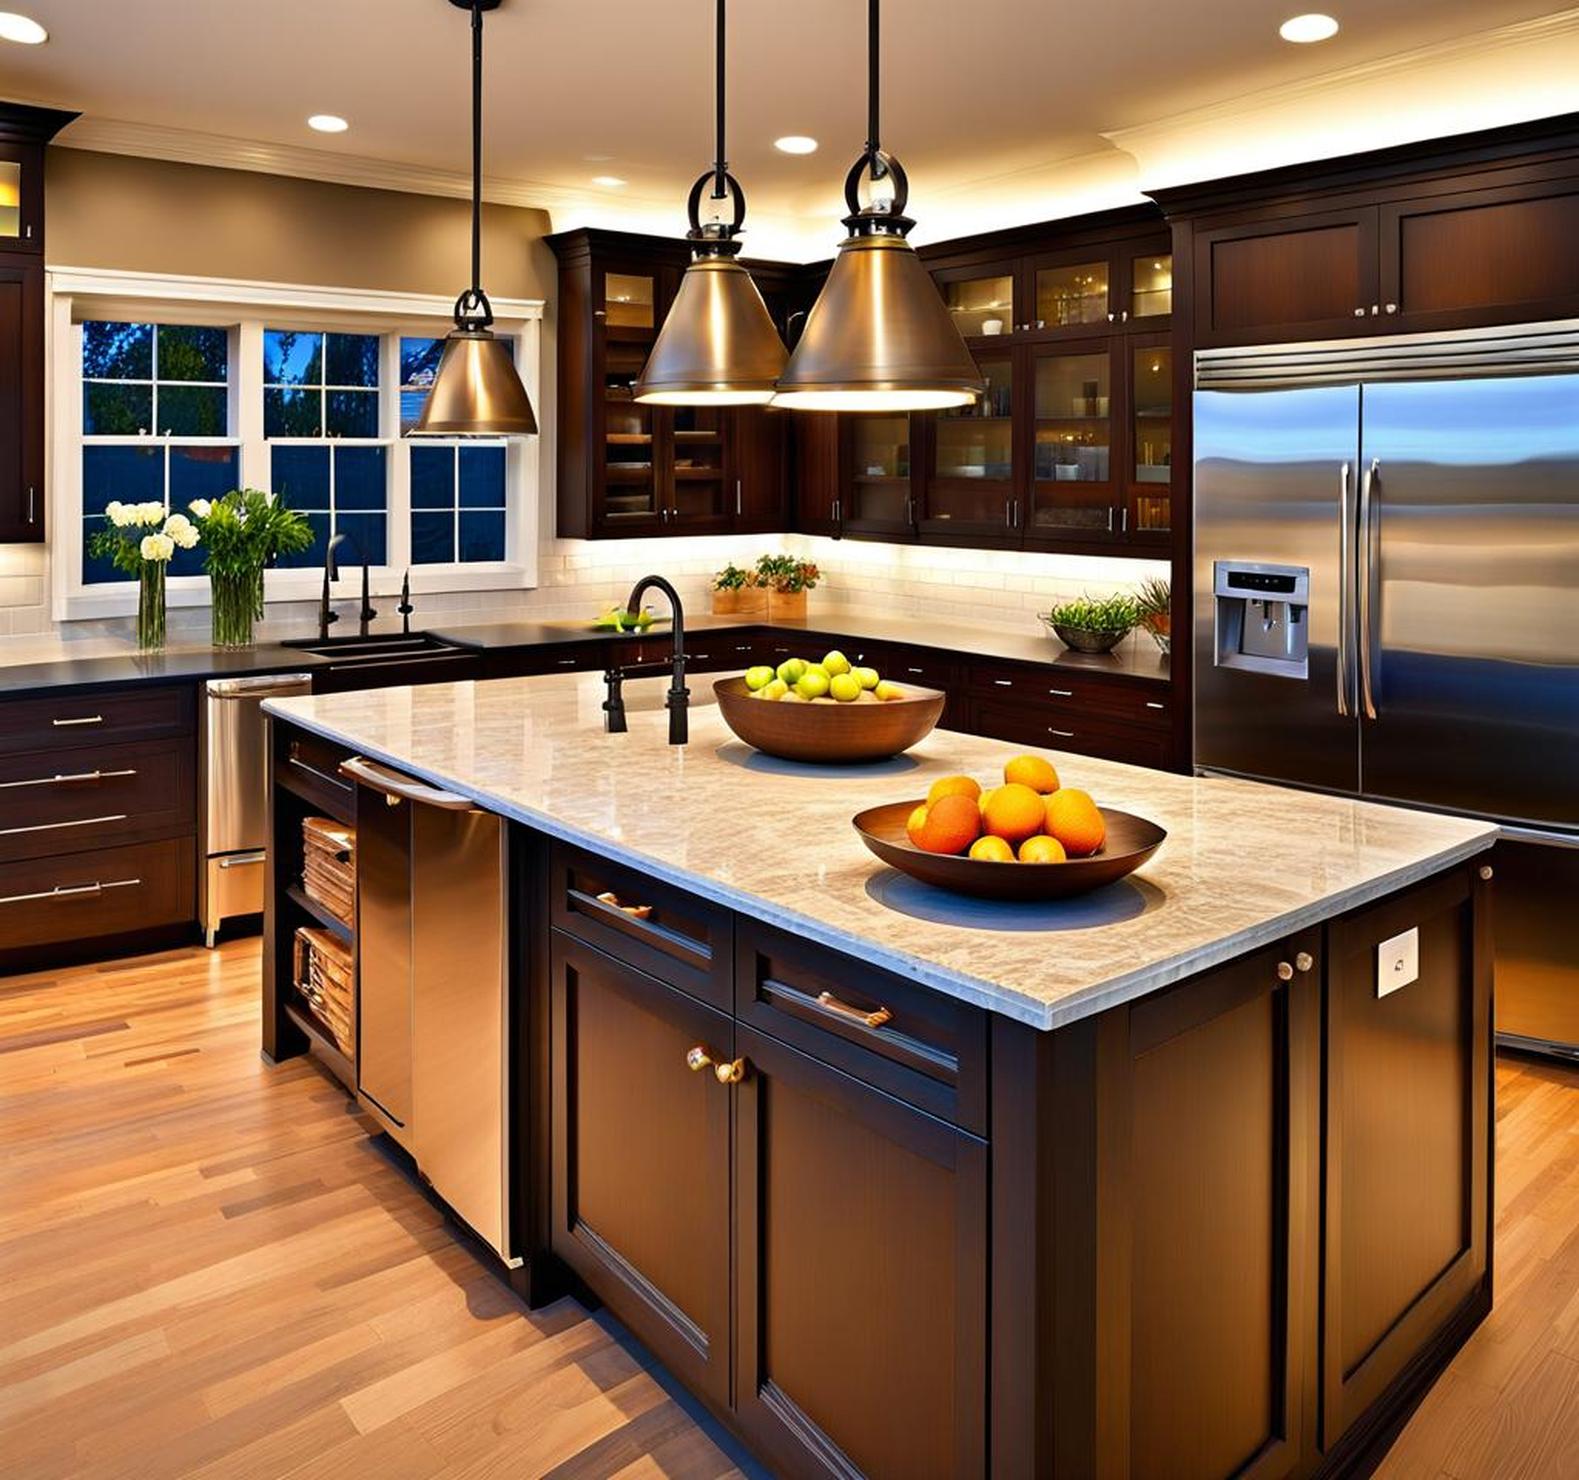
Pendants Perfectly Positioned
Island pendants hang neatly centered instead of bumping walls. Suspended lights illuminate countertops without causing glare. Mini-pendants multiply over wider islands for even coverage. Go dramatic or subtle with pendant scale, style and quantity.
Undercabinet & Interior Accents
Linear undercabinet lighting casts a practical working glow across countertop zones. Integrate inside glass-front cabinetry to spotlight display wares and eliminate dark corners. Both options add brightness without shining directly in occupants’ eyes as they cook.
Backsplash Uplighting
Utilize the wall as a canvas to splash your kitchen with personality. Uplights atop a decorative backsplash behind the island throw a radiant glow. Textured materials like subway tile or iridescent glass make magic reflecting animated accents across the entire room.
Additional Island Accessories & Upgrades
Once the major structural elements are mapped, it’s time for fun with more luxurious or specialty features to customize utility. Mix and match from this inspiration list of intriguing island add-ons to make your kitchen vision a reality.
- Gleaming ventilation hoods hovering overhead
- Custom paneling or masonry finishes
- Gourmet butcher block or stone surfaces
- Undercabinet charging stations
- Spice rack revolving shelves
- Drawers with built-in cooling
- Touch-latch hardware for handleless allure
- Drop-down power outlets
- Display nooks built right into cabinetry
Cost Considerations & ROI
Bringing your kitchen island dreams within budget may require some creative planning. Cost fluctuates based on island size, materials, applicances and customization level. While investing in this centralized showpiece does lift your kitchen’s functionality, it also boosts long term resale value.
Prefab vs Custom Construction
Prefabricated island carts or tables offer budget friendly starting points requiring little installation. However, customized islands allow more personalization and a higher-end integrated architecture. Work with kitchen designers to balancemust-haves with cost efficiency.
Kitchen remodels in general recoup over 60% return upon resale, with major updates closer to 75-80% ROI. Islands contribute significantly to that buyer-wooing “wow” factor. Even if your wall-anchored island requires some layout adaption down the road, its storage and utility perks should still shine.
By tapping into overlooked wall space instead of centering islands, you can anchor expanded function into modest kitchen footprints. Wall-backed islands allow smaller homes and condos to gain coveted prep space, storage and seating without dedicating additional square footage. Make the most of what you have – squeeze more livability from your kitchen by going vertical against the walls!
