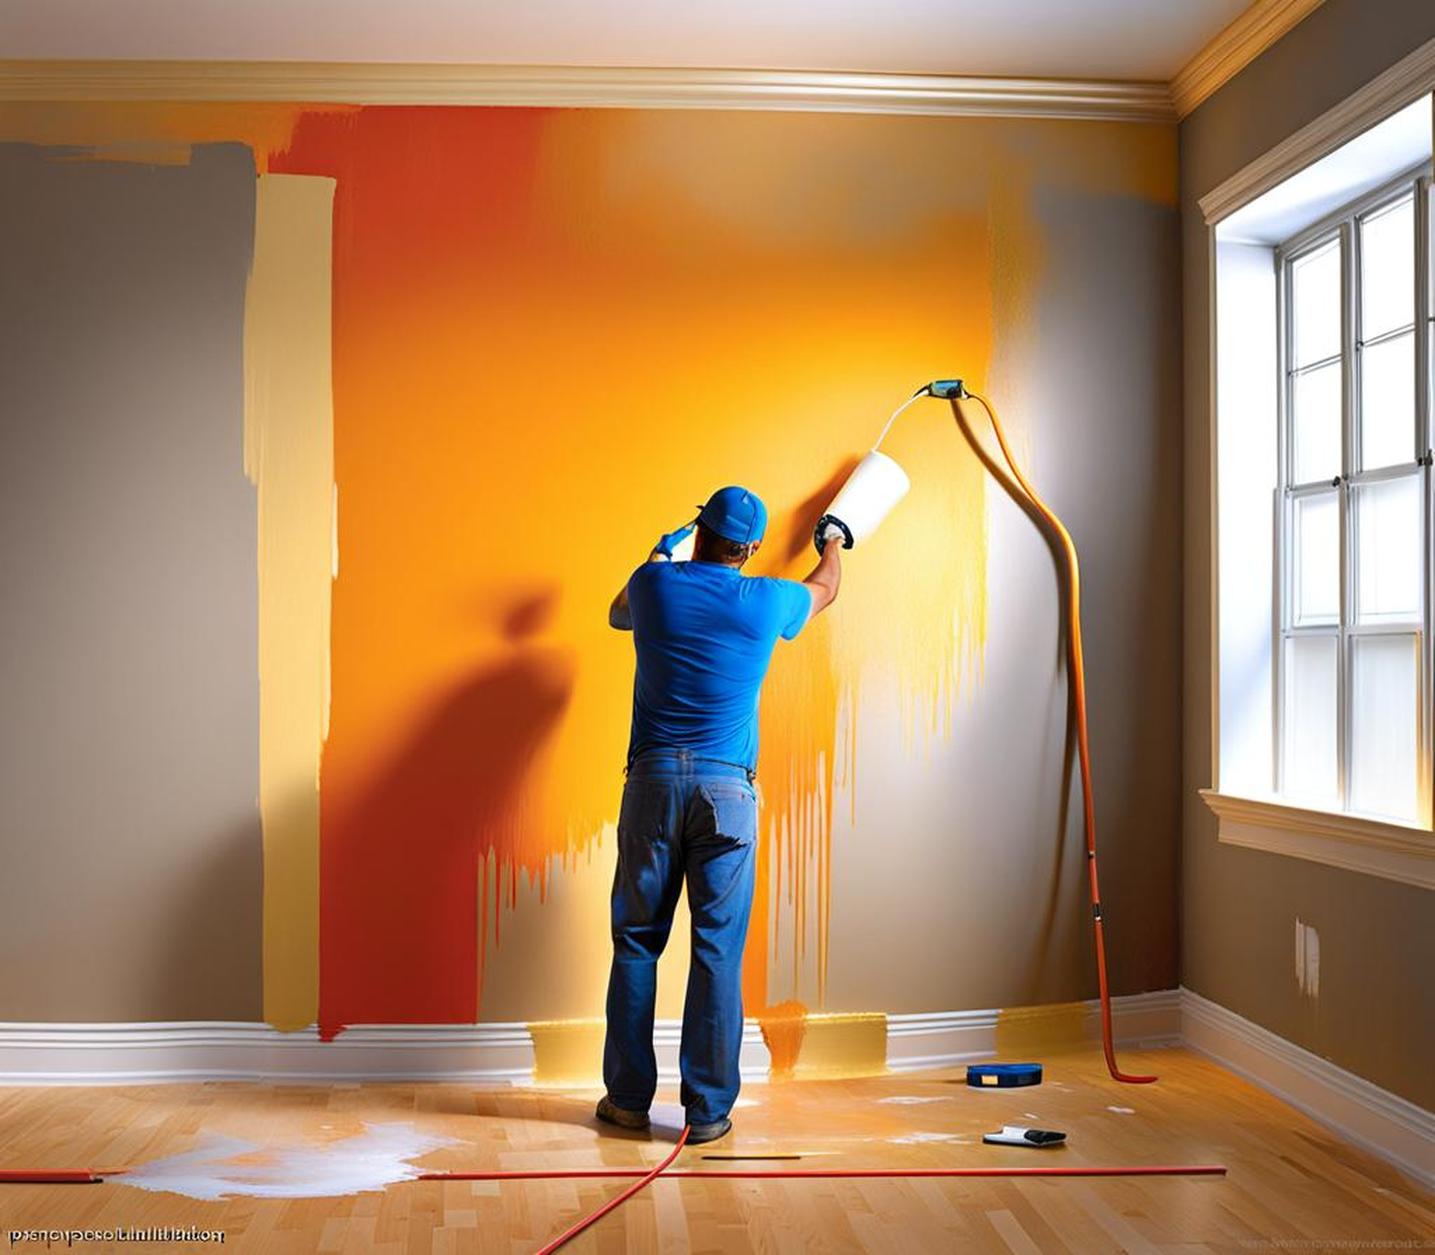
If you want to achieve a flawless, professional-looking paint job on your walls, spraying them with paint is the way to go. Brushing or rolling paint onto walls leaves visible brushstrokes and an uneven coat. But with the right spray painting supplies, techniques, and preparation, even amateur DIYers can get smooth, seamless results just like the pros.
Compared to traditional brushing and rolling, spray painting walls offers many advantages. When done properly, it creates a more uniform texture and color. The high-pressure sprayer atomizes the paint into a fine mist that lays perfectly flat when it hits the surface, eliminating the texture inconsistencies of brushed coats. Spray guns also allow you to easily coat hard to reach spots like corners and ceilings with no drips or thin patches.
What You Need for Spray Painting Walls
While spray painting may seem straightforward on the surface, you need the right gear and adequate prep work to pull it off successfully. Having the proper spray gun, paint products, and protective equipment ensures the job goes smoothly from start to finish.
Essential Supplies for Spray Painting Walls
First, you need a quality paint sprayer like an airless spray gun that can handle heavier wall paints. HVLP spray guns also work well for delivering smooth, even coats. In addition, gather drop cloths to protect floors, along with painters tape, masking paper, and plastic sheets to cover baseboards, outlets, windows, and any furniture.
Choosing the Right Paint
For best results, use high quality latex or oil-based paint formulas specifically designed for airless spray application on walls and ceilings. Look for interior paints that offer great coverage while also allowing sufficient time to blend overlapping spray passes before drying.
Consider the desired sheen level – flat, eggshell, satin, or high-gloss – based on the room and lighting. Match existing paint sheen when possible. Buy plenty of paint upfront too. Spray painting depletes more paint compared to rolling, so plan 1-2 extra gallons depending on wall size to allow for overspray and multiple coats.
Proper Preparation is Crucial for Spray Painting Walls
Preparing your work area adequately before spraying paint prevents time-consuming cleanups from overspray, drips, and splatters later on. Follow these pro tips to prep like a seasoned pro.
Cleaning Walls and Repairing Imperfections
Start by repairing any cracks, holes, rough textures, or other flaws, then sand smooth. Wash walls thoroughly with TSP substitute cleaner before painting for maximum paint adhesion. Any soap residues or dirt can ruin the sprayed finishes down the road.
Protecting Surfaces and Belongings
Clear furniture from walls and cover irremovable fixtures with plastic sheeting. Tape around trim work with painters tape and cover floors with drop cloths. Take down wall art and outlet covers too. Masking properly protects your stuff from accidental paint splatter.
Preparing Your Paint Sprayer
After preparing the room itself, get your sprayer ready by filling the paint reservoir, adjusting the spray nozzle to a wide fan pattern, and thinning the paint with water if recommended on the label. Thin coats spray better to show off the wall color, while hiding imperfections in one or two final coats. Follow spray gun directions to reduce overspray blowback.
Mastering Spray Painting Techniques
Applying spray paint requires nuanced technique to build up an even film layer with no thin patches or drips. Maintaining proper arm motion and sprayer angle, paint viscosity, distance, and speed avoids unsightly paint textures that ruin walls with amateurish results.
Arm Motion and Speed
When covering walls, split the vertical surface into numbered 2ft x 2ft imaginary squares, moving left to right while spraying then right to left on the return stroke overlap. Keep your arm movements steady without hesitation to maintain consistent coverage. Always spray perpendicular to the wall and smoothly accelerate/decelerate arm speed at the start and end of passes.
Proper Stance and Distance
Position yourself at an optimal 8 to 12 inches away from the walls you’re painting. Get closer on horizontal ceilings and floors to reduce paint drips. Changing your distance from the surface alters paint texture greatly, so find the sweet spot and stick with it!
Avoiding Common Paint Texture Problems
Uneven orange peel textures scream amateur spray painting job. To achieve a glass-like level finish instead, focus on keeping your sprayer the same distance from the wall throughout the entire process. Overlap your strokes 50% too, and never stop your spraying motion mid-pass causing drips or variation.
Finishing Tasks and Cleanup
With your walls coated flawlessly, wrap up by touching up any last thin spots, then cleaning equipment and putting the space back together. Follow these pro tips for finishing strong.
Applying Second Coats and Touch Ups
Wait at least 24 hours between spray painted coats to allow proper curing before sanding down high points with fine grit paper. Then vacuum dust before a final protection layer gets rolled or brushed on. This seals your surfaces while hiding any imperfections.
Follow spray gun directions to clean it thoroughly after use, preventing permanent paint clogs that ruin the tool. Reinstall electrical switch plates once paint dries before carefully removing all masking materials. Then put furniture back in place to complete your professional DIY spray painted wall!
