Pine wood is a staple in many homes, used in everything from furniture to flooring. But over time, that warm honey pine color can start to feel dated or darken a room. If your pine pieces are looking drab, don’t replace them – give them new life with a whitewash treatment instead! Staining pine white allows you to alter the wood’s natural hue while still letting the beautiful grain show through. Achieving a distressed, coastal vibe with white washed pine is easy to do yourself with the right supplies and technique.
You’ll learn how to properly prepare pine wood before applying white stain for that perfectly weathered look. We cover how to work white stain into pine using rags or brushes and tips to add character with unique distressing techniques. By the end, you’ll be ready to spiff up your sad, outdated pine pieces with a bright stained white finish that looks professionally done.
Reasons to Whitewash Pine Wood
There are plenty of benefits to choosing to stain your pine furniture, floors, or other wood pieces white instead of opting for a painted white finish.
White stain transforms pine while still allowing the charming wood grain to show through. Paint would conceal the natural beauty of the wood. And compared to other color stains, white opens up and brightens spaces in a way no other hue can.
Whitewashed pine projects have a timeless, coastal vibe perfect for farmhouse, shabby chic, Scandinavian, or cottage design styles. The weathered white finish gives new life to outdated golden oak or worn pine antique finds.
So if your golden pine floors are looking worse for wear or you want to update the pine kitchen cabinets you installed in the 90s, a whitewash is a fresh update. White stained pine is light enough for small rooms but still has that rustic texture that looks so inviting.
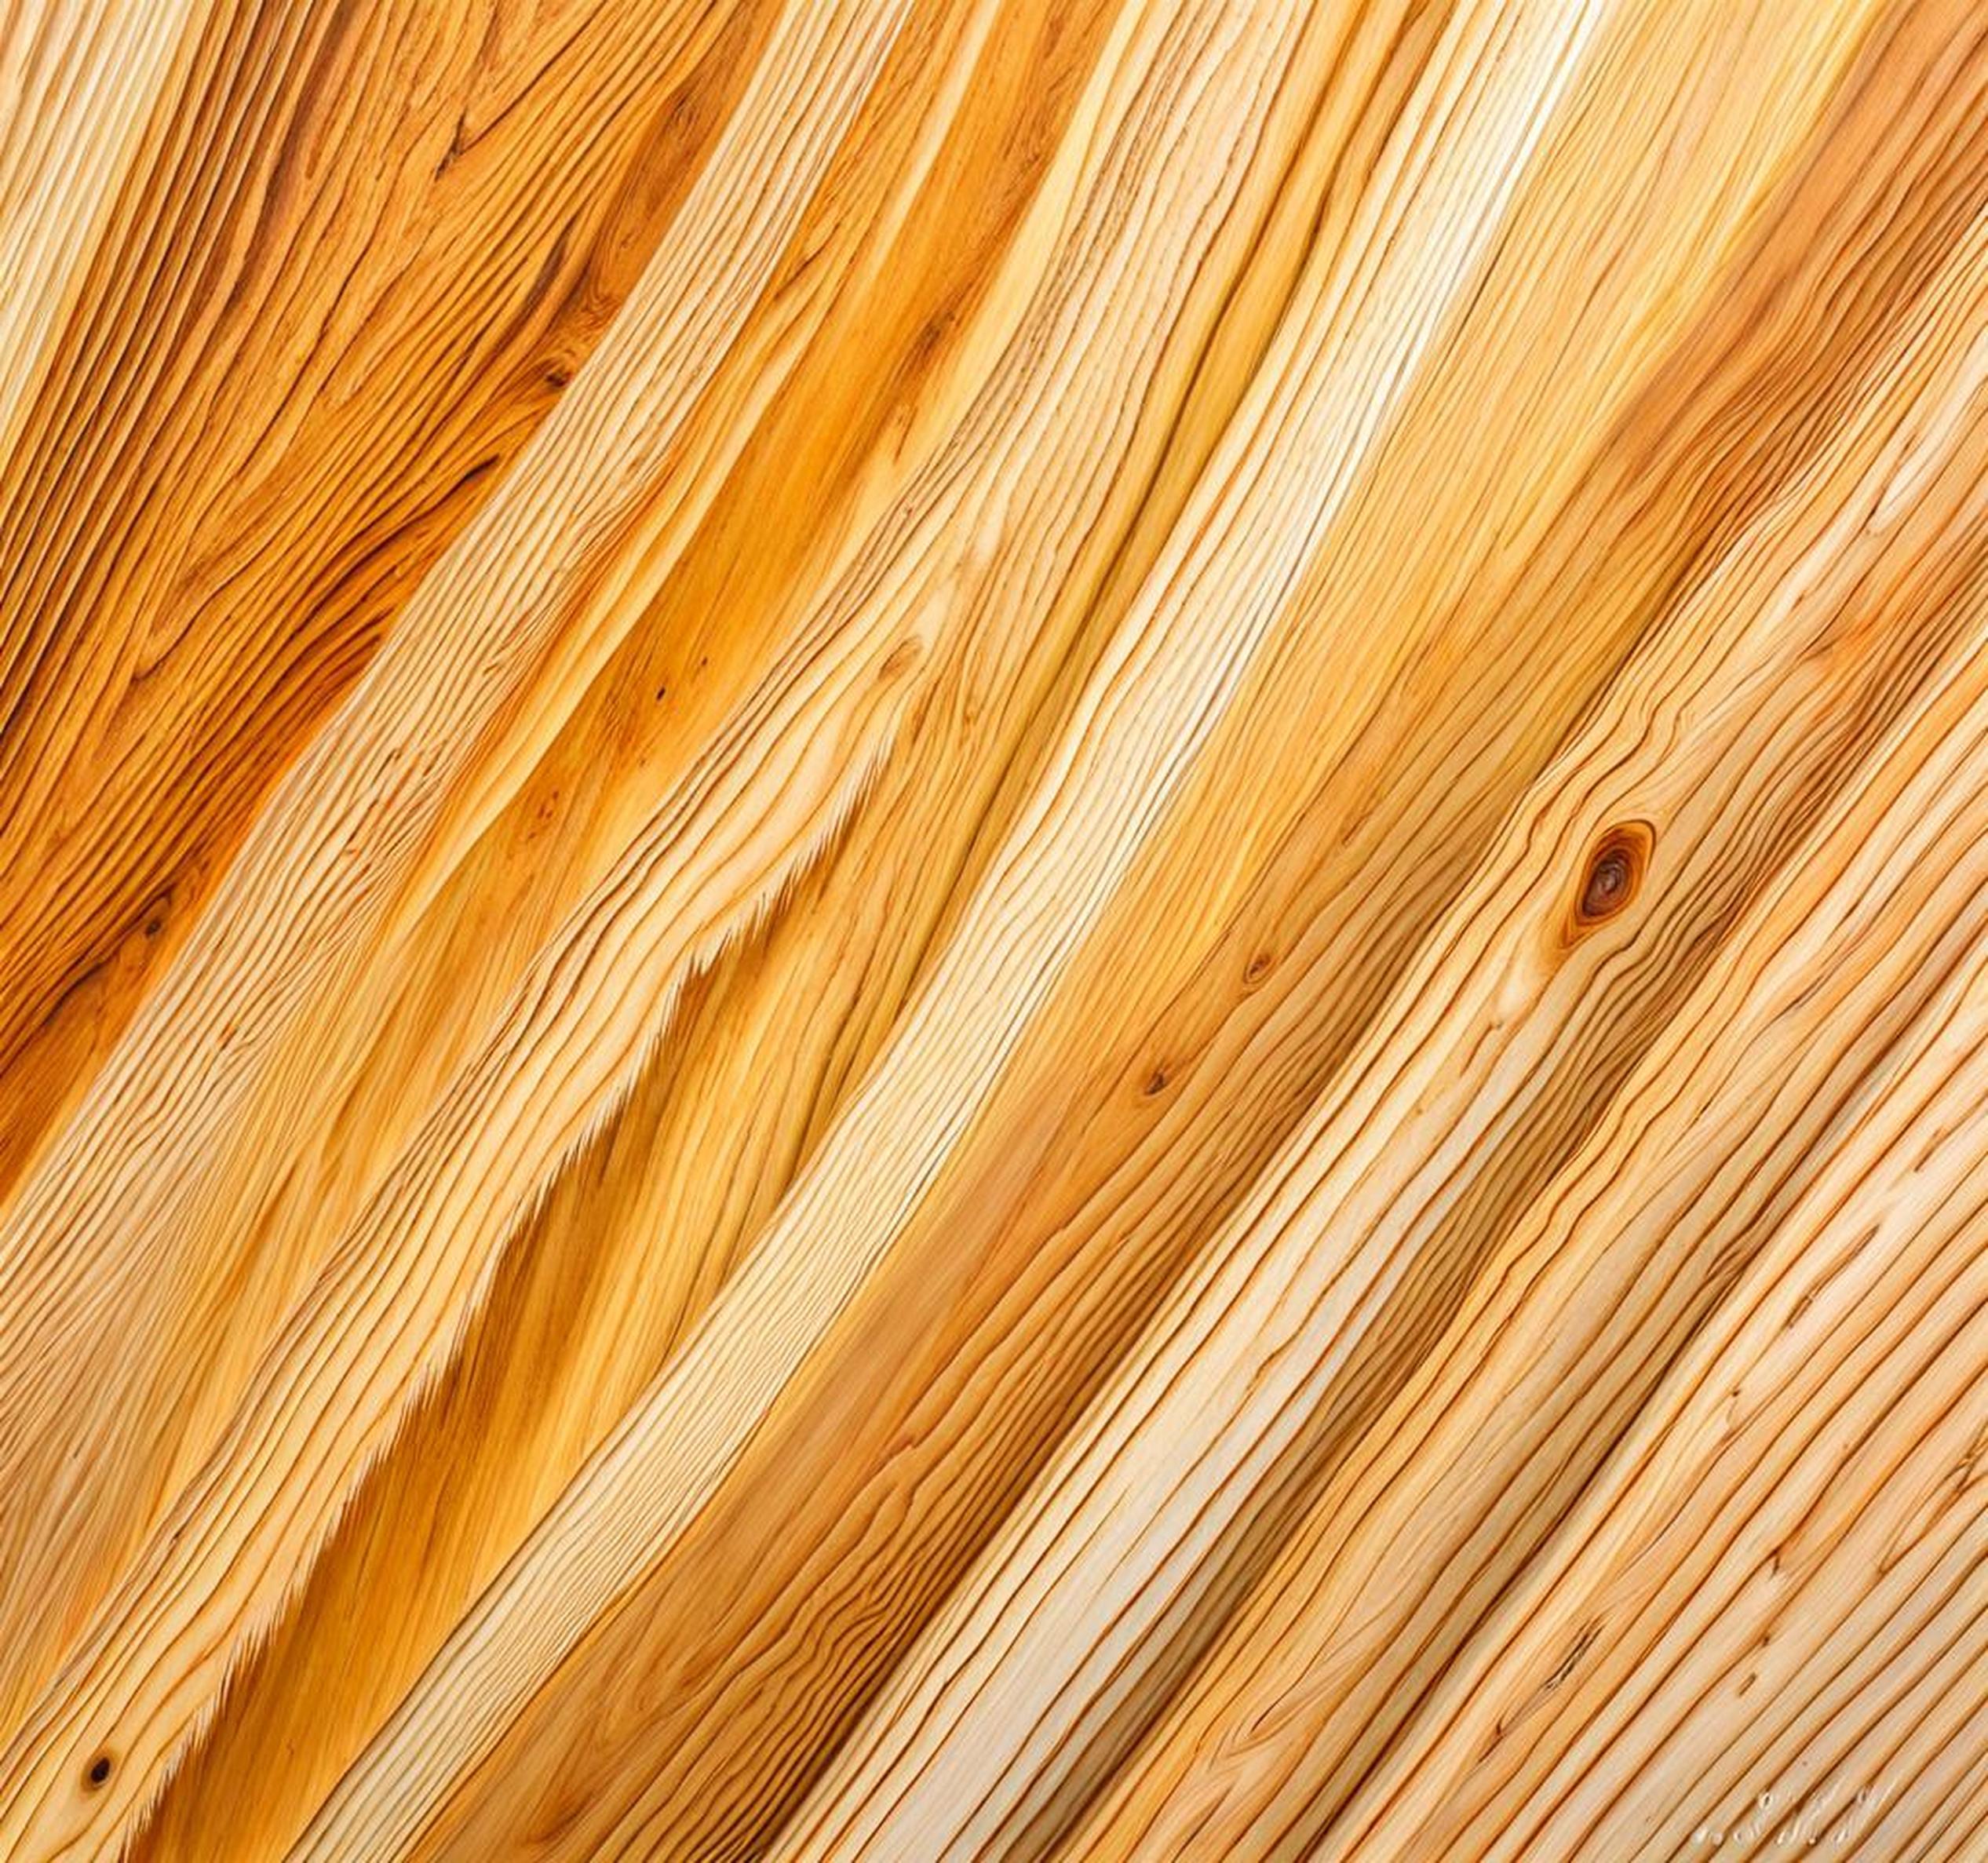
What Type of Pine Wood is Best for Whitewashing?
The most common species of pine wood used for indoor furniture, construction, and remodeling projects that you’ll want to whitewash are Eastern White Pine, Sugar Pine, Ponderosa Pine, and Lodgepole Pine. These woods have a soft texture with fairly straight grains that take stain beautifully.
Pine is considered a softwood which makes the porous surface great for absorbing white pigmented stain. The wood soaks up color evenly leading to that smooth, opaque whitewashed effect.
We don’t recommend trying to stain knotty pine white, however. The knots and defects found in this wood type can create an uneven finish.
New, freshly sanded or installed pine absorbs more stain than older wood that’s been exposed to dirt and moisture. So you may need to apply a few additional thin coats to older surfaces to achieve full coverage. But a proper scrubbing and sanding can prep any pine for whitewashing.
Supplies Needed for Staining Pine White
Gather these supplies together before starting your pine whitewash project for the best results:
- High-quality white pigmented stain (oil or water-based)
- Lint-free rags, foam brushes, or paintbrush
- Fine grit (100-150) sandpaper
- Paint stripper (if refinishing existing pine)
- Drop cloths or paper
- Nitrile gloves & dust mask
- Clean water and microfiber cloths
- Clear wood sealer like polyurethane
Choose a specially formulated whitewash or white paint stain instead of actual paint. The thin consistency lets the natural wood shine through. Oil-based lasts longer but water-based white stains clean up easier with soap and water.
Have an assortment of lint-free cotton rags or towels along with a foam or paintbrush. We’ll cover how each can be used to achieve unique whitewashed effects.
Prep Work: Ready the Pine for Stain
Preparing the pine wood surface is arguably the most important step before applying any stain. Follow these tips for properly prepped wood that’s ready for whitewashing:
- Fill any small cracks or holes with wood filler and let cure fully.
- Sand painted or finished pine using 100-120 grit paper to remove existing layers.
- Use a fine sandpaper around 150 grit to smooth bare pine.
- Wipe away all dust with a dry cloth or use a vacuum.
- Use a paint stripper if needed to remove stubborn old finishes from the pine.
Fully sanding and stripping the pine clears the way for the white stain to properly bond and soak into the bare wood. An uneven surface or debris results in a blotchy, amateur finish.
How to Apply White Stain to Pine
Now that your pine is ready, grab your stir stick and preferred applicator. Let’s walk through how to achieve gorgeous whitewashed pine:
The most critical first step is to thoroughly stir or shake your white stain before use and occasionally during the project. This prevents pigment from settling on the bottom of the can.
You can use a clean rag, brush, or foam brush to wipe and work the white stain onto the pine wood. Apply in the direction of the wood grain, using light pressure for even coverage.
Let the stain penetrate and soak into the wood for 5-10 minutes before wiping away any excess. This helps the pigment really bond with the pine.
2-3 thin coats generally provides enough opacity for a bright white. But add additional coats if you want a more solid, painted look. Sand lightly between coats for extra adhesion.
Tips for Distressing Pine for an Antiqued White Stain Look
There are a few easy tricks to use during application or after staining pine white to create a charming distressed, timeworn finish. Try these techniques:
- Focus more stain on edges, corners, and crevices for a naturally worn look.
- Rub a crumpled plastic bag over still-tacky stain to create white textured marks.
- Lightly sand paint between coats to break up color for a weathered vibe.
Leaving edges unstained, discreetly rubbing the white stain off in spots, and sanding through create dimensional distressed details.
Sealing and Protecting White Stained Pine
Allow at least 72 hours for the white stain to fully cure before topping it with a sealer. Once fully dried, we recommend applying 2-3 coats of a clear, non-yellowing wood sealer.
Polyurethane is ideal for protecting the finish of white washed pine. It adds a glossy shine and prevents the white stain from wearing down over time.
Reapply polyurethane or another sealer of your choice annually or as needed to keep your stained pine looking freshly whitewashed for years.
FAQs About Whitewashing Pine
How long does it take for white stained pine to dry?
Drying times vary, but expect each coat of white stain to dry within 2-4 hours. Let the final coat cure for 72 hours before sealing or using the pine piece.
What if the pine wood turns out blotchy after staining?
Blotchiness usually means the wood wasn’t properly prepped. Try sanding the pine again, then apply a wood conditioner before adding another thin coat of white stain.
Can you use white stain over pine wood with an existing finish?
For the best results, existing finishes need to be completely removed by sanding or stripping before applying a white stain. The porous wood absorbs the stain better.
It’s easy to redo pine furniture, floors, cabinets, and other projects with the right white stain and simple techniques. Preparing the wood is the most crucial step – take time to fully strip and sand the pine before applying thin, even coats of white stain. Add charming distressing effects and protect the finish with a clear sealer. We hope our step-by-step guide inspires you tackle your own pine wood whitewash project!
