If your kitchen is outdated and in need of a refresh, undergoing a full renovation can be expensive and time-consuming. Fortunately, there are many affordable DIY updates you can make that will help modernize and improve the form and function of your kitchen without taking on a major remodeling project.
Assess Your Existing Kitchen
Before determining which updates to tackle, take time to thoroughly assess your current kitchen layout, storage solutions, lighting, appliances, and aesthetic issues. Consider traffic flow patterns and examine where you prep food, cook, eat meals, entertain guests, and complete other kitchen tasks. Identify any problem areas contributing to inefficiencies or frustration when using your kitchen.
By thoughtfully evaluating how you use your kitchen space, you can zero in on priority updates based on your needs and daily activities. You’ll also get a clearer sense of your style preferences to inform aesthetic changes that will make the room more inviting and refreshed.
Determine Priorities and Must-Have Updates
List all your kitchen issues and desired changes, then rank them by priority. Focus first on essential functional repairs or upgrades to usability and safety. Allocating your budget and DIY efforts to costly upgrades like replacing cabinets can wait. Instead, apply creativity toward more affordable fixes providing big visual impact.
Establish Style Goals
Define the overall aesthetic you hope your updates will achieve – modern, contemporary, traditional, rustic, minimalist, eclectic? Gather inspiration from kitchen images and decor aligned with your preferred style to inform DIY changes to counters, backsplash, lighting, paint colors, and accents.
Update Interior Surfaces
Paint Cabinets
If your existing cabinets are structurally sound, one of the easiest and most budget-friendly ways to revive them is applying a fresh coat of paint. Properly prepping and painting drab or damaged cabinets can give them a like-new facelift.
To achieve an updated, flawless finish:
- Remove cabinet doors and clean all surfaces
- Lightly sand to degloss and create adhesion for paint
- Fill any imperfections with wood filler, let dry completely
- Wipe away dust then apply 2-3 coats paint in satin, semi-gloss, or high-gloss
Explore paint techniques like color-blocking certain doors or edges for added pop. Stained wood accents paired with light cabinet bodies also keep surfaces interesting.
Install Decorative Molding
For builder-basic flat slab cabinet fronts, attaching decorative trim moldings transforms plain boxes into custom-looking cabinetry. Affordable peel-and-stick products apply easily without messy adhesives, allowing you to achieve high-end style with minimal work.
Guidelines for seamless results:
- Map out cabinet layout to calculate moldings needed
- Cut strips to fit each cabinet width
- Establish repetitive spacing and miter for uniformity
- Use damp cloth to apply, sliding onto surface
Replace Countertops
Few upgrades make as dramatic an impact as replacing worn laminate or outdated countertops. While natural stone and quartz are pricey, affordable options like butcher block, concrete, recycled glass, and higher-end laminates help you revamp the space.
Tips for a smooth install:
- Hire pro for perfect custom fabrication and seamless results
- Use finished height to match existing for easy swap
- Minimize demolition mess with removable caulking
Upgrade Color Scheme
Introducing a fresh, light color palette is a fast way to revitalize a tired, dark kitchen’s atmosphere. The ProjectColor app lets you try out paint colors on your own room photos before committing. Light, bright hues make small spaces appear larger and airier.
Test Drive Color
Live with sample sized patches of a few top color contenders before finalizing choices. Keep sight of how lighting affects tones at different times of day. Neutral shades typically offer flexibility in accessorizing down the road.
Light vs. Dark Comparisons
White or light cabinetry helps tight, enclosed kitchens feel open, while dark colors bring cozy warmth to larger rooms. Balance light walls with darker accents like cabinetry or vice versa. Too much dark color can seem overwhelming and shrink perceived size.
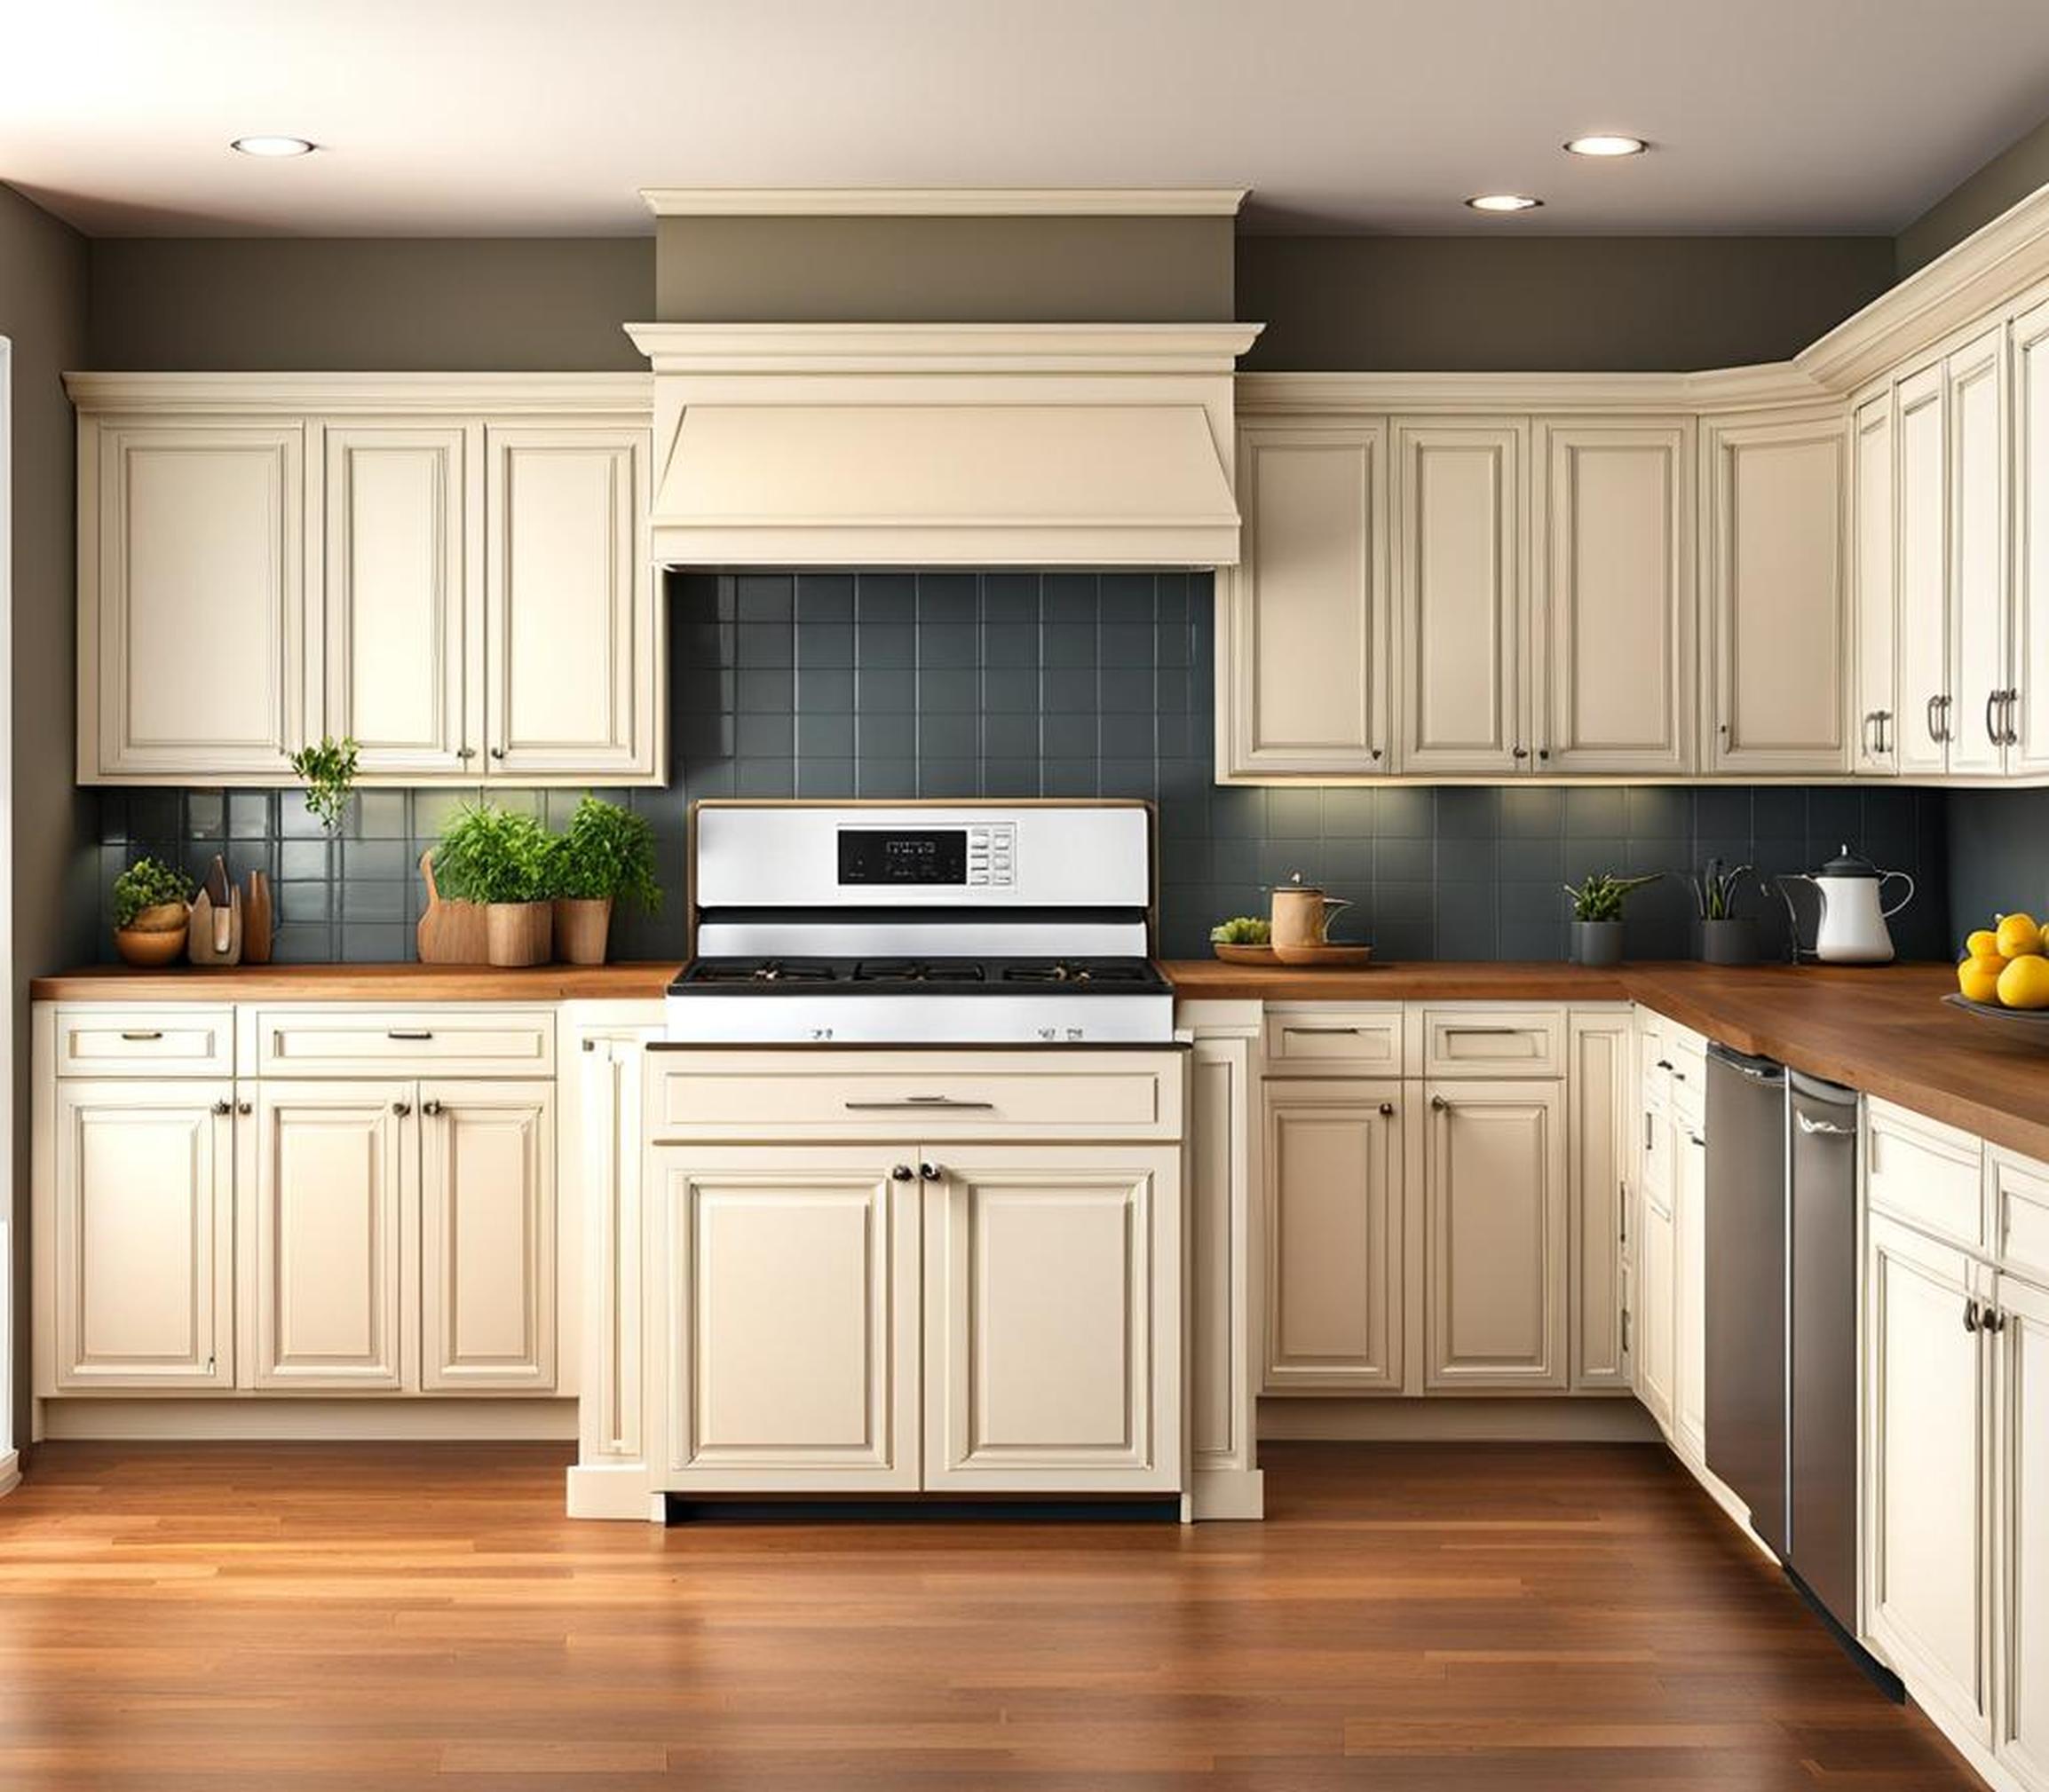
Freshen up existing cabinetry by repainting boxes, doors, and trim in lighter neutral or muted pastel tones.
Strategize Cabinet Paint Plans
Evaluate current layout to determine best painting strategy. For a built-in look, paint upper and lower cabinets, sides and trim the same uniform tone. Or make lower cabinets darker than uppers for visual weight and foundation. Another option is color blocking by staining/painting alternating doors and edges for striking contrast.
Enhance Lighting & Other Details
Proper kitchen lighting serves both form and function. A general combination of ambient ceiling fixtures paired with task lighting ensures safe food prep while also providing flattering, warmth.
Ambient Main Lighting
Usually fluorescent or LED flush mounts or semi-flush lighting, this overhead layer brightly illuminates overall space for multi-area tasks like cleaning, cooking, etc. For increased energy efficiency, install dimmable fixtures to lower brightness except when needed.
Task Lighting
Concentrated lighting focused over key workstation areas aids essential kitchen duties. Undercabinet strip lighting spotlights backsplash/countertops for food prep, cooking, and clean-up. Island pendants sharpen visibility for dining homework, hobbies, etc.
Accent Lighting
This lighting adds drama, creates focal points over features, or sets a mood. Try picture lights over displayed cookware, mini-spotlights on architectural details, or wall sconces framing a decorative shelf area. Smart RGBIC strip lighting color washes backsplashes/cabinets.
DIY Lighting Projects
Save on electrician fees by comfortably handling basic upgrades like swaping out outdated fluorescent boxes for sleek LED panels or adding plug-in pendant lamps over islands and peninsulas. However, if existing wiring needs adjustment or you lack electrical knowledge, hire a kitchen lighting professional.
Improve Storage and Organization
Lack of adequate storage space remains a chief kitchen frustration. Clever solutions maximize every inch without major remodeling. Think vertically! Floor-to-ceiling walls offer prime real estate for DIY shelving built from stock boards and brackets. Freestanding utility carts double as movable islands.
Built-In Storage
Take advantage of wasted narrow spaces between existing cabinet run ends and walls. Semi-custom pantry cabinets, designed for such gaps, slip neatly into odd measurements. Where possible, extending cabinetry fully to ceilings gainsDisplay shelving.
Optimize Interiors
De-clutter chaotic cabinets through organizational inserts, shelves, and drawers creating designated homes for everything. Spinning “lazy susans” in corner bases efficiently access items. Drawers with built-in dividers reduce tableware chaos. Sliding racks double usable mid-cabinet space.
Basement Finishing Perks
Exploring full or partial basement finishing opens up readily available square footage for relocated appliances, pantry storage, additional countertop workspace, and other kitchen components. This frees up main level kitchen capacity for better flow and functionality.
With some thriftiness and sweat equity, you can give your outdated kitchen a stunning facelift on a reasonable budget and schedule. Tackling high impact quick fixes for worn surfaces, deficient lighting, and awkward layouts pays off with enhanced visual appeal and usability.
Before long, you’ll have a fresh, livable kitchen space perfect for making memories for years rather than constantly dreaming of someday knocking everything down to start over.
