Having low water pressure in your shower can be incredibly frustrating. No matter how long you wait, the water sputters out weakly, never giving you the strong, invigorating shower you crave.
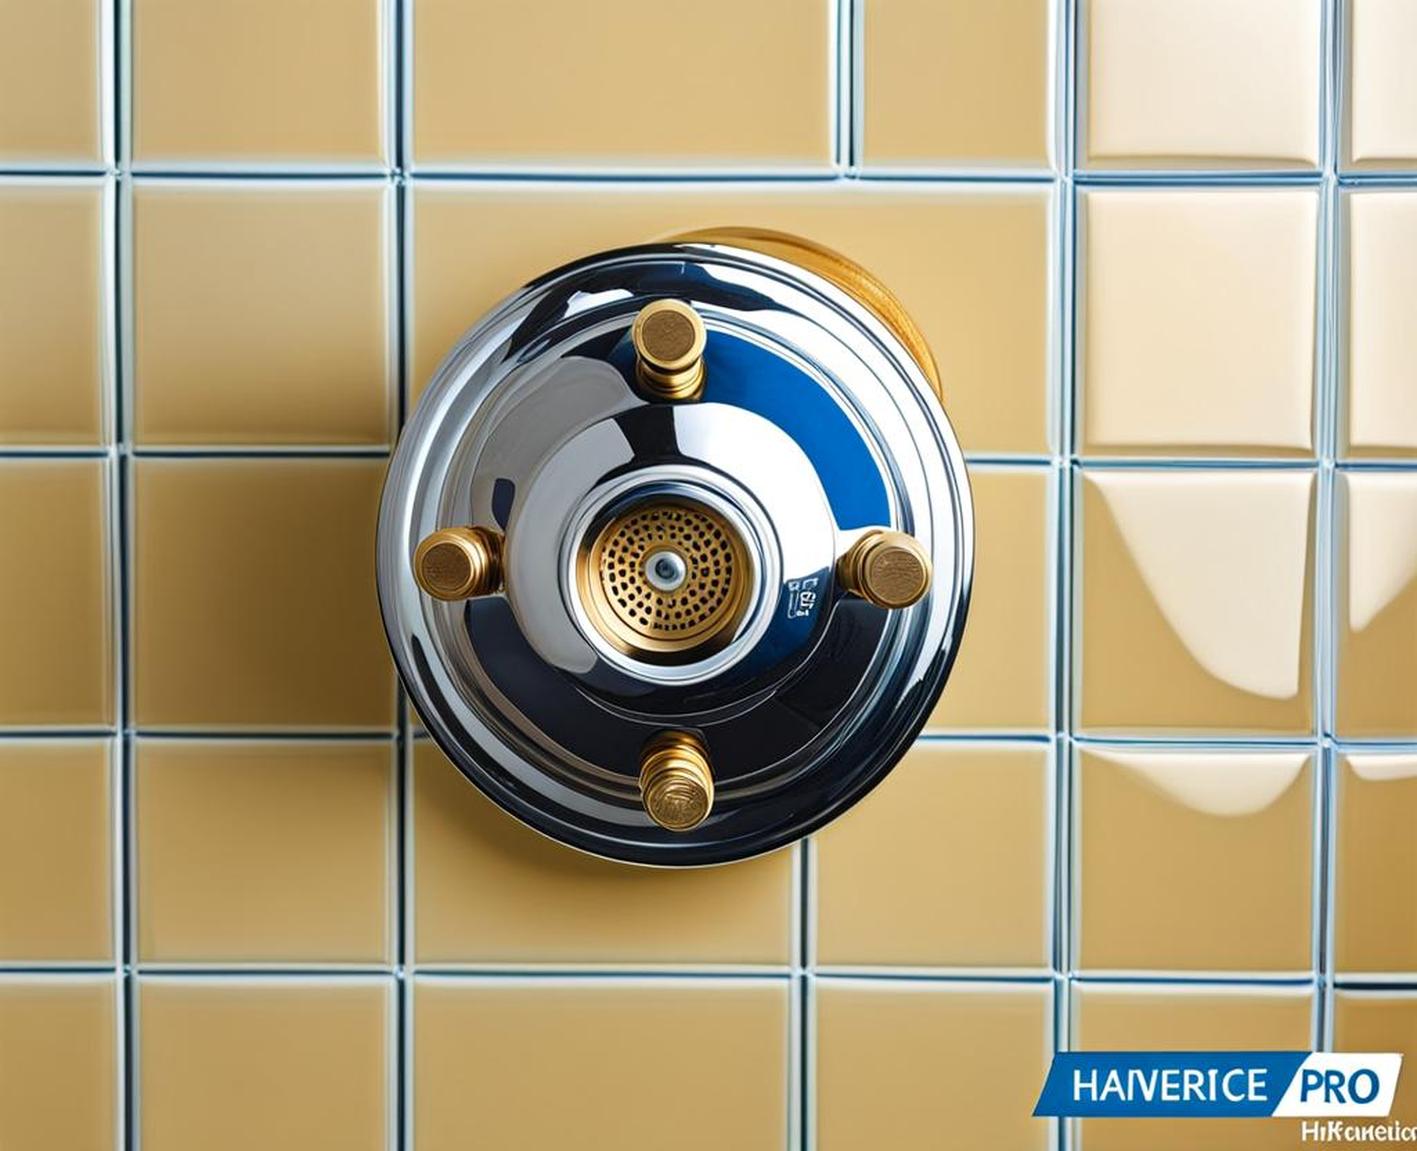
Luckily, there’s an easy solution – removing the flow restrictor. This simple plastic disc is inserted into showerheads to limit water flow to 2.5 gallons per minute, as required by federal regulations. While conserving water is important, you don’t have to settle for unsatisfying shower pressure.
Why Remove the Flow Restrictor?
There are a few key reasons you may want to remove the flow restrictor from your showerhead:
- You have low water pressure – The flow restrictor exacerbates already low pressure issues.
- You want a more intense shower – Removing it allows for stronger, more satisfying water flow.
- Your household uses a water tank or well system – These systems benefit from increased flow.
While removing the flow restrictor is simple, always check your local plumbing codes first. Some municipalities prohibit removal to promote water conservation.
Tools You’ll Need
Removing a showerhead flow restrictor can be done with a few basic tools:
- Adjustable wrench – For unscrewing fixed showerheads
- Pipe wrench – Helpful for stubborn fixed showerheads
- Clean rag – To protect fixtures from scratches
- Needle nose pliers – For extracting the flow restrictor
- Teflon tape – To rewrap pipe threads
Removing a Handheld Showerhead Flow Restrictor
For handheld showerheads:
- Unscrew the showerhead from the flexible hose, using an adjustable wrench.
- Check inside the showerhead connection for a plastic restrictor, often under a washer.
- Use needle nose pliers to extract and remove the flow restrictor.
- Replace the washer.
- Apply new Teflon tape to the showerhead’s threads.
- Reattach the showerhead to the flexible hose.
Removing a Fixed Showerhead Flow Restrictor
For standard wall-mounted showerheads:
- Use an adjustable wrench to detach the fixed showerhead from the wall mount.
- Check for the flow restrictor inside under any washers.
- Remove the flow restrictor with needle nose pliers.
- Replace any washers.
- Wrap Teflon tape around the showerhead’s pipe threads.
- Reattach the showerhead to the wall mount.
Tips for Removing the Flow Restrictor
Follow these tips for safe, effective flow restrictor removal:
- Check manufacturer instructions for your model.
- Take photos while disassembling to help with reassembly.
- Use a soft rubber grip to easily grip the restrictor.
- Don’t lose any small washers or parts.
- Confirm the restrictor is fully removed.
Reinstalling Without the Flow Restrictor
Once the flow restrictor is removed, reinstall your showerhead.
- Check for any debris left behind where the restrictor was.
- Replace washers and screens in the proper order.
- Wrap fresh Teflon tape around pipe threads.
- Securely hand tighten the showerhead.
- Turn on the shower to test the water flow volume and pressure.
With the frustrating flow restrictor removed, enjoy the intense water pressure you’ve been missing. Most showerheads allow you to adjust settings, so customize the flow to your liking with invigorating full-blast or gentle spray modes.
Monitor your water usage, and be mindful if your flow restrictor removal violates local regulations. With this simple modification, you can gain the soothing, luxurious shower you deserve.
