Is your shower handle failing to completely shut off the flow of water? This frustrating issue can dampen anyone’s morning routine. While a faulty shower handle may seem like a hassle, the repair process is fairly straightforward for handy homeowners. By replacing a worn out cartridge or tightening a loose handle, you can restore full control over your shower’s water supply.
Read on to learn how to stop unwanted water flow and regain command of your shower once again!
Symptoms of a Faulty Shower Handle
How can you tell if the issues with your shower go beyond surface-level handle problems? Here are a few key signs that something may be amiss inside your shower faucet:
Water Keeps Running After Turning Handle Off
The most obvious red flag is water that continues flowing out of your shower head after you’ve shifted the handle to the off position. This indicates that the handle is not fully closing the valves that supply hot and cold water to the shower.
Before you dive into taking apart the faucet, check whether water is still flowing to other fixtures. If sinks, tubs, and toilets have the same problem, it may point to a larger issue with your home’s main water supply rather than just the shower.
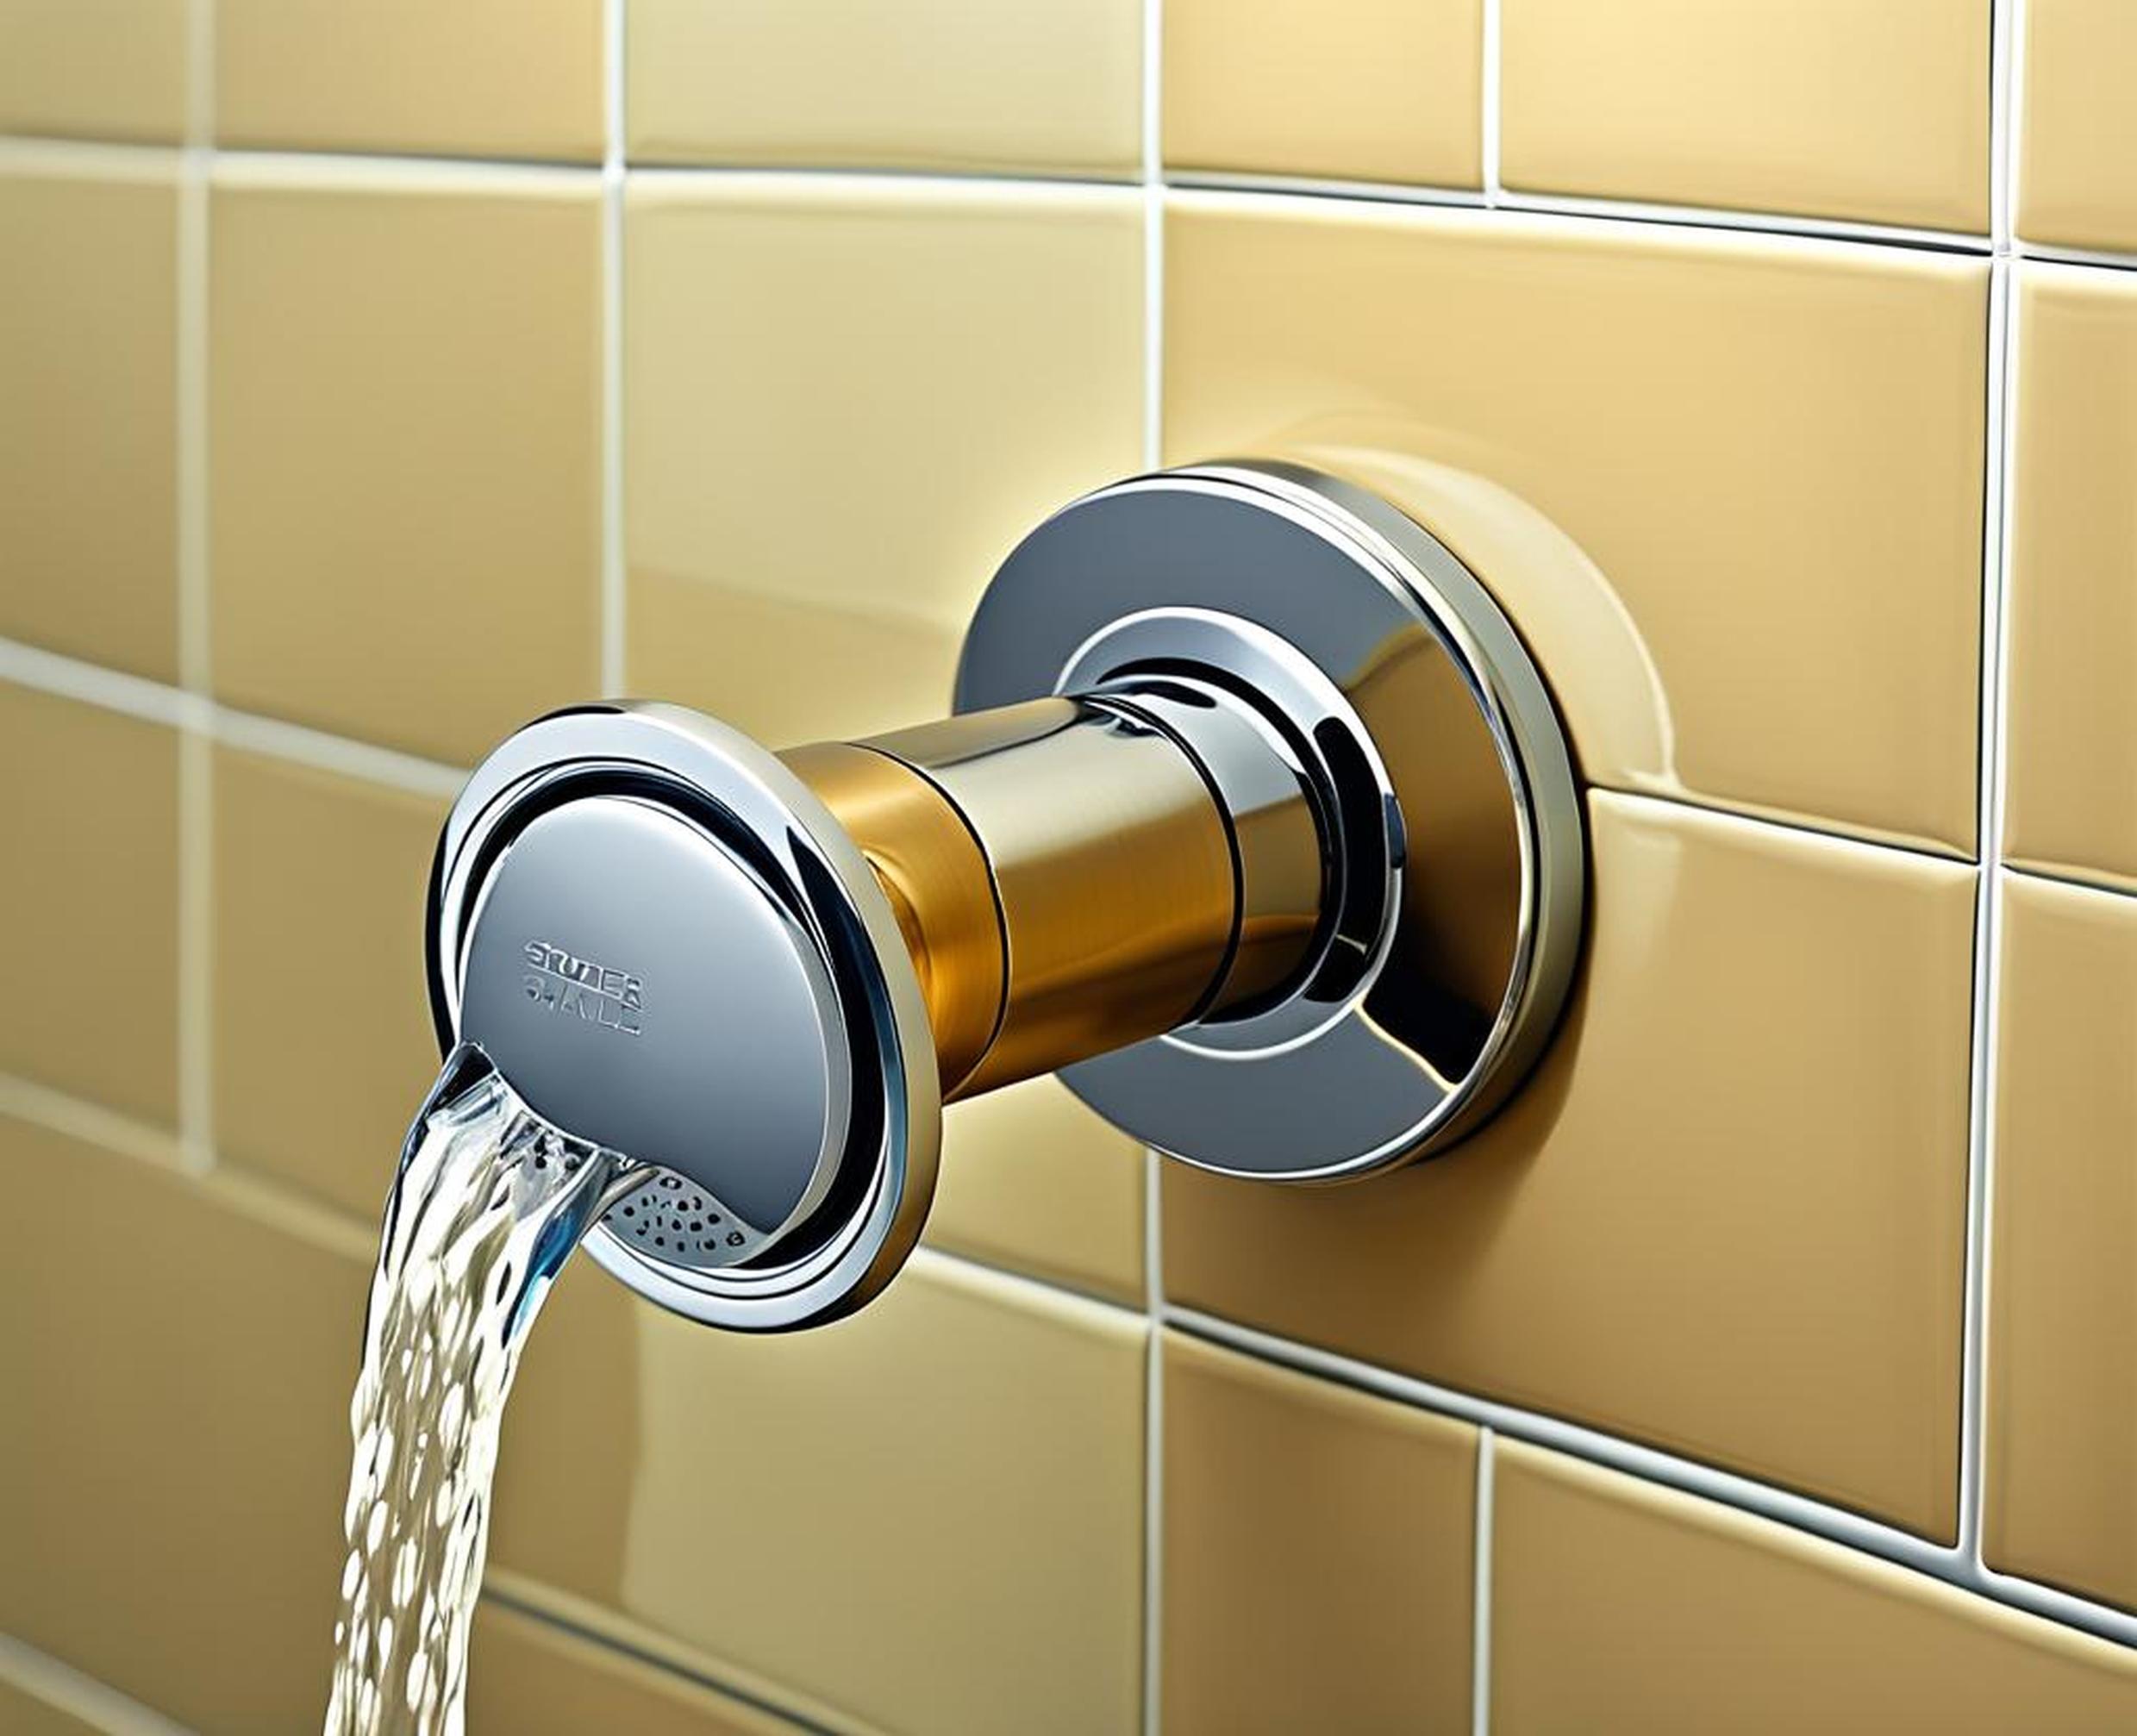
Handle Won’t Close All The Way or Feels Loose
Having to crank the shower handle tightly to get the water flow to stop likely means there is an underlying problem. This could be due to wear and tear on interior cartridges and valves preventing the handle from closing off water as designed.
A loose, wiggly handle can also allow water to sneak past seals. Tightening the handle may be an easy fix. However, if that doesn’t work, it indicates parts inside need replacing.
Changes in Water Temperature
If you notice the shower alternating between hot and cold sporadically, even when the handle position hasn’t changed, your cartridge is likely faulty. Sediment build-up can prevent the cartridge from regulating flow properly.
Replacing a worn out cartridge is the solution here. Significant changes in temp when the handle is turned off also indicate failing valves or cartridges.
Locating the Source of the Problem
Before attempting to fix any shower handle issues, it’s important to isolate where the problem originates. This involves a bit of detective work to pinpoint whether the concerns lie solely with the shower fixture or plumbing system at large.
Turn Off Main Water Supply
Start by shutting off the main water valve that supplies your entire home. This is usually located on the front of your property or inside near the water meter. Turning this main shutoff valve clockwise closes it and stops water from entering the home.
Once you’ve turned off the main valve, go back to the shower and turn on the handle to verify water is no longer flowing. This will confirm the issue is isolated to just the shower before moving on.
Remove Shower Handle
With the water supply stopped, now is the time to investigate the shower faucet parts directly. Start by prying off the decorative handle on the outside of the faucet with a small flathead screwdriver.
Removing this exterior handle assembly provides access to the inner cartridge, valves, seals, and other working components. Closely inspect all these parts for visible damage once the handle is off.
Check for Leaks
Before putting the shower back together, double check that the water is completely off by verifying there are no leaks. Look carefully around the valves, pipe joints, shower arm connection, and tub spout for any water droplets.
If moisture is present, that means water is still making its way from pipes into the shower assembly. This indicates a larger leak issue beyond just the faucet parts.
Diagnosing Issues with the Cartridge
After ruling out other sources, it’s time to focus your repair efforts on the cartridge. On most shower faucets, an inner cartridge controls the on/off function and flow volume. Here’s a closer look at how it works and potential problems.
What is a Cartridge?
The cartridge is the inner workings of the faucet that allow the handle to regulate water flow. This component has small inlets for hot and cold water that get sealed or opened as you turn the handle.
Seals and springs within the cartridge alternate pressure between these ports to let water either flow to the shower head or stop it altogether. The cartridge is the part that provides this main shower function.
Signs of Cartridge Damage
A number of issues can indicate failing cartridge seals, springs, and inner workings:
- Water continues running or dripping after turning the shower handle off
- Moisture leaking around the cartridge seal
- Hot and cold water mixing erratically
- Having to force the handle to turn off water flow
Any of these point to sediment build-up or general wear preventing the cartridge from sealing properly. Replacement is the solution.
Replacing the Cartridge
Follow these steps to remove and replace a faulty shower cartridge:
- Turn off main water lines to the house
- Take shower handle off to access internal parts
- Locate the cartridge and remove any retaining clips or nuts
- Pull old cartridge out of the faucet body
- Clean any debris out of faucet housing
- Install new replacement cartridge in same orientation
- Secure cartridge with any washers, clips, or nuts
- Reassemble faucet handle and test water flow
When choosing a new cartridge, look for the same model or one compatible with your shower faucet brand. With the fresh cartridge in place, the handle should once again shut water on and off properly.
Examining the Shutoff Valves
If replacing the cartridge fails to remedy shower handle flow issues, the next step is to check the condition of the shutoff valves. Problems here could also prevent the handle from fully stopping water.
What are Shutoff Valves?
Shutoff valves are separate components inside the shower faucet that control hot and cold supply lines individually before they reach the cartridge. When functioning properly, these valves seal off each line until the handle opens them.
The valves have an open and closed position internally that gets activated when you turn the shower handle. They allow water to either flow through or stay turned off.
Indications Valves Need Replacement
Here are some signs that the shutoff valves inside your shower faucet may be causing handle operation problems:
- Water leaks persist even after replacing the cartridge
- Visibly corroded or damaged valve bodies
- Very difficult to fully turn or close valves
- Dripping water when valves appear closed
Any of these valve flaws can enable water to sneak past into the shower even in the “off” position. Swapping in new valves restores a watertight seal.
Installing New Shutoff Valves
The process for replacing bad shutoff valves involves:
- Shutting off the main water supply
- Removing faucet parts like the cartridge to access the valves
- Taking out the old valves and cleaning the valve ports
- Installing new replacement valves in the same locations
- Reassembling the faucet
- Turning water back on and testing for leaks
Make sure to get the correct valve model and orientation during installation. When done properly, the renewed valves will connect solidly with seats and seals to prevent unwanted flow.
Fixing a Loose Shower Handle
In some cases, the underlying cause of a malfunctioning shower handle is much simpler – the handle itself is loose. This straightforward fix gets your shower functioning properly again in no time.
Causes of a Loose Handle
A shower handle that wiggles or won’t stay in place securely can stem from:
- Normal wear and tear loosening handle screws
- Improperly installed handles
- Corrosion weakening connections
- Mineral deposits keeping handle from sealing
This handle looseness prevents a solid connection with the cartridge or valves. Tightening the screws properly realigns these connections.
Tightening the Handle
Follow these steps to tighten a loose shower handle:
- Pry off the decorative handle and escutcheon
- Locate the screw securing the main handle base
- Tighten the screw firmly using a screwdriver
- Verify handle turns smoothly but cannot pull away from base
- Reinstall decorative handles and test water flow
Proper handle installation involves securing screws evenly without overtightening. Test the renewed handle connection by ensuring it fully stops water flow as it should.
Preventing Future Shower Handle Issues
Repairing your faulty shower handle gets it working properly again right away. But you can also take steps to prevent these issues from popping up again down the road.
Regular Maintenance
Periodically inspecting and cleaning your shower faucet can catch problems early before they escalate. Check for leaks around the handle and valves while operating the handle. Also clean the shower head and valves to prevent harmful mineral buildup.
High Quality Parts
Opt for durable, long-lasting cartridges and valves when replacements are needed. Also choose shower handles and exterior parts made of quality materials built for frequent, wet conditions.
Contact a Plumber
For shower faucet installations or complex repairs involving valves and behind-wall pipes, consult a professional plumber. They have the proper tools and training.
Plumbers can also help if your handle problem proves tricky to diagnose and fix yourself. Don’t prolong shower hassles – calling in an expert can get you back up and running.
While shower handles may unexpectedly stop functioning fully, a bit of troubleshooting can usually get water flowing properly again. Start by determining if the problem lies in a loose handle, worn out cartridge, or faulty valves. Replacing these interior parts restores smooth handle control.
Performing regular maintenance checks also prevents issues from developing in the first place. Investing in quality fixtures and calling on professional help for complex repairs further keeps your shower in peak operating condition.
Don’t let a faulty shower handle cause morning disruption. With this guide to diagnosing and repairing problems, you’ll stay refreshed and ready to take on the day.
