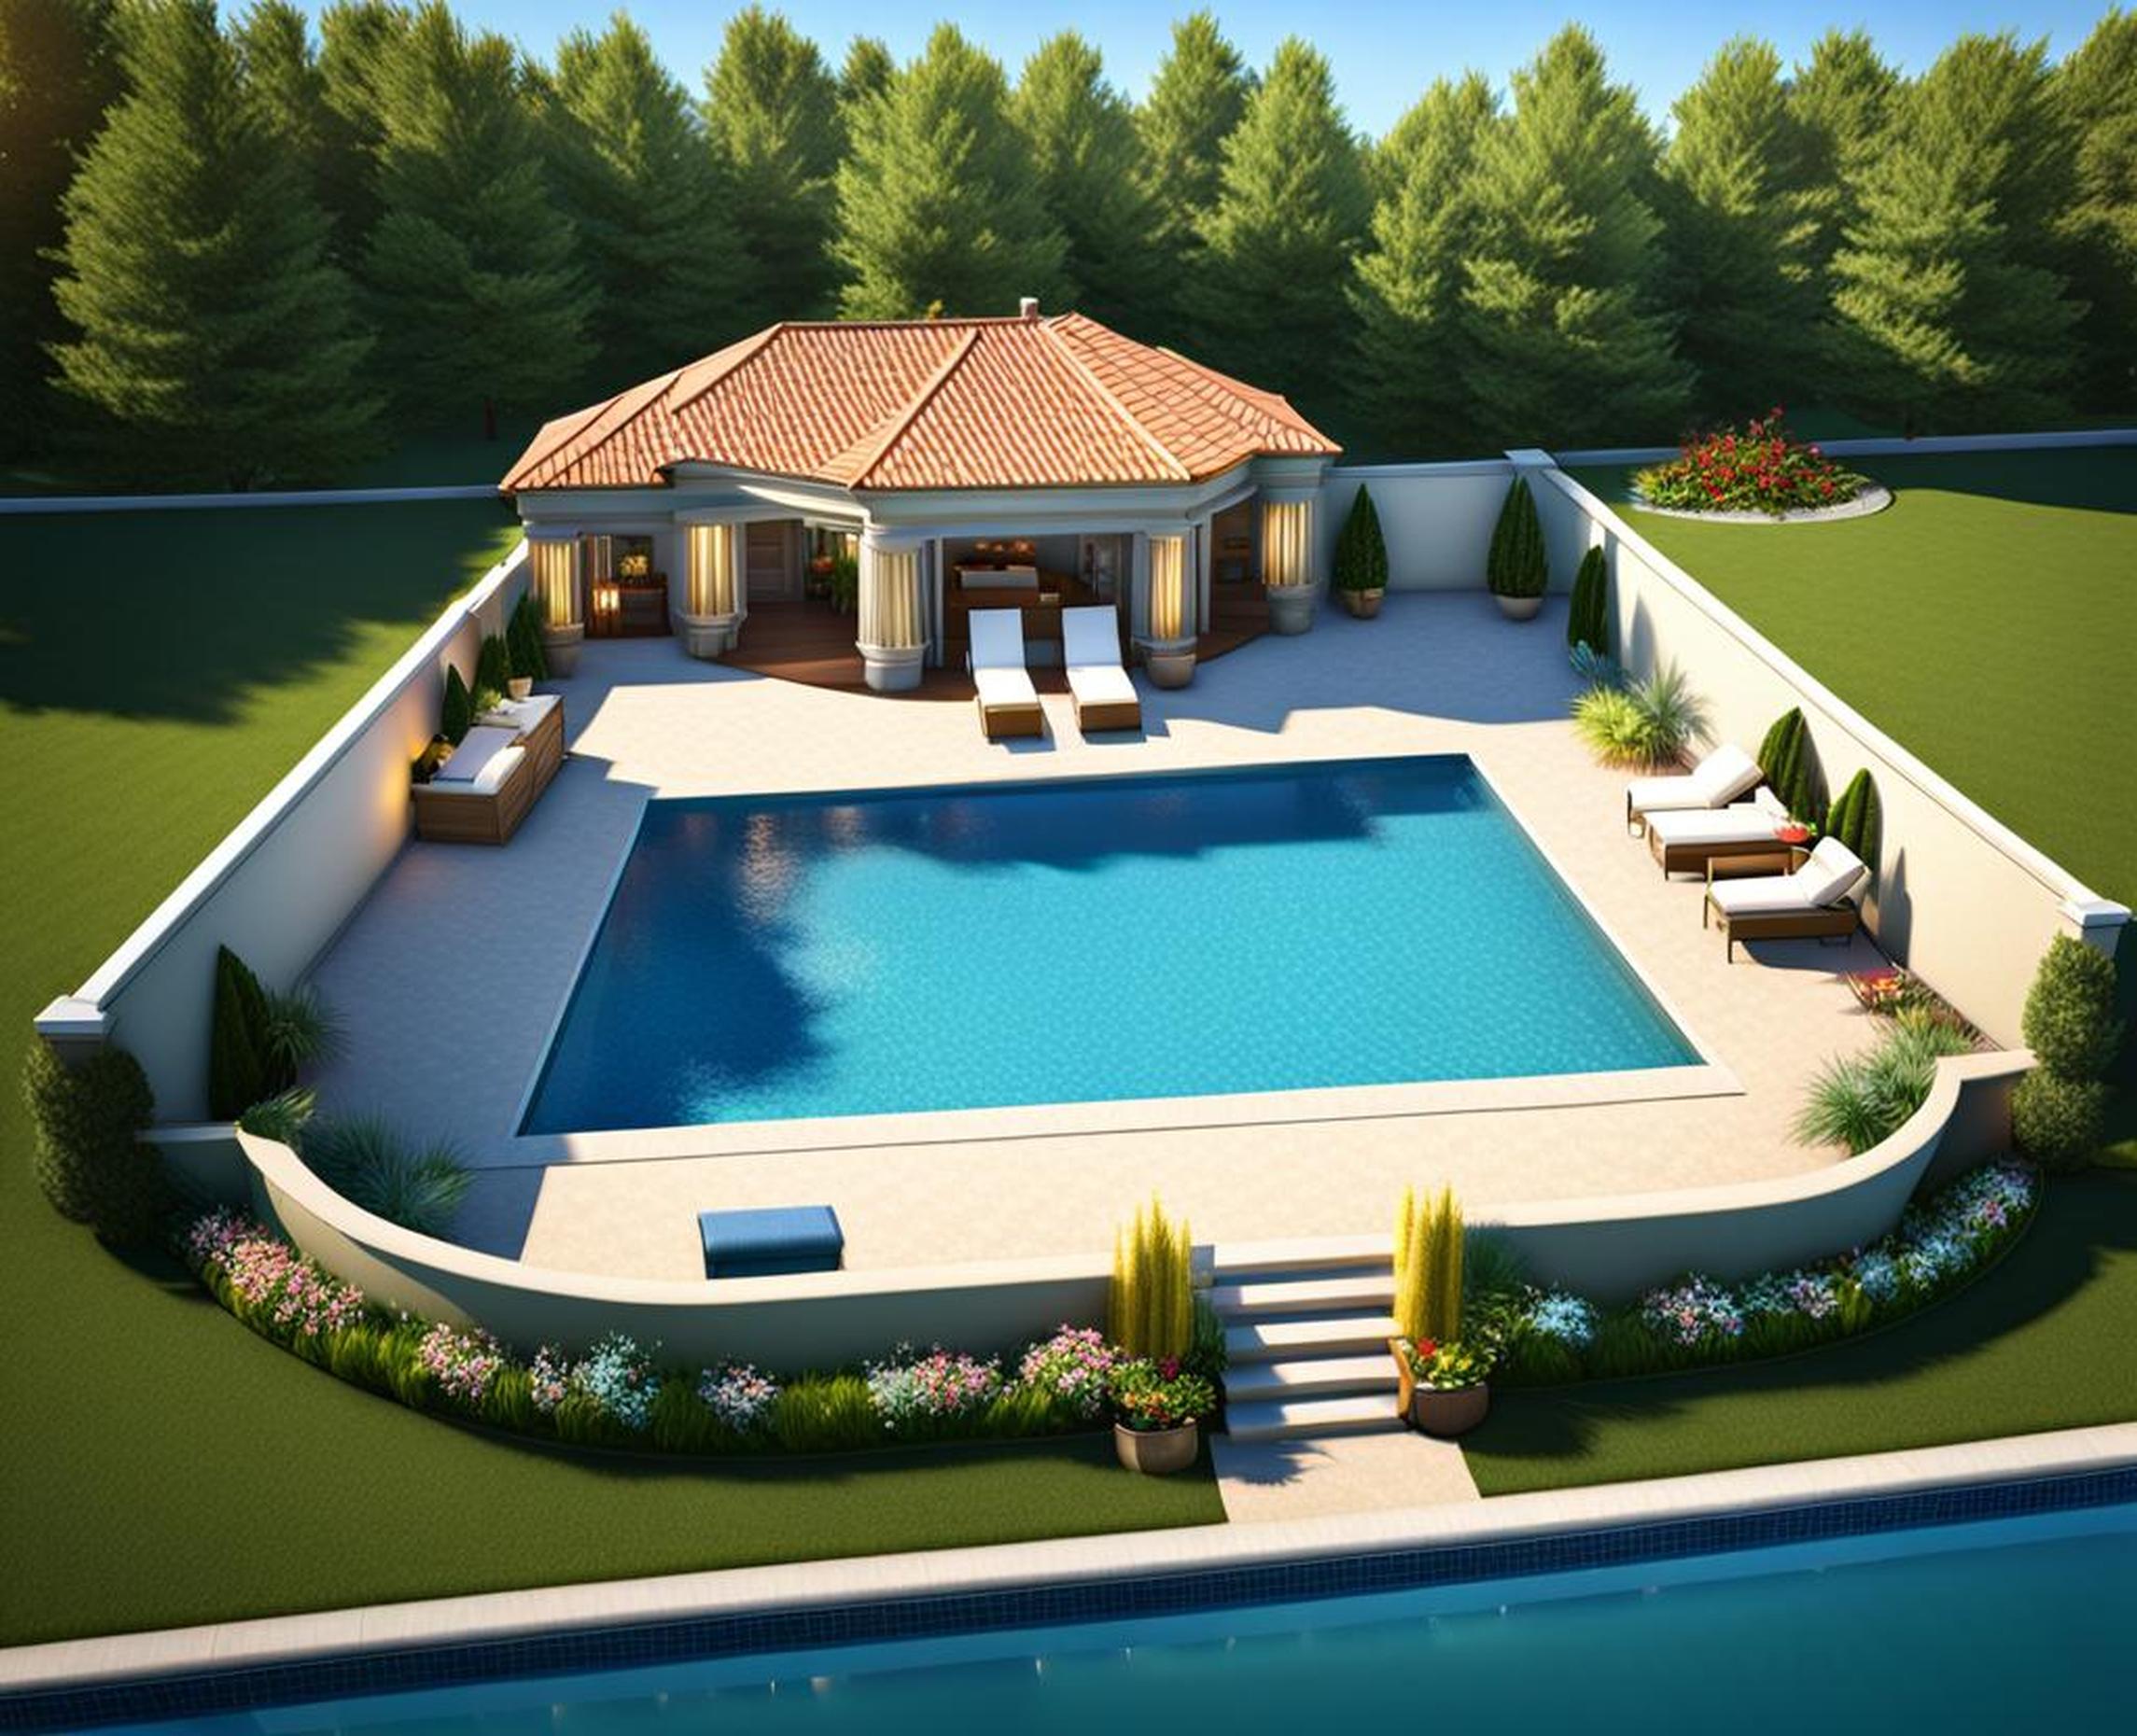
If you’ve been playing Merge Mansion for a while, you’ve probably reached the pool area. This space starts out messy and run down, but with some work, it can become a beautiful oasis! The pool area is unlocked after finishing the flower garden, becoming the 11th restorable area in Merge Mansion. Transforming this neglected space into a relaxing pool house takes patience and strategy. Don’t worry – with our 12 simple steps, you’ll revitalize your Merge Mansion pool in no time!
Overview of the Merge Mansion Pool Area
The pool area is located just beyond the outdoor patio, down a winding dirt path. Initially covered in branches, leaves, and other debris, it’s clear this once-stunning pool has been completely neglected. The sparkling water is now a swampy green color, and the furnishings are either broken or missing altogether.
Getting the pool back into tip-top shape is crucial for completing Merge Mansion. Not only does upgrading provide rewards like experience points and toolboxes, but restoring areas unlocks new chapters and activities. Sitting back with an iced tea after a long day of pool work will feel that much sweeter once your pool house is revived!
Step 1: Clear the Path to the Pool
Your first task is clearing away the branches, leaves, tall grass, and weeds that have taken over the path to the pool. Make sure to check for any obstacles hidden beneath the debris. Collect the branches and add them to your toolbox reserves – you never know when you’ll need spare wood!
Removing all the leaves and overgrowth restores accessibility and visibility to this area. As a reward, you’ll earn 20 XP and useful chests containing coins, gems, energy bolts, and other supplies. Having a clear, welcoming path builds anticipation for the improvements still to come!
Tip
Save green energy bolts for stages requiring lots of matching, like fixing the pool tiles. Using your finite bolts wisely is key in Merge Mansion!
Step 2: Add Flowerbeds Along the Path
Now that you’ve cleared the walkway, it’s time to infuse color! Planting vibrant flowerbeds makes the pool area feel alive again. Choose a balance of bright and pastel flowers – something like yellow chrysanthemums, pink tulips, and purple irises will look joyful and lively.
Not only do blossoming flowers beautify the landscape, but arranging the beds strategically can also guide guests along the path. Curving beds shape the walkway in an aesthetically pleasing way. Feel free to get creative with patterns and texture using different flower types.
Tip
Check the Garden Gnomes store regularly for flower seed packs. Planting new flower types keeps your beds looking fresh!
Step 3: Prune Overgrown Trees
Once vibrant accents like flowerbeds are in place, it’s time to tackle the unsightly overgrowth. Large, unkempt trees have sprouted up around the pool area, casting dark shadows. Using a saw, prune away the excess branches and trunks until more sunlight can reach the space.
Chopping down these massive trees also opens up valuable real estate for you to place pool lounges and tables later on. As an added bonus, the wood collected can be recycled into other projects around the mansion!
Tip
Take care not to remove young, healthy trees – they provide shade and ambiance! Only prune what is strictly necessary.
Step 4: Fix Broken Pool Furniture
One big part of revitalizing the pool is repairing or replacing damaged furniture. Start by fixing the iconic pool chair, which is missing its seat and has broken logs. Use your toolbox supplies like glue, nails, and wood planks to mend these pieces.
Next, remove any scraps or debris around the pool using your broom. Check the perimeter for damaged logos in the cement and cracks in the pool wall, repairing what you can. Lastly, give the friendly pool crocodile toy a good scrub – soon he’ll be ready to greet guests again!
Tip
Having other Merge Mansion players on your team allows you to borrow tools. This helps you fix furniture faster.
Step 5: Restore the Pool Floor Tiles
It’s time to dive into the pool cleaning! Start by using your broom to clear leaves, dirt, and debris off of the tile flooring. Look for any missing, broken, or damaged tiles that need replacement.
Use special pool cleaning gloves equipped with suction cups to remove broken tiles. Fill holes in with fresh tiles and grout. Having an even, clean foundation makes the water appear more clear and inviting.
Tip
Work top to bottom when fixing pool tiles, completing each row before moving to the next. This helps you keep track of progress.
Step 6: Repair the Diving Board
A must-have pool accessory is a diving board for cannonballs! Use scrap wood to mend the broken slats and reinforce the stand. Ensure the fulcrum and bounce are correct by safely testing it out.
Add an extra pop of color by painting your sturdy diving board a fun, bright hue. Non-slip paint adds safety, while a customizable color makes your pool unique. Finish by stenciling creative designs for the perfect personalized touch!
Tip
Paint metal diving board components separately before assembling for easier, neater results.
Step 7: Build and Paint New Pool Frame
One big project is demolishing the old, worn pool border and constructing a new wooden frame. Gather your materials, pre-cut lumber, nails, screws, glue, paint supplies, and any tools needed.
Arrange the pieces, using glue and hardware to securely fasten them together. Make sure the structure is level and sturdy before painting it in your palette of choice. Add decorative carvings or medallions for personality!
Tip
Avoid dragging lumber across your newly refinished pool tiles! Have a clear workspace for construction.
Step 8: Repair and Upgrade Pool Furnishings
It’s time to furnish your pool with chic, relaxing accents! Add a large square table perfect for meals al fresco. Place sturdy, comfortable chairs around it. Include umbrellas for shade.
Dot the area with planters and pots bursting with bright blooms. Affix twinkle lights around the space to create a magical atmosphere at night. Infuse your unique style with pillows, rugs, and other accessories!
Tip
Scale your furnishings appropriately – smaller pools suit smaller furniture, while larger pools can handle more generous pieces.
Step 9: Remove Remaining Debris
Do one final sweep of the area to remove any last bits of debris. Eliminate fallen leaves, acorns, dirt, and stones that may have appeared during renovations. Use your trusty broom to leave everything tidy.
You want to ensure your refreshed pool area remains pristine and flawless looking. Don’t forget to check occasionally for new debris after completion – maintenance is important!
Tip
Schedule a weekly or monthly pool house “spruce up” to keep things looking squeaky clean long term.
Step 10: Add Final Touches with Plants
You’re in the home stretch! Now is the time to populate bare spots and corners with vibrant potted plants. Choose low-maintenance greenery like succulents, snake plants, or bamboo.
Fold in blooming plants like peace lilies or orchids for pops of color. Arrange plants thoughtfully based on sunlight needs. Nestle pots and planters amidst pool furniture for an integrated look.
Tip
Group plants with similar watering needs to make caring for them simpler.
Step 11: Complete Pool Area Restoration
Once all furniture is repaired, construction finished, and plants placed, it’s time for the final reveal! Give your pool area a good sweep and wipe down. Place the final decor touches like throw pillows and candles.
After admiring your hard work, activate the pool area completion icon to officially finish this space. Claim your rewards of coins, gems, bolts, and other prizes that will help expand the mansion.
Tip
Snapping photos along the way lets you see your amazing transformation from start to finish!
Step 12: Conclusion
With consistent effort and these 12 steps, you can completely revitalize your abandoned Merge Mansion pool house into a warm, welcoming space. Completing each task earns you valuable resources to keep progressing.
The most important tips are taking it slow, matching items carefully, and collaborating with other players. Before you know it, you’ll be relaxing poolside in your own private paradise!
Upgrading your Merge Mansion pool unlocks opportunities to renovate other areas on your sprawling estate. New chapters and puzzles open up, bringing you closer to lifting the mansion’s curse! Whenever you feel overwhelmed, just focus on one step at a time.
With strategic merging, smart resource use, and loads of creativity, your Merge Mansion pool area will soon go from neglected to spectacular! So grab your swimsuit and sunhat – you’ll be hosting pool parties in no time.
Revitalizing your Merge Mansion pool area takes time, energy, and dedication. But the effort pays off handsomely in the form of XP, resources, and a gorgeous new entertainment space.
Completing this area also allows you to progress the game’s story and take on exciting new challenges. Remember to collaborate with friends, take breaks when needed, and have fun designing your personalized pool oasis!
Before you know it, you’ll be showing off your superb merging and renovation skills poolside as you strategize conquering Merge Mansion’s next big area. So dive in – a refreshed pool house awaits!
