Have you ever wished you could have a continuous curtain rod that spans multiple windows without any gaps or bulky brackets interrupting the sleek look? With a simple DIY project using curtain rod connectors, you can easily create the illusion of a one sided curtain rod for a perfectly seamless appearance.
In this tutorial, we’ll show you an easy trick to join multiple curtain rods together without the need for unsightly end brackets between each window panel. By using inexpensive but sturdy connectors, you can make any window look like it has a high-end custom one sided rod for a fraction of the price. No special skills or tools required!
Supplies You’ll Need
To complete this project, you’ll need:
- Curtain rods cut to the correct length for each window
- Curtain rod connectors
- Screws for securing connectors
- Drill
- Level
- Hacksaw for cutting rods
The two main components are the rods themselves and the all-important connectors that will join them together. For the rods, you can use basic metal or wood ones in the diameter and style of your choice. The length will depend on your specific window measurements.
Choosing Curtain Rod Connectors
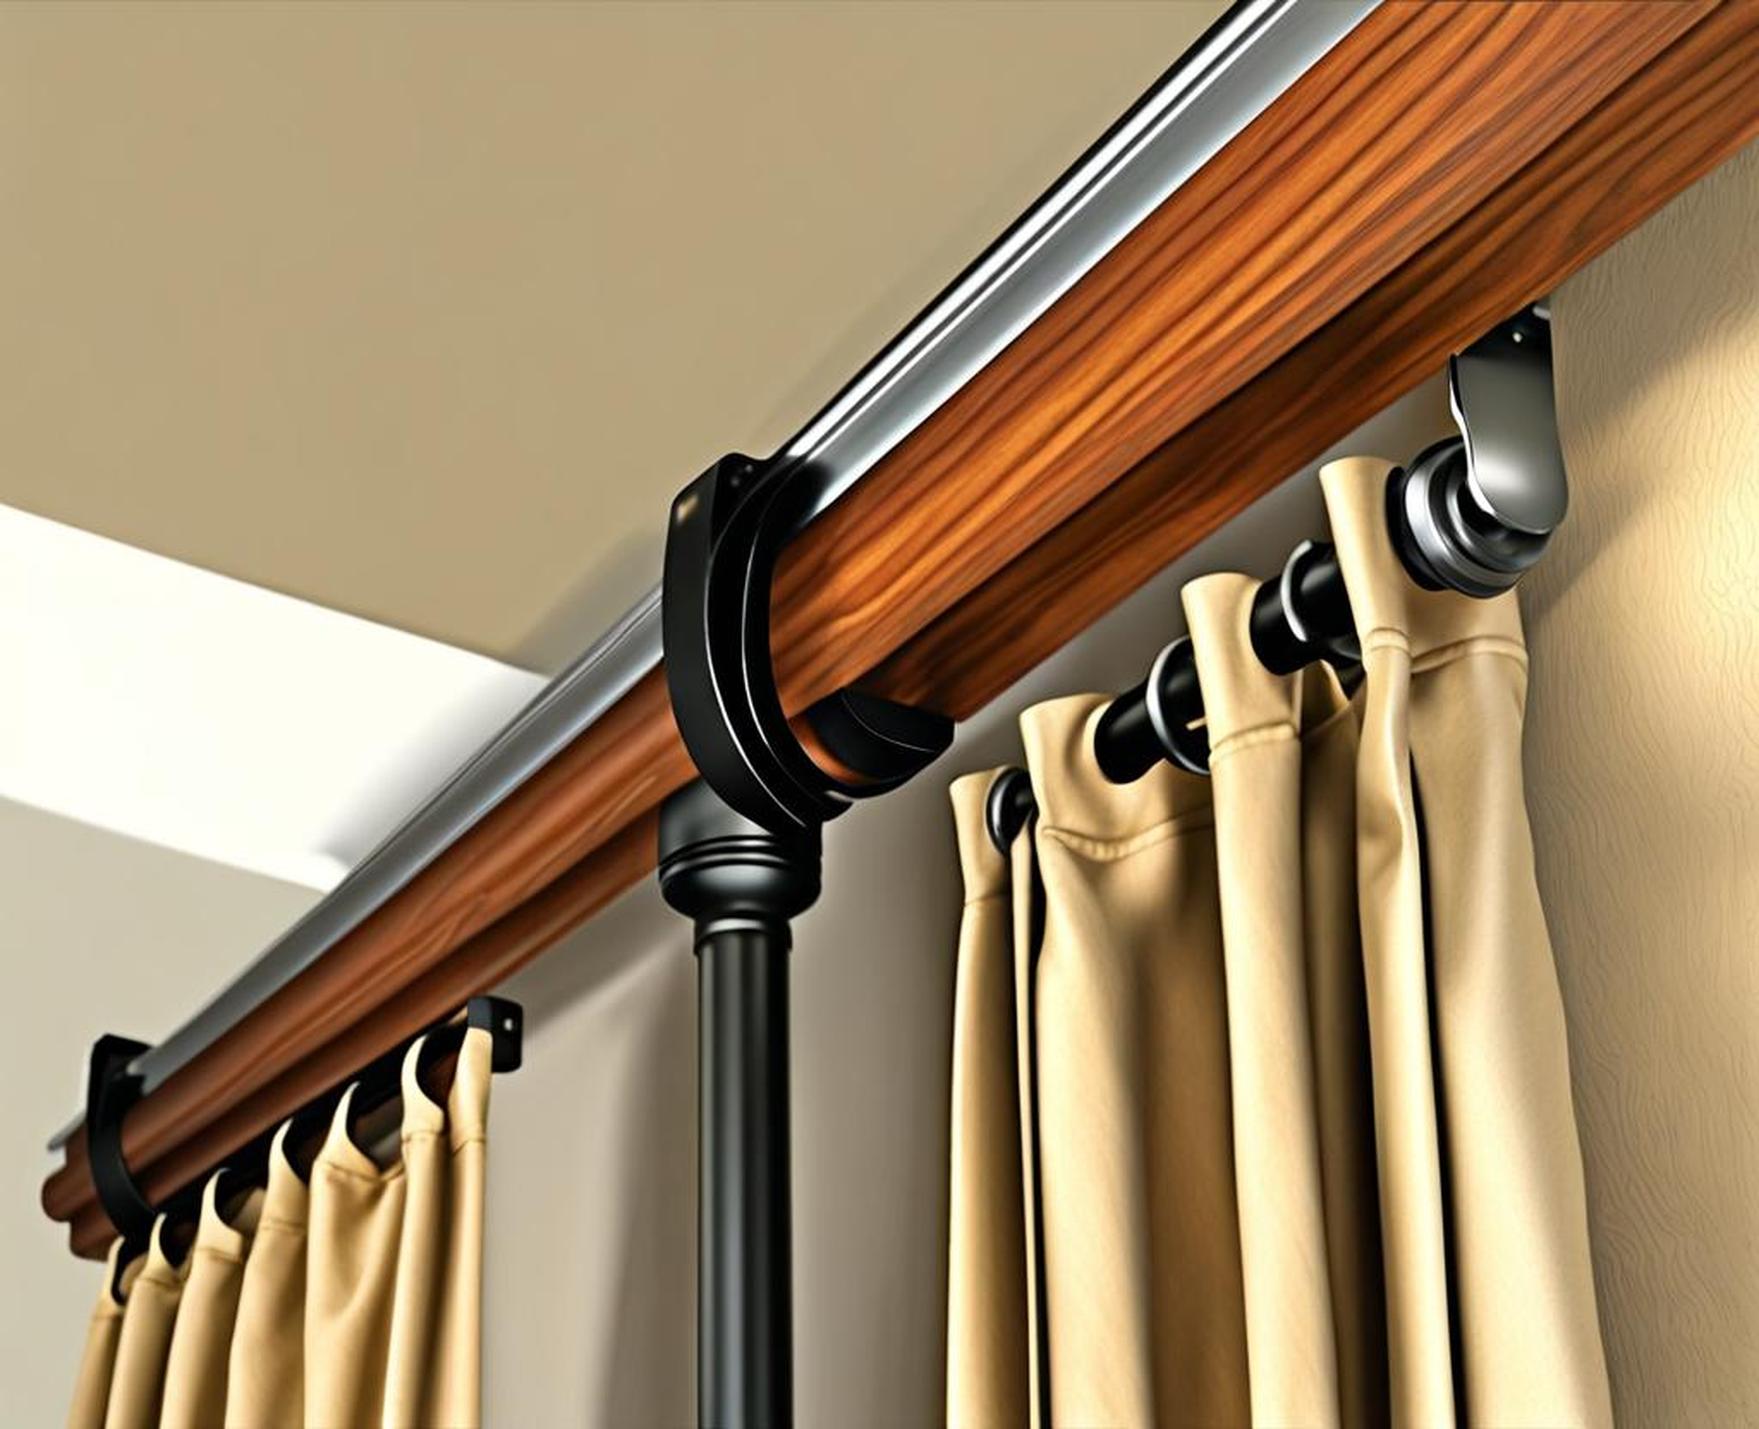
When it comes to the connectors, you have a few options like center brackets, splicers, and rod joiners. We recommend using joiners made of metal for the strongest hold. Plastic or wood can work but may not be as sturdy over time. The connectors have two openings to insert the rod ends into and will be screwed in place to securely link them.
Mounting Hardware and Tools
You will need screws for attaching the connectors to the rods and wall anchors or brackets for the installation. A drill makes inserting screws a breeze. A hacksaw or rod cutter ensures straight cuts to the correct rod lengths. And a level is crucial for keeping the rods even and preventing sagging.
Getting Started
Before connecting anything, take precise measurements of your window span from end to end. This will determine how many rods and connectors you need. Cut your rods slightly longer on each end to allow room for the connectors.
Measuring Your Windows
Get the exact width across the top of the window frames where you’ll be mounting the rods. If going floor to ceiling, factor in the additional height. Determine the minimum number of rods needed to cover the full span. Having this info lets you cut the rods to the right size.
Cutting the Rods
Use a hacksaw to cut metal rods or rod cutter for wood. Measure carefully and cut a bit longer than needed for the connectors to fit. You’ll get more precise, straight cuts this way. Clean up any rough edges with sandpaper.
Spacing Out Connectors
We recommend placing connectors every 1-2 feet for optimal support. Make sure joints between rods are offset from any edges or the window frame center for a streamlined look. Mark where each connector will go with pencil.
Connecting the Rods
Now comes the fun part – joining the rods together into a seamless piece. Follow these steps:
Insert Rods into Connectors
Insert the cut rod ends into the open slots in the connector piece. Line them up evenly and push them in as far as they’ll go for a snug fit. Drill pilot holes if needed before securing.
Secure Connectors with Screws
Screw through the pre-drilled holes in the connector into the curtain rod ends. Tighten the screws flush for maximum stability. The rods should now move as one single unit.
Mount Connectors to Wall
Attach your connected rod to the wall using studs if possible or plastic anchors. Ensure screws are tight so the rod assembly is completely secure and unable to shift or sag from the weight.
Check Alignment and Adjust
Use a level across the tops of the joined rods to identify any high or low spots. Twist or tighten connectors as needed until the rod is perfectly straight along the entire length.
Finishing Touches
Once assembled and mounted properly, just add your curtains and touches to complete the one sided look:
Hang Curtains
Slide your curtain rings or pins onto the rod, starting at one end and working across evenly. Center larger curtains between windows.
Conceal Connectors
Use extra-wide curtains or overlap panels to hide the connectors behind the curtains. Painting them the same color as the rods also camouflages joints.
Troubleshooting Tips
If you notice issues like sagging, gaps, or rods detaching from connectors, try these quick fixes:
- Tighten screws securing rods and wall mounts
- Add additional connectors for more support
- Adjust connector placement or change out bent ones
- Use wider curtains or overlap two panels at connectors
As you can see, creating the look of a flawless one sided curtain rod is easy with the right connectors and a little DIY elbow grease. The end result is a luxurious, seamless window treatment without expensive custom rods or unsightly brackets.
The key is taking precise measurements, cutting rods to size, spacing connectors correctly, and ensuring everything is level, tight, and secure. With the right preparation and materials, you can achieve a high-end aesthetic on any budget. Give this trick a try for beautiful windows in no time!
