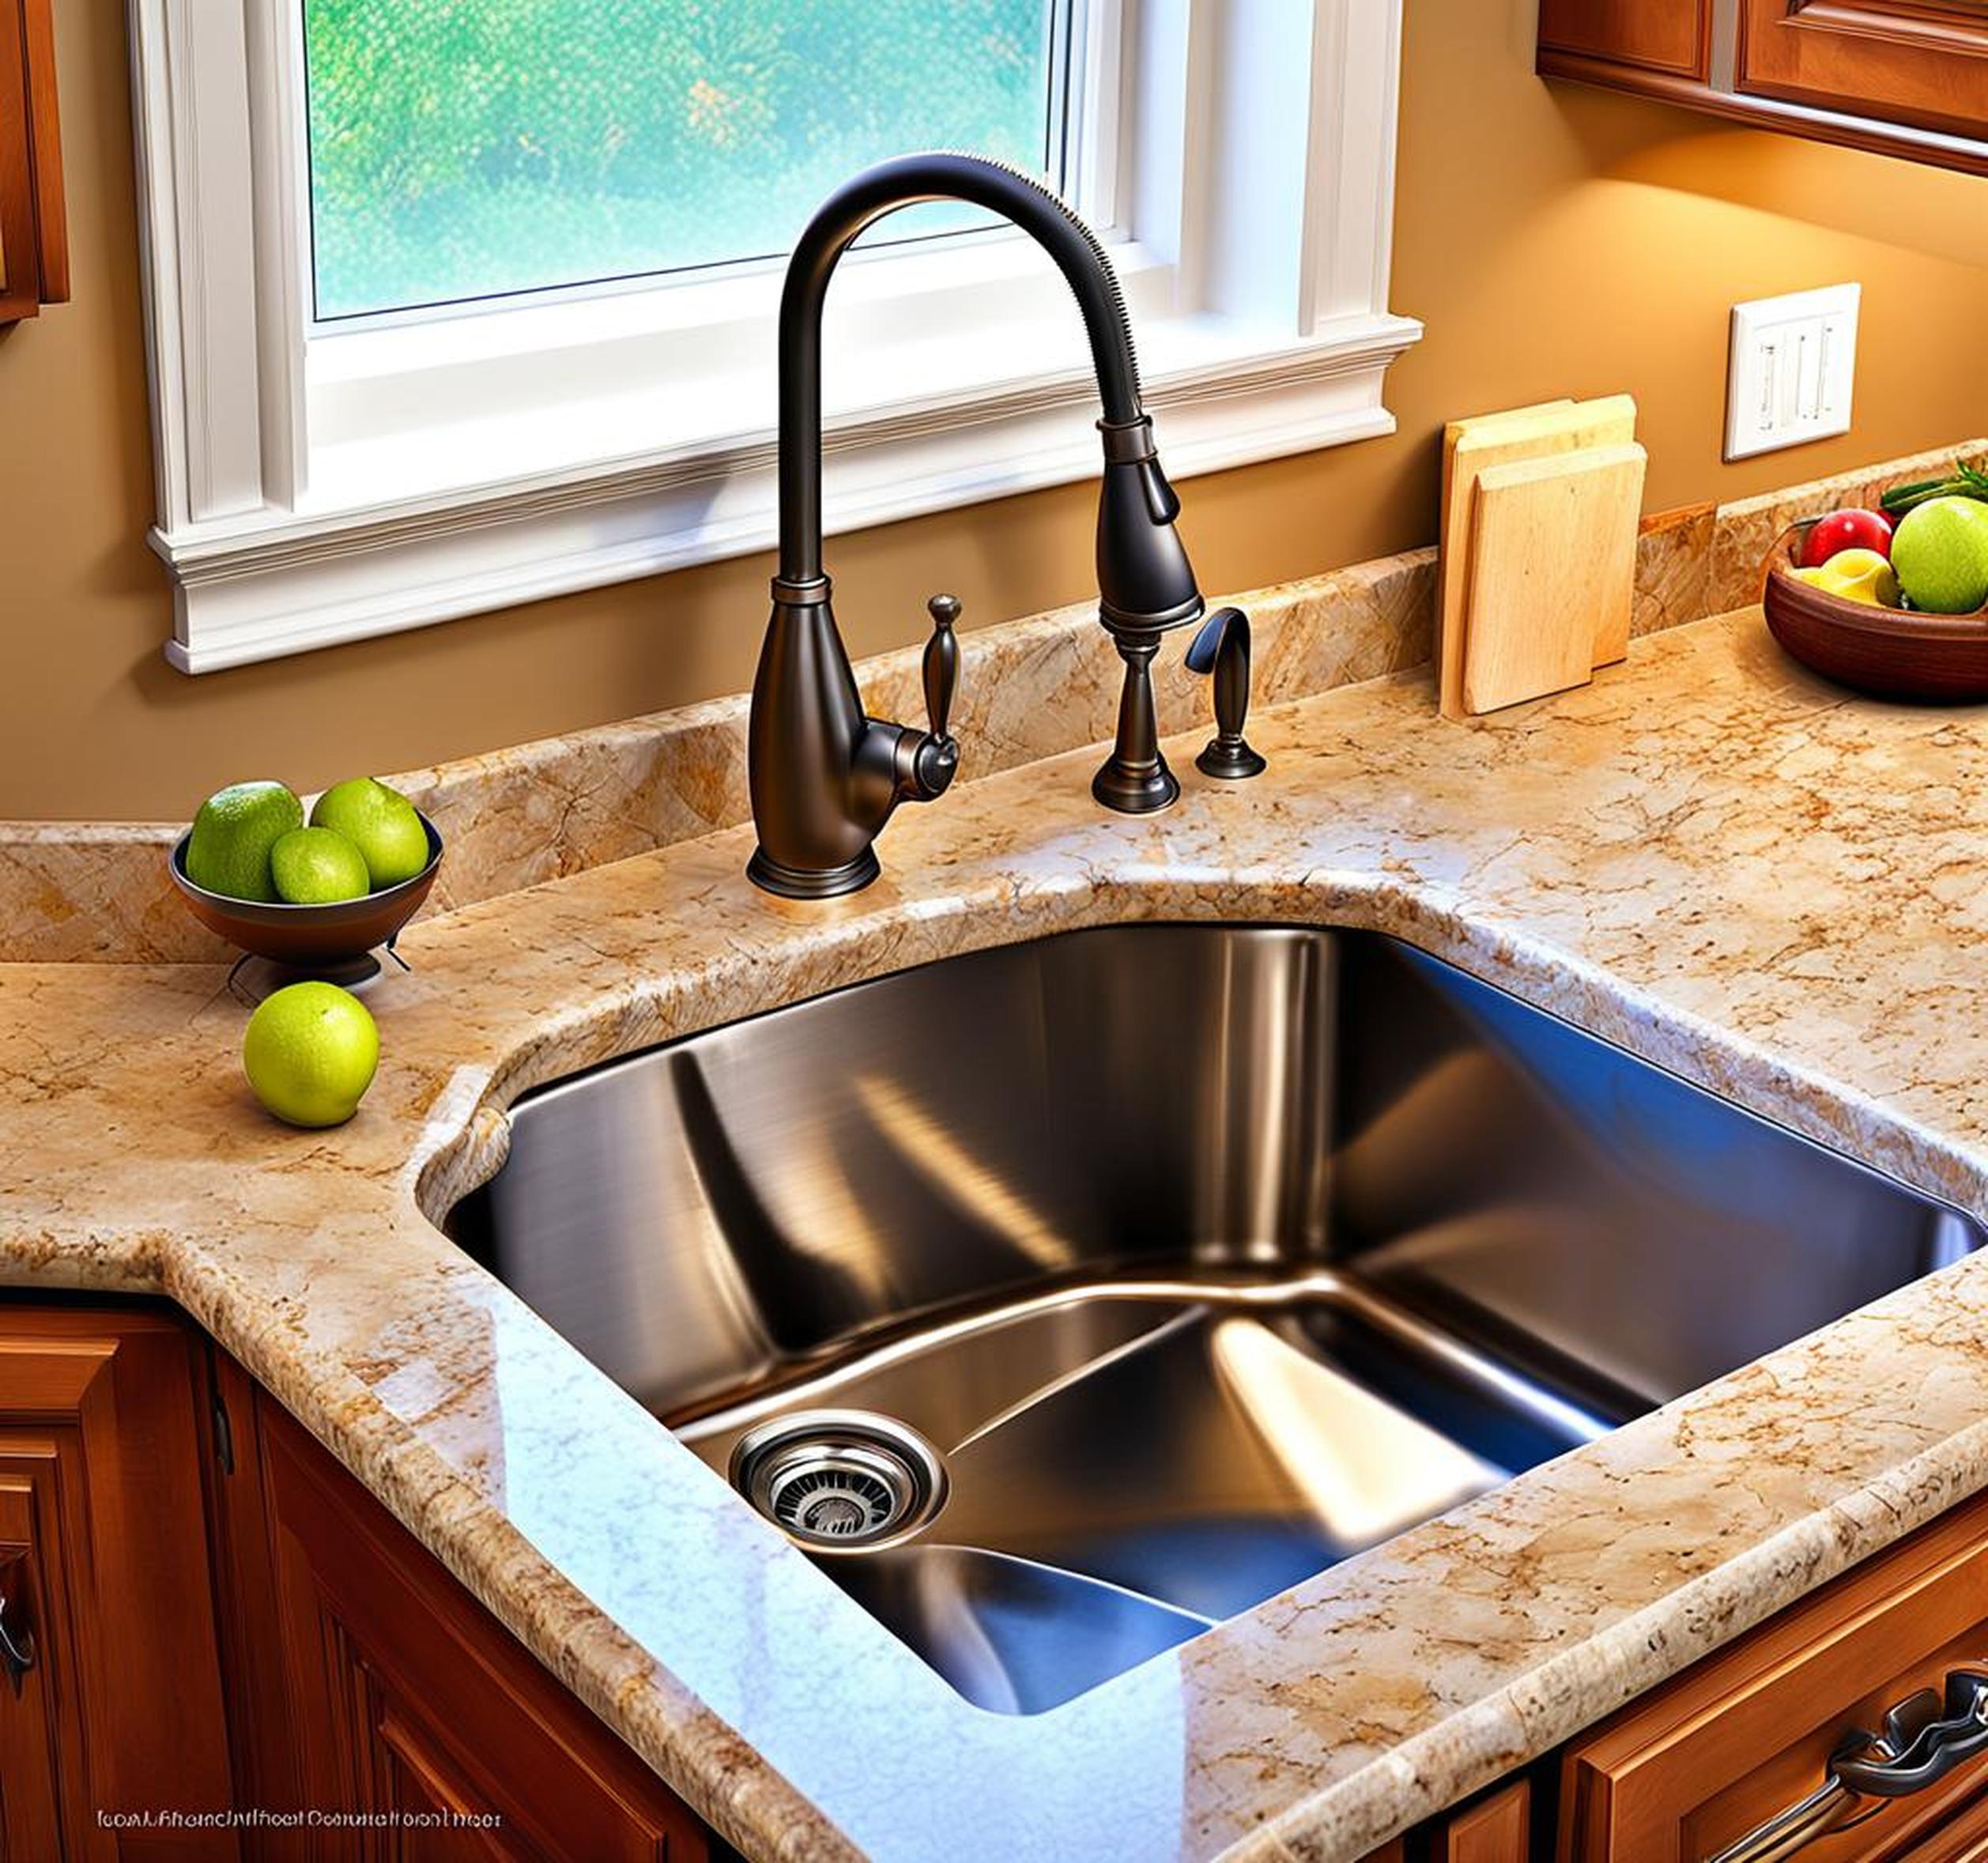
Is your undermount kitchen sink looking a little worse for wear? Cracks, stains, and leaks can make an old stainless steel or porcelain sink an eyesore. Replacing an undermount sink may seem daunting, but it can be a straightforward DIY project if you follow the right steps.
With some careful planning, the right materials, and these step-by-step instructions, you can upgrade your kitchen with a fresh new sink in just one day.
Step 1: Choose the Right Undermount Sink
When selecting a new undermount sink, there are a few key factors to consider:
- Size – Measure the existing sink and countertop opening to find a replacement sink that fits.
- Bowl configuration – Determine whether you need a single bowl or double bowl sink.
- Material – Stainless steel, enamel, composite granite, and fireclay are common options.
Aim to find an undermount sink that fits the existing cutout or is slightly larger. Oversized sinks can be trimmed down. Too small, and you’ll have to cut the countertop opening wider.
Sink Materials Comparison
The material your undermount sink is made from affects durability, ease of cleaning, heat resistance, and cost. Here’s how some options compare:
- Stainless steel – Durable, easy to clean, and heat resistant. Prone to scratches and discoloration.
- Enameled cast iron – Very durable with a glossy finish, but heavier. Chips in enamel expose iron to rust.
- Composite granite – Made from granite dust and acrylic resin. Resists scratches, stains, and heat. Lighter weight.
- Fireclay – Porcelain material is durable and scratch-resistant but prone to chipping. Classic farmhouse sink look.
- Copper – Naturally antibacterial and heat conductive but requires frequent polishing. Expensive.
- Quartz – Non-porous so resists stains. Harder and less prone to chipping than granite. Costly.
- Ceramic – Glass-infused clay creates a high-gloss, durable finish. Can crack or chip if hit.
Step 2: Gather the Necessary Tools and Materials
Installing an undermount kitchen sink requires a few speciality products. Be sure to have these supplies on hand before getting started:
- Safety gear – Gloves, eye protection, knee pads.
- Sink mounting hardware – Clips, brackets, adhesive or sealant.
- Plumbing supplies – Flexible supply tubes, P-trap, drain baskets.
- Silicone caulk and sealant – To adhere sink and seal edges.
- Basic tools – Wrenches, screwdrivers, utility knife, bucket.
Consult your new sink’s manual to determine what mounting hardware is required. Having an extra set of hands helps too!
Step 3: Turn Off Water Supply and Drain Pipes
Before removing the old sink, you’ll need to shut off the water supply. Locate the shutoff valves below the sink and turn them clockwise to off.
Also disconnect the P-trap pipe connections and allow them to drain into a bucket. Detach the hot and cold water supply lines from the faucet by unscrewing the compression nut connections.
Step 4: Remove the Existing Undermount Sink
With the water lines emptied, you can detach the sink itself. Remove any mounting brackets, clips, or screws that are securing the sink in place.
You’ll need to break the seal between the sink and countertop. Use a utility knife to carefully cut through the bead of silicone caulk around the top edge of the sink.
Once fully detached, lift the old sink out from below. Removing an undermount sink takes a bit of muscle since you need to maneuver it out from inside the base cabinet.
Step 5: Thoroughly Clean the Countertop
Now the underside of your countertop is exposed. Use a plastic putty knife to scrape off any debris, old caulk, or sink residue from the bottom of the countertop.
Thoroughly clean the countertop bottom with denatured alcohol, acetone, or another degreaser. Proper cleaning helps the new sink bond tightly.
Step 6: Set the New Sink in Place
First, do a dry fit with the new undermount sink centered in the countertop opening. Confirm that it aligns properly and the faucet holes line up.
Once aligned, apply a continuous thick bead of silicone caulk around the top edge of the sink. Then carefully set the sink in place, pressing it firmly against the caulk.
Step 7: Secure the Undermount Sink
The sink needs to be firmly secured to stay snugly in place. Attach the mounting brackets tightly to the base cabinet framing and underside of the sink lip.
From inside the cabinet, insert clips into the pre-drilled holes on the countertop underside. Tighten the clips against the sink edge until firmly gripped.
Step 8: Reconnect the Plumbing
With the sink solidly mounted, it’s time to hook up the faucet and drain plumbing. Attach the P-trap lower arm to the drain outlet. Connect the trap bend piece and upper arm.
For the water lines, use flex tubing to reconnect the hot and cold supply lines to the appropriate faucet tailpiece inlets.
Step 9: Seal Around the Sink Edges
The final step is applying a smooth bead of silicone caulk around the sink’s edges where it meets the countertop. Overlap the existing caulk for a watertight seal.
Use your finger to wipe away any excess caulk. After allowing the caulk to fully cure, your undermount sink installation is complete!
Step 10: Turn Water Back On and Check for Leaks
The moment of truth has arrived. Turn the shutoff valves counterclockwise to restore the water supply to your new sink.
Carefully check below and around the sink for any drips or leaks. Tighten any connections as needed. If all looks dry, you can relax knowing your undermount sink replacement was a success!
Types of Undermount Sinks
While stainless steel and enamel coated cast iron are among the most popular undermount sink materials, there are several other options to consider:
- Acrylic/Resin – Budget-friendly composite sinks that resist stains but can scratch.
- Copper – Naturally antimicrobial copper sinks require frequent polishing.
- Fireclay – Classic ceramic sinks with a durable, glossy porcelain enamel finish.
- Glass – Tempered glass sinks are heat-resistant and easy to clean but chip-prone.
- Granite – Elegant natural stone perfect for modern kitchens but very heavy.
The type of undermount sink you choose will depend on your kitchen’s style, your budget, and what features matter most like durability, heat resistance, or stain prevention.
Preparing the Countertop for Installation
To ensure your new undermount sink bonds tightly, the countertop surface must be properly prepped before installation:
- Remove any old caulk, sealant, grease, or debris from the contact surface.
- Sand the area underneath with 220 grit sandpaper to scuff up the surface.
- Clean and dry the bottom of the countertop thoroughly after sanding.
- Check that the countertop is level front to back and side to side.
Taking time to correctly prepare the contact area helps the adhesive adhere tightly for a waterproof, gap-free undermount sink mount.
Choosing the Right Mounting Hardware
Undermount sinks can’t simply rest on top of the counter. They require special brackets, clips, hangers, or wires to bear the weight. Consider the following when choosing mounting hardware:
- Check the sink manufacturer’s instructions for specific hardware recommendations.
- Stainless steel brackets with hooks provide sturdy mid-span support.
- Clips that grip the countertop edge from below work for solid surface counters.
- Heavy cast iron sinks may need recessed ledger boards or plywood reinforcement.
- Hire a pro if unsure about supporting heavy sinks properly.
Preventing Water Damage
Undermount sinks allow spills and splashes to easily leak below the countertop surface. To prevent water damage:
- Reinforce sinks weighing over 70 lbs. with extra brackets or boards.
- Seal the sink edges, backsplash, and faucet with silicone caulk.
- Apply waterproofing to the underside of the countertop.
- Use backer rod to fill any gaps before caulking.
Taking the time to seal and reinforce properly will provide peace of mind against leaks causing costly damage.
Tips for DIY Undermount Sink Installation
Ambitious DIYers can absolutely replace their own undermount sink with proper planning and care. Here are some tips for success:
- Use a jigsaw with metal blade for straight, clean sink cutouts.
- Drill pilot holes before driving screws into tough countertop material.
- Use painter’s tape to hold faucet pieces in place during assembly.
- Apply caulk to the sink edge rather than underside for easier placement.
- Tighten clips gradually and evenly to avoid cracking countertops.
Having an extra set of hands is extremely helpful. Patience and following instructions will also prevent amateur mistakes.
Common Undermount Sink Replacement Mistakes
While a quality undermount sink can last for decades, improper installation can lead to leaks, cracks, and damage. Be sure to avoid these all-too-common mistakes:
- Not turning off water supply before disconnecting lines
- Using the wrong caulk or sealant product
- Failing to clean bonding surfaces thoroughly first
- Not leveling the sink rim before attaching
- Overtightening mounting hardware
- Not supporting heavy sinks adequately
Rushing the job or skipping steps can also lead to leaks or other problems down the road. Take it slow and steady.
Get the most out of your undermount sink with proper care:
- Use a sink grid to protect the surface from pots and pans.
- Avoid harsh abrasives and instead use soft scrub pads.
- Rinse thoroughly after washing to keep mineral deposits at bay.
- Clean and reapply sink sealant once a year.
- Use a drain cover to catch food scraps and hair.
With heavy daily use, undermount sinks are prone to scratches and stains over time. Take steps to keep your new sink looking like new for as long as possible.
We hope these detailed steps give you the knowledge and confidence to tackle an undermount sink installation or replacement. Just take it slow, stick to the instructions, and soon you’ll be enjoying an upgraded, refreshed kitchen sink.
