Is your kitchen faucet driving you crazy with that constant drip-drip-drip? Do you find yourself jiggling the handle just to get the water to flow properly? It’s likely time to replace the worn-out washers causing the annoyance. Replacing old faucet washers is one of the simplest repairs any homeowner can tackle. With just a few tools and replacement parts, you can stop those maddening drips and restore full water pressure in no time.
You’ll learn how to identify worn washers, shut off water supply lines, remove old washers and install new ones. We’ll also cover troubleshooting common problems to ensure your newly repaired faucet flows smoothly for years to come. Let’s dive in and fix that drip for good!
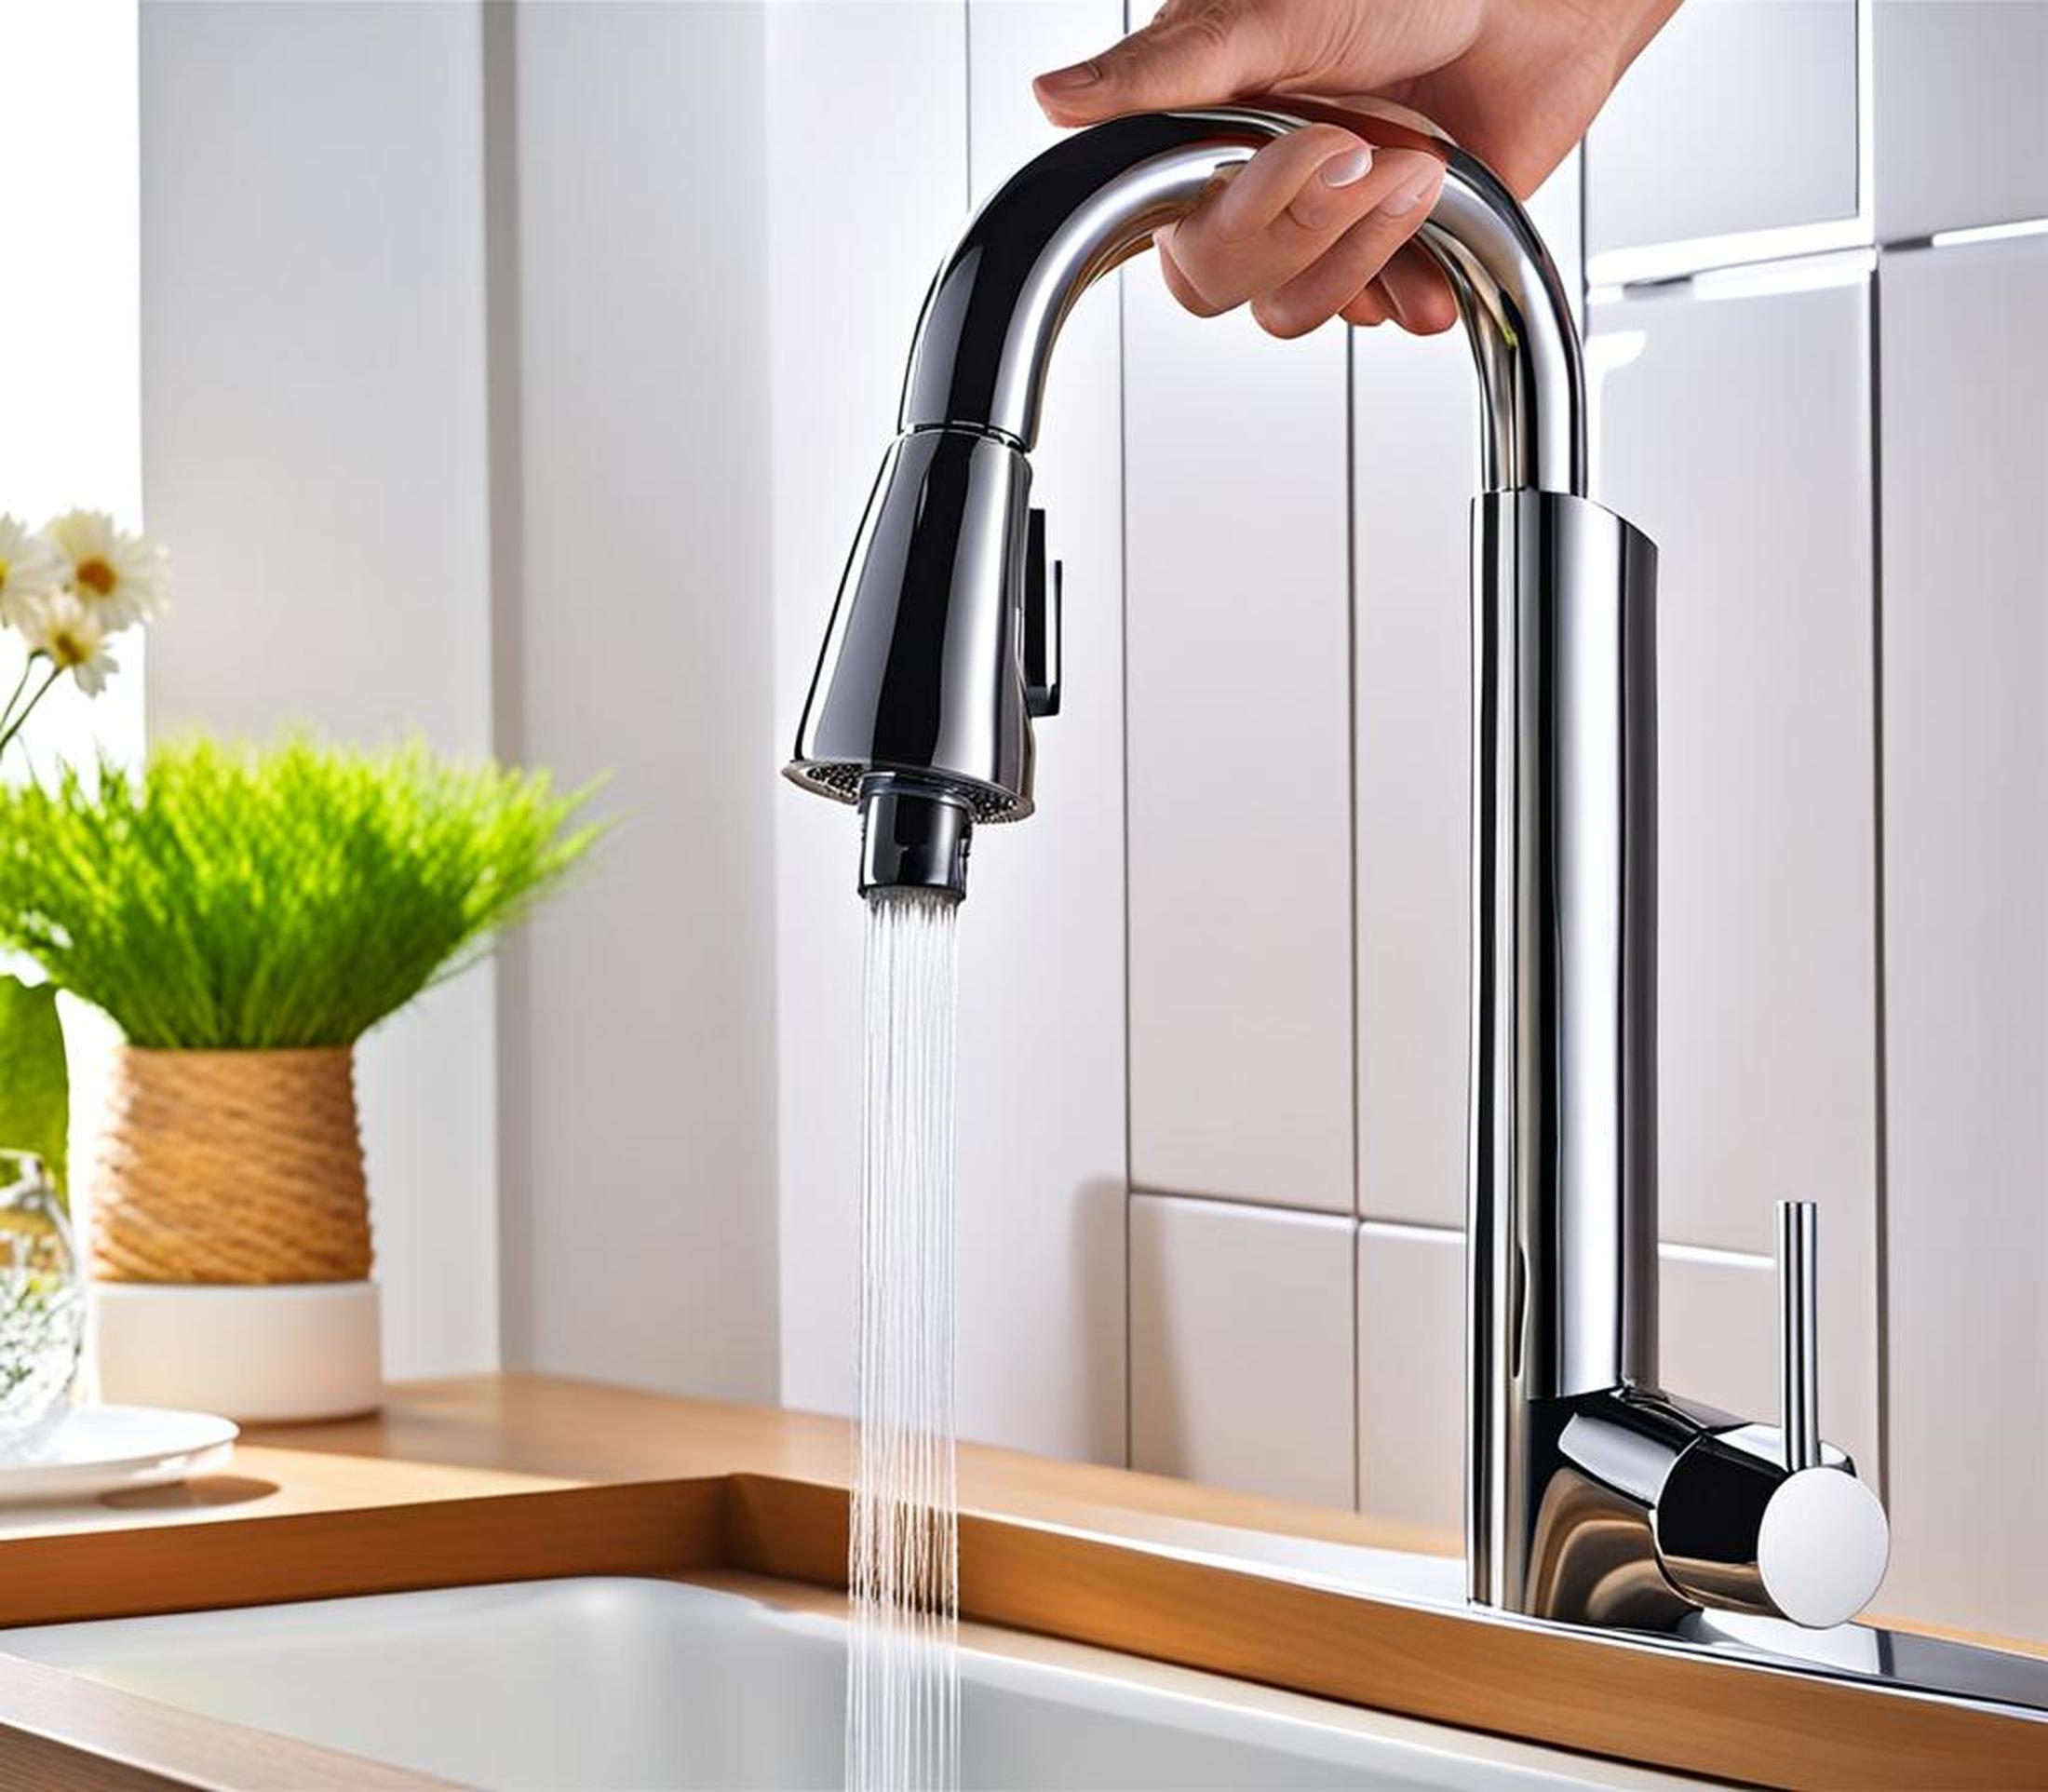
Symptoms of Worn Faucet Washers
How can you tell if the washers inside your kitchen faucet need replacing? Here are some of the most common signs:
- Dripping or leaky faucet – Water continues dripping out after shutting off the handle
- Loss of water pressure – Flow is weak or you have to jiggle handle to get steady stream
- Worn seat washer – Faucet won’t completely shut off water even when turned off
If you’re experiencing any of these issues, worn-out washers are almost certainly the culprit. The small rubber washers inside faucet valves compress over time, leading to leaks and low pressure. Replacing them restores proper function.
Reasons to Replace Faucet Washers
Fixing a leaky, low-pressure faucet provides several benefits beyond just stopping annoying drips. Here are some top reasons to replace worn faucet washers:
- Improves water pressure – New washers seal better for stronger water flow
- Stops leaks – Prevents wasting water and damage under sink
- Avoids larger repairs – Worn washers can damage valves or seals
- Saves money – Simple DIY repair vs. plumber fees
By taking care of a small faucet issue now, you avoid much bigger problems down the road. Replacing washers when needed prevents leaks from causing water damage and maintains optimal water pressure.
Before You Start
Replacing washers only takes a few minutes, but having the right preparation makes the job go smoothly. Follow these tips before getting started:
- Clear space under sink for access
- Assemble necessary tools – wrenches, screwdriver, pliers, etc.
- Purchase new washers or repair kit
- Locate water shut-off valves and turn off supply lines
Having easy access to work the faucet and all the right materials close at hand makes this repair a cinch. Now let’s get to work stopping those drips!
Removing the Old Washer
With the water supply shut off, now comes the fun part – taking the faucet apart to remove the worn washer causing issues. Follow these steps:
- Take apart faucet handles and spout to expose valve
- Use pliers or wrench to loosen screw holding washer in place
- Carefully remove old washer – it may be stuck in valve seat
- Thoroughly clean valve seat area of any dirt or debris
Taking your time to completely disassemble the faucet makes it easier to remove the old washer without damage. For stuck valves or screws, penetrating oil can help loosen things up.
Choosing the Replacement Washer
Picking the right replacement washer ensures optimal performance and longevity for your newly repaired faucet. Here are some tips for selecting the best new washer:
- Match old washer size, thickness, and shape
- Choose durable rubber for sealing effectiveness
- Buy assorted washer pack if unsure of correct one
- Consider upgrades like silicone for increased longevity
Bringing your old washer to the hardware store makes it easy to find an identical match. Investing in quality materials prevents leaks and drips from returning anytime soon.
Installing the New Washer
Once you’ve got the right replacement washer, it’s time for the easy part – installing it. Just follow these simple steps:
- Make sure washer is facing the proper direction to seal
- Insert washer fully into valve seat or screw opening
- Hand tighten screw or nut to secure – don’t over tighten
- Double check positioning before fully tightening with wrench
Taking care to insert the washer correctly prevents leaks. Slowly tightening by hand first reduces risk of damage. Replace any other worn washers you notice while you have the faucet disassembled.
Reassembling and Testing Faucet
The final steps are reversing disassembly and testing your handiwork. Follow these tips for finishing up:
- Check alignment as you reattach spout and handles
- Turn water supply back on and inspect for leaks
- Let water run to clear any sediment and test pressure
- Make minor handle adjustments if needed
Carefully realigning components prevents uneven wear or damage. Keep an eye out while water flows – you don’t want drips returning! Once satisfied with watertight seals and restored pressure, the repair is complete.
Troubleshooting Common Problems
While most washer replacements go smoothly, an issue may arise. Here are some potential problems and solutions:
- Still leaking: Washer wrong size or installed backwards
- Water doesn’t fully shut off: Valve seat needs replacing
- Low pressure persists: Clear aerator and supply lines of debris
- Drips return over time: Replace with higher-grade washer materials
Taking a methodical approach to troubleshoot lets you zero in on solutions. Don’t hesitate to disassemble and double check your work if any issues arise.
When to Call a Plumber
While DIY washer replacement is straightforward, certain circumstances do warrant calling in a pro. Seek plumber services for:
- Leaks that persist after multiple washer replacements
- Inability to isolate drip cause to the washer
- Significant valve corrosion or damage
- Problems requiring faucet or supply line replacement
Knowing when to seek a skilled plumber prevents frustration and ensures the problem is fully resolved. Professionals have specialized tools and knowledge for addressing more complex repairs.
There you have it – a complete guide to fixing annoying kitchen faucet leaks by replacing worn washers yourself. With a little DIY know-how, you can stop drips, improve water flow, and avoid bigger repairs down the road. Just remember to shut off water supply, disassemble to remove old washers, install new ones properly, and reassemble carefully. Follow the steps and tips outlined here and that drippy faucet will be working great in no time.
