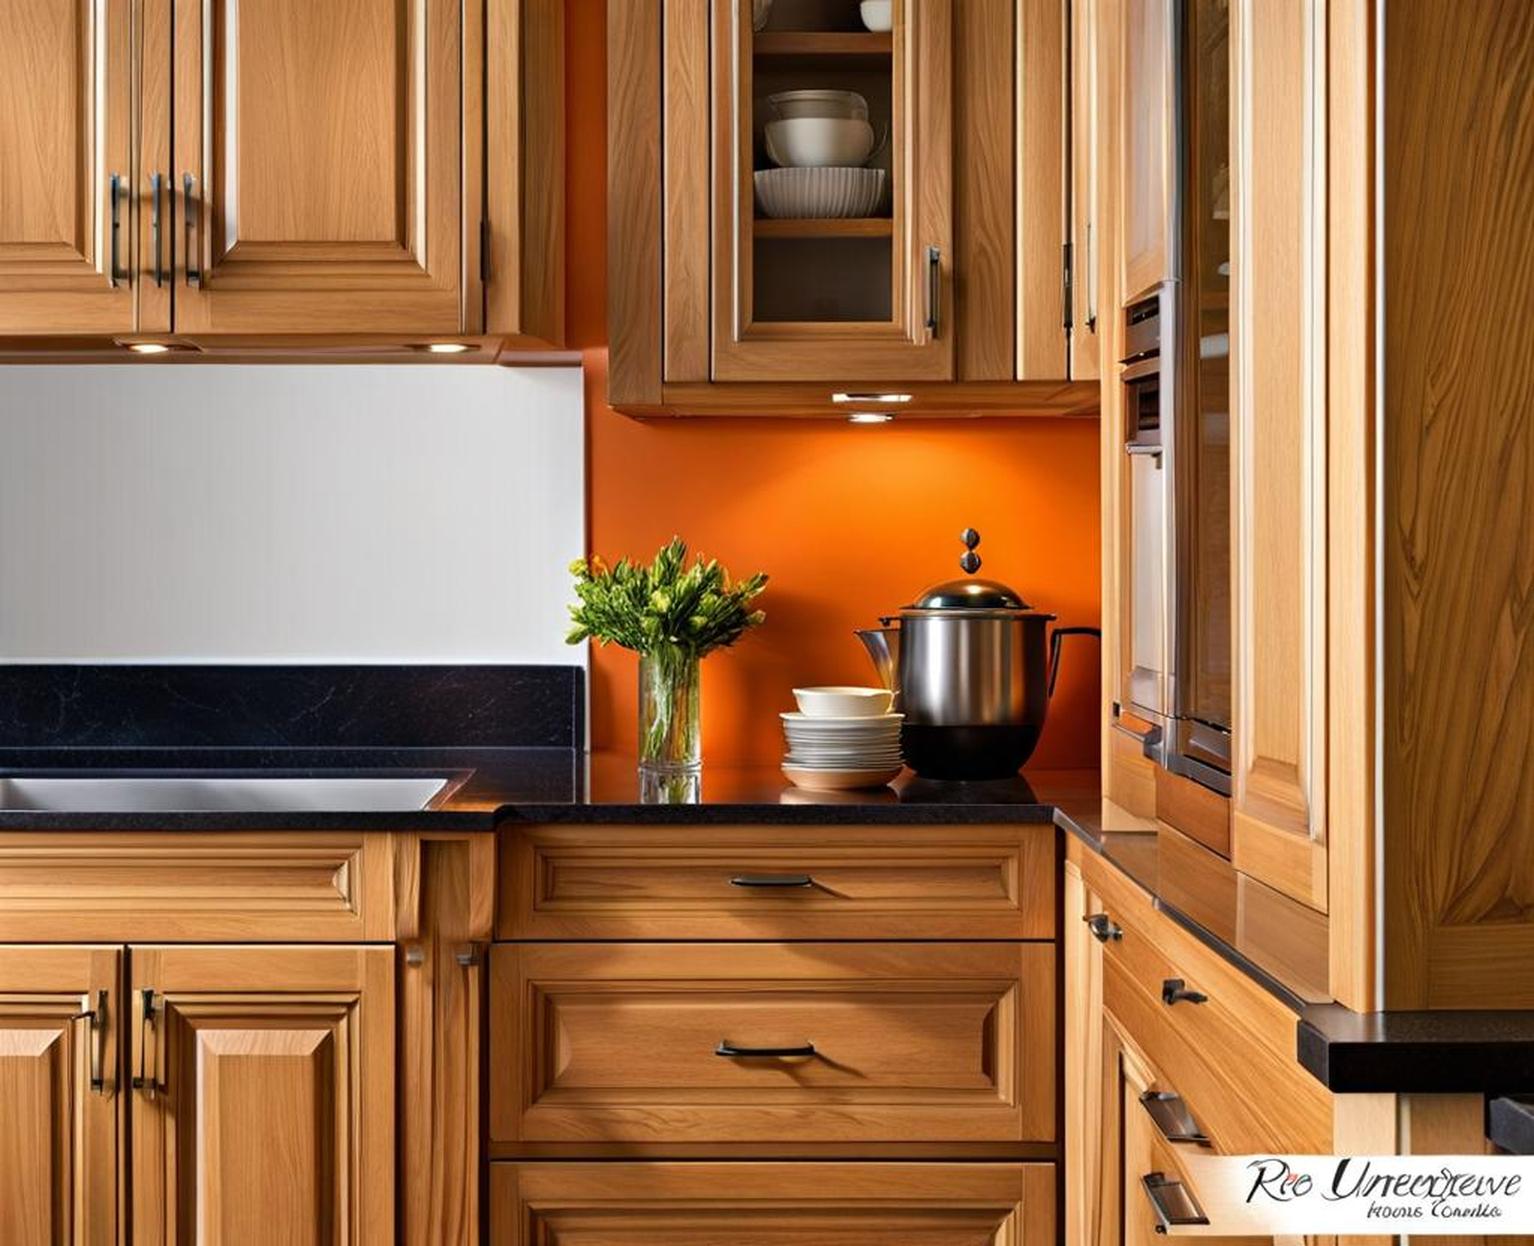
If your oak cabinets are looking a little too bright and orange for your taste, don’t despair – gray staining is an easy yet dramatic way to give them a cooler, more modern look. The blue undertones of gray will counteract the golden orange hues, muting them into a more subtle and neutral beige. With some simple surface preparation, application techniques, and regular upkeep, you can let the natural wood grain shine through while taking the edge off that orange glare.
We’ll walk through everything you need to know to successfully shift those orange oak elements to a sophisticated gray. From choosing the right shade to troubleshooting drips and runs, you’ll be ready to take on this transformative project.
Evaluate Your Existing Cabinets
Before altering the color of oak cabinets irreversibly, it’s important to assess their current condition. Check for areas of damage, peeling finish or excess grime that may require repairs beforehand. Evaluate how strong and vibrant the orange tones are currently. If there are just certain problematic spots, consider gray staining only those sections rather than the entire set of cabinets.
Also, determine if you’ll be transforming all cabinets to gray or just applying selective touches. For example, you may opt to stain the lower cabinets while leaving uppers in their natural state. Visiting the cabinetry department of your local home improvement center can provide staining inspiration.
Assess Damage and Cleanliness
Fill small holes and cure major issues prior to staining for best results. Thoroughly remove grease and gunk with a degreasing cleaner to prevent tinting challenges. Checkdrawers, tracks and handles to ensure everything still operates smoothly without catching before locking in a new color.
Decide Staining Scope
- All cabinets for a cohesive look
- Just lowers to contrast uppers
- Only select doors for an eclectic vibe
Choose a Complementary Gray Stain
On a basic color wheel, gray and orange are directly opposite each other which allows gray to visually neutralize orange effectively. When selecting a gray shade, consider adding some blue tones which are also opposite orange on the wheel. This further helps cancel out goldenness. Espresso-inspired grays work well, mimicking the look of true wood while still subduing brassiness.
| Color Type | Benefit |
| Blue-gray | Adds coolness to counteract warmth |
| Espresso gray | Deep yet neutral with blue hints |
Test your chosen gray stain out on an inconspicuous cabinet interior before fully committing. Look at samples on the actual cabinet wood, not just paint chips, to see real-life undertones. You may have to tweak the ratio of stain to conditioning solution for lighter or darker outcomes.
Use Blue-Toned Grays
Adding subtle hints of blue-gray helps cancel out orangey gold. The two colors directly oppose each other on the standard color wheel. Aim for a rich caffeine-like essence.
Sample for Accuracy
Don’t rely on pictures or paint strips alone when selecting a shade. Lighting conditions impact undertones differently. Test on the inside of cabinet doors to see real results before staining all surfaces.
Properly Prepare Cabinets for Staining
Taking time to correctly prep cabinets before applying any new coloring will ensure dramatically better results. Thorough cleaning and light sanding helps the fresh stain properly grip. Strategic taping prevents bleeding between finished and unfinished areas. Pre-treatment of highly orange sections evens out porosity.
Work slowly and methodically while prepping, taking care not to damage existing cabinetry structure. Rushing this vital step often causes staining challenges down the road so patience pays off.
Clean and Sand
Remove all hardware, doors, shelves and fixtures from cabinets to access all surfaces for optimal transformation. Generously apply degreasing cleaner and let it soak in for 5-10 minutes before scrubbing clean. Lightly sand with 220 grit paper to rough up the finish so new stain can permeate better. Wipe away all dust with tack cloth.
Bleach Orange Sections
For particularly orange areas, diluting household bleach 1:1 with water can help lighten them prior to restaining. This helps the end color appear more uniform. Apply sparingly to problem spots only with an artists’ brush. Rinse thouroughly.
Tape Off Edges
Use painter’s tape to protect cabinets you don’t intend to refinish. This might include inside upper cabinetry or unfinished ends abutting appliances. Apply tape precisely along the edges you want to safeguard from drips.
Apply Gray Staining Techniques
When working with wood stains, application technique impacts the finished aesthetic as much as color selection. Work systematically in manageable sections, applying thin coats of gray stain using short, smooth brush strokes. Allow thorough drying between additional coats, determining whether you want to intensify the color further. Finish up by wiping away any excess residue from the staining process with stain rags or tack cloth.
Work in Sections
Focus on transforming one cabinet door or drawer front at a time for the most control. Begin staining interior backs of cabinets first where drips won’t be visible. Then systematically complete the rest of cabinet surfaces a section at a time.
Use Foam Brushes
High quality foam brushes allow you to feather out stain evenly without leaving behind errant bristles. Apply stain across the wood grain slowly using light, smooth strokes. Avoid overbrushing which can create lapping marks.
Apply Thin, Even Coats
Thin applications provide the most flawless results. Too much stain pooled on the surface leads to drips and uneven absorption. Build the color intensity gradually and purposefully for professional outcomes.
Add Protective Clear Top Coat
Once your staining efforts complete, add a clear matte or semi-gloss protective finish to lock in the color and add enhanced resilience. Polyurethane forms a protective barrier against moisture damage, UV fading and general wear-and-tear while letting the transformed wood beauty take center stage.
Apply two to three thin coats of fast-drying water-based poly, allowing proper drying time between each to prevent clouding issues. Take care not to agitate dust into the finish as it cures. Finally, reinstall all hardware to complete your updated oak kitchen reboot.
Use Matte or Semi-Gloss
Polyurethane comes in a spectrum of sheens ranging from stark flat matte to ultra-shiny gloss. Typically, satin or semi-gloss lend just enough luster to enhance without going overboard. Matte is also nice if you prefer an industrial vibe.
Allow Proper Curing
Rushing the curing process between coats can ruin the entire finish, forcing you to start over. Carefully follow manufacturer drying recommendations, allowing at least several hours. Cool, dry environments may require slightly longer than product labels suggest.
Troubleshoot Common Staining Issues
Despite the most meticulous preparation and application efforts, staining mishaps happen. Natural wood variations, hidden grease in crevices and simple clumsiness all can foil plans. Thankfully, many common pitfalls can be remedied with practical fixes.
Fix Drips Before Dry
Catch runny drips with the corner edge of a rag before they have a chance to dry. Letting them set will make touch-ups stand out later. Wipe gently to avoid smudging borders.
Cover Repairs with Filler
If repairs left behind surface defects, fill flawlessly with stainable wood filler before finishing. Allow proper drying then sand smooth. Prestain first before final color application.
Repair Damage First
Excessive water damage or split cabinet components will compromise staining work. Fix structural issues using wood glue and clamps or replace damaged elements as needed before attempting to apply color.
Maintain Your New Gray Oak Cabinets
While gray staining oak cabinets will minimize visible dirt and grime compared to darker espresso shades, occasional cleaning and upkeep helps preserve their refreshed look. Use mild dish soap and water with soft microfiber cloths to gently wipe surfaces, avoiding abrasive scouring. Reapply protective finish every 2-3 years or whenever glossiness starts to fade.
Address new stains and scratches right away to prevent moisture sneaking underneath the top layers. Use extra fine grit sandpaper to smooth, then touch up with matching stain marker pens. Buff gently with tack cloth and reseal.
Clean Gently
Daily spills and cooking mess can be gently wiped using dish detergent diluted in warm water. Avoid harsh chemicals or scrub pads which can wear down the finish prematurely or dig into the vulnerable stain.
Refresh Top Coat Often
Plan to renew the protective clear coat every couple of years to maintain optimal sealing power. Water-based polyurethane makes this a simple process without requiring a full strip and refinish.
With the right shade selection, preparatory steps and application techniques, gray staining offers a foolproof way to temper orange oak elements for a cooler, sleeker kitchen aesthetic. Balancing out golden yellow overtones for a more sophisticated look no longer requires dramatic changes like painting or refacing when this simple but transformative stain solution exists.
Transforming the entire set of cabinets or just strategically subduing select fronts, gray brings intrigue through contrast while allowing beautiful woodgrain to still shine through. Before resigning yourself to a lifetime of gaudy orange oak, give gray a try – the only limit is your imagination on ways to implement this game-changing color for a kitchen makeover.
